
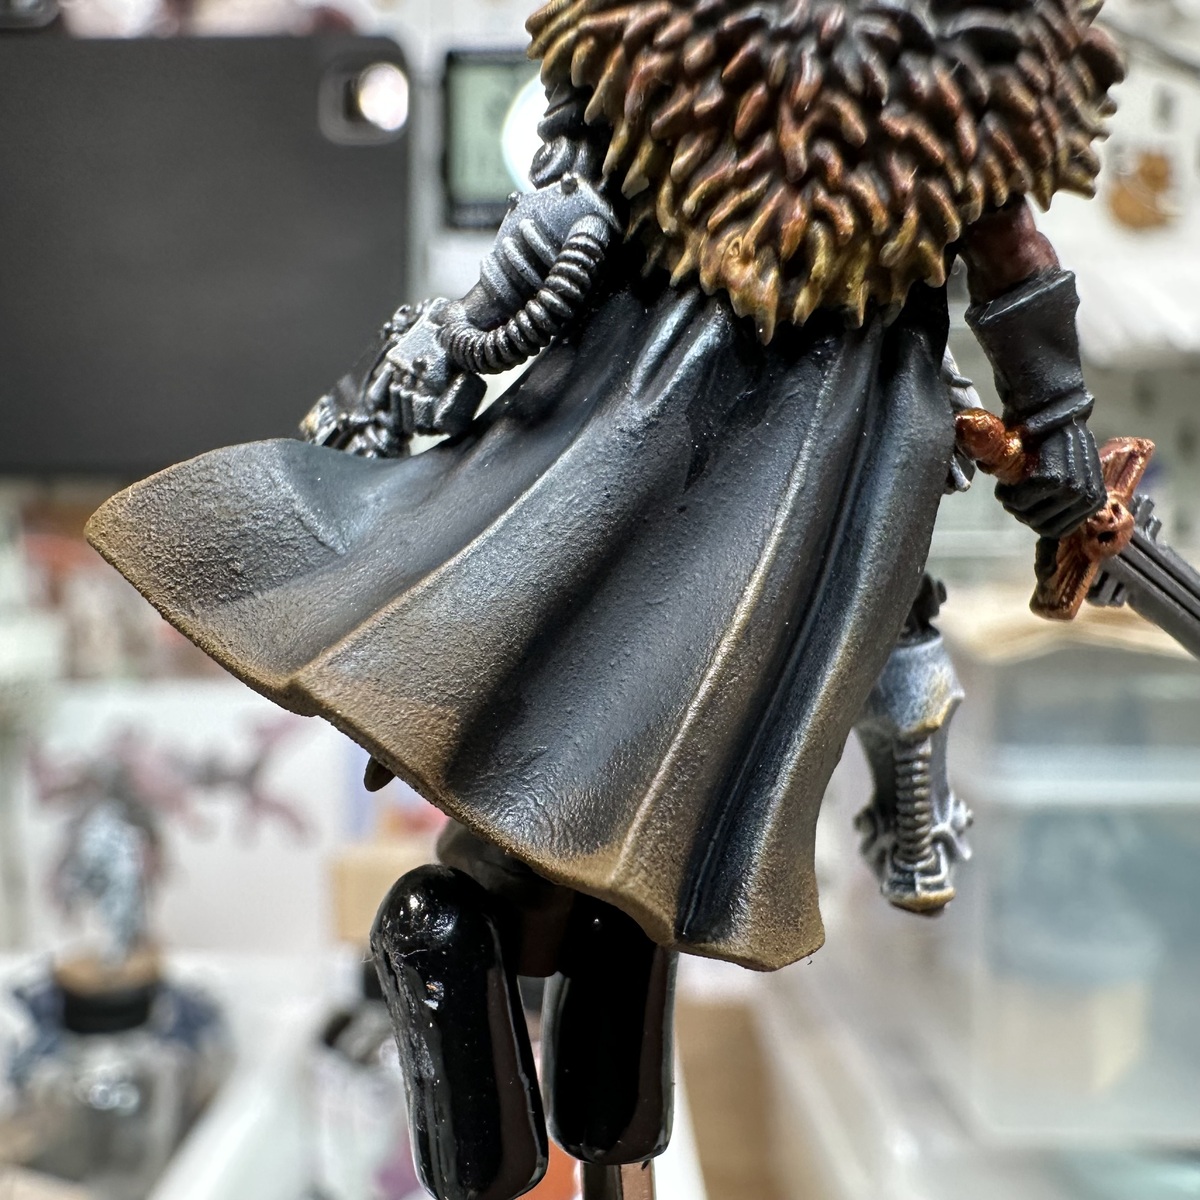
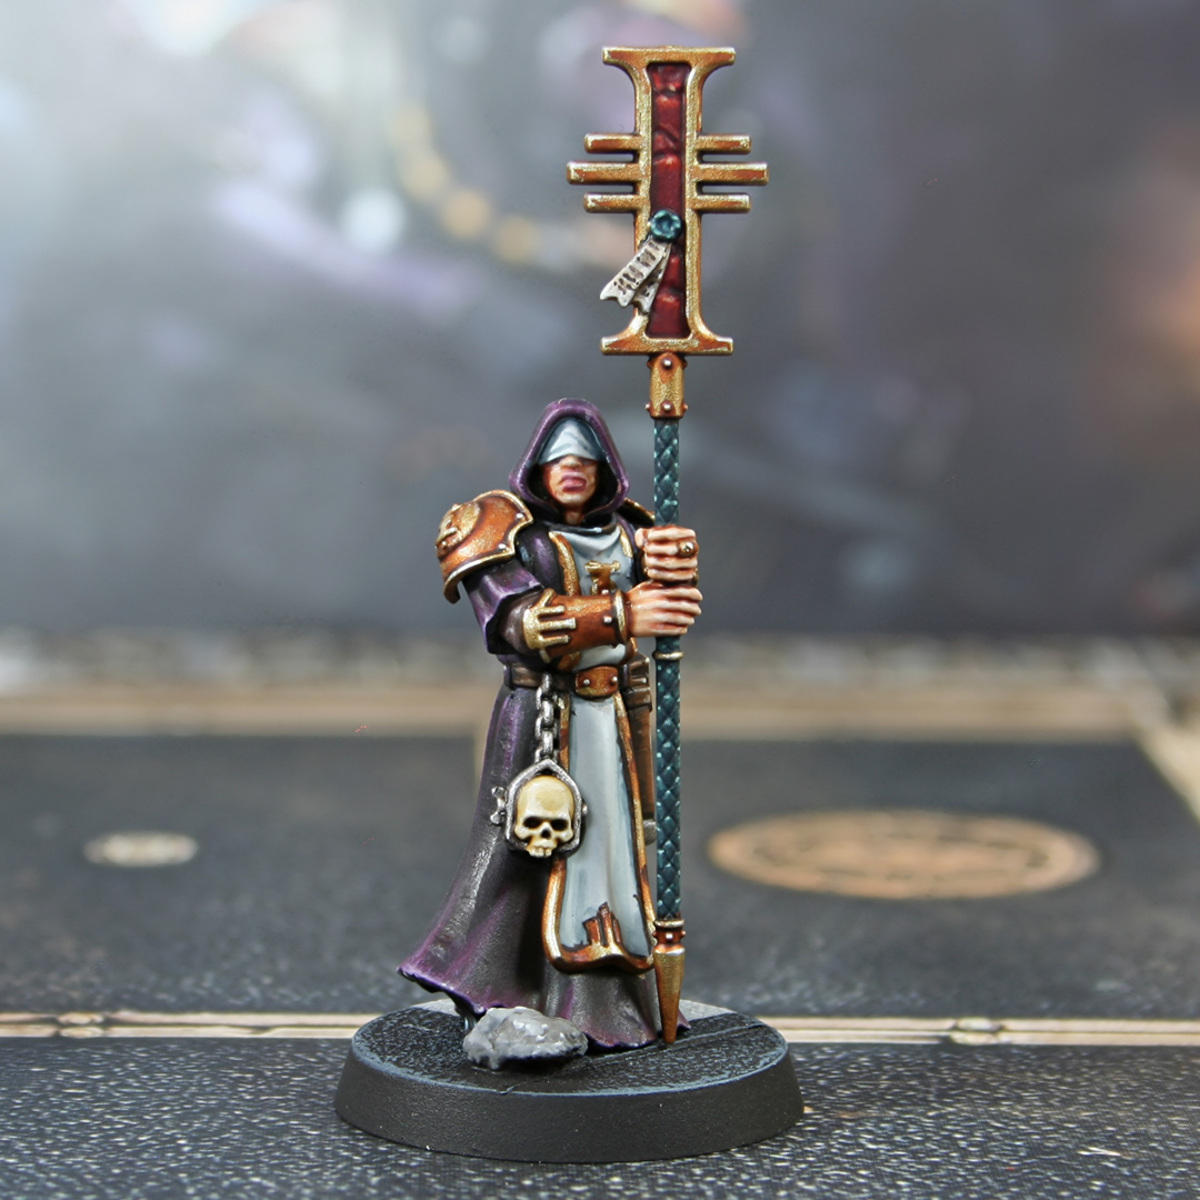
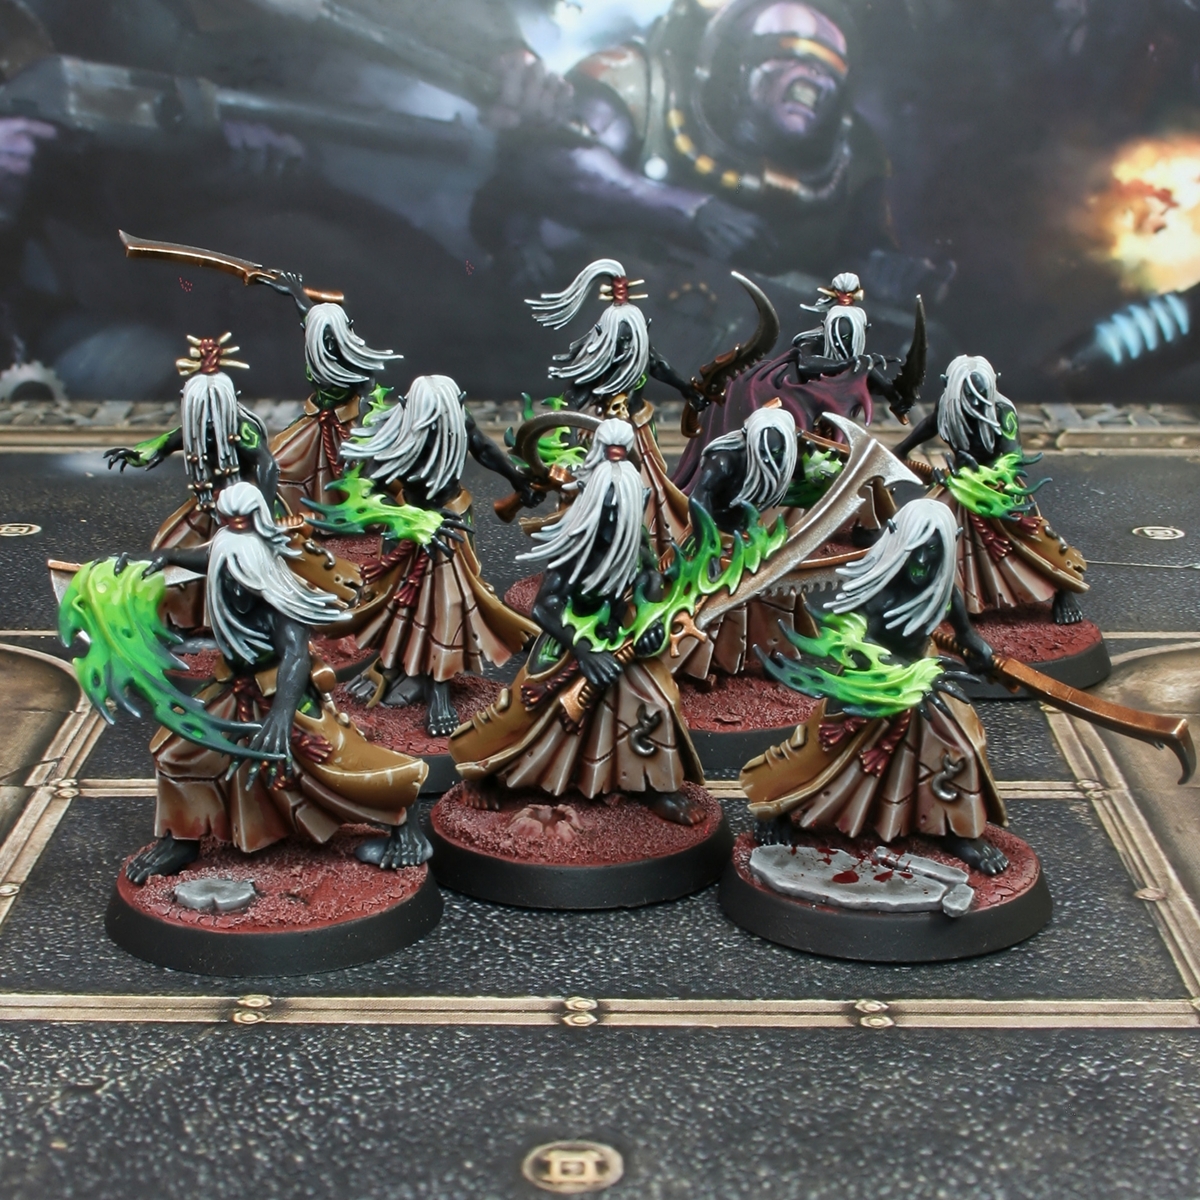
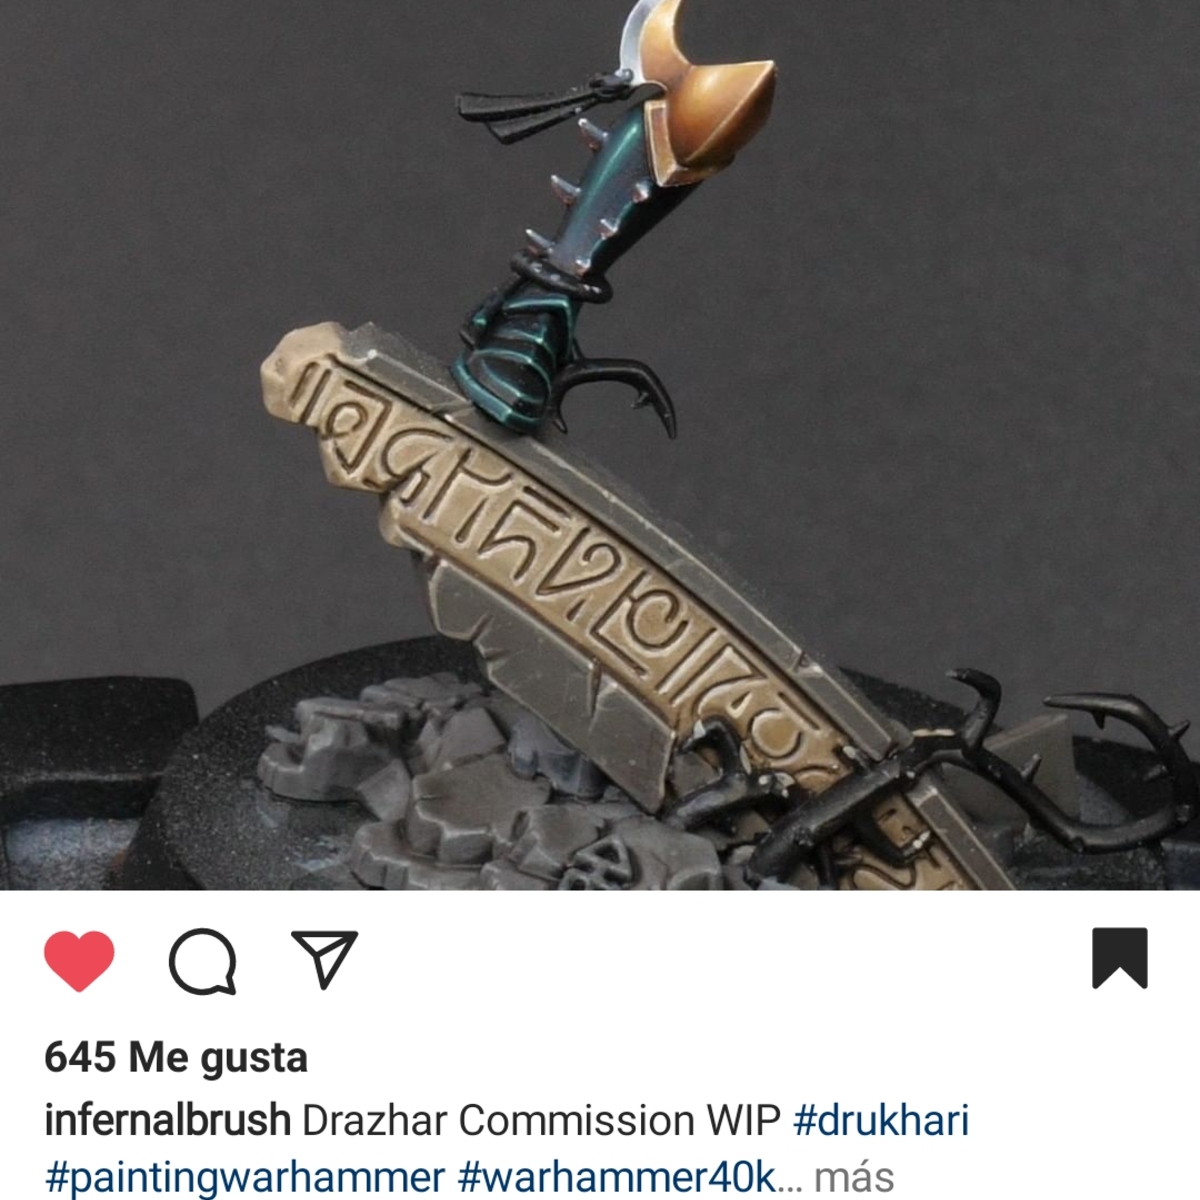
This is how I personally paint my Blood Ravens. I try to give the armour more of a terracotta tinge with the highlights.
Priming
- Prime the mini in Mechanicus Standard Grey (or similar)
- Use Grey Seer (or similar) to apply a zenithal highlight to the entire mini. I tend to do this quite heavily, leaving the MSG covered except in the extreme dark areas, but also give some of the flatter surfaces a bit of a gradient. It's ultimately down to you how you want it to look though.
Base colours
- For the majority of the armour, I use a 5:3:5 mix of Blood Angels Red Flesh Tearers Red , and Contrast Medium . This is applied liberally over all the armour panels I want to be red. After letting the first layer dry entirely, I go around and apply a second coat wherever the colour isn't as strong as I'd like. Again, this is all personal preference as to how you want the finish to look
- For the trim, aquila, and weapon casing, apply a coat of Black Templar .
This can also be used in the armour joints and as a spot colour (e.g. kneepads, tilt shields, etc.) - The bone shoulderpads are simple too - just use a *heavy* dollop of Skeleton Horde on the entire shoulderpad. Then using a damp brush, touch the edge of the pad, and let it draw away the excess. You might need to do this several times, but eventually you'll get a lovely colour on the shoulder.
- Silver metals, we're using Iron Hands Steel
- Retributor Armour is the base colour for anything you need to be gold.
- If needed, use Grey Seer to go over any lenses for later.
Highlights
- For the red armour, the contrast does a lot of heavy lifting of course. I apply an edge highlight of Tuskgor Fur first, and then a finer edge/corner highlight of Knight-questor Flesh
- Less of a highlight, but a glaze/very thin layer of Ushabti Bone on the shoulders to bring them up to prime Blood Ravens colouration
- Aquila, trim, and accents - Corvus Black chunky highlight, Mechanicus Standard Grey edge highlight, and Administratum Grey spot/corner highlight.
- For the Iron, we shade it with Nuln Oil and then highlight with Ironbreaker nice and simple. You can shade it with Agrax Earthshade if you'd prefer, but again, down to personal taste.
- Golds - Canoptek Alloy layer, leaving the gold in recesses.
Recess shade Coelia Greenshade
Deep recess shade Volupus Pink - use this very sparingly, it's easy to go overboard.
Final highlight of Stormhost Silver
Final Steps
- Eyes, lenses, etc. - Striking Scorpion Green for the eyes, any other similarly bright colours for the lenses.
Basing
- Agrellan Earth in spots, PVA glue + Sand for the majority. Can just use the PVA + Sand for smaller bases.
- When that's all dry, water down Mechanicus Standard Grey
Shade with Nuln Oil
Drybrush with Karak Stone , and then a lighter drybrush of Terminatus Stone - Finish with any preferred static grass tufts.
Citadel Painting System 27
Base 5
- Corvus Black
- Grey Seer
- Iron Hands Steel
- Mechanicus Standard Grey
- Retributor Armour
Shade 3
- Agrax Earthshade
- Coelia Greenshade
- Nuln Oil
Layer 8
- Administratum Grey
- Canoptek Alloy
- Ironbreaker
- Karak Stone
- Knight-questor Flesh
- Stormhost Silver
- Tuskgor Fur
- Ushabti Bone
Technical 1
- Contrast Medium
Texture 1
- Agrellan Earth
Air 1
- Terminatus Stone
Spray 2
- Grey Seer
- Mechanicus Standard Grey
Contrast 6
- Black Templar
- Blood Angels Red
- Flesh Tearers Red
- Skeleton Horde
- Striking Scorpion Green
- Volupus Pink



.jpg)
