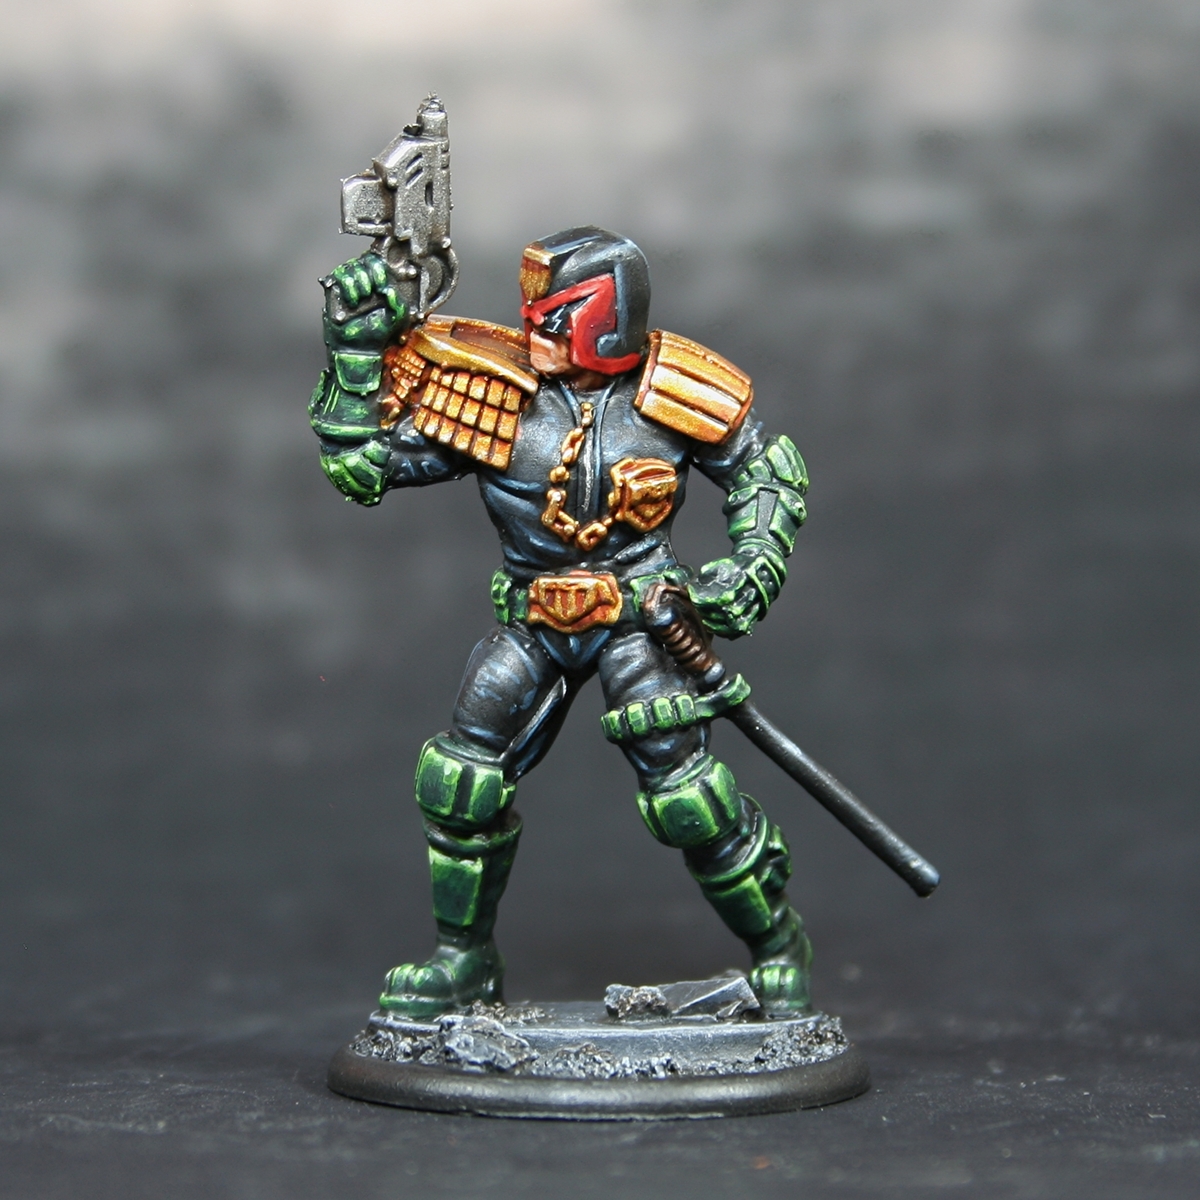
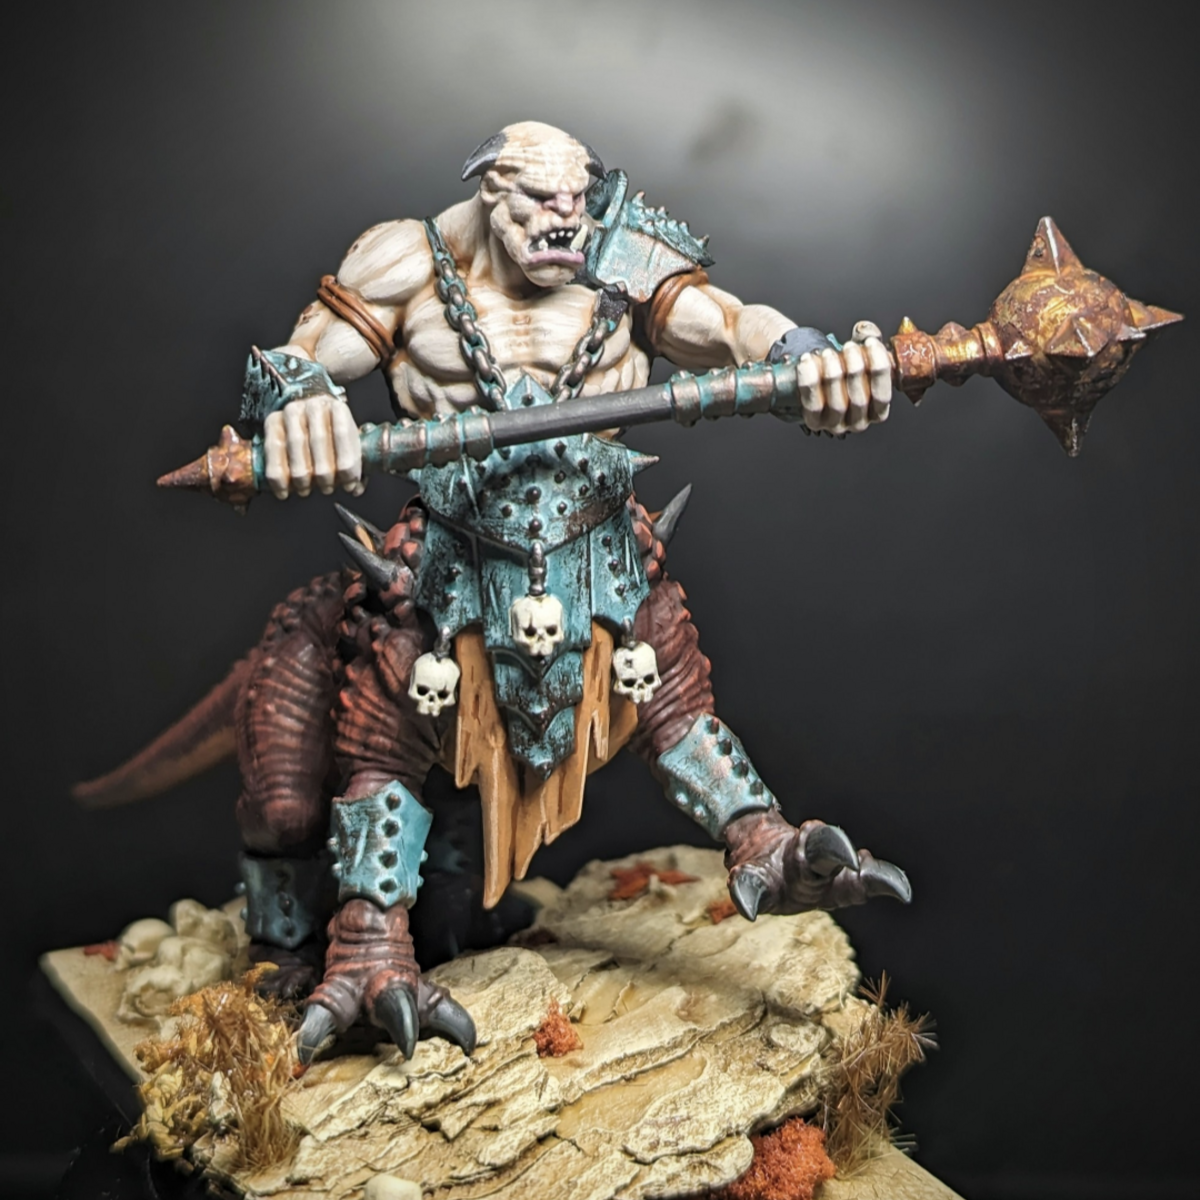
Armor for custom SM chapter
Stage 1 - Armor Base
Airbrush settings - 25-30 PSI, 2:1 Flow Improver:Paint for Pro Acryl
- Prime whole model with Red Brown
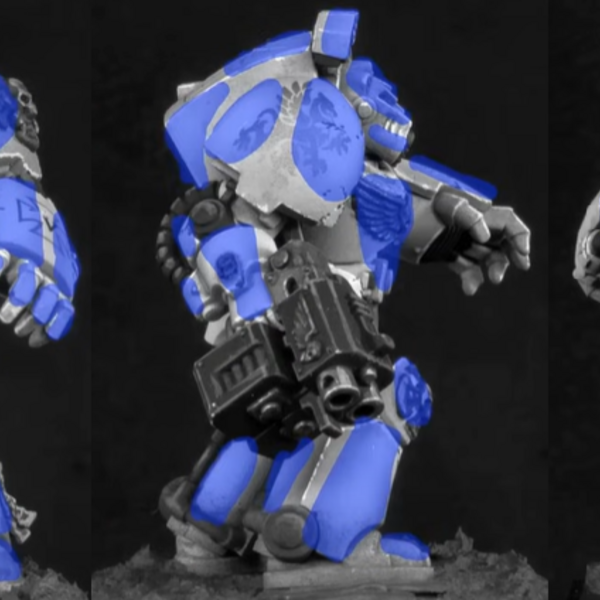 Base Colour: Airbrush upwards facing parts of the model (Approx 45 Degrees) in Ivory allowing the Red Brown primer to show through in the underside/recesses
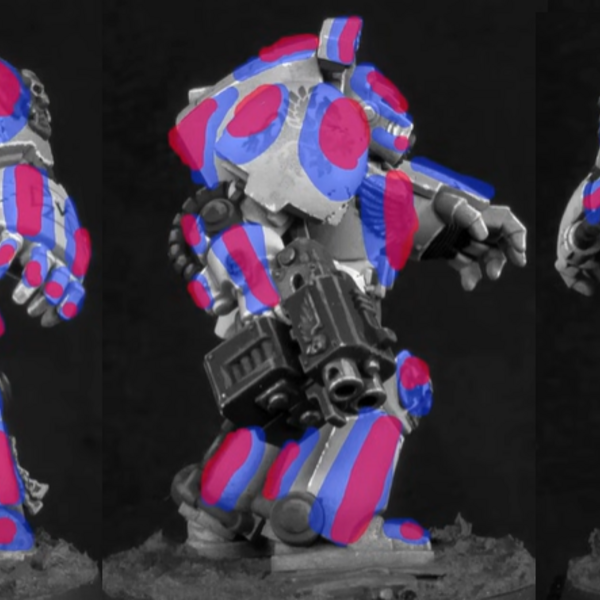 First Highlight: Add further targeted volumetric highlights in Bright Ivory focusing on top areas/helmet/shoulder pads
- Gloss varnish in preparation for panel lining and decals
- Add Decals to Shoulders, Back of backpack, Knees and any other areas with Microsol/Microset
- Panel line with Tamiya Black panel line.
Areas of note: Studs, Fingers, Helmet, Grills of Helmet and Backpack, Skulls, Chest Aquila, Various lines on feet and back of legs - Clean up mistakes with earbud dipped in white spirits (Windsor & Newton) using light touch strokes
Stage 2 - Armor Details (Metal, Pouches, Accessories)
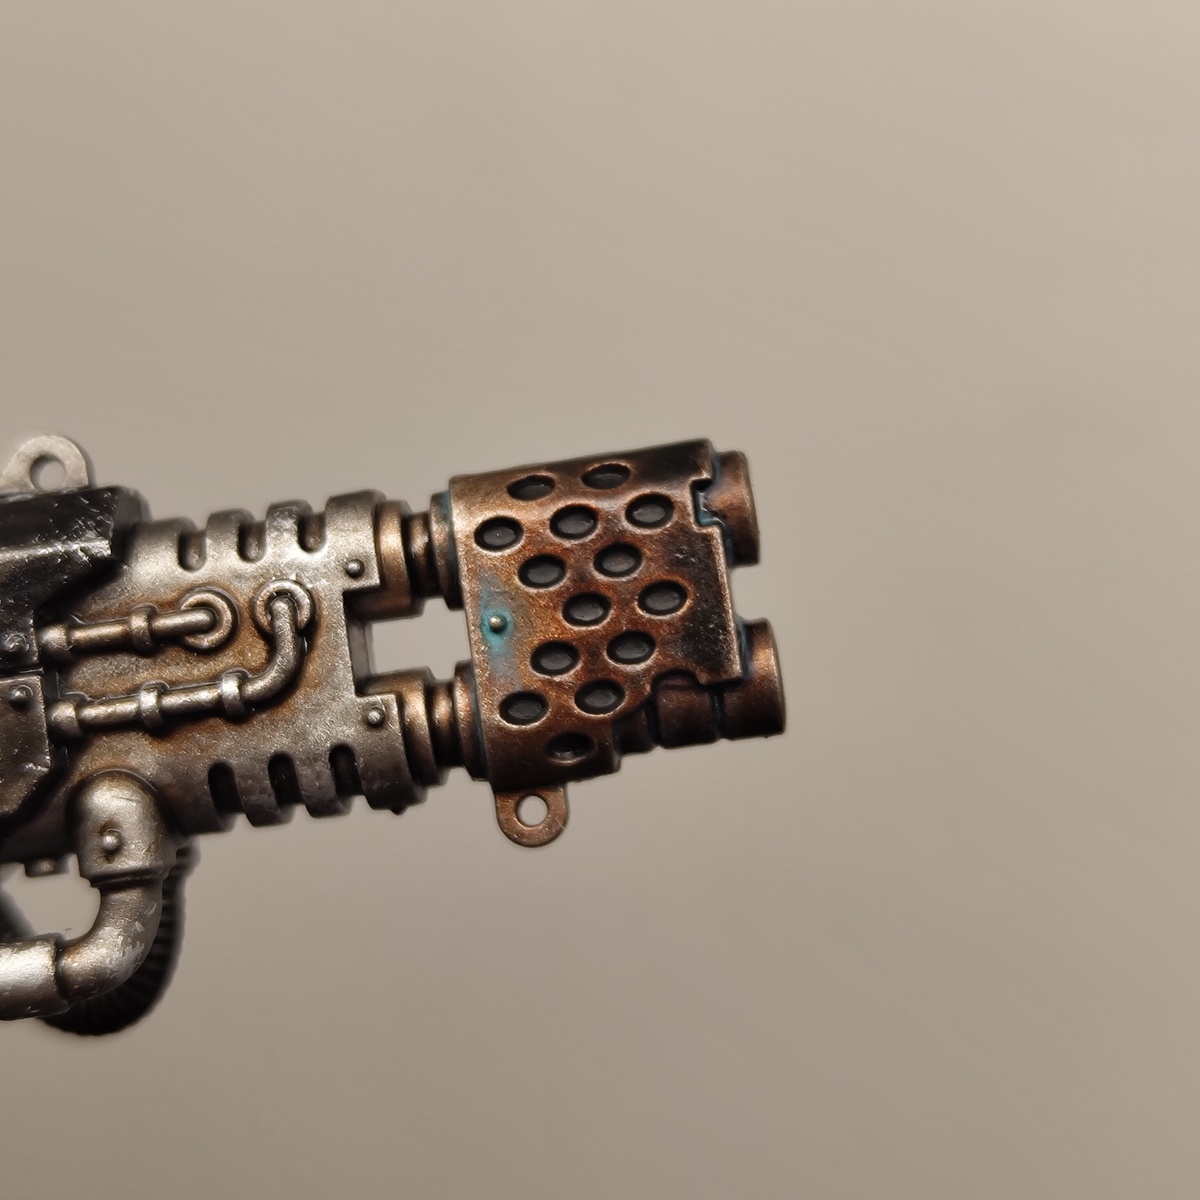
- Paint detail metals (Pistols, Boltguns, Chainblades, Grills, Tubes) and pouches in Blue Black
- Paint metallic weapon components (Pistols, Boltguns, Chainblades, Grills, Tubes) and pouches in Silver
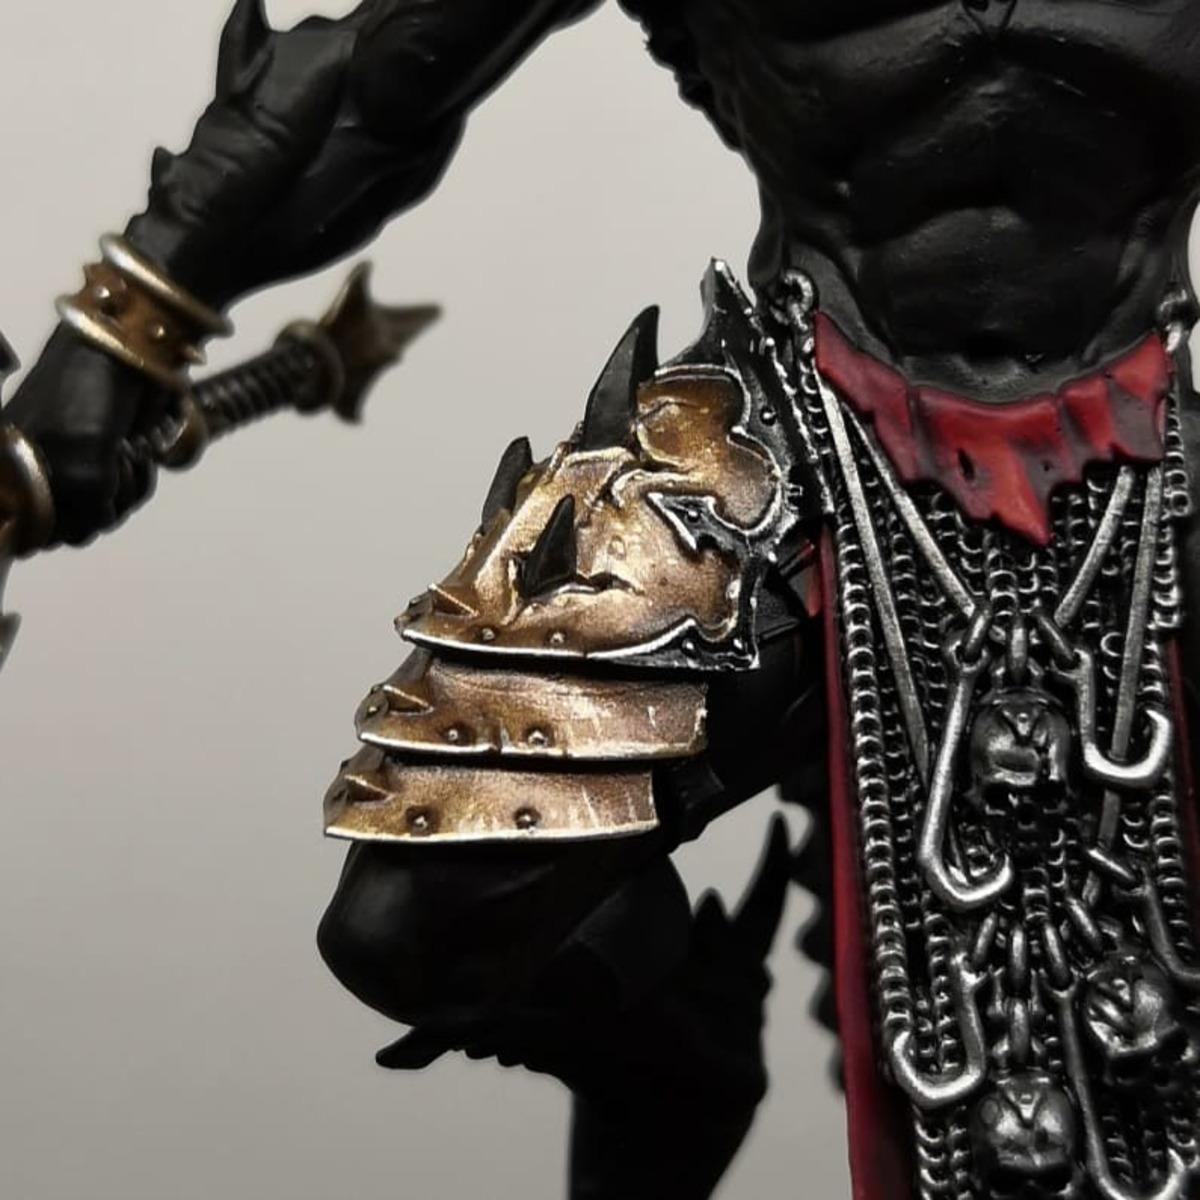
- Paint Chest Aquila and Shoulder trim with Bright Gold
- Wash details, Weapon Details, Details and Pouches with Black Wash
- Wash Gold details (Aquila, Trim Etc.) with Sepia Wash
- Edge highlight Metals (Pistols, Boltguns, Chainblades, Grills, Tubes) with Silver drybrushing where possible.
- Edge highlight Pouches/Holsters with Eshin Grey
- Edge highlight Chest Aquila and Shoulder trim with White Gold
- Edge highlight armor edges with Bold Titanium White
Stage 3 - Eye Lenses
Stage 4 - Basing
Badger Stynylrez
Base 1
- Red Brown
Citadel Painting System
Layer 1
- Eshin Grey
Monument Creature Caster Pro Acryl 6
Base 4
- 001 Bold Titanium White
- 022 Bright Ivory
- 023 Ivory
- 056 Blue Black
Metallic 2
- 029 White Gold
- 031 Bright Gold
Vallejo Game Color
Wash 2
- 72.200 Sepia Wash
- 72.201 Black Wash
Vallejo Metal Color
Base 1
- 77.724 Silver