Judge Dredd/Street Judges
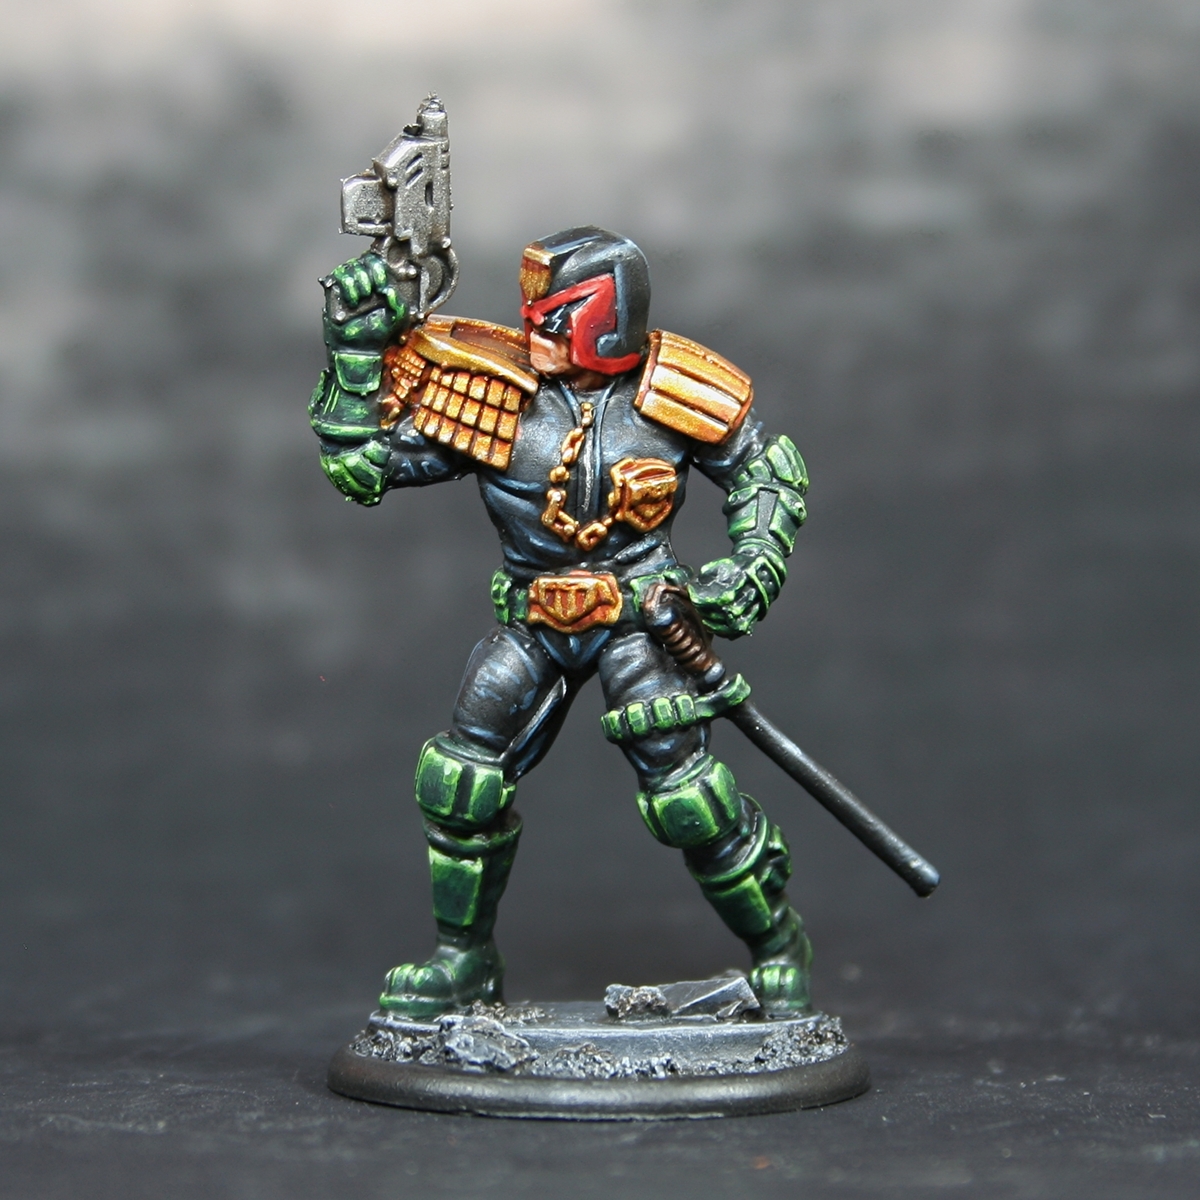
Here is how I painted the Judge Dredd miniatures, from the expansion to the Judge Dredd game from Warlord Games.
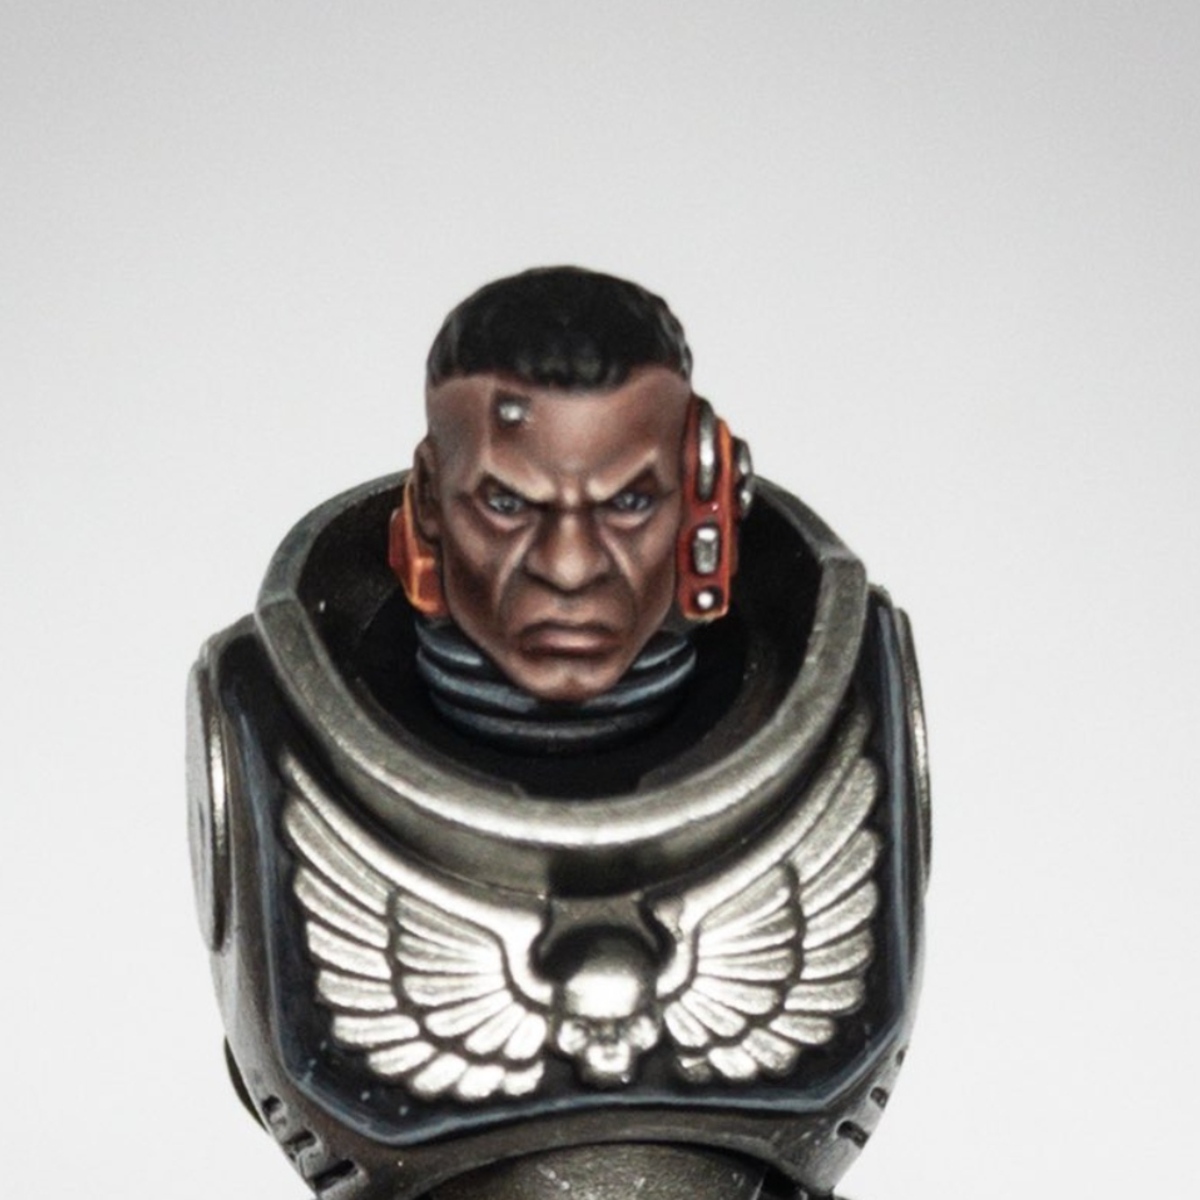
Face
- Basecoat with Cadian Fleshtone .
- Wash with Reikland Fleshshade . I the reinforced the wash in particularly deep crevices and glazed it under the lip for a little extra definition.
- Mix the Cadian Fleshtone 2:1 with Wraithbone and add some highlights to edges. I made these just a little thicker than my fine edge highlights.
- With Cadian Fleshtone and Wraithbone 1:2, add fine edge highlights.
- Finally add very selective highlights of pure Wraithbone , ensuring they cover less area that the last stage.
Black Uniform
- Basecoat with a pure Black . Whilst I used a Vallejo paint, there is no reason you couldn't use Abaddon Black .
- Add a chunky edge highlights of 2:1 Stegadon Scale Green and Abaddon Black .
- Add a fine edge highlight with pure Stegadon Scale Green . Try to keep it within the bounds of the previous highlights.
- Highlight as finely as possible, go over all of the edges with a mix of Stegadon Scale Green and Wraithbone , making these highlights smaller again.
- Add selective highlights of Celestra Grey to upward facing edges.
Black Helmet
- Basecoat with a pure Black . Whilst I used a Vallejo paint, there is no reason you couldn't use Abaddon Black .
- Add a chunky edge highlights with a mix of Dark Reaper , Kantor Blue & Black , mixed in equal amounts.
- Highlight with Dark Reaper , make these highlights finer than the previous stage, but allow yourself space to make the next stage finer.
- Mix Dark Reaper and Deepkin Flesh , then use this for fine highlights.
- Selectively highlight with Celestra Grey .
- Finally add specular highlights of a pure White .
Red Helmet Trim
- Basecoat with Mephiston Red .
- Chunky highlights with Evil Sunz Scarlet .
- Fine highlights with Squig Orange .
- Now mix some Ice Yellow (or Dorn Yellow ) into your Squig Orange and highlight smaller and smaller. I did two passes, making the second one a specular highlight of almost pure Ice Yellow .
Green Leather Equipment
- Basecoat with a 1:1 mix of Abaddon Black and Caliban Green .
- Pick out all of the raised detail and anything not tucked into a recess with pure Caliban Green .
- With Moot Green , go over all of the detail again, sticking close to edges and prominent parts. Keep the paint fairly thing and pull the brush towards the brightest parts.
- Cover an even smaller area with Moot Green . This stage should be similar to an edge highlight, but cover more area on top edges, corners and the like, just so there is room for the next two highlight stages.
- Selectively highlight corners with a 1:1 mix of Moot Green and Ice Yellow .
- Finally, finish off with specular highlights of Ice Yellow .
Gold Details
- Basecoat with Retributor Armour .
- Wash with Gore-grunta Fur , thinned with an equal amount of water. Try to pull this towards the deepest recesses and feel free to do a couple of passes/glazes to build up colour where needed.
- Darken the shading and recesses with some Cygor Brown , covering less area than in the last step.
- Tidy up the gold with Retributor Armour again, bringing back the colour where needed.
- Mix some Silver RLM01 Metallic into your Retributor Armour (around 1:1 and some highlights.
- Add much smaller highlights with Silver RLM01 Metallic .
Urban Base
- Basecoat with Black .
- Drydrush/overbrush with Eshin Grey . Go super heavy with this, covering everything that isnt a recess.
- Drybrush again with Dawnstone .
- Lightly drybrush with Administratum Grey .
- With White , drag your drybrush very lightly over raised details, so it picks up just a few prominent points.

Rookie Brushes
RookieBrushes
Aspiring miniature painter and biscuit enthusiast. Here to share my hobby and help where I can.
Citadel Painting System 21
Base 8
- Abaddon Black
- Caliban Green
- Celestra Grey
- Kantor Blue
- Mephiston Red
- Retributor Armour
- Stegadon Scale Green
- Wraithbone
Shade 1
- Reikland Fleshshade
Layer 10
- Administratum Grey
- Cadian Fleshtone
- Dark Reaper
- Dawnstone
- Deepkin Flesh
- Dorn Yellow
- Eshin Grey
- Evil Sunz Scarlet
- Moot Green
- Squig Orange
Contrast 2
- Cygor Brown
- Gore-grunta Fur
Vallejo Model Air
Base 1
- 71.063 Silver RLM01 Metallic
Vallejo Model Color
Base 3
- 70.858 Ice Yellow
- 70.950 Black
- 70.951 White
