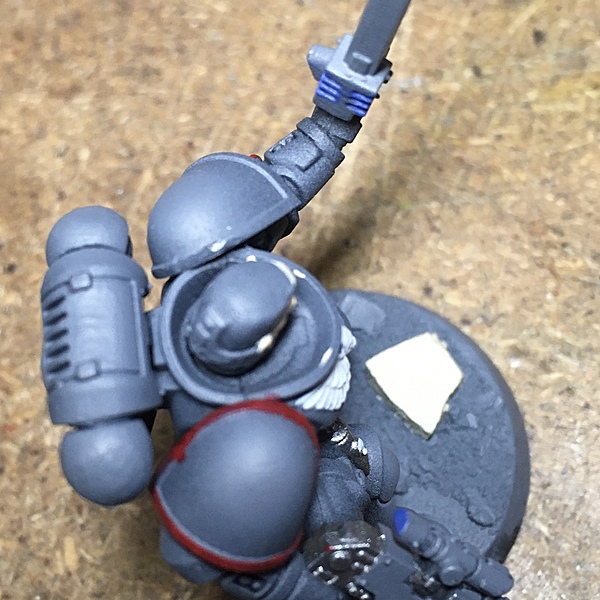
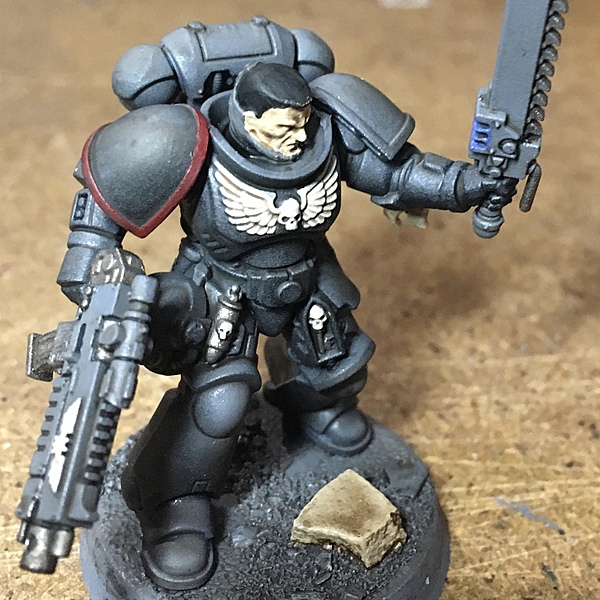
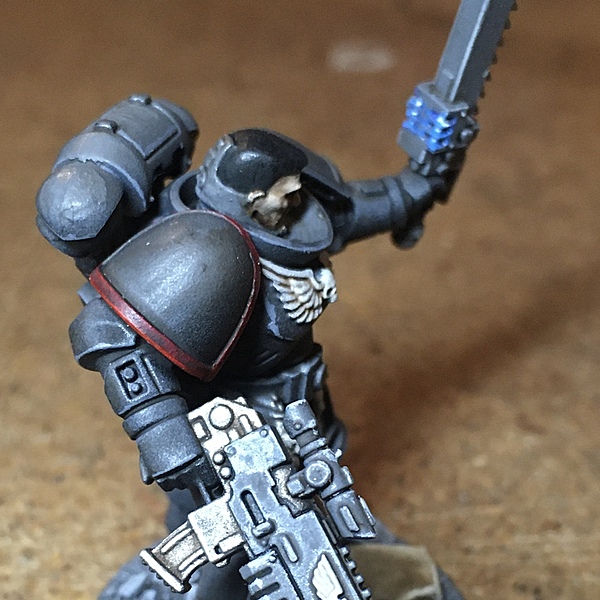
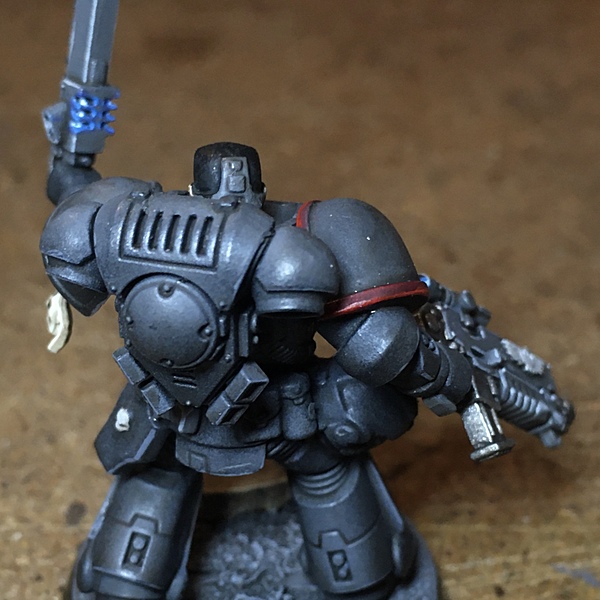
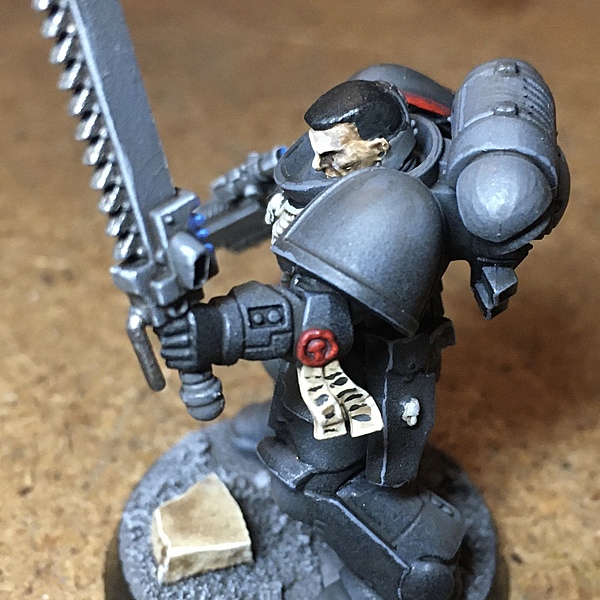
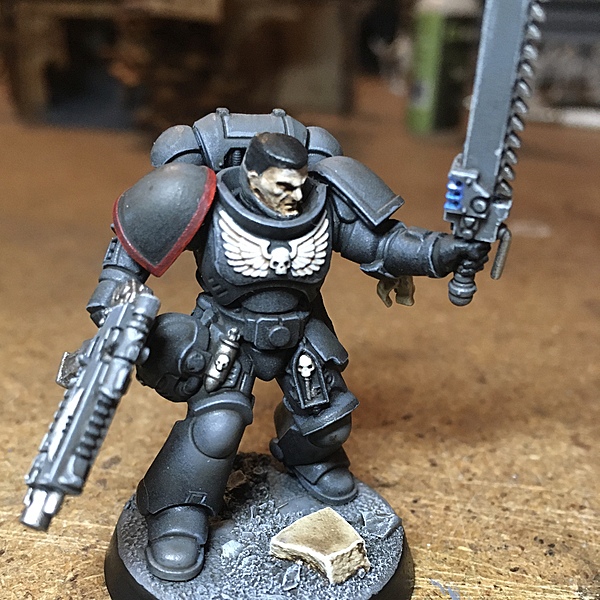
Raven Guard
The lighter colors (skeleton bone, stone golem and corpse pale) are darkened more by the wash than the darker colors, that's why i use the same color for highlighting those lighter colors instead of using a lighter highlighting color as i do for the darker colors.
Preparation step two is to saturate the base texture with it's high surface area, which can be messy and spill on an already painted miniature. The small amount of black spill on the base in step 3 will be easily fixed in basecoating step one without having to paint the entire base.
Preparation
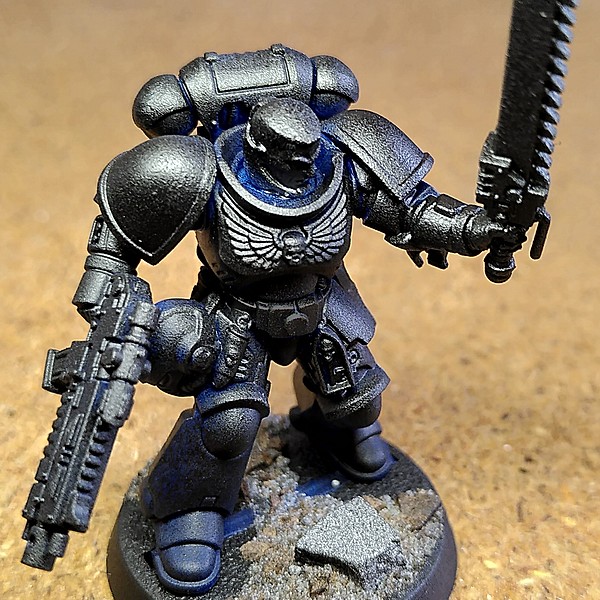 Lightly prime with Matt Black Undercoat or airbrush
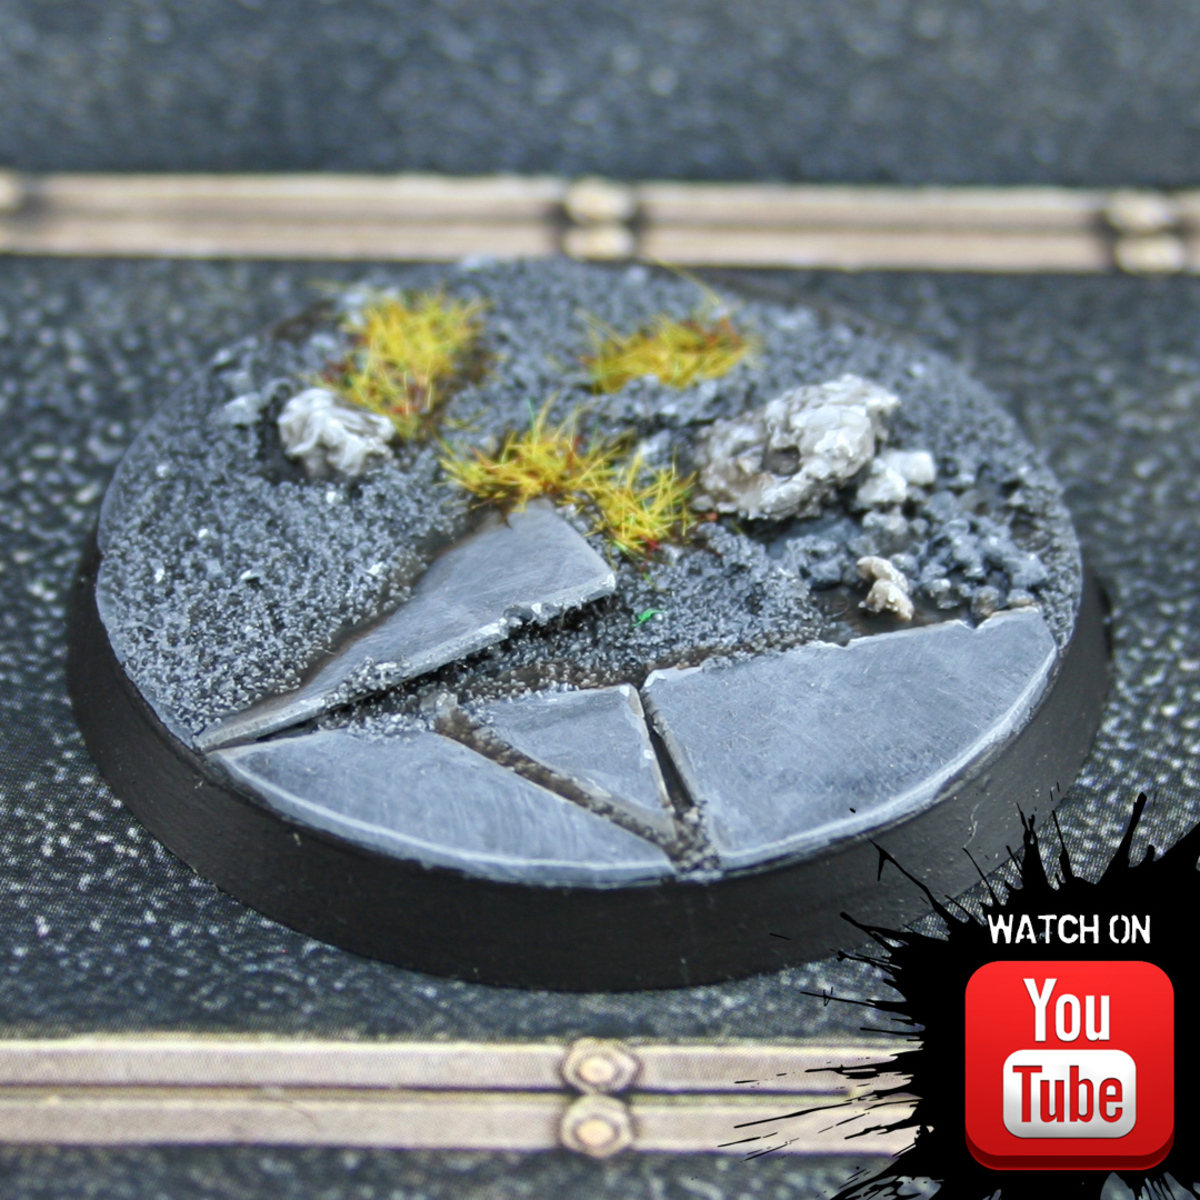
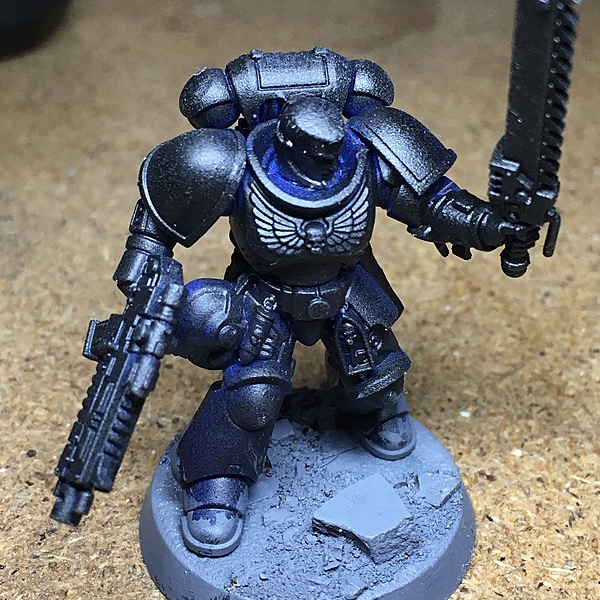 Paint textured base with Uniform Grey or Neutral Grey
 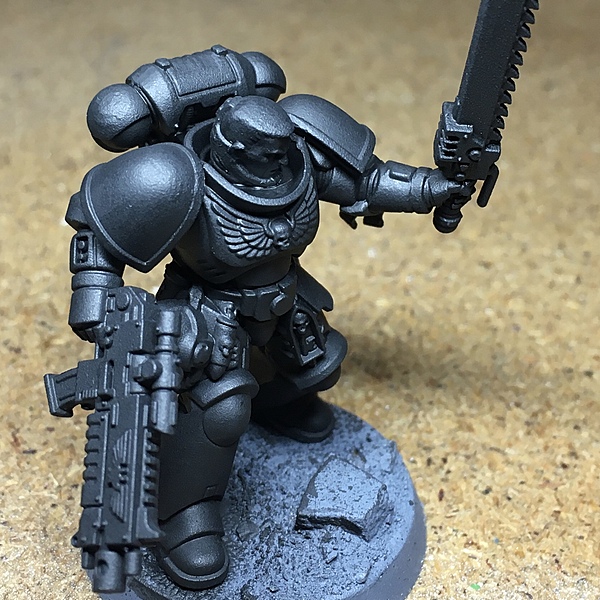 Paint everywhere you didn't reach or cover with spraying Matt Black , try to get as little as possible on the base, but be sure to cover the feet
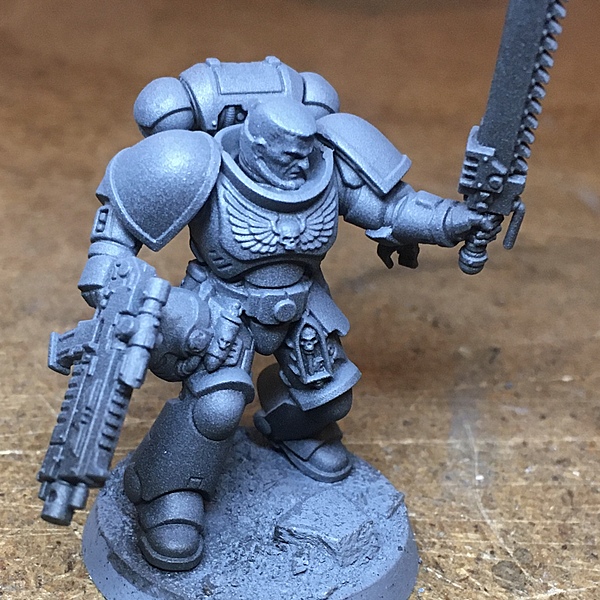 Zenithal highlight with Uniform Grey or Neutral Grey
 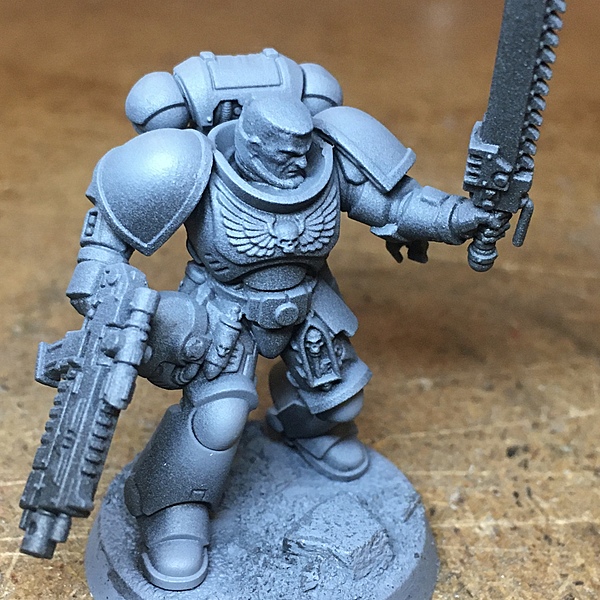 Airbrush dot highlights on rounded parts (helmet, shoulder pads, power pack exhausts, kneecaps, calves, boot caps) with Uniform Grey or Neutral Grey
Basecoating
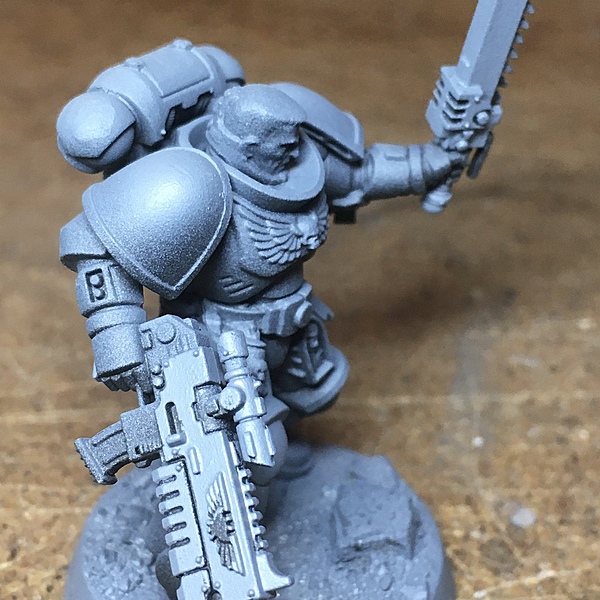 Paint weapons and base with Uniform Grey or Neutral Grey
 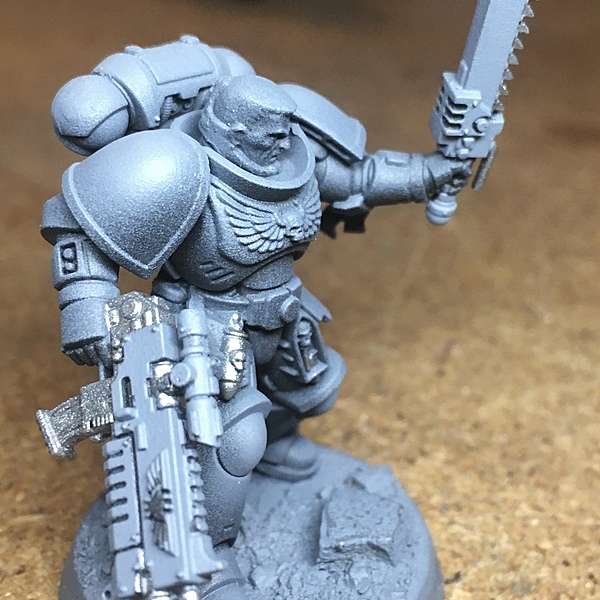 Paint chains, barrels, blades, grenades, etc with Gun Metal
 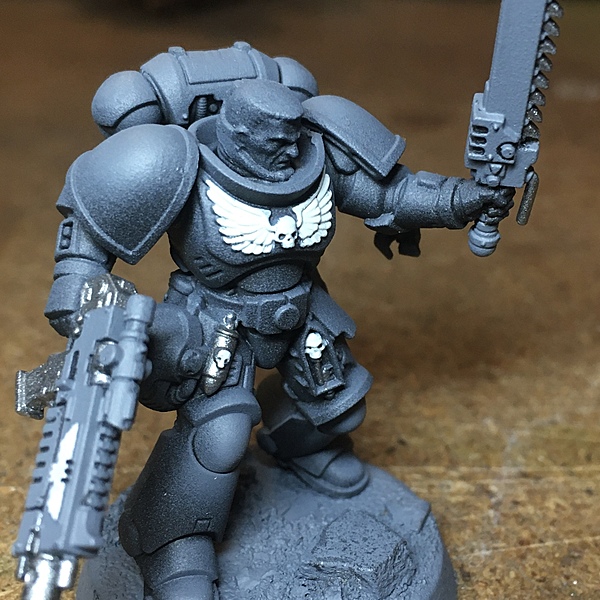 Paint heraldics (aquilla, skulls, etc) with Stone Golem , this will take two to three coats to cover.
 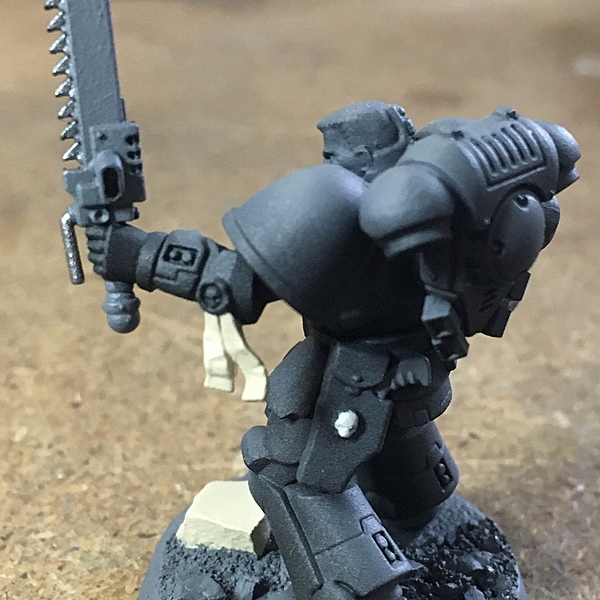 Paint parchment and ruin details on the base with Skeleton Bone , this will take two coats to cover.
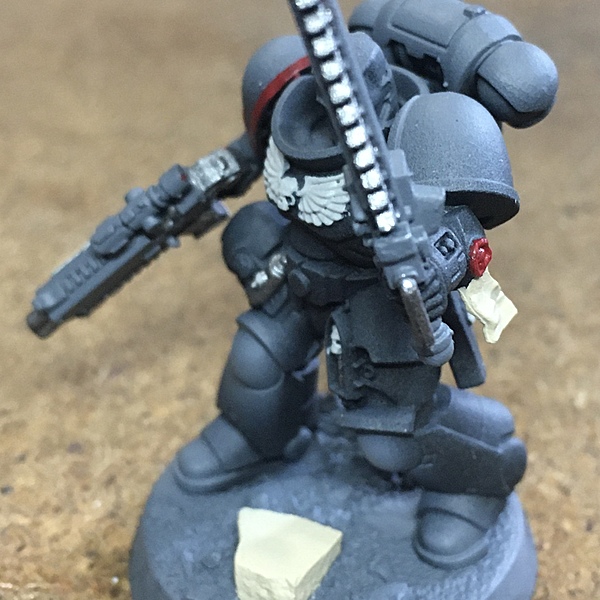 Paint lenses, wax seals, (and right shoulder trim for 3rd company) Dragon Red , this will take two coats to cover.
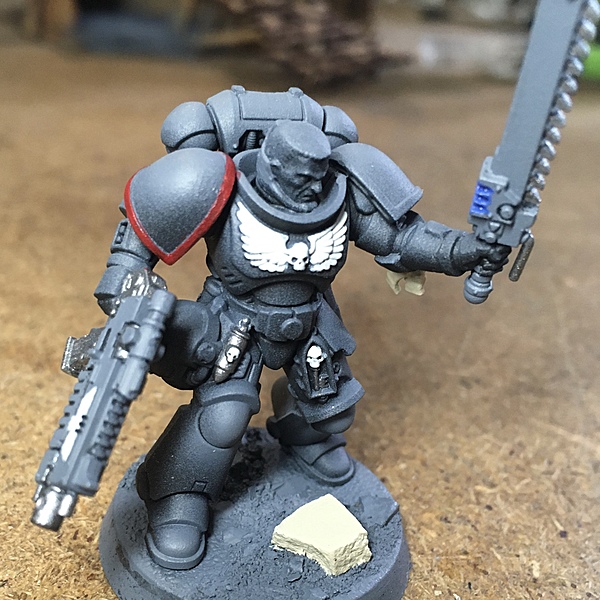 Paint plasma, energy details (chainsword) and some lenses (scopes) with Ultramarine Blue
 - Paint Binocular lenses with Greenskin
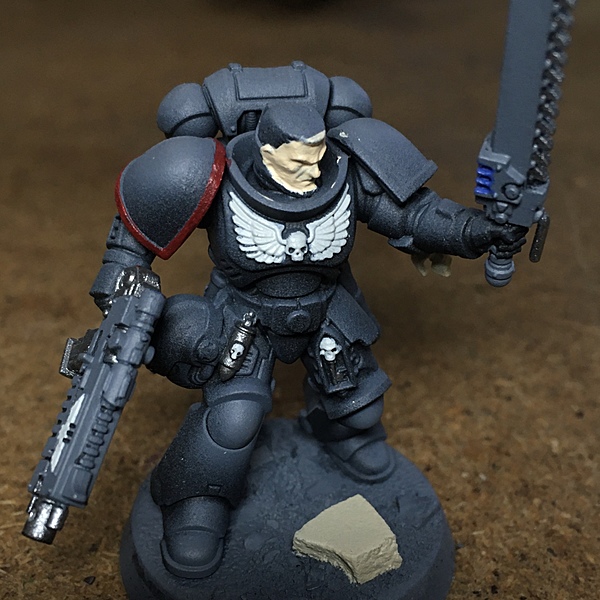 Paint skin with Corpse Pale , this will take at least three coats to cover.
 To match the armor color, put a drop of Black and Neutral Grey next to each other and mix a gradient between them.
 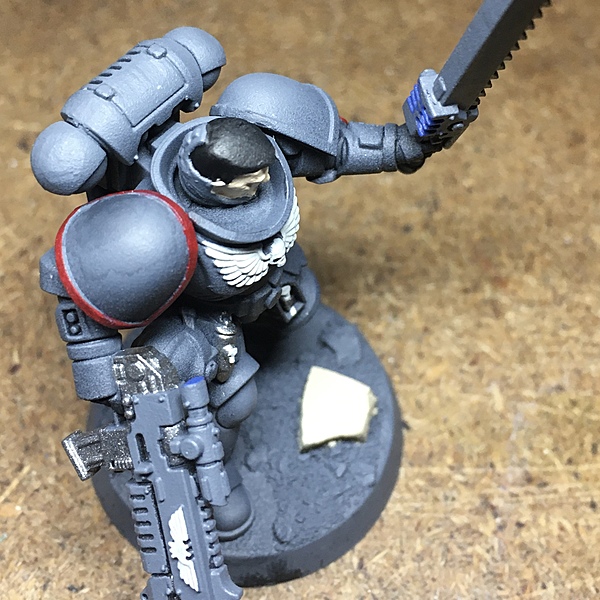 Use the respective colors to fix all of the little spills and mistakes and paint the hair Black
Wash
Highlighting
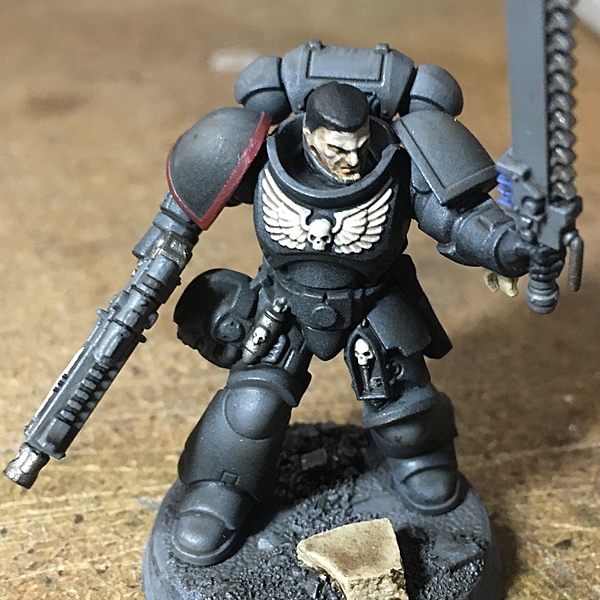 Highlight skin with Corpse Pale , repeat washing with Agrax Earthshade and highlighting multiple times to get some layering and to get the eyes dark
Highlight green lenses with another layer of Greenskin , then Goblin Green and a dot of Matt White
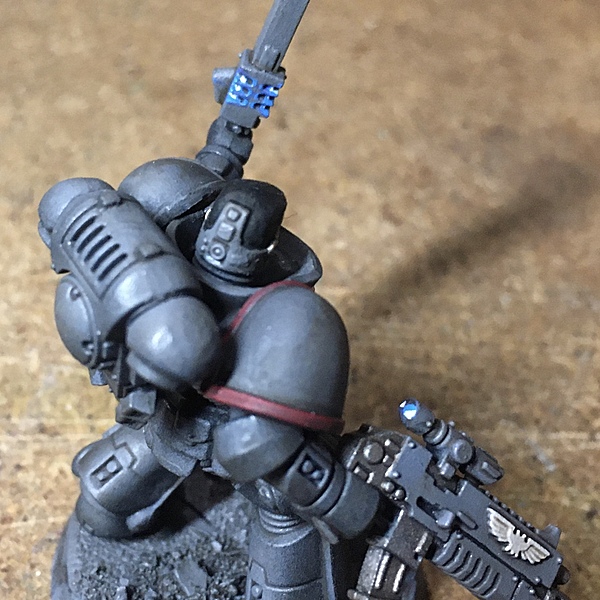 Highlight blue parts with another layer of Ultramarine Blue , then Crystal Blue and a dot of Matt White (put the white dot on the darkest blue on lenses)
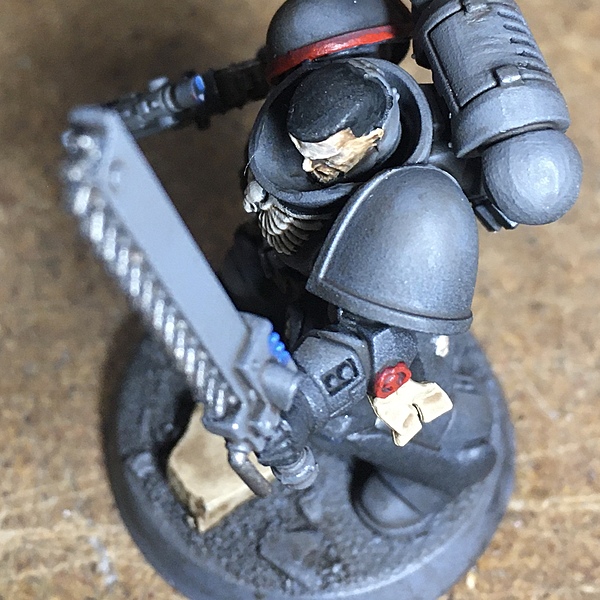 Highlight lenses, wax seals and red trim with Pure Red
 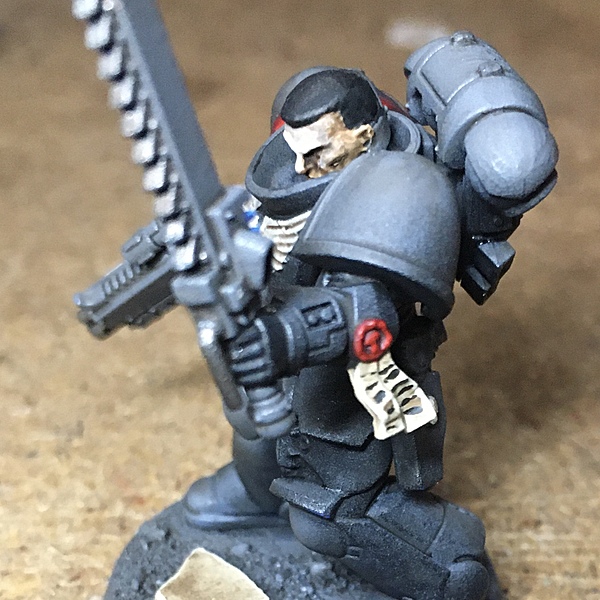 Highlight parchment and ruin details on the base with Skeleton Bone , then add writing with Matt Black
 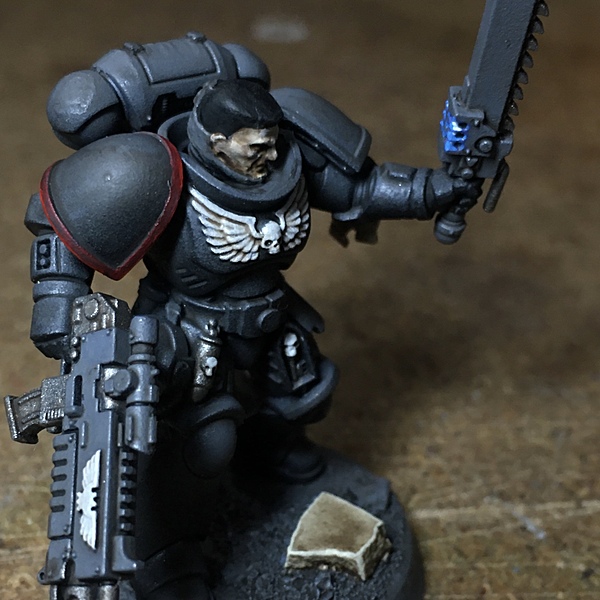 Highlight heraldics with Stone Golem
 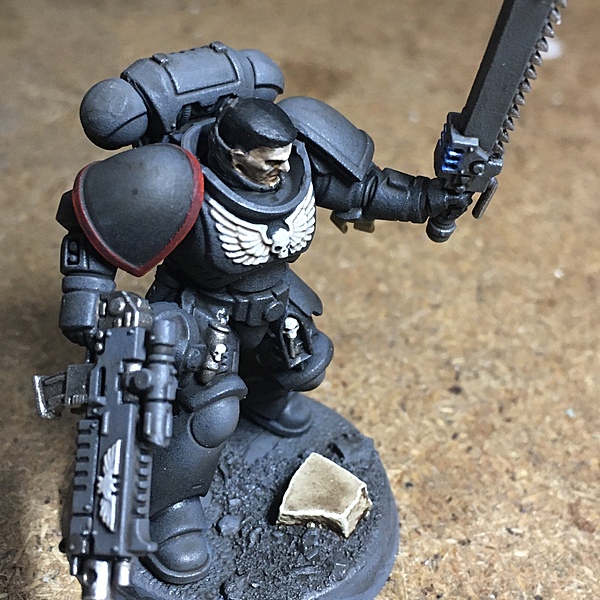 Highlight metallic parts with Plate Mail Metal
 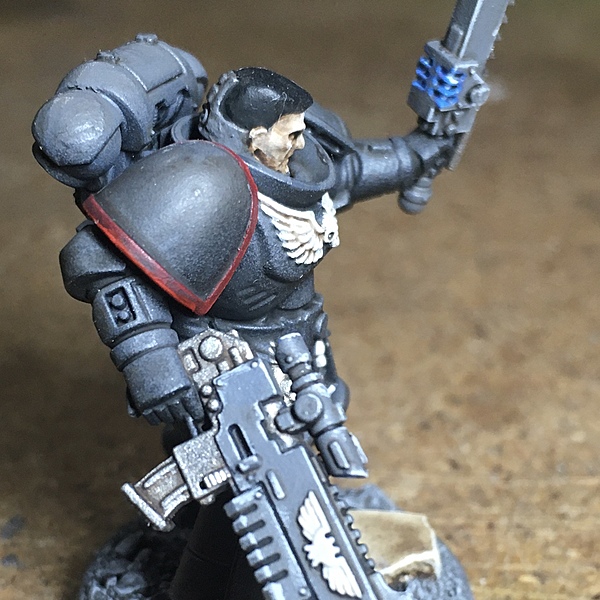 Highlight weapons and drybrush grey base texture with Ash Grey
 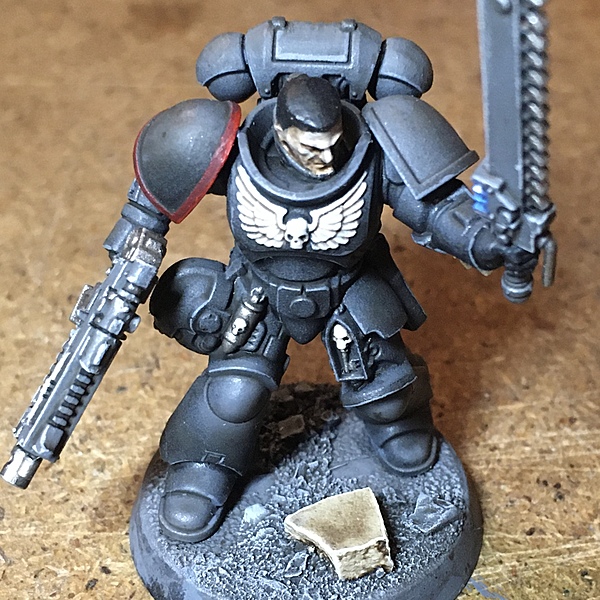 Highlight armor with Uniform Grey or Neutral Grey . Since this is the most demanding step and most easy to mess up, I decided to skip it on some of my troops. Here I only highlighted parts I felt confident not to mess up.
 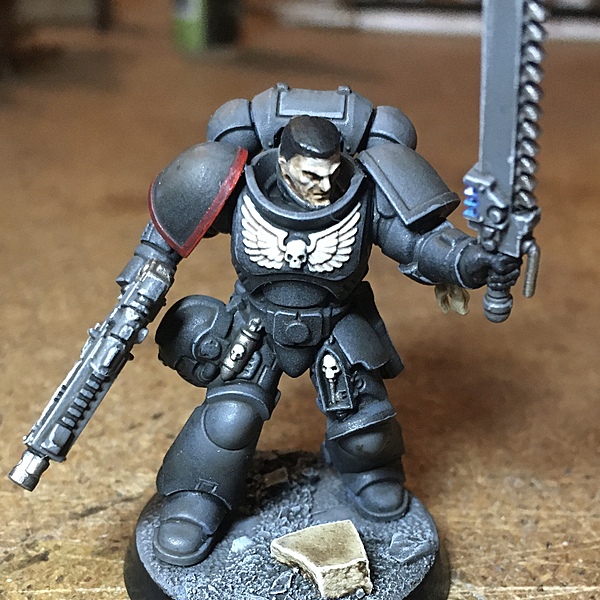 Finally, paint the rim of the base Black
Done
Citadel Painting System
Shade 1
- Agrax Earthshade
The Army Painter Warpaints 16
Acrylic 13
- Ash Grey
- Corpse Pale
- Crystal Blue
- Dragon Red
- Goblin Green
- Greenskin
- Matt Black
- Matt White
- Pure Red
- Skeleton Bone
- Stone Golem
- Ultramarine Blue
- Uniform Grey
Metallic 2
- Gun Metal
- Plate Mail Metal
Spray 1
- Matt Black Undercoat
Vallejo Model Color
Base 2
- 70.950 Black
- 70.992 Neutral Grey

