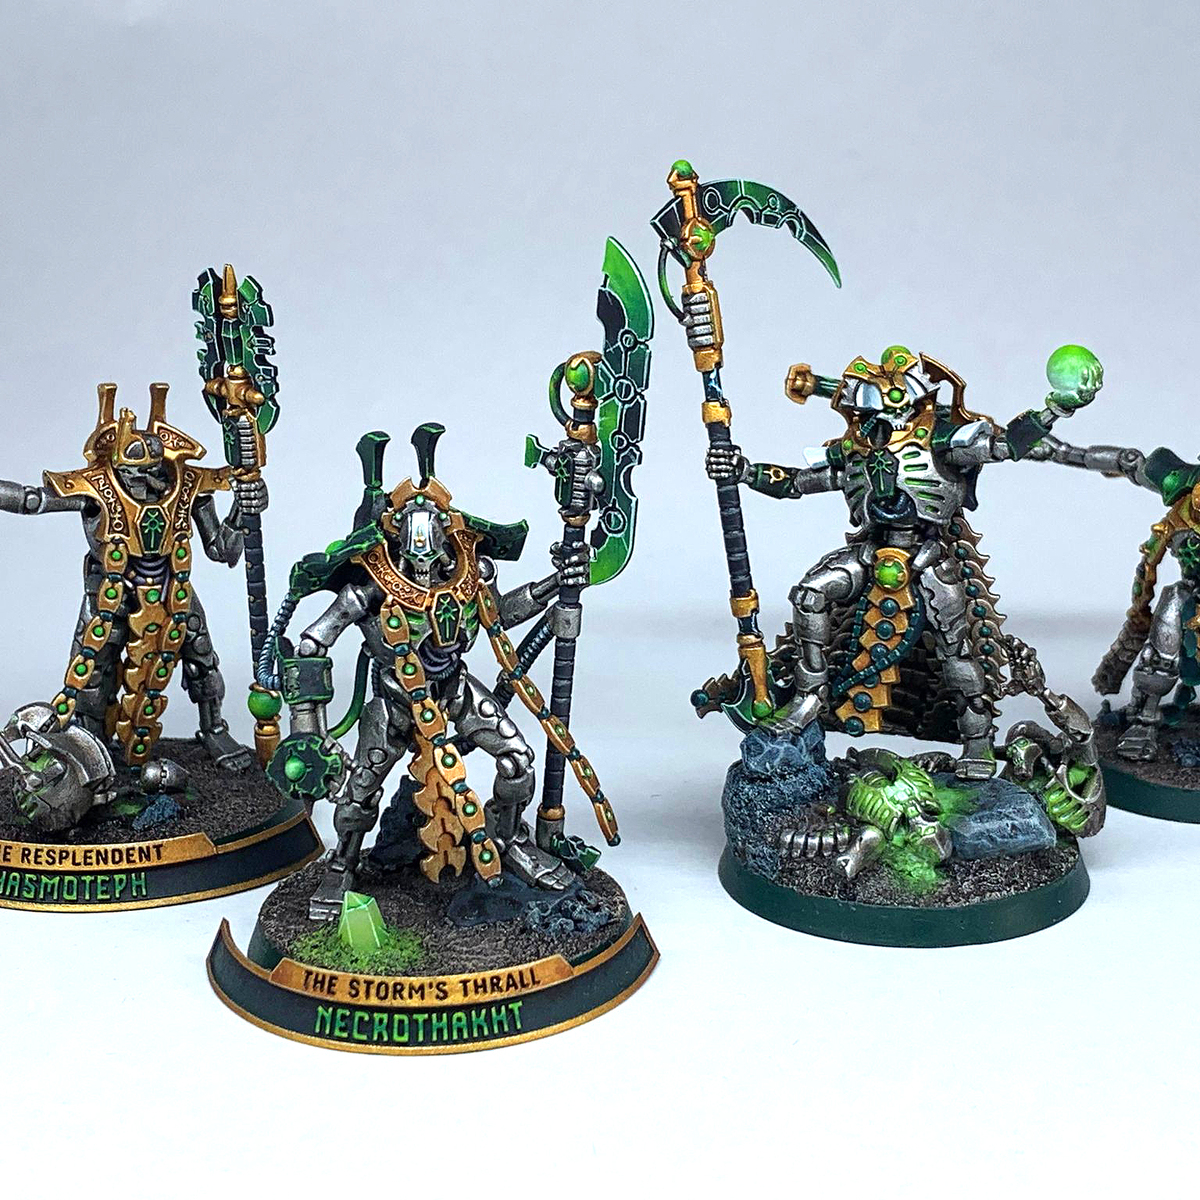
- Start with Warplock Bronze over the entire model.
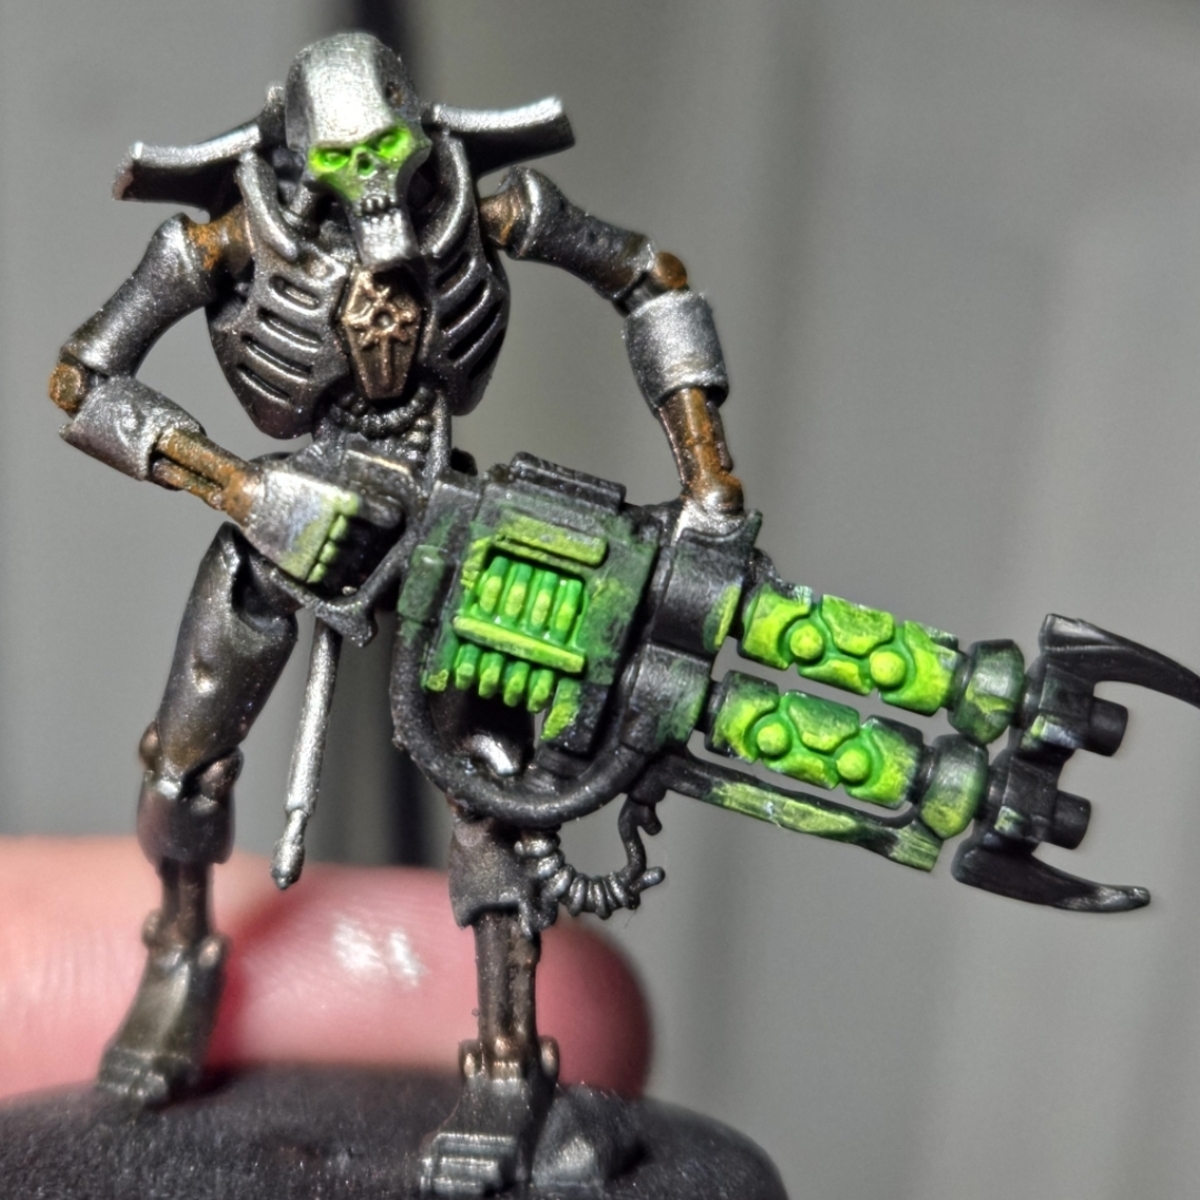
- Do a heavy drybrush with Runelord Brass over the torso/limbs. Avoid the joints where able.
- Coat Iron Warriors over the shoulders, claws, and other elements that you want to be iron.
- Paint the weapons and cables black.
- Try to avoid getting any paint onto the blades or any glowing objects for now.
- Put Ratling Grime thinned 50/50 into the joints.
- Do a light drybrush of Brass Scorpion over the upper parts of the limbs and top of the torso. Bias the focus points and the areas meant to catch the most light.
- Do a light drybrush of Ironbreaker over the iron parts.
- Recess shade the brass parts with Reikland Fleshshade mixed 50/50 with Nuln Oil .
- Wash the brass parts all over with Reikland Fleshshade thinned 1:3 with Lahmian Medium after the previous coat has dried.
- Apply Agrax Earthshade to the deepest recesses and most shaded areas. Apply this less generously than the reikland/nuln shade.
- Recess shade the iron parts with Agrax Earthshade
- Wash the iron parts with Nuln Oil .
- Add a few dashes of Wyldwood onto the lowest and deepest parts of the iron.
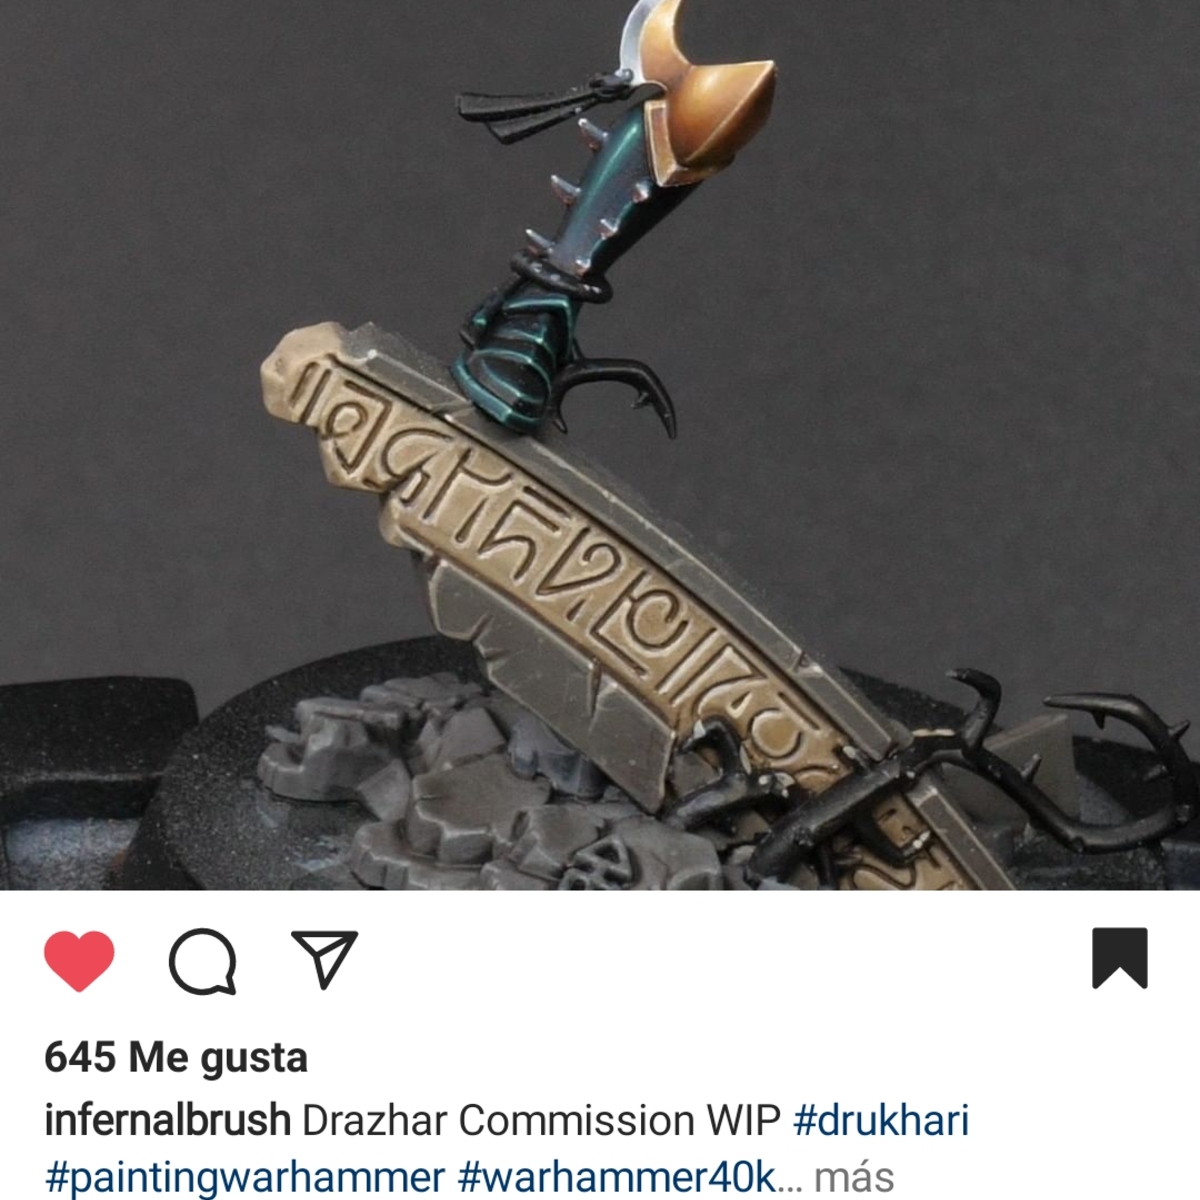
- Going back to the cables, do a coat of thinned Caliban Green , keeping it away from the very ends of the cables.
- Now do a glaze with Warpstone Glow , building it up to be brightest near the center.
- Do a final highlight with a line of Tesseract Glow .
- Edge highlight the iron with Stormhost Silver and the brass with Canoptek Alloy . You can also go over some of the joints and inner bits with a Runelord Brass edge highlight, but it's not necessary.
- For glowing objects start with a basecoat of white.
- Do a coat of Warpstone Glow . Thin this down and let it get into the recesses, and keep applying thin coats until it's even.
- Drybrush white over the glowing object, getting a good amount of it on the object itself but also catching the nearest edges and surfaces.
- Do a coat of Tesseract Glow over the object. Then do just a glaze of it over the nearby edges and surfaces.
- Do a thin glaze of yellow on the center area of the glowing object.
- Dot pure white in the center.
- For the blades specifically, start with a basecoat of white as well, mostly concerning yourself with getting it into the grooves and the sharp end of the blade.
- Tesseract Glow into the grooves.
- Using Warpstone Glow , do a light glaze. Do this in sections, starting from the areas furthest from the sharp end and moving towards the sharp end.
- Repeat with Caliban Green , but don't go as far as the Warpstone Glow layer.
- Drybrush white over the blade, starting from the sharp end and moving away.
- Paint the white with Tesseract Glow and then glaze it past the white.
- Do a light yellow glaze on the blade edge.
- Edge highlight the blade with white.
.jpg)


.jpg)