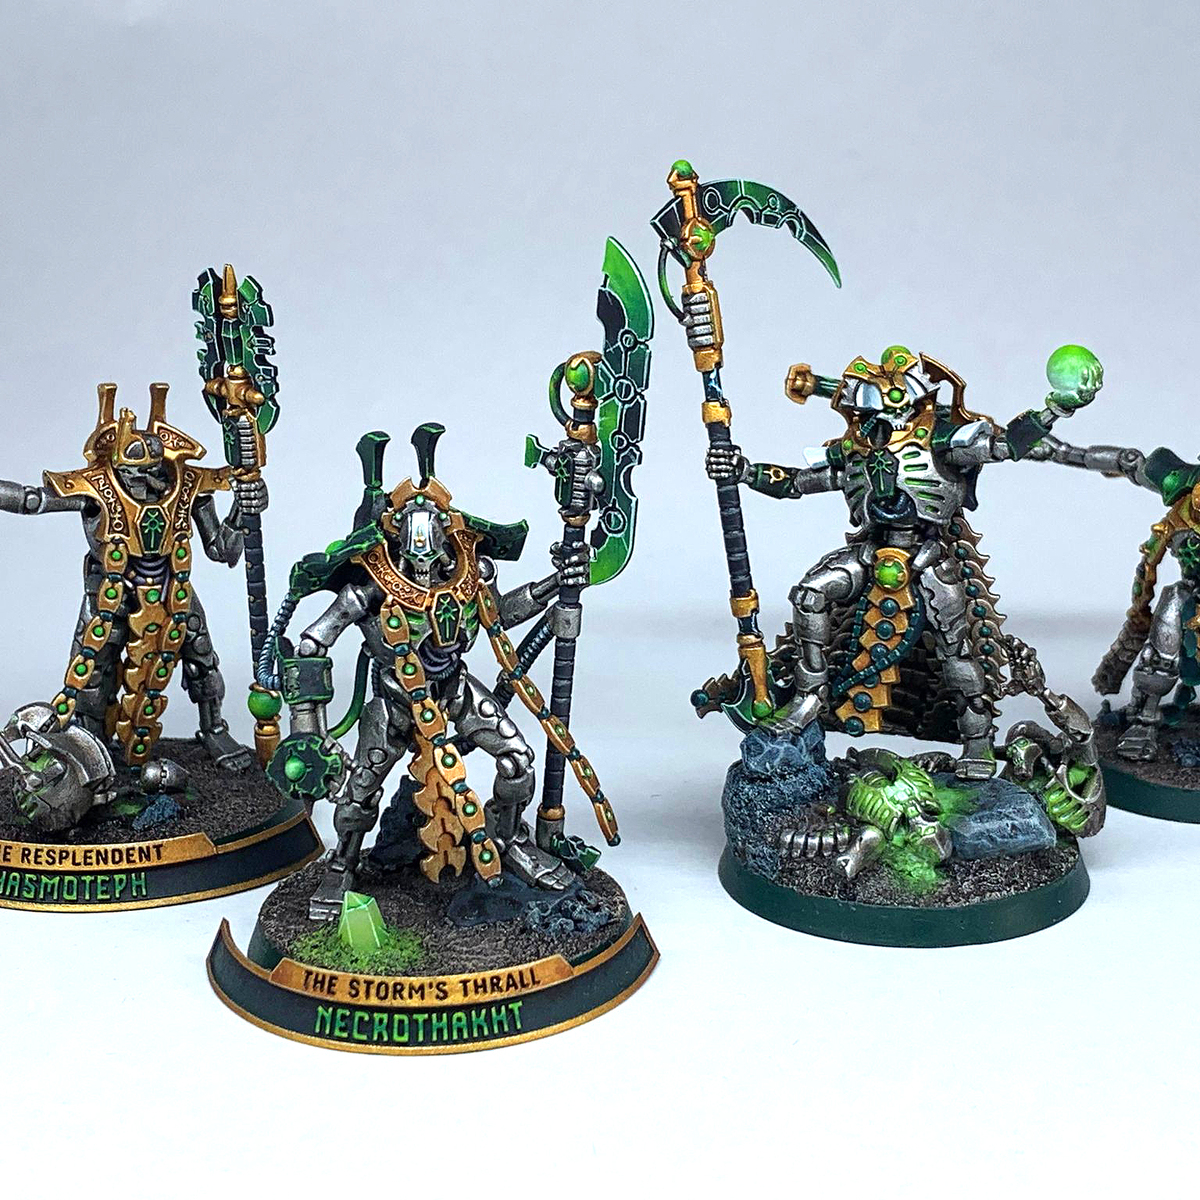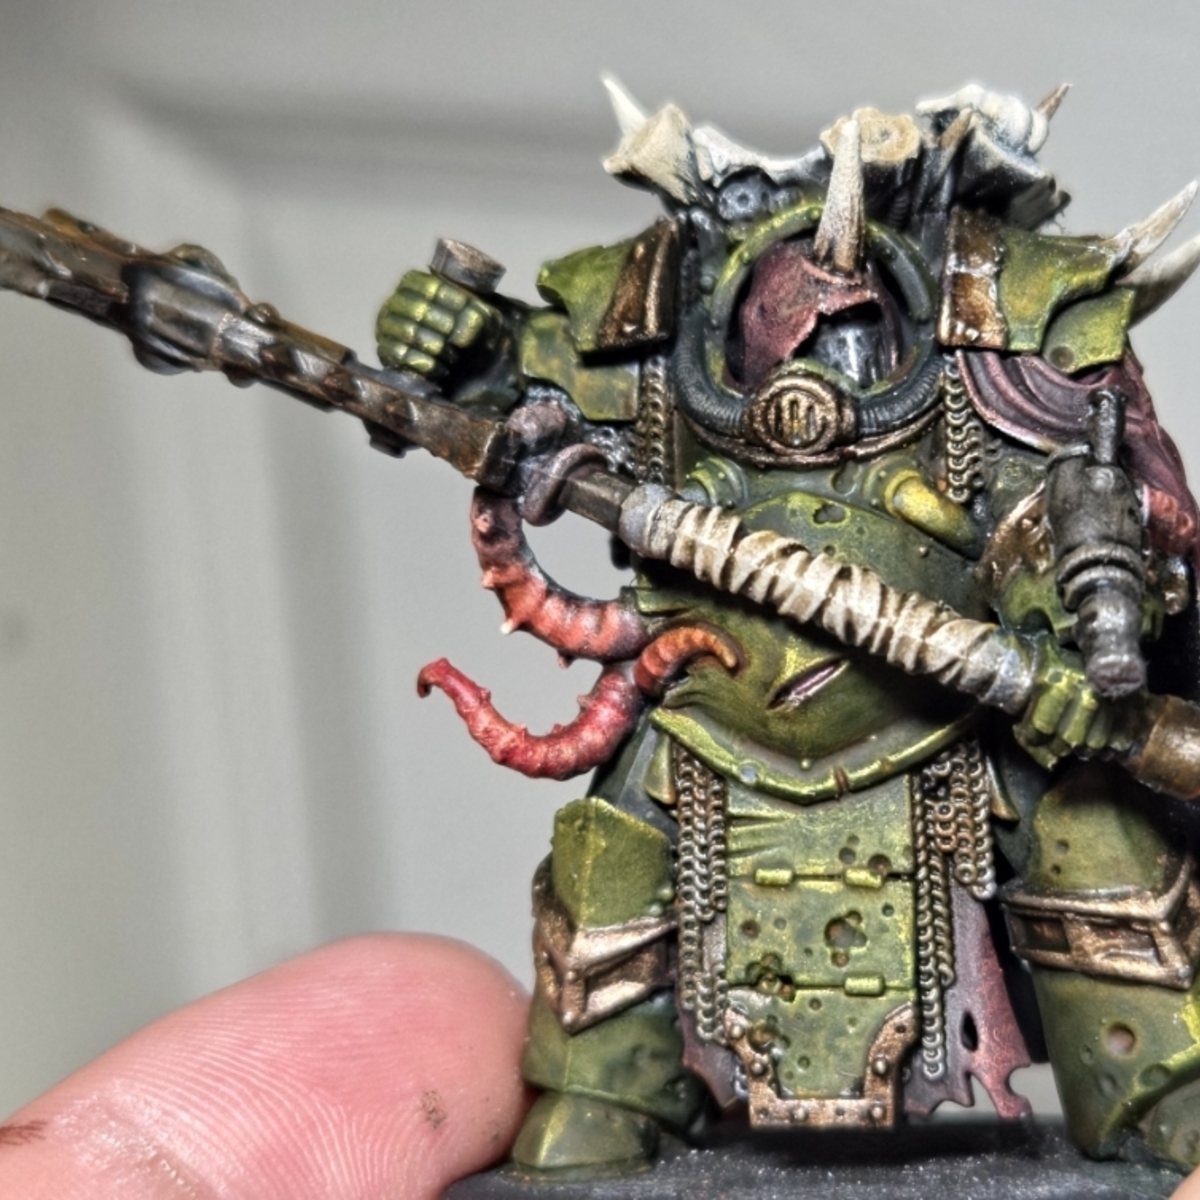
WIP
UNDERPAINT
- Prime in black or dark grey.
- Do an all over drybrush/zenithal/sponge with a medium grey, i.e Ash Grey
- Sponge some light grey onto the raised surfaces and edges, i.e Company Grey
- Drybrush Wraithbone onto the cloak, leather, wood, flesh, bone, etc. This should go pretty heavy onto the bone and flesh in particular. You can just brush it on the dark grey recesses if you cant reach.
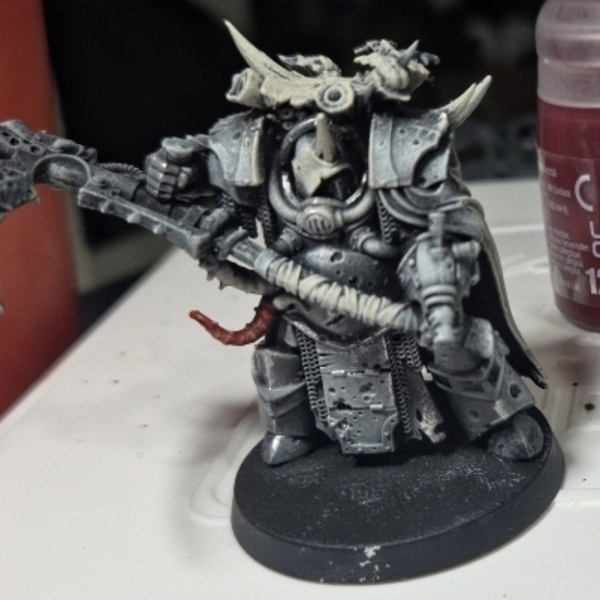 Using Stormhost Silver , edge highlight the armor plates. If you want to add some extra weathering and chipping, you can use a textured sponge and stipple on separate layers of Leadbelcher and Rhinox Hide lightly.
ARMOR
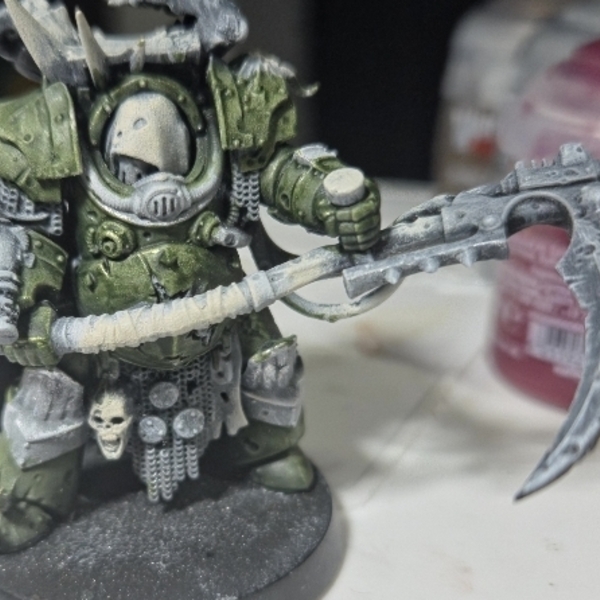 Hit the armor with a coat of Militarum Green .
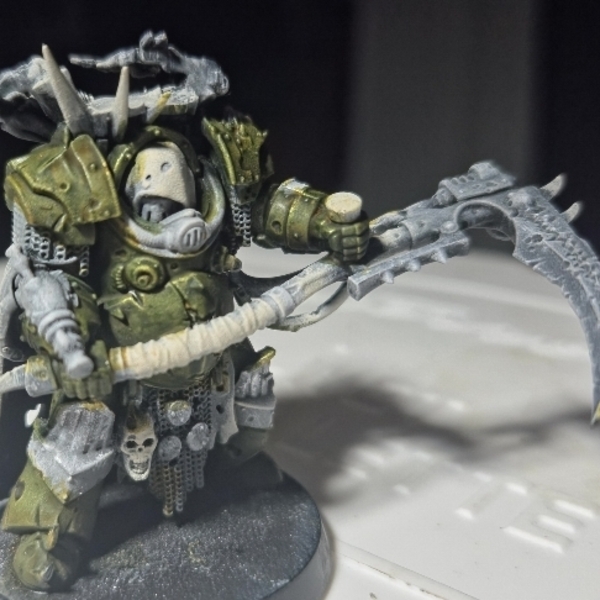 Mix 3 parts Lahmian Medium , 2 parts Pallid Bone , and 1 part Nazdreg Yellow . Wash the armor, making sure the mixture gets into all the recesses/pits.
- The inner back plating gets a coat of Ratling Grime .
TRIM
- Runelord Brass .
- Wash with Agrax Earthshade .
- Edge highlight with Runelord Brass .
- Dot the bolts with Leadbelcher .
BONE
- Coat with Pallid Bone .
- Wash with Agrax Earthshade . Get this pooling up near the root.
- Drybrush Wraithbone .This should be fairly light, meant to catch the edges and tip. The final result should be a gradient from the root of the bone to the tip.
FLESH
- All the fleshy bits like the tentacles, tongues, and tubes get hit with some thinned Flesh Tearers Red . You don't want an intense red, just a tint. The color will get handled in the following steps.
- For the tentacles and flesh pipes, wash Reikland Fleshshade over the red
- For wounds, add some extra layers of Flesh Tearers Red .
- For the tongue, add Volupus Pink .
PUSTULES
- Trace a ring around the boil with Typhus Corrosion .
- Hit the typhus and the boil with a coat of Nazdreg Yellow followed by Agrax Earthshade .
- Take a small dot of Wraithbone straight from the pot and glob it on the top of the boil. You want this to dry thick enough that it leaves a raised bump.
METAL
- Start with Leadbelcher .
- Sponge some Typhus Corrosion onto the metal. Bias the areas where rust pools most. For added effect, let it dry and do additional passes with the typhus, building it up in certain areas.
- Drybrush Ryza Rust , gravitating towards the areas with the most rust buildup.
- Hit all of the metal and rust with Nuln Oil .
- Edge highlight with Stormhost Silver .
WEAPONS
- My basecoat depends on the weapon. Go based on how you feel. I usually give the bolters an initial coat of Leadbelcher while the blight weapons get Runelord Brass .
- Go over the weapon with Ratling Grime .
- Pick out some details to bring back with whatever base metallic you used. i.e keeping the bolter barrel painted with Leadbelcher . You can use a drybrush for this too for a nicer effect.
MISC
- Any fabric gets hit with Dusk Red .
- Coat leather with Hardened Leather .
- Wood gets a coat of Wyldwood thinned.
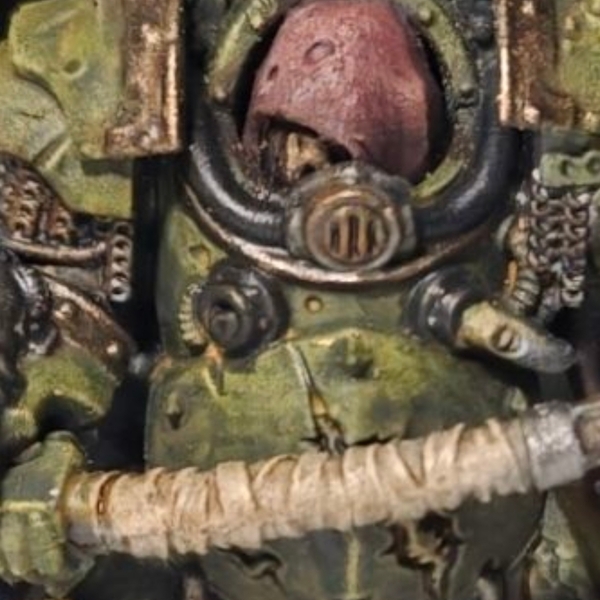 Any white paper/cloth/wraps should get a 50/50 thinned wash of Agrax Earthshade .
- For faces and exposed skin, do Reikland Fleshshade . Glaze just a little bit of Nazdreg Yellow over this after it dries.
FINISHING TOUCHES
- Do an all over coat with a gloss varnish.
- Do an all over coat with a matte varnish.
- Extra awesome really cool optional step: Add some extra effects here. Blood For The Blood God in and around the open wounds. Disgusting Slime on any of the blight and slime stuff. UHU glue on the tongue.
- Brush over whatever you added in the last step with gloss varnish.
Citadel Painting System 18
Base 4
- Leadbelcher
- Rhinox Hide
- Runelord Brass
- Wraithbone
Shade 3
- Agrax Earthshade
- Nuln Oil
- Reikland Fleshshade
Layer 1
- Stormhost Silver
Dry 1
- Ryza Rust
Technical 3
- Blood For The Blood God
- Lahmian Medium
- Typhus Corrosion
Contrast 6
- Flesh Tearers Red
- Militarum Green
- Nazdreg Yellow
- Ratling Grime
- Volupus Pink
- Wyldwood
The Army Painter Speedpaint 2.0
Speedpaint 3
- Dusk Red
- Hardened Leather
- Pallid Bone
The Army Painter Warpaints
Effect 1
- Disgusting Slime
The Army Painter Warpaints Fanatic
Acrylic 2
- Ash Grey
- Company Grey
.jpg)


.jpg)