BODY
- Basecoat with Runelord Brass .
- Use a makeup sponge to highlight the runelord with Brass Scorpion . Keep it away from the inner areas of the limbs and body.
- The center area of the head can get a thin, even layer of Retributor Armour . It's best to do this only on models like the overlord or warden. On other models you can either skip this step or opt for a very light drybrush on the face/top of the head.
- Recess shade with Reikland Fleshshade . This doesn't have to be clean or even.
- After that dries, do an all over wash with Reikland Fleshshade thinned 1:1 with medium.
- Do another recess shade with Agrax Earthshade after that dries, more conservatively than the first recess shade.
- Edge highlight with Sycorax Bronze .
JOINTS AND INNER PARTS
- Apply Black Templar thinned 1:1 with lahmian medium.
- Apply Ratling Grime .
- For certain parts like the spine tips or the skorpekh destroyer claws, do a drybrush of Leadbelcher and a highlight of Stormhost Silver . For the joints themselves, just do an edge highlight with Leadbelcher .
ARMOR
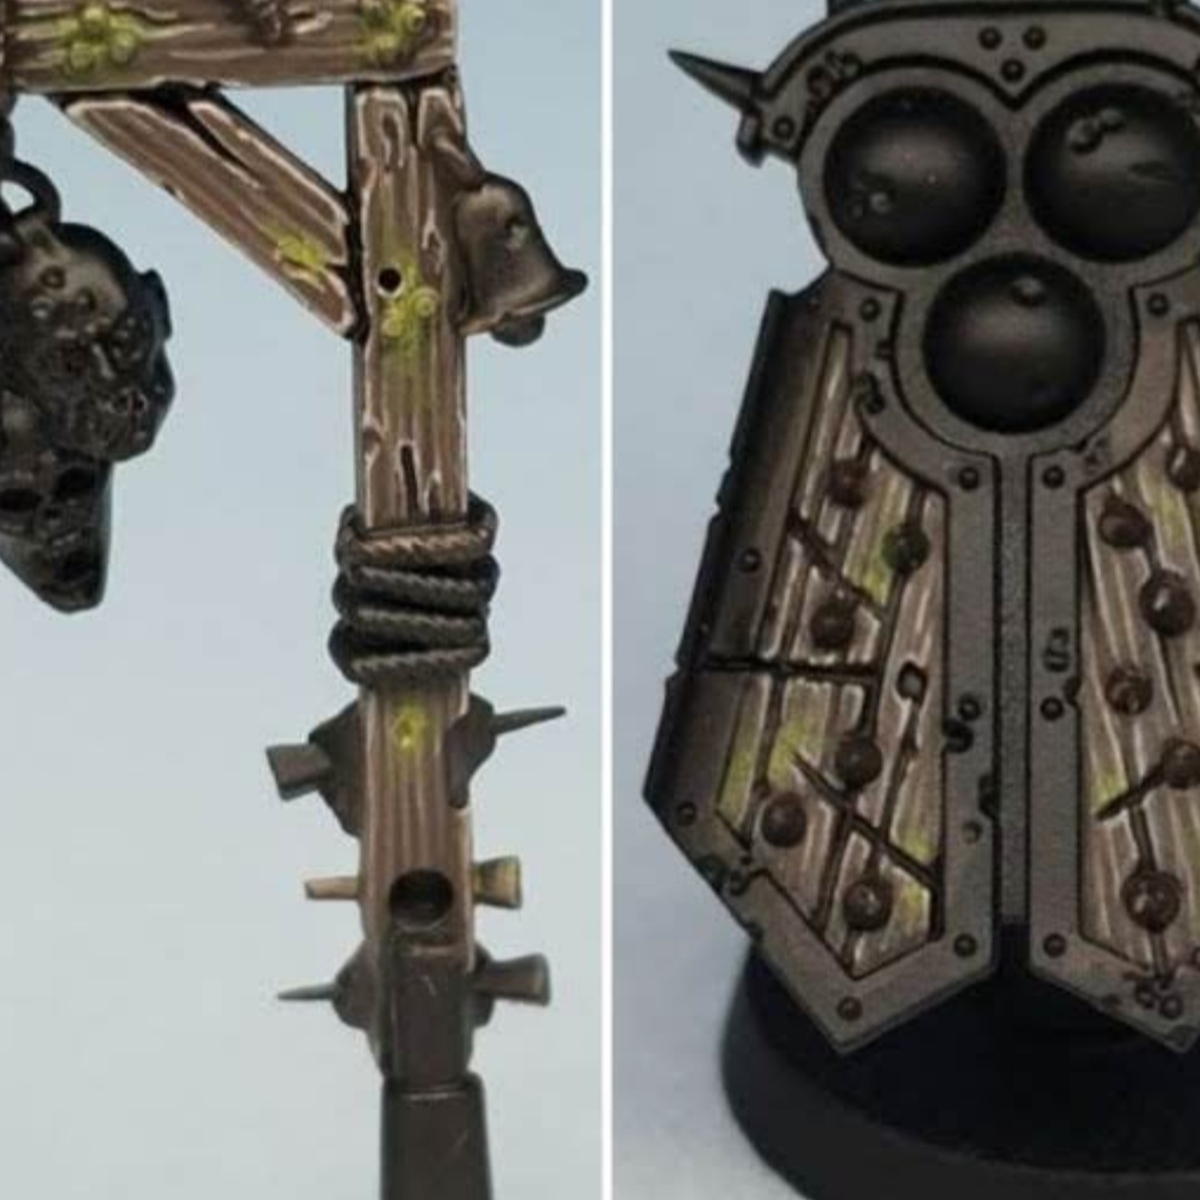
- Basecoat Iron Warriors .
- Makeup sponge drybrush highlight Leadbelcher .
- Wash with Nuln Oil .
- Recess shade with Agrax Earthshade .
- Edge highlight Stormhost Silver .
DECOR
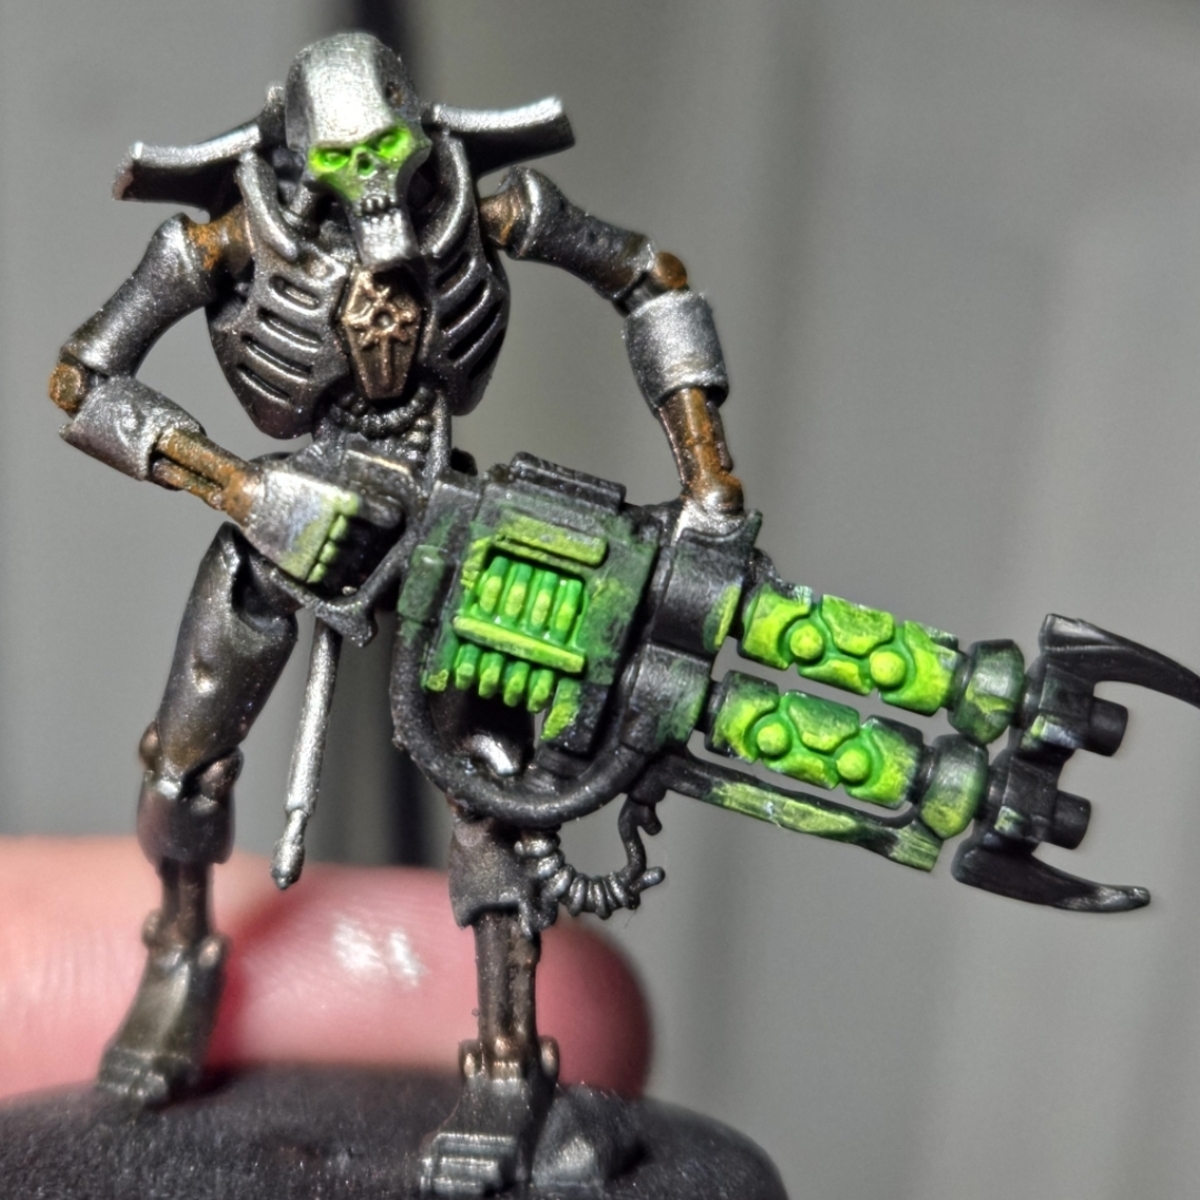
- Base Canoptek Alloy .
- Wash Reikland Fleshshade .
- Stipple Agrax Earthshade
- Highlight Stormhost Silver .
WEAPONS
- One even coat of Black Templar .
- Light pass over of Typhus Corrosion across most of the bottom half of the weapon.
- After it dries, do a second pass Typhus Corrosion that's heavier and more focused on recesses and crevices. There should be a "gradient" where the typhus is most thickly applied at the bottom and none on the top.
- Drybrush stipple Ryza Rust on the spots with the most typhus buildup.
- Wash with Ratling Grime .
- Edge highlight with Iron Warriors .
GLOW
- Base with white.
- Layer with Moot Green . Thin it down a bit and let it get into the recesses.
- Drybrush white heavily over the glowing object and the nearest edges.
- Do another pass of white drybrushing but with less paint, feathering it around the white from the previous step and making a gradient.
- Super light highlight with Flash Gitz Yellow . You can use a qtip or other really small tool to stipple just a little bit of this onto the object. You can also do a nice light edge highlight on any edges that are really close to the object.
- Apply Tesseract Glow . Paint this directly onto the glowing object, then just glaze it over the surrounding drybrushed areas. For the largest glowing objects, you can lightly glaze this over some of the further surfaces that might reflect this.
- Dot the very center with white.
CABLES
- Base with Abaddon Black .
- Glaze Caliban Green on almost the entire cable, but not the very ends.
- Glaze Warpstone Glow more towards the center.
FINISHING TOUCHES
- Add Ratling Grime into the ribs.
- Coat sigil with Black Templar .
- Edge highlight with Stormhost Silver .
Base
6
-
Abaddon Black
-
Caliban Green
-
Iron Warriors
-
Leadbelcher
-
Retributor Armour
-
Runelord Brass
Shade
3
-
Agrax Earthshade
-
Nuln Oil
-
Reikland Fleshshade
Layer
7
-
Brass Scorpion
-
Canoptek Alloy
-
Flash Gitz Yellow
-
Moot Green
-
Stormhost Silver
-
Sycorax Bronze
-
Warpstone Glow
Technical
2
-
Tesseract Glow
-
Typhus Corrosion
Contrast
2
-
Black Templar
-
Ratling Grime
Sign up to compare these recipe requirements to your own paint collection