
IMAGE IS AI, I HAVE NOT TRIED THIS YET BUT I CAN'T FIND HOW TO SET RECIPE PRIVATE.
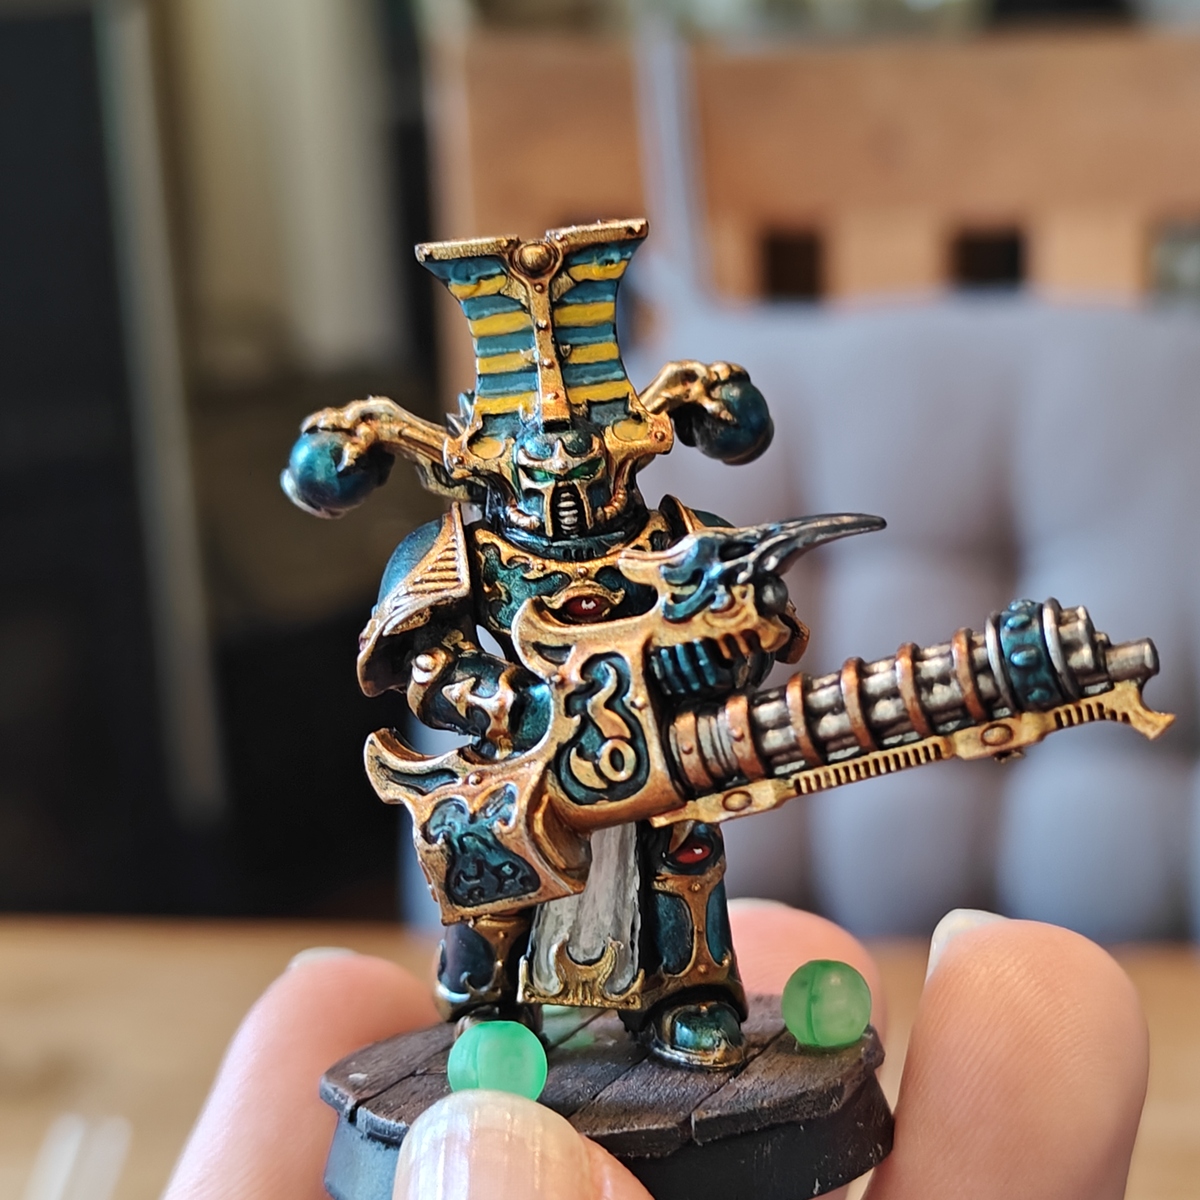
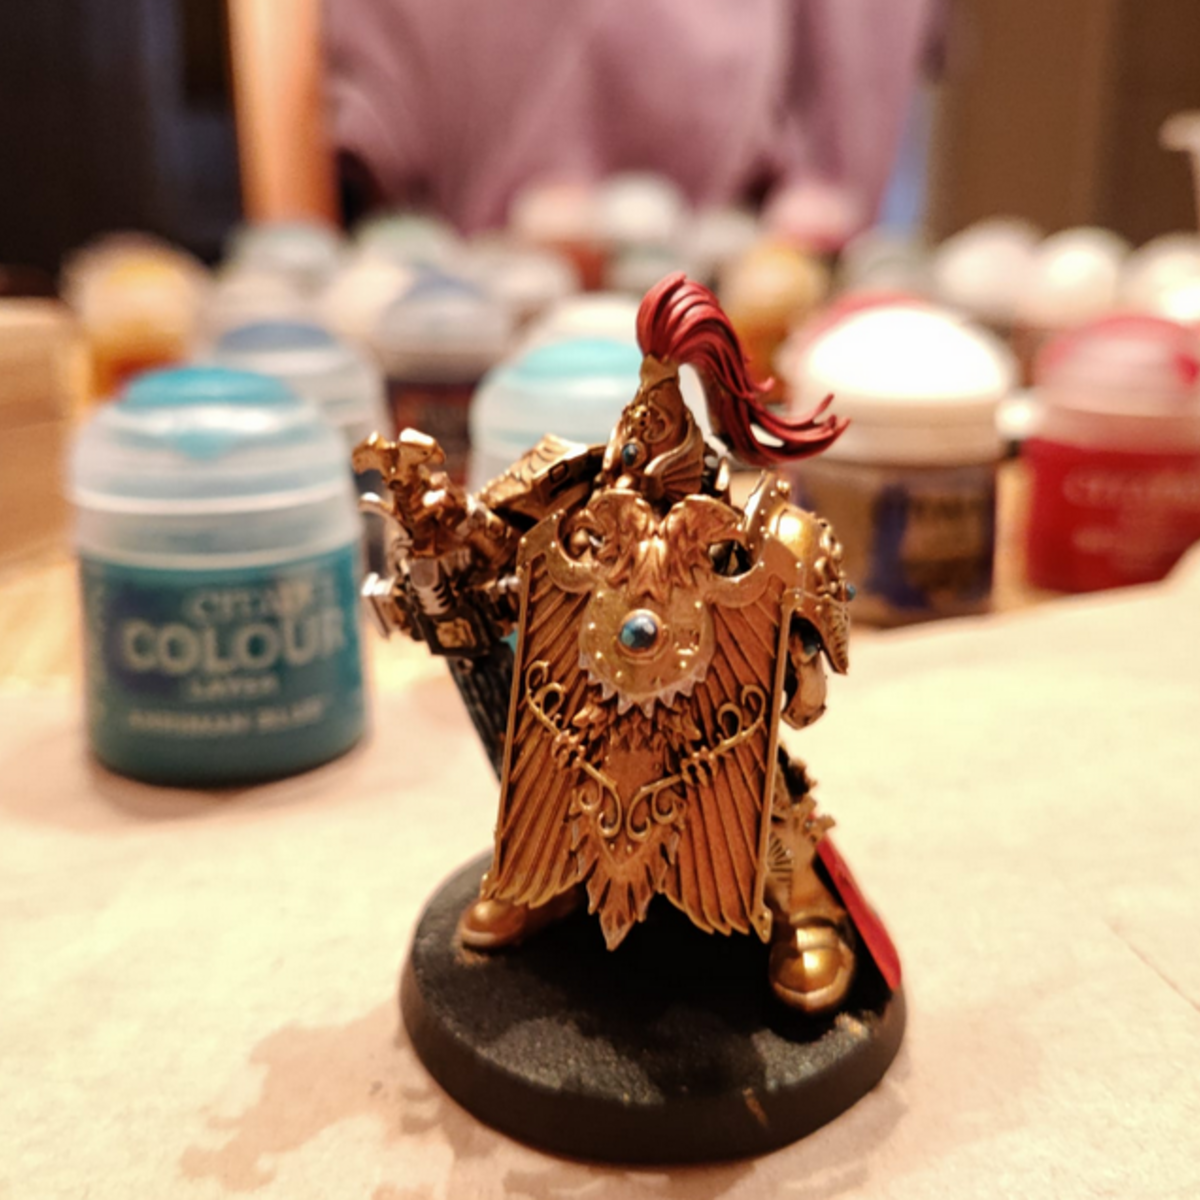
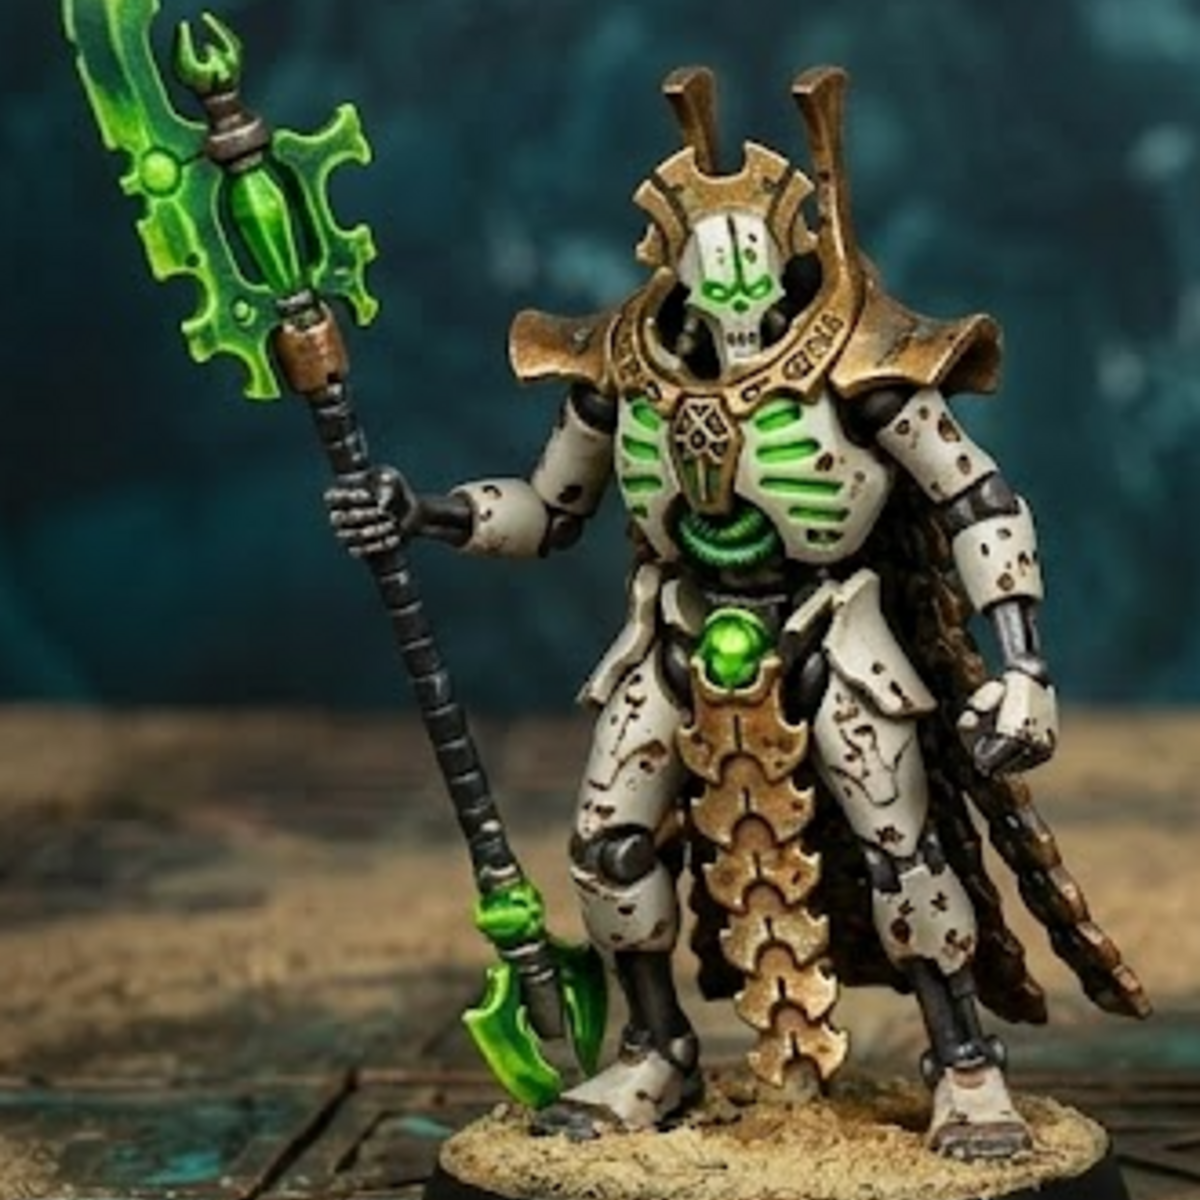
Cold, ceramic-like armor suffering from volumetric decay, paired with tarnished royal gold elements.
Model
- Undercoat: Prime the model completely with White Scar to ensure a smooth, bright foundation for the pale armor.
- Shadow Base: Mix Rhinox Hide and Rakarth Flesh in a 1:1 ratio on your palette. Thin it down with water and apply 2 smooth, thin coats over all the armor plates and mechanical limbs.
- Volumetric Layering: Paint 2 thin layers of pure Rakarth Flesh over the armor surfaces. Leave the darker 1:1 mix showing clearly in the deep recesses, panel lines, and joints to give the armor immediate depth.
- Volumetric Shading (The Glaze): Mix a tiny drop of Rhinox Hide into your Rakarth Flesh and thin it heavily with water until it is the consistency of milk. Brush this glaze strictly onto the lower halves of the armor plates to create a smooth, smoky shadow transition.
- Volumetric Highlighting: Thin down some Wraithbone with water and glaze it onto the top halves of the plates where light would naturally hit from above.
- Recess Definition: Take Agrax Earthshade and heavily thin with water, on a very fine detail brush and carefully paint it directly into the panel lines to crisply separate the white plates.
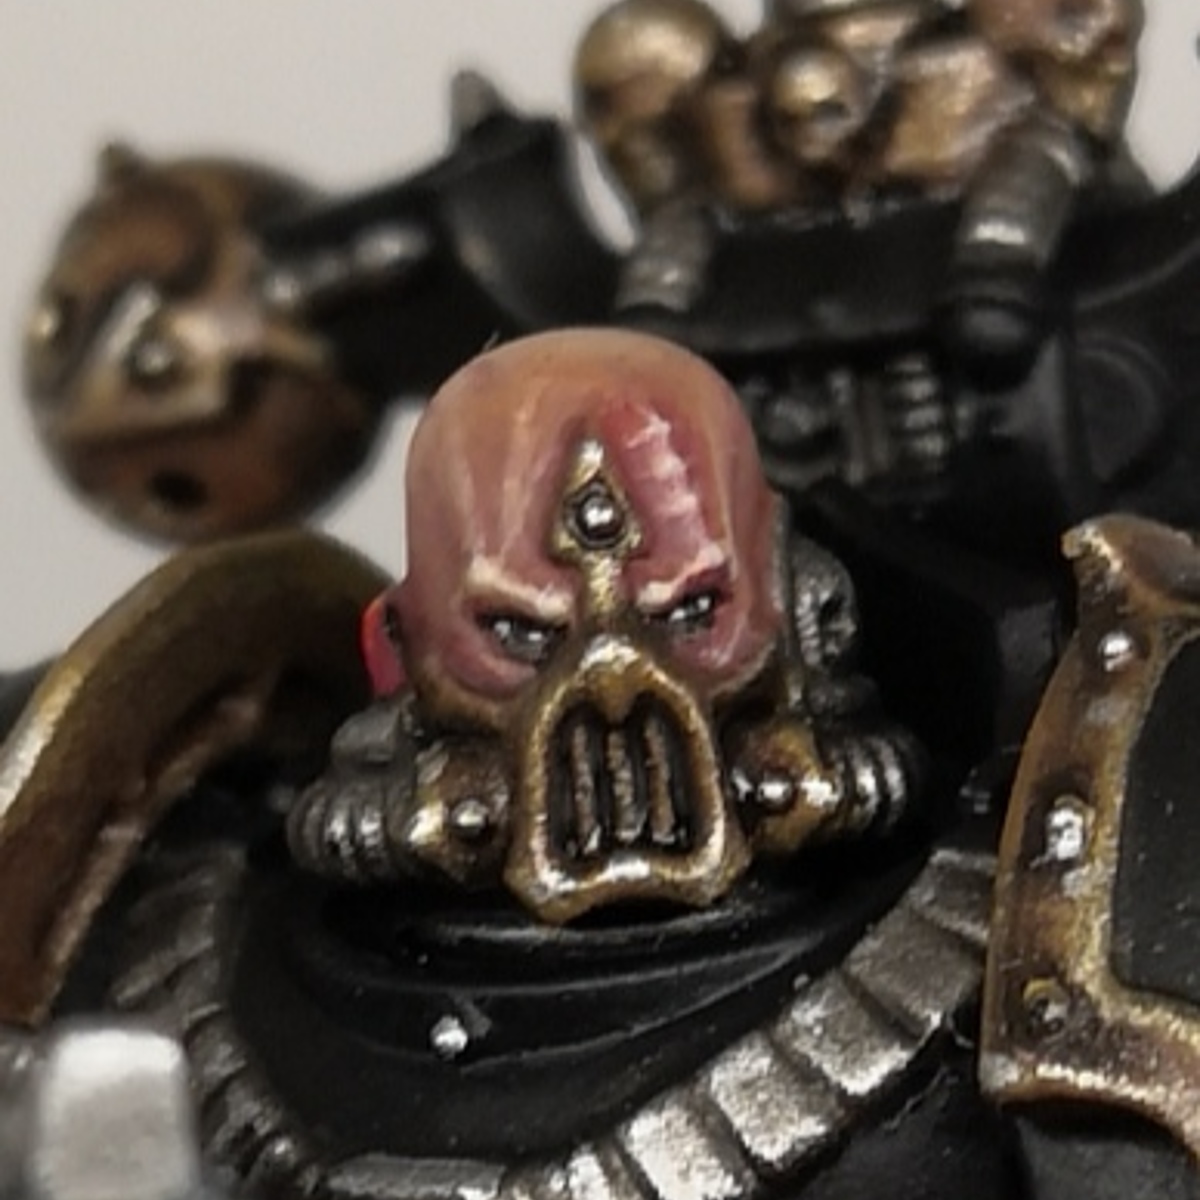
- Micro-Chipping Stage 1: Take pure Ushabti Bone on the absolute tip of your finest brush. Paint tiny, random scratches and micro-dots along the high-friction edges of the armor (shoulder guards, finger joints, cheekbones).
- Micro-Chipping Stage 2: Take pure, unthinned Rhinox Hide . Inside the largest Ushabti Bone scratches you just made, place an even smaller dot or thin line of the dark brown. This creates a realistic 3D illusion of paint cracking down to an underlying metal frame.
- Royal Gold Accents: Paint Oltyx’s crown, facial glyphs, and chest crest with 2 thin coats of Retributor Armour . Wash these gold areas entirely with Agrax Earthshade . Once dry, use a tiny amount of Runefang Steel to lightly pick out the sharpest edges of the gold to simulate metal wear.
Green Glow
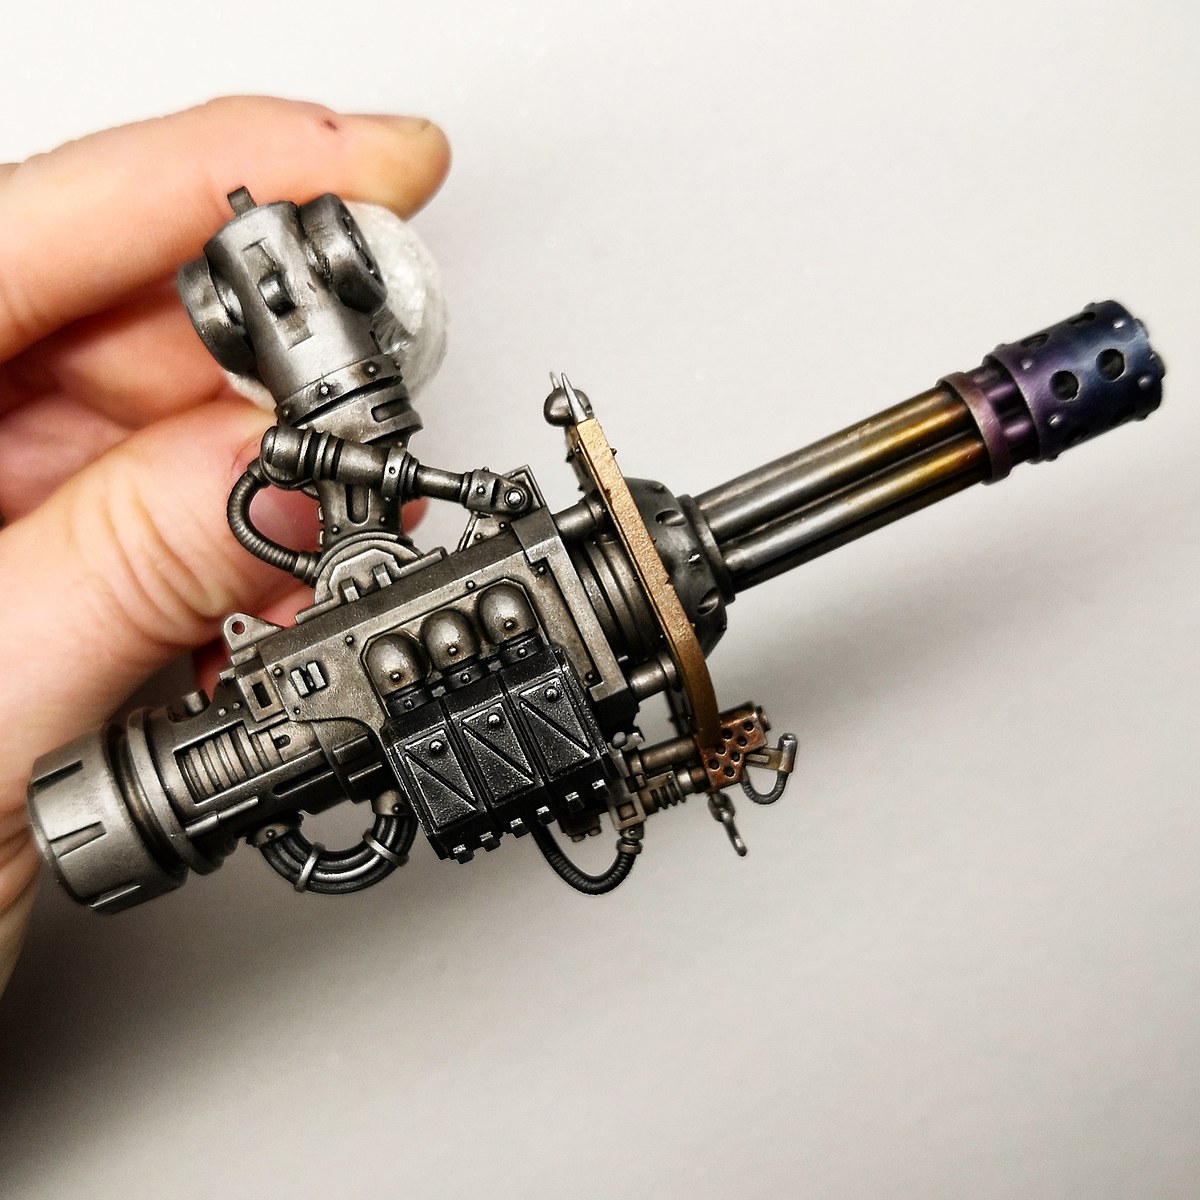
- Base: Paint the entire glowing area (weapon blade, gun coils, chest gaps, eyes) in Caliban Green .
- First Blend: Thin down Warpstone Glow with water until semi-transparent. Paint this over 70% of the area, leaving the deep Caliban Green visible only at the very edges or back corners.
- The Vibrant Layer: Thin down Moot Green . Paint this over the center 40% of the area, focusing heavily on where the energy is radiating from.
- The Edge Highlight: Use pure Moot Green to sharply highlight the outer edges of the weapon blade or the rims of the gun coils.
- The Hotspot Blend: Mix Moot Green and White Scar (1:1). Paint a small line or dot right in the center core of the light source.
- Final Point: Place a micro-dot of pure White Scar at the absolute brightest center point.

Citadel Painting System 12
Base 5
- Caliban Green
- Rakarth Flesh
- Retributor Armour
- Rhinox Hide
- Wraithbone
Shade 1
- Agrax Earthshade
Layer 5
- Moot Green
- Runefang Steel
- Ushabti Bone
- Warpstone Glow
- White Scar
Spray 1
- White Scar