Crimson Fists Power Armour
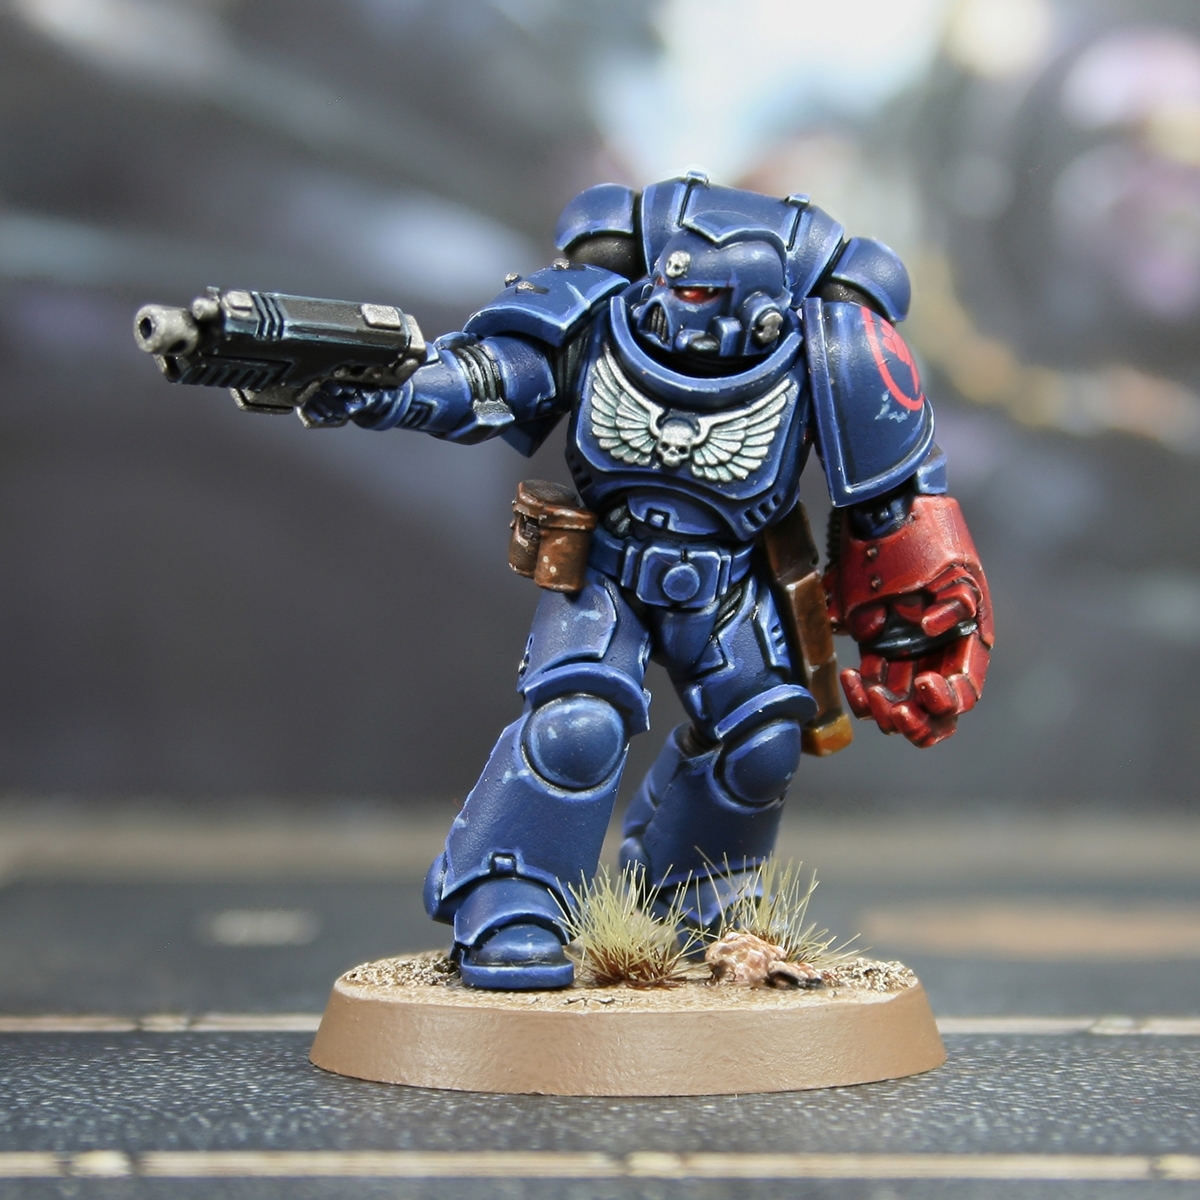
Here is how I painted my first attempt at a Crimson Fists Space Marine
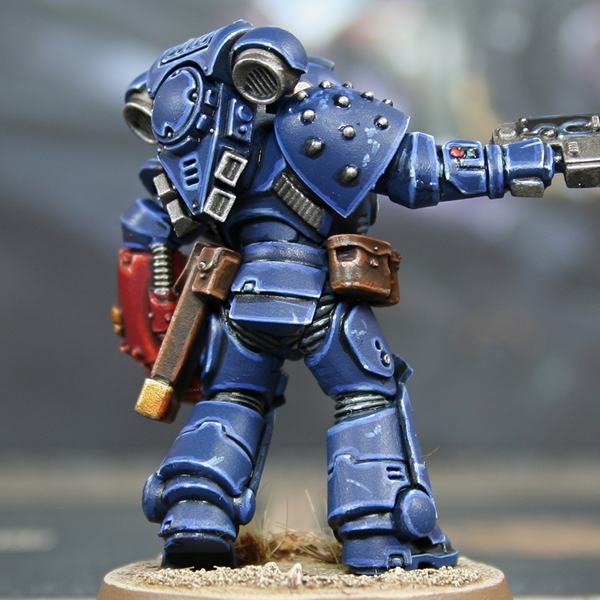 Dark Blue Power Armour
- Basecoat with Kantor Blue .
- Recess shade with Black Templar thinned with an equal amount of Contrast Medium . Be as precise as you can at this stage to really darken fine details, but make the shading a little wider in general recesses, the medium should pull pigment when it needs to be.
- Chunky edge highlight of Altdorf Guard Blue . Make this highlight a little thicker than the finest line you can.
- Fine edge highlight everything again, this time with Calgar Blue . I also like to add occasional scratches and small patches of dots with this colour. These will go on to light battle damage and dings in more open areas.
- Selective highlight of Fenrisian Grey . Place these highlights exclusively on corners and exposed curves. Use this colour to reinforce the scratches and dings from the last stage too. Be more precise this time, placing them towards the top of the lines. The idea is to make it look like light hitting the top edge of texture.
- Add dot highlights of Ulthuan Grey to corners and within the highlights of the last stage. Try and keep these highlights on upward facing edges to really sell the effect of glinting light.
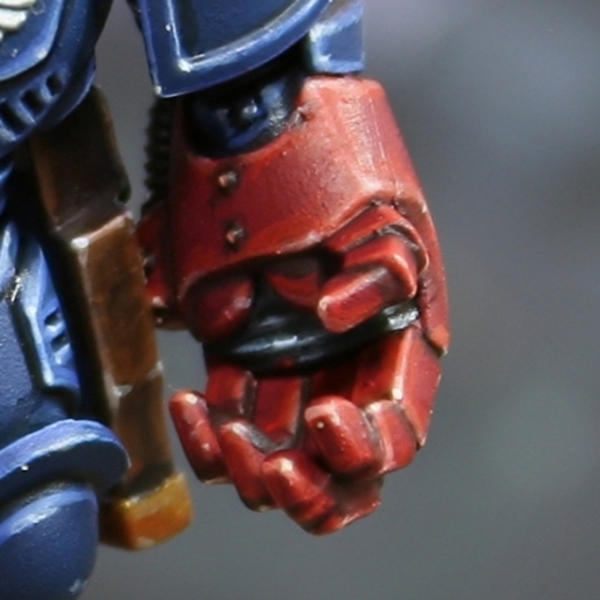 Crimson Red Power Armour
- Basecoat with Khorne Red .
- Do a general recess shade with a 1:1 mix of Khorne Red and Rhinox Hide . Make this mix roughly 50% water so it flood details nicely.
- Now add some Abaddon Black to the above mix, so it is roughly equal parts of each paint. Now do a second, more preceise recess shade, really darkennning deep points.
- Add a chunky highlight of Evil Sunz Scarlet to all edges.
- Edge highlight everything again with Wild Rider Red . This time make the lines as thin as possible.
- Mix your Wild Rider Red with an equal amount of light off-white yellow, like Dorn Yellow or Ice Yellow . Use this mix to selectively edge highlight corners, points and prominent edges.
- Finally, add specular highlights of Dorn Yellow or Ice Yellow to points and withing the previous stages highlights. Use these highlights sparingly, only placing them where light would hit.
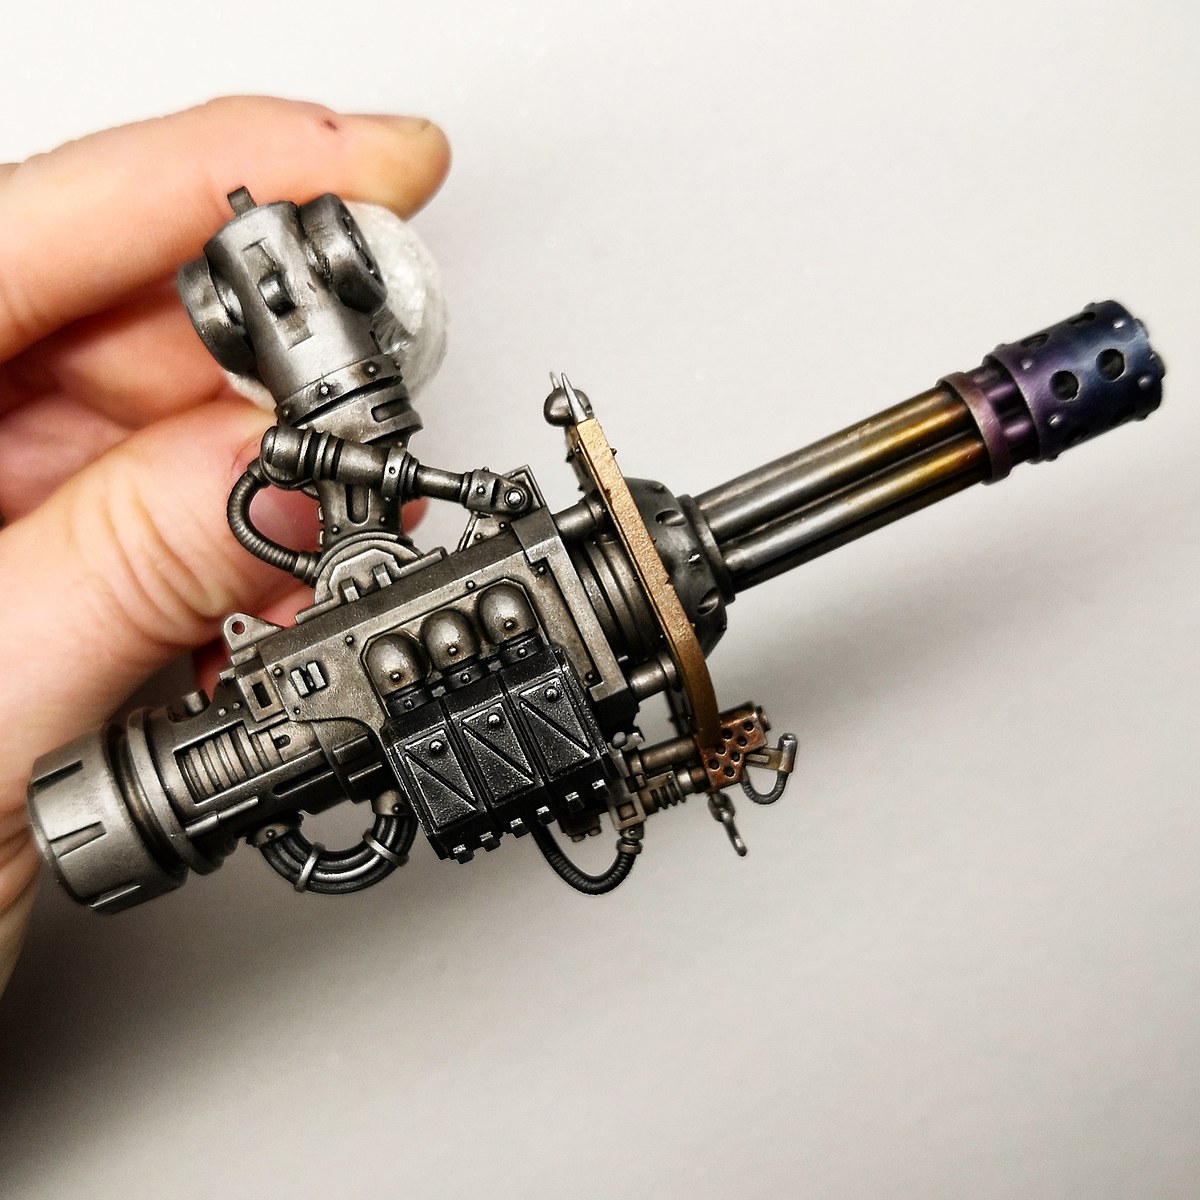
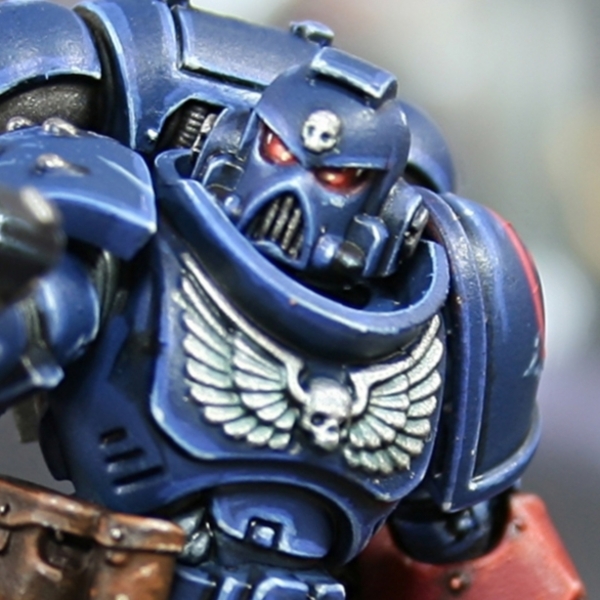 Silver Armour Details
- Basecoat with Ironbreaker or a light silver, like Vallejo Metal Color Silver .
- Wash the metal with Gryph-charger Grey . Either thin it a little on your wet palette, concentrating on letting it settle in recesses or just thin it 1:1 with Contrast Medium .
- Mix some Nuln Oil into your Gryph-charger Grey and shade only the deepest recesses with the mix.
- Now mix your silver from the previous step with a very bright silver. I would recommend either Stormhost Silver or Vallejo Metal Color Chrome . Use this to selectively edge highlight the metal.
- Finish of the metal with dots of your bright silver on points and prominent edges.
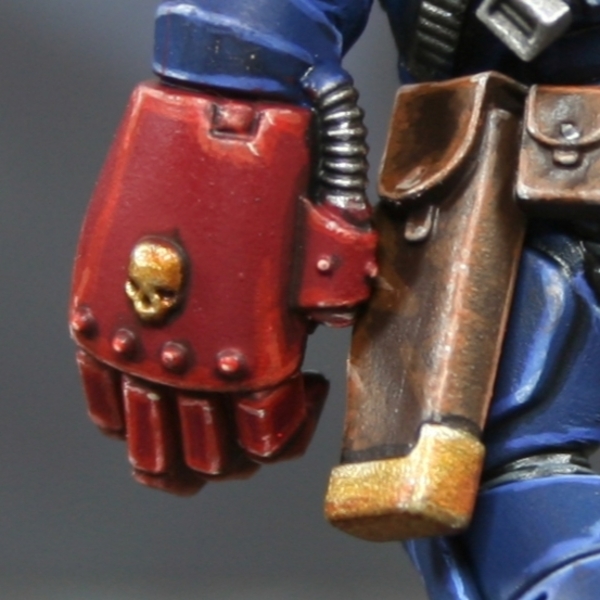 Gold Details
- Basecoat with Retributor Armour
- Shade with armour with Gore-grunta Fur . Like with the Gryph-charger Grey above, I would recommend thinning it with water or medium.
- Shade the deepest recesses with a very dark brown. I used a mix of Rhinox Hide and Abaddon Black . Get the paint very thing and use a brush with a good point.
- Mix some Silver into your Retributor Armour and pick out edges with fine highlights.
- With pure Stormhost Silver or Silver , add specular highlights.

Rookie Brushes
RookieBrushes
Aspiring miniature painter and biscuit enthusiast. Here to share my hobby and help where I can.
Citadel Painting System 19
Base 5
- Abaddon Black
- Kantor Blue
- Khorne Red
- Retributor Armour
- Rhinox Hide
Shade 1
- Nuln Oil
Layer 9
- Altdorf Guard Blue
- Calgar Blue
- Dorn Yellow
- Evil Sunz Scarlet
- Fenrisian Grey
- Ironbreaker
- Stormhost Silver
- Ulthuan Grey
- Wild Rider Red
Technical 1
- Contrast Medium
Contrast 3
- Black Templar
- Gore-grunta Fur
- Gryph-charger Grey
Vallejo Metal Color
Base 2
- 77.707 Chrome
- 77.724 Silver
Vallejo Model Color
Base 1
- 70.858 Ice Yellow
