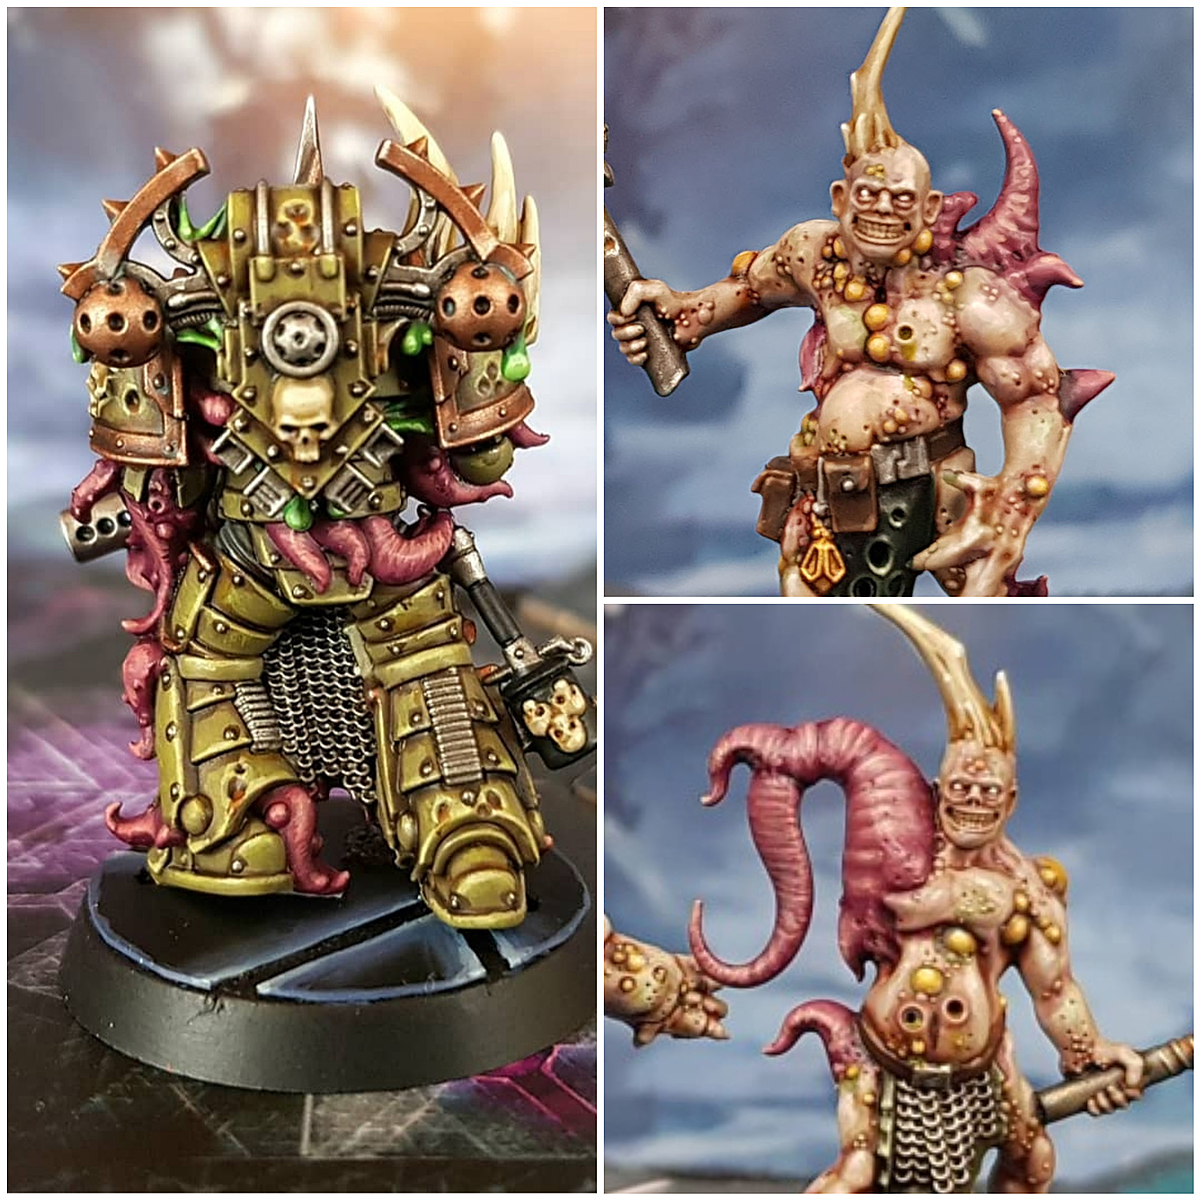
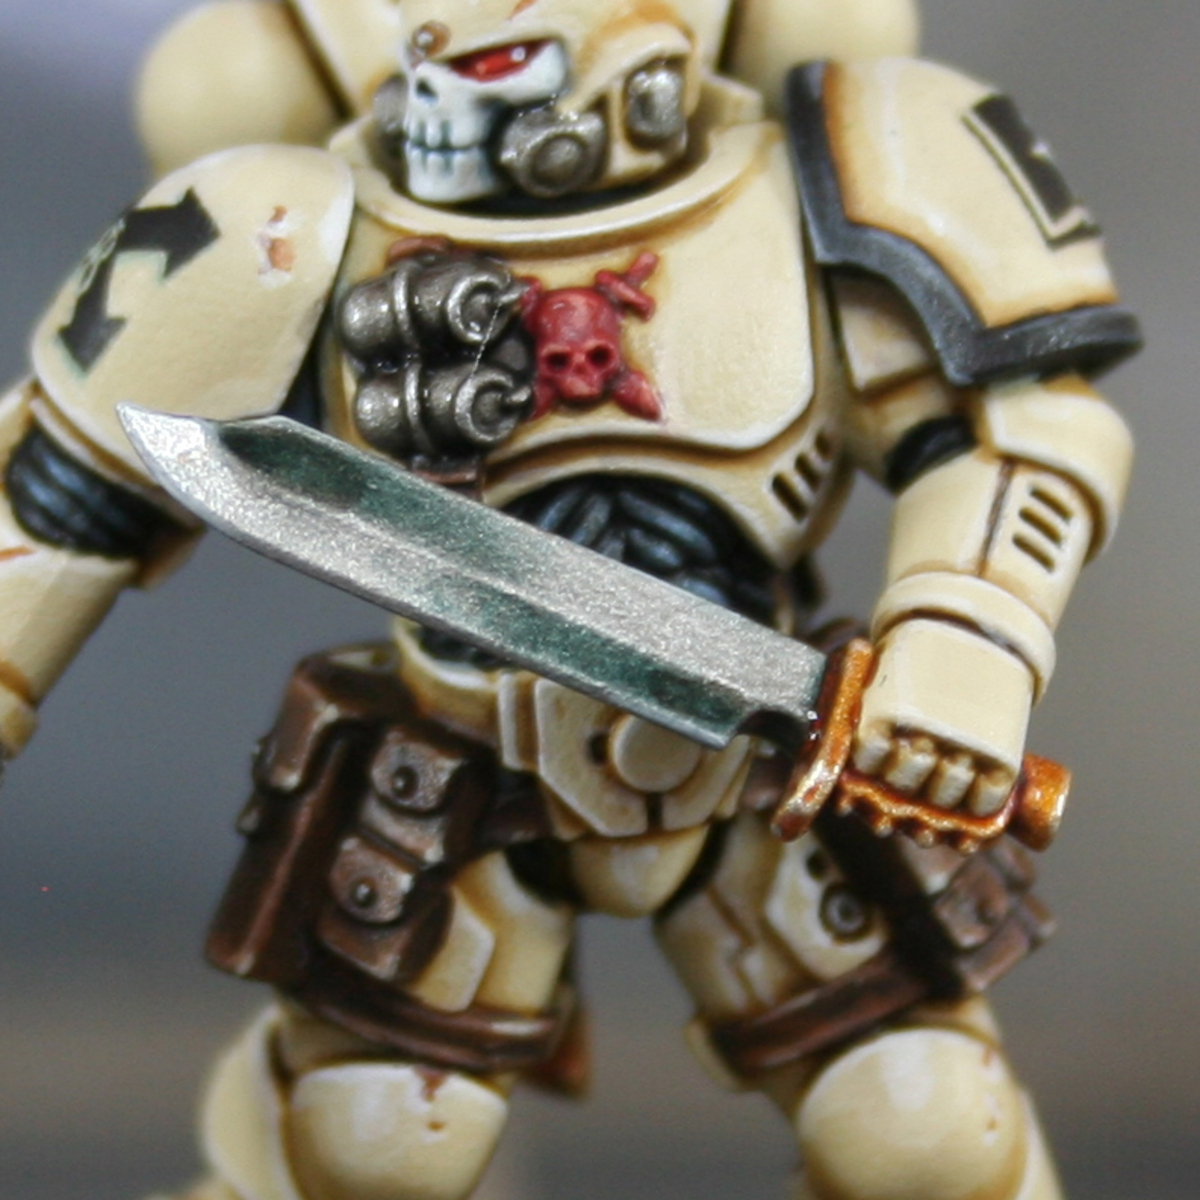
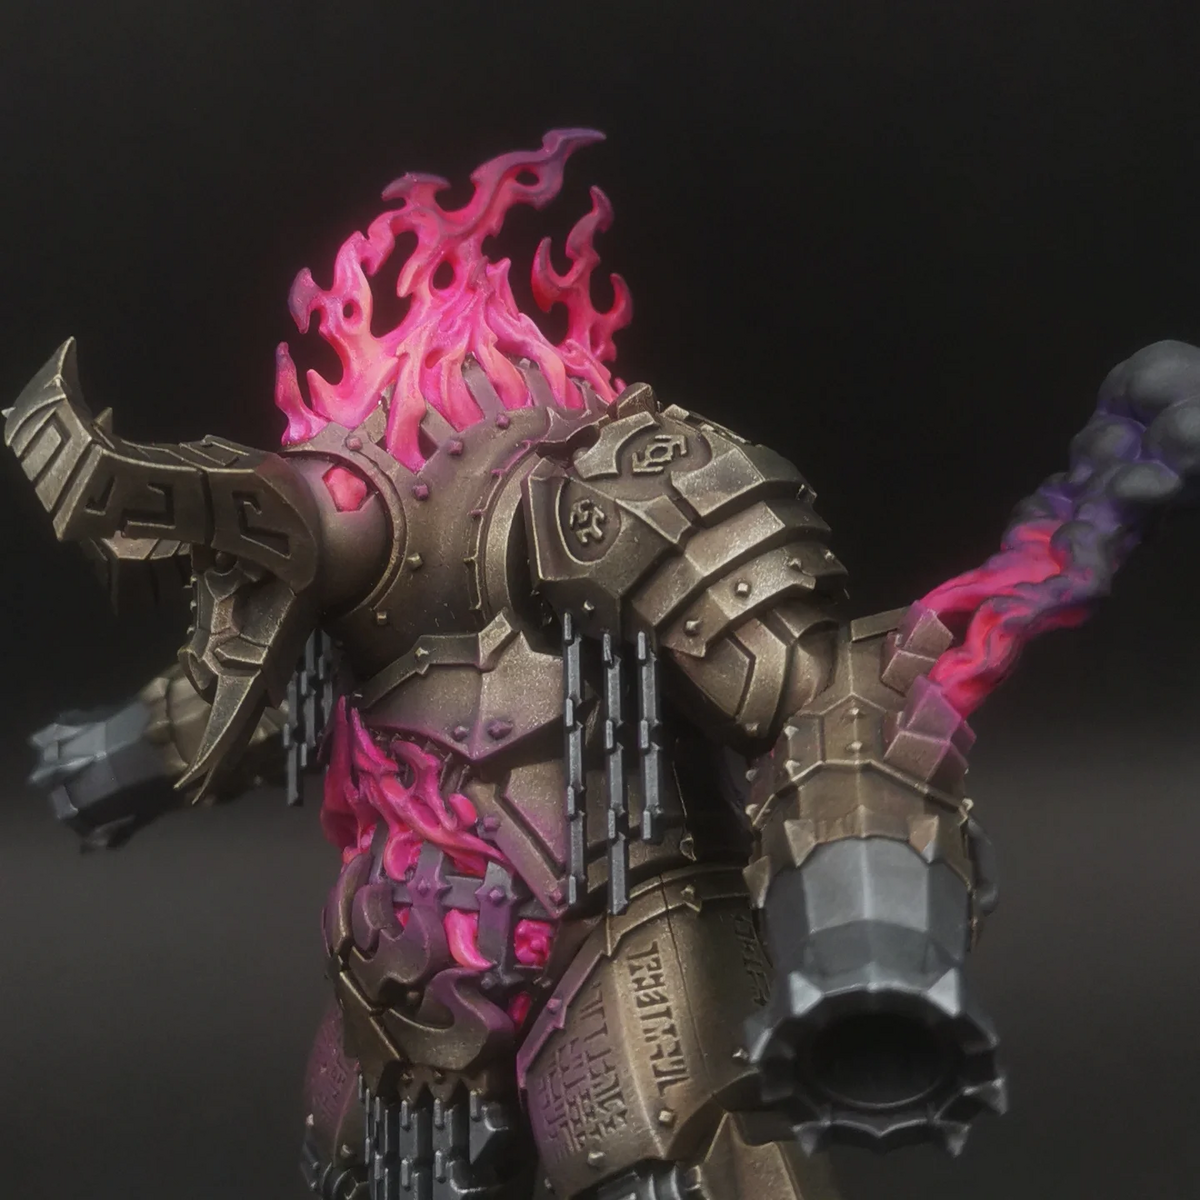
How I painted these fantastic Njorse sculpts in anticipation of the full 'Njorsvald' Kickstarter. Heavily inspired by the artwork.
Skin
- Basecoat with a mix of 2 parts Cadian Fleshtone , 2 parts Ushabti Bone and 1 part White .
- Mix a portion of your basecoat 1:1 with Doombull Brown and shade the skin.
- Add more selective shading of pure Doombull Brown around eye sockets and other deep recesses.
- Gradually mix White into the basecolour, then pick out raised details. Each time you mix in more White , highlight more selectively, until you are defining details like the point of the nose and knuckles with almost pure White .
For the shaved portions, I mixed a little Dawnstone into the basecolour, then gentle glazed the completed skin and re-highlihted as needed.
Dark Blonde Hair
- Basecoat with Zamesi Desert .
- Shade with Skeleton Horde . I thinned mine with an equal amount of Contrast Medium and run it into recesses with a thin brush.
- Highlight with 1:1 Zamesi Desert and Ushabti Bone .
- Edge highlight with Ushabti Bone .
- Selectively highlight with Wraithbone .
Pale Blonde Hair
- Basecoat with Tallarn Sand .
- Wash with 1:1 Reikland Fleshshade and Seraphim Sepia .
- Highlight with Tallarn Sand and Ushabti Bone .
- Selectively highlight with Ushabti Bone .
- Finish with specular Wraithbone highlights, where needed.
Brown Hair
- Basecoat with Mournfang Brown .
- Shade with 1:1 Mournfang Brown and Abaddon Black .
- With 1:1 Mournfang Brown and Cadian Fleshtone , highlight the strands.
- Mix a little Ushabti Bone into the above and highlight more selectively.
- Finish with a few specular Ushabti Bone highlights.
Red Hair
- Basecoat with Skrag Brown .
- Wash with 1:1 Reikland Fleshshade and Agrax Earthshade . I thinned mine with a little Contrast Medium to make it easier to control.
- Edge highlight with Troll Slayer Orange .
- Mix Troll Slayer Orange and Screaming Skull 1:1 then selectively highlight exposed curls.
- Increase the amount of Screaming Skull in the mix and finish with a few small highlights.
Blue Cloth
- Basecoat with 1:1 Dark Reaper and Administratum Grey .
- Shade the cloth with some thinned Dark Reaper .
- Mix the base colour 2:1 with some White and highlights.
- Increase the amount of White in the above mix and highlight more selectively, focusing on corners and curves.
- Finish with a few specular White highlights where needed.
Dark Blue Cloth & Shields
- Basecoat with a mix of 2 parts Incubi Darkness , 2 parts Thunderhawk Blue and 1 part Abaddon Black .
- Shade with a thin mix of 1:1 Incubi Darkness and Abaddon Black .
- Mix the base colour 1:1 with some more Thunderhawk Blue and apply chunky highlights.
- Now mix a small portion of the above, 2:1 with some Administratum Grey and add fine highlights.
- Increase the amount of Administratum Grey in the mix, so it is pretty close to pure Administratum Grey . Now highlight corners and curves selectively.
- Finish by mixing some white into the above paint and adding specular highlights where needed.
Brown Cloth
- Basecoat with 1:1 Dryad Bark and Abaddon Black .
- Shade with some thinned Abaddon Black .
- Glaze raised portions with Dryad Bark .
- Add chunky highlights of 1:1 Dryad Bark and Stormvermin Fur within the previous stage.
- Add finer highlights of Stormvermin Fur , making them a little thicker on sharp corners and curves.
- Mix a little Screaming Skull into your Stormvermin Fur and highlight more selectively.
- Add a few specular highlights of Screaming Skull where you think it is needed.
It is pretty easy to go overboard with the highlighting of this material. If they end up looking a little chalky, I would suggest glazing the highlights down with Dryad Bark gently and re-highlighing.
Dark Brown Leather
- Basecoat with Rhinox Hide .
- Shade recesses with a 1:1 mix of Rhinox Hide and Abaddon Black .
- Add chunky highlights of Doombull Brown .
- Add fine highlights of Mournfang Brown .
- Selectively highlight with XV-88 .
- Mix some White into the XV-88 and finish with specular highlights.
Fur
- Basecoat with 1:1 Grey Seer and White .
- Wash with Grey Seer thinned with an equal amount of Lahmian Medium .
- Basecoat: Grey Seer & White
Wash Shade: Grey Seer
Recess Wash Shade: Stormvermin Fur & Grey Seer 1:1
Edge Highlight: White
Wood
- Basecoat with 1:1 Mournfang Brown and Dryad Bark .
- Wash with Agrax Earthshade or shade with Dryad Bark , depending upon how textured the wood is.
- Mix some of the basecoat 1:1 with Karak Stone and add some chunky highlights to raised details and edges of the woodgrain.
- Highlight within the previous stage, using pure Karak Stone . Be more selective and focus on corners and curves.
- Mix a little White into your Karak Stone and add very small highlights on the most pronounced details.
Scales
- Basecoat with 2:1 Vulkan Green and Sotek Green .
- Wash with some very thin Caliban Green , with just a little Abaddon Black .
- Basecoat: Vulkan Green & Sotek Green 2:1
Soft Shade: Basecoat Mix & Caliban Green 1:1
Soft Shade: Caliban Green
Deep Shade: Caliban Green & Black
Chunky Highlight: Basecoat Mix & Skarsnik Green 2:1
Highlight: Basecoat Mix & Skarsnik Green 1:1
Highlight: Skarsnik Green
Highlight/Dot Highlight: Skarsnik Green & White 1:1
Brass
- Basecoat: Runelord Brass & XV-88 1:1
Wash Shade: Wyldwood
Edge Highlight: Basecoat Mix & Stormhost Silver 1:1
Bases
- Basecoat with Mechanicus Standard Grey .
- Wash with Nuln Oil .
- Drybrush with Karak Stone .
- Drybrush more lightly with some Screaming Skull .
- Glaze the rocks with Dawnstone , pulling your brush towards where they will be highlighted.
- Highlight with Administratum Grey .
- Mix some White into your Administratum Grey and highlight more selectively.
- Finsih with a few small White highlights.
- Paint the base rim Black .
- Finish with tufts and a little snow flock.

Rookie Brushes
RookieBrushes
Aspiring miniature painter and biscuit enthusiast. Here to share my hobby and help where I can.
Citadel Painting System 33
Base 10
- Abaddon Black
- Caliban Green
- Dryad Bark
- Grey Seer
- Incubi Darkness
- Mechanicus Standard Grey
- Mournfang Brown
- Rhinox Hide
- Wraithbone
- XV-88
Shade 4
- Agrax Earthshade
- Nuln Oil
- Reikland Fleshshade
- Seraphim Sepia
Layer 16
- Administratum Grey
- Cadian Fleshtone
- Dark Reaper
- Dawnstone
- Doombull Brown
- Karak Stone
- Screaming Skull
- Skrag Brown
- Sotek Green
- Stormvermin Fur
- Tallarn Sand
- Thunderhawk Blue
- Troll Slayer Orange
- Ushabti Bone
- Vulkan Green
- Zamesi Desert
Technical 2
- Contrast Medium
- Lahmian Medium
Contrast 1
- Skeleton Horde
Vallejo Game Color
Base 1
- 72.051 Black
Vallejo Model Color
Base 1
- 70.951 White