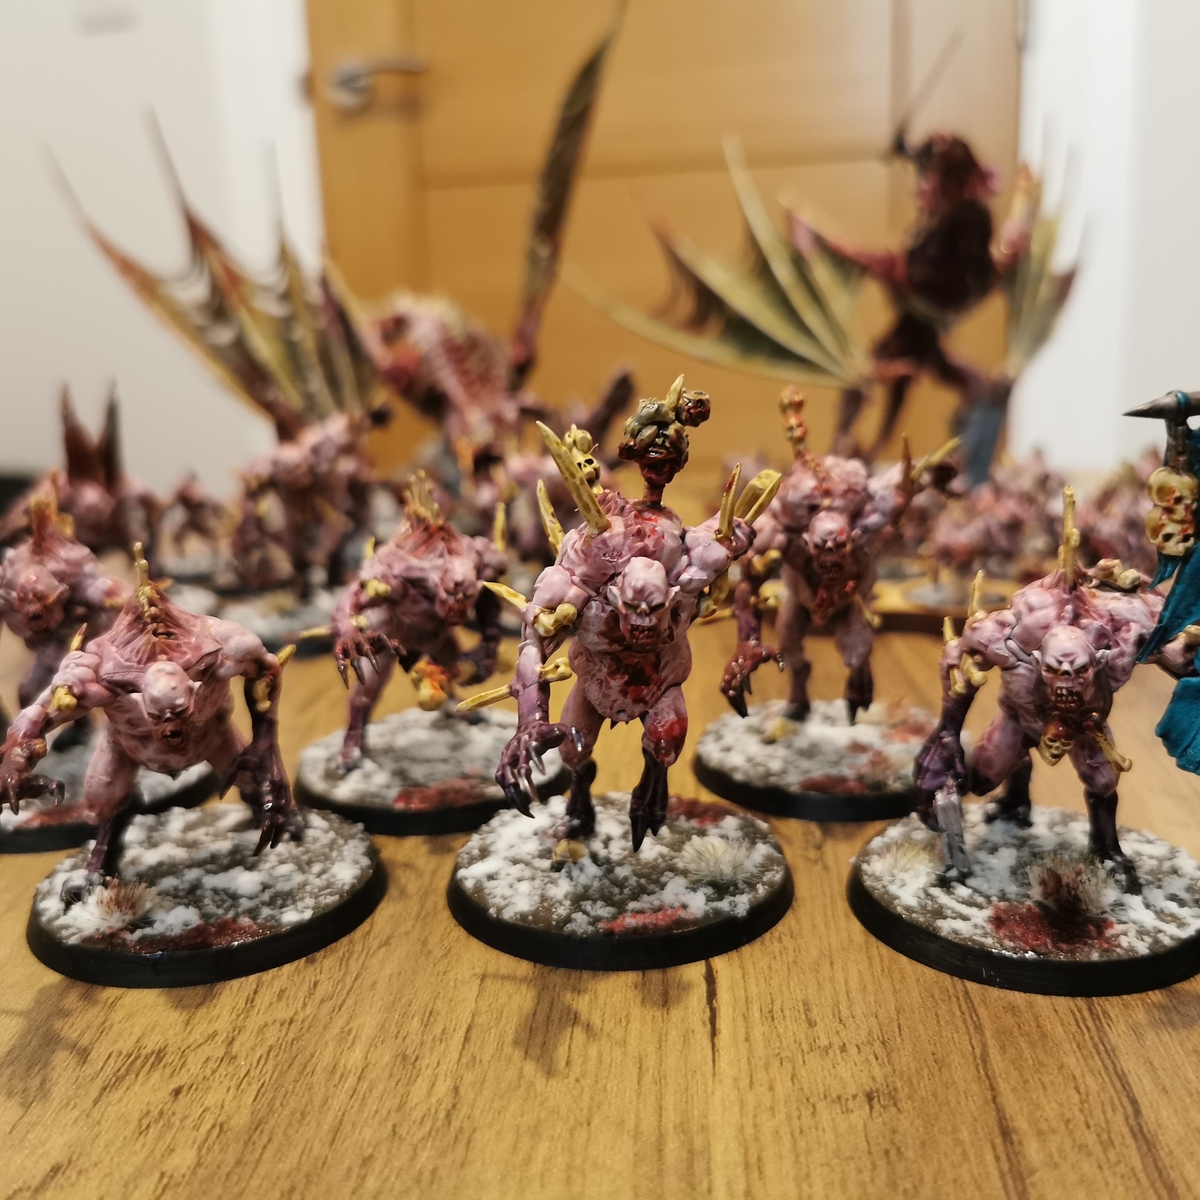
Basing: Blood God's Realm

Using Golden Crackle Paste and drybrushing to create the realm of the Blood God.
Build
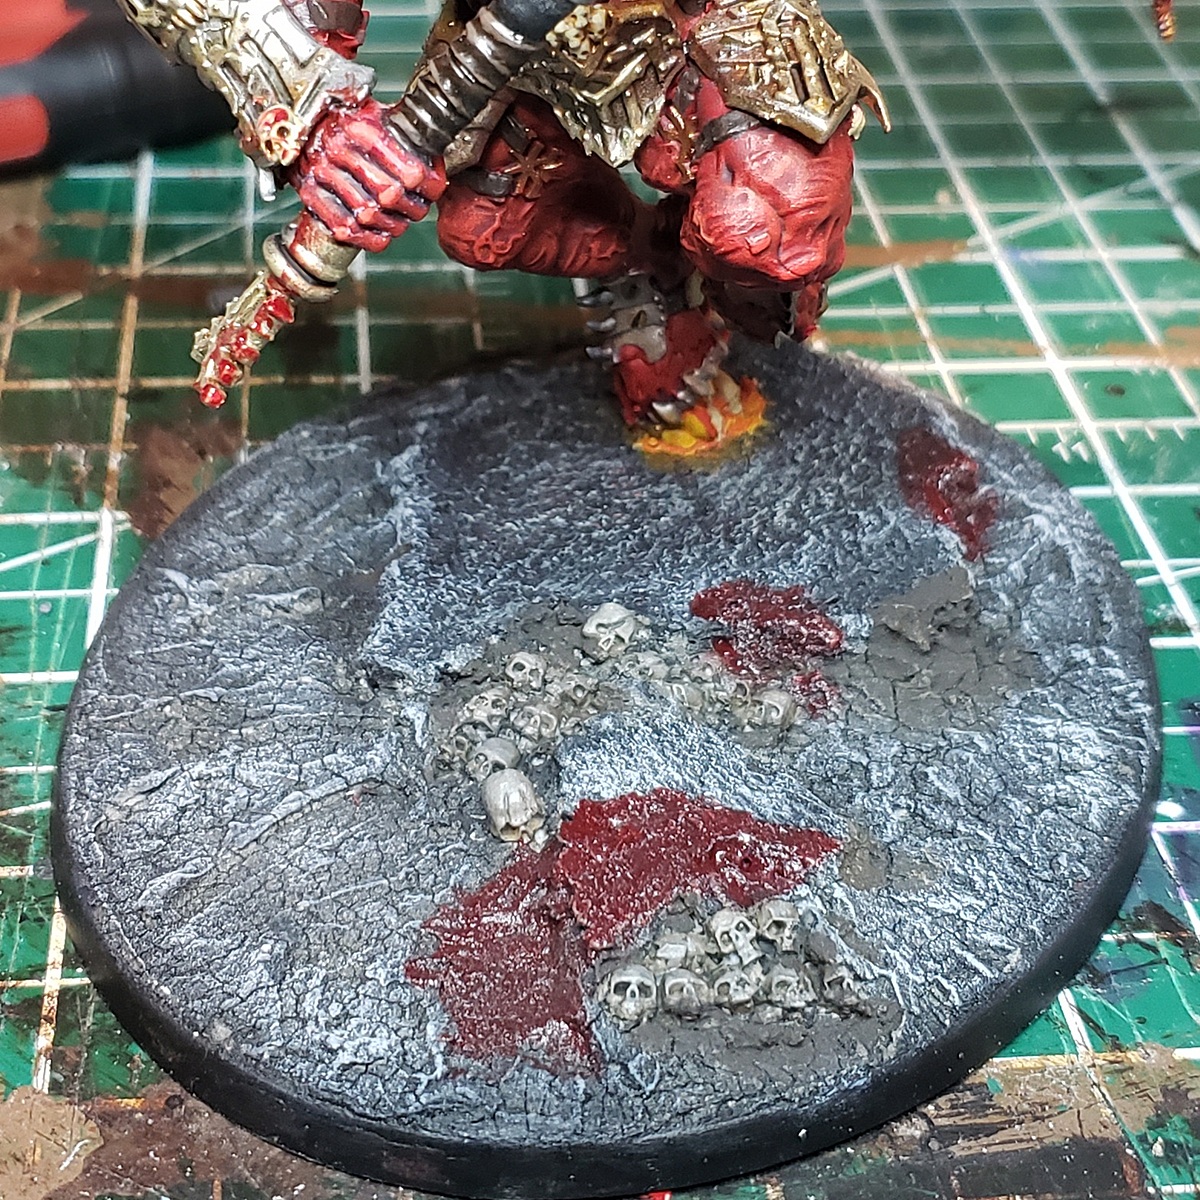
- Use Cork Board to add Dimension. Break up pieces to add islands of cork around the base to add height variation. Simply break them up into "natural" looking formations and super glue them down to your base. Make sure to leave enough space between the cork pieces for your Crackle Paste. In example photo the Bloodthirster is standing on cork
Prime
- Spray the base with a black Primer (I used Chaos Black ) You will need the base primed for the Golden Crackle Paste to adhere properly and to paint the cork.
Crackle
- Mix Golden Crackle Paste with an Acrylic Black Ink for color.
- You should NOT be trying to make your Paste "black" at this point as too much pigment/moisture will prevent it from drying and cracking. ONLY Add a drop (or two at most) of ink to tint the paste grey. More Ink = Less Cracks and more drying time. You should experiement with Golden Crackle Paste on plasticard or cardboard before any major projects to make sure you are comfortable with the medium.
- Apply the tinted Golden Crackle Paste to your base. Apply it around the Cork pieces, but try not to allow it to sit on top of the cork. The Paste can be uneven to look natural, and should be applied about 1mm to 2mm in thickness everywhere but need not be uniform unless that is the aesthetic you are going for.
Make sure that there are no areas where the paste is too thin or the underlying base will show and it will look awkward. However, if this happens you can cover these areas with skulls, flocking, tufts, or rocks to cover your errors - Avoid applying the Crackle Paste on the Cork! Apply water with a paintbrush to wash any paste from the surface of the cork, but apply water sparingly as it will quickly disintegrate your crackle paste from other areas.
Intention is to keep the cork looking natural to add texture variation to the base.
Bonus Step: Skulls
- While the Crackle Paste is drying embed your favorite resin skulls into the material with assistance of super glue or PVA. Make sure they are already primed for painting.
- In my example: I used the Crunch Times Skulls from Green Stuff World and a few full resin skulls from Green Stuff World. Crunch Time Skulls make it look like piles of skulls have accumulated in the dried riverbed.
Let it Dry
- Wait at least 72 Hours. Don't touch it. Even when you "think" it is done I would recommend simply waiting the full duration regardless. Crackle Paste may still be curing and may not take well to paint or ink if it is still drying. Don't risk it as it will ruin the finish of the project, and it is impossible to fix at this stage without a lot of extra effort.
Ink the Crackle
- Using your Black Ink you need to wash the crackle for a base coat. However, you need to avoid watering down or thinning your ink with water. Too much water will break down the Crackle into mush. Use almost pure ink with a small amount of water from a paintbrush. The Crackle will eat the ink up like crazy and it will start to darken.
Drybrush the Land
- Apply a Heavy Drybrush of Eshin Grey everywhere (Cork and Crackle). However be extraordinarily careful as you apply it on the crackle or it will break and leave white showing. Use a soft brush like a makeup brush. If any of the crackle that is now black break off, and the white/grey shows you can touch it up with more black ink or with Abaddon Black .
- Apply a lighter grey for the next Drybrush I used Dawnstone
- Apply another lighter grey on the upper ridges of the Crackle and outer edges of the Cork. I wanted a slight blue tinge to my base (to contrast with the Red Khorne Bloodthirster) and went with Fenrisian Grey
- Apply a super light drybrush of pure Praxeti White or Ulthuan Grey for the most raised parts of the crackle and the edges of the cork. Use sparingly.
Bonus: Paint the Skulls
- Basecoat the Skulls in Steel Legion Drab
- Wash the Skulls in Nuln Oil AVOID getting the wash on the Crackle as it will degrade.
- Drybrush the Skulls in Ushabti Bone
- Lightly Drybrush the tops of the most raised skulls in Screaming Skull
- Goal is to make these Skulls look old and dirty, but with the tops looking like bone as if they are catching the light. Bottoms should retain the brown tones of the Steel Legion Drab and the shadows of the Nuln Oil.
Bonus: Use Typhus Corrosion to add grit and grim acround the base of the skulls to add color variation and contrast between the Skulls and the other arears of the base.
Color Variation and Blood
- Use Typhus Corrosion to add areas of staining on the ground for color variation. Use sparingly to avoid it breaking up the unity of the base.
- Use Blood For The Blood God to add Blood Stains. These can be as large or as small as you prefer. I don't like to overdo it with mine or I feel it becomes too cartoonish.
One way to tie this to the piece is to have blood "Hanging" from the weapons and have it look as if it is pooling on the base. My Bloodthirster has blood on the Axe of Khorne, and I will be adding this effect in the future.
Sealing/Finishing
- Spray your base with your Matte Finishing Spray of your choice. Make sure to TEST the spray on the Golden Crackle Paste first and apply in THIN Coats.
Enjoy!
- Let me know how it goes. Send me your photos!
J
JLearnsWargaming
Follow me on Tik Tok! https://www.tiktok.com/@miniaturesbyj
Citadel Painting System 13
Base 2
- Abaddon Black
- Steel Legion Drab
Shade 1
- Nuln Oil
Layer 5
- Eshin Grey
- Fenrisian Grey
- Screaming Skull
- Ulthuan Grey
- Ushabti Bone
Dry 2
- Dawnstone
- Praxeti White
Technical 2
- Blood For The Blood God
- Typhus Corrosion
Spray 1
- Chaos Black
![Quick Night Lords Armor [Airbrush]](https://assets.paintpad.app/rails/active_storage/representations/proxy/eyJfcmFpbHMiOnsiZGF0YSI6MTEyNTYsInB1ciI6ImJsb2JfaWQifX0=--a1aab0bc1137a8efdef6b84c79ec7f4e1d10b65b/eyJfcmFpbHMiOnsiZGF0YSI6eyJmb3JtYXQiOiJqcGciLCJyZXNpemVfdG9fZmlsbCI6WzEyMDAsMTIwMF0sImF1dG9fb3JpZW50Ijp0cnVlfSwicHVyIjoidmFyaWF0aW9uIn19--e0f14d5d109f64b9466c1bf520a2b11f6a7dc47c/20210816_010453.jpg)