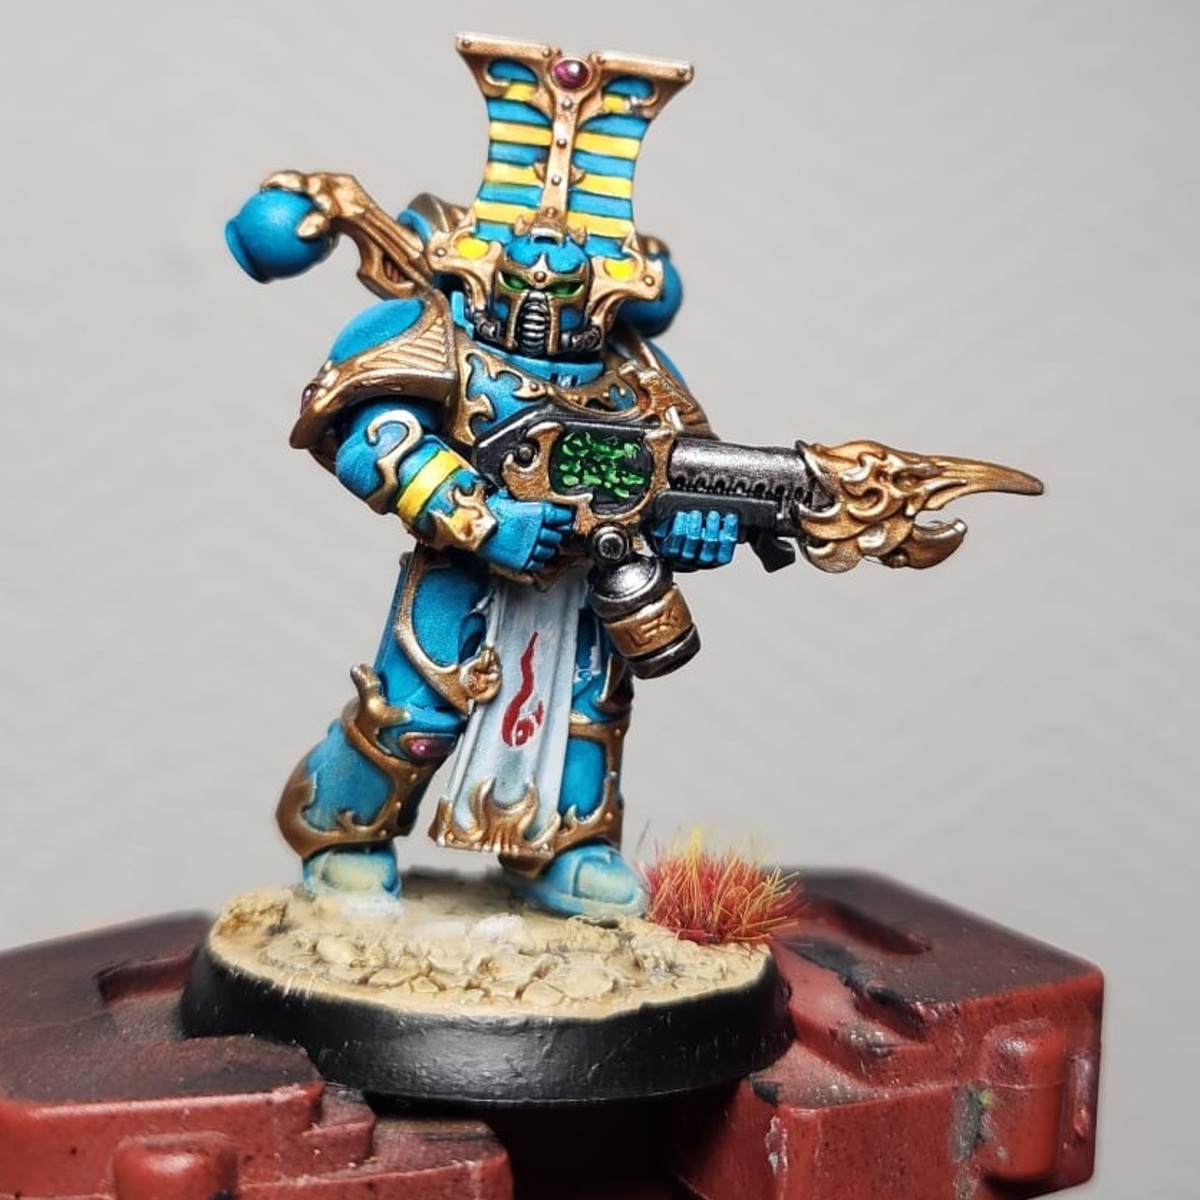
Grimdark Black Templars using Villainy Ink
For killteam, grimdark black templars. Uses The Feral Painter's guide.
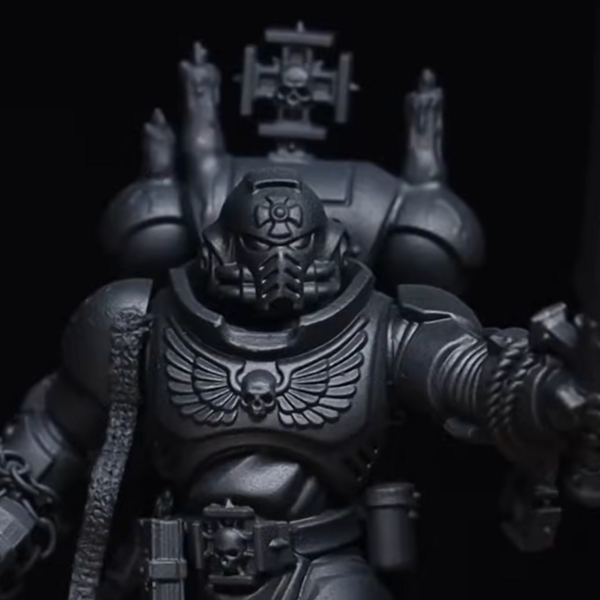 Prime the model in Abaddon Black .
 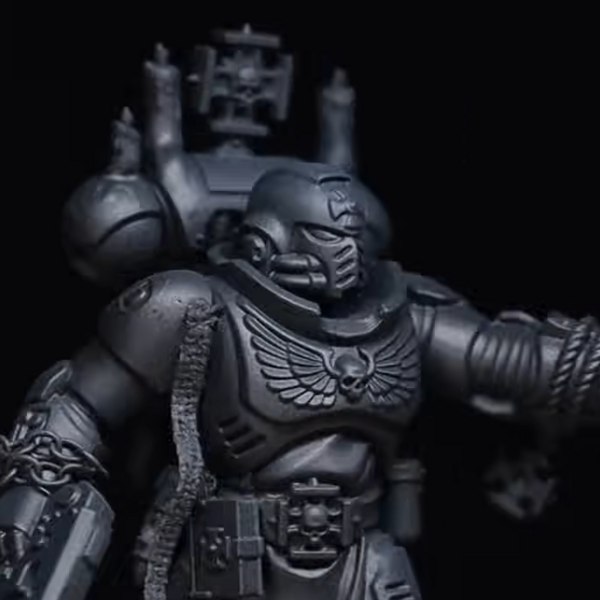 Drybrush the model with Corvus Black or a mix of Abaddon Black and Macragge Blue that's mixed to get the same color. It's a slight Blueish tint. Drybrush it mimicking a zenethal top down spray, if you can. Less blue is better. The tutorial mentions that an alternative is to use Abaddon Black spray and zenethal with Colour Forge Raven Black Find pics online of that to see what that's like. Basically it's black with a hint of blue.
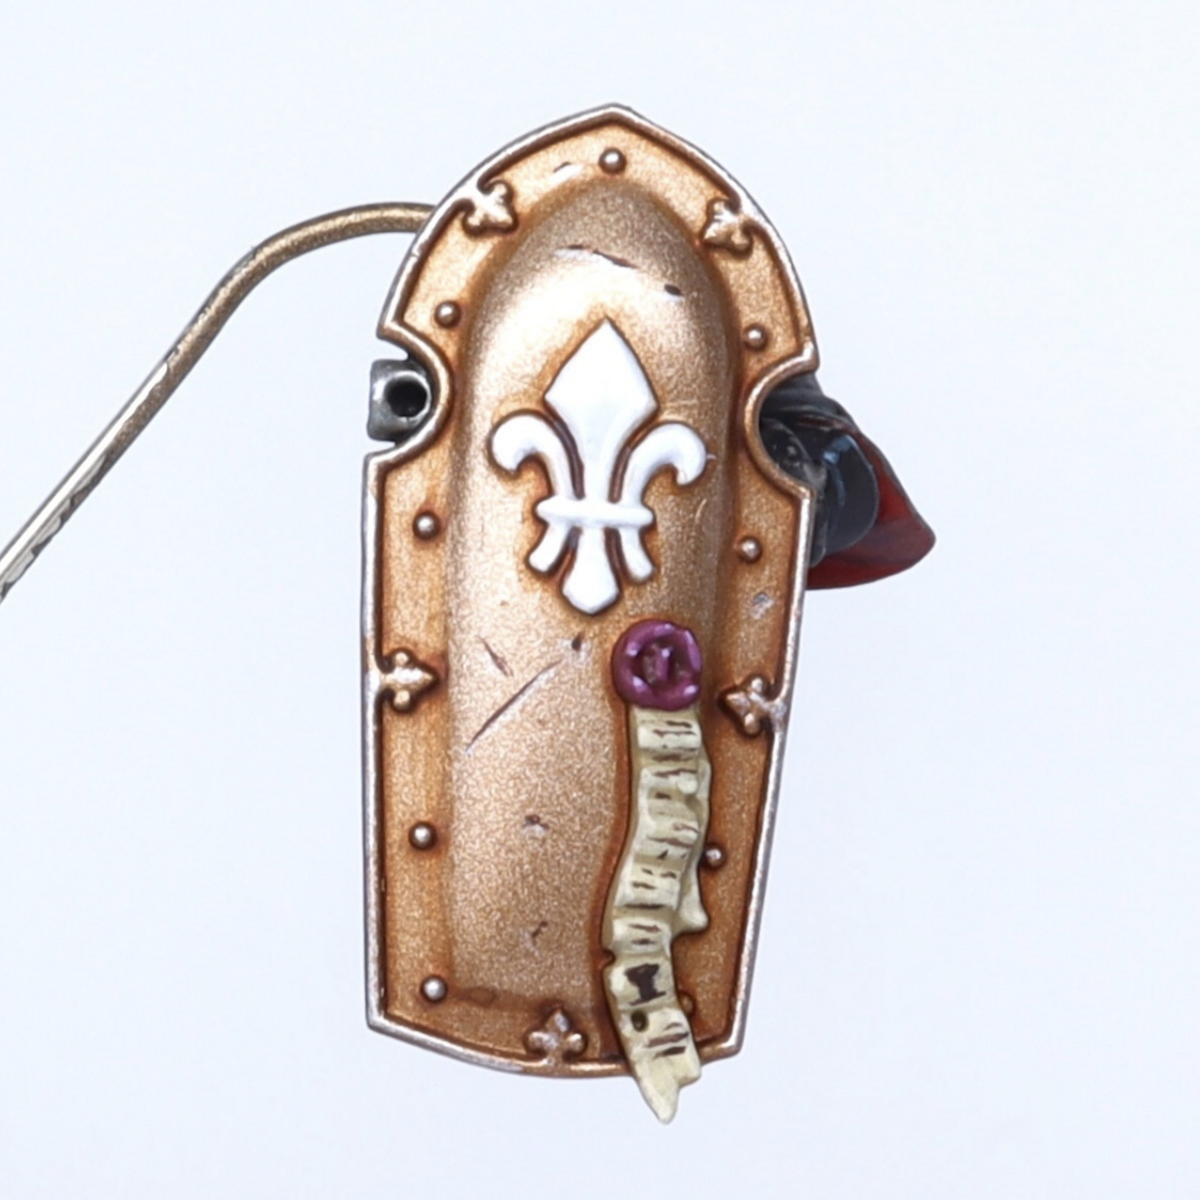
  For the Pauldrons, base paint them with Heavy Bluegrey and drybrush with Corax White to make them basically white with some depth. You'll find that the bluegray is VERY covering, even over white. If you painted over the metal of the pauldrons, just make them black again.
 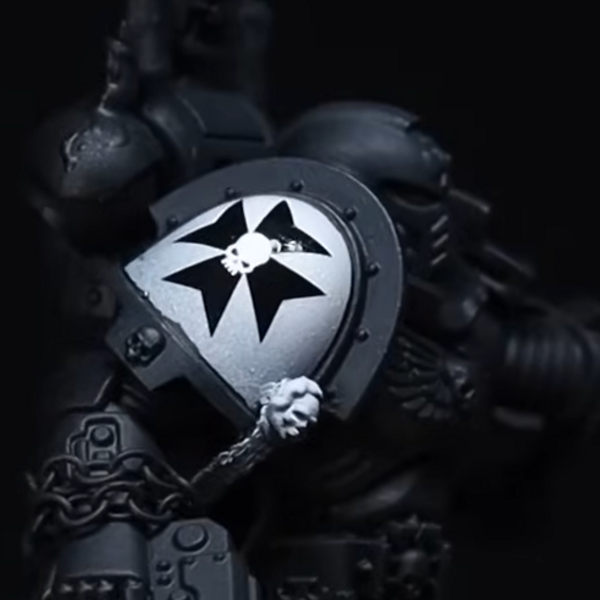 Add your decals and weather them using a knife, or paint the molded symbols black.
 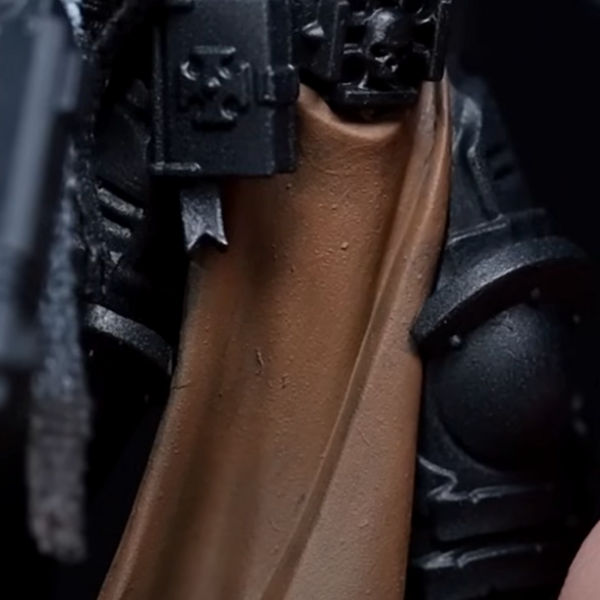 Paint the Tabard using AK Dark Brown .
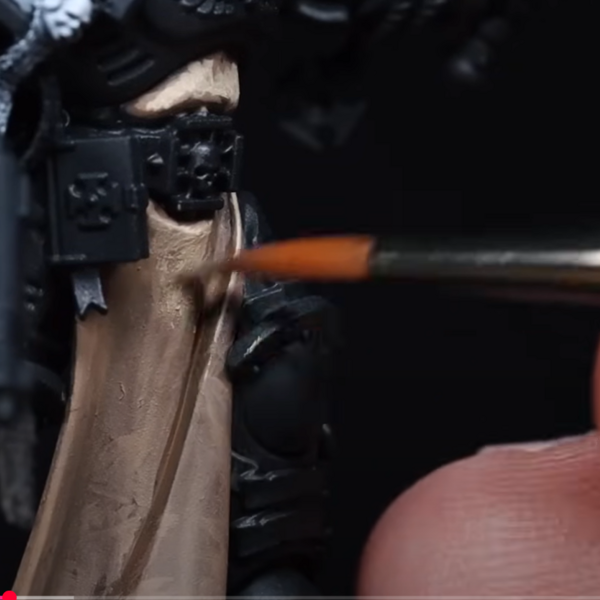 Mix some AK Decomposed Flesh to the Dark Brown paint (about 50/50) and add it to the tabard aswell. basically you're introducing 3 kinds of paint at various stages. Make sure it's not too thick and a bit watered down. Check the video if you need to.
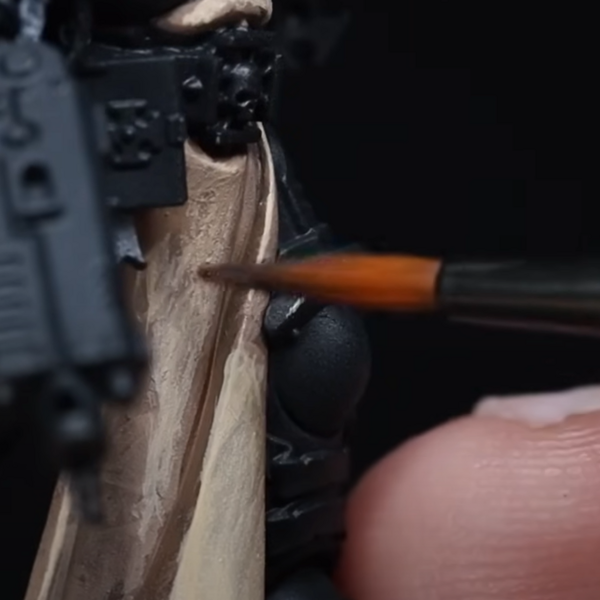 After the Dark Brown and Decomposed Flesh mix, use pure Decomposed Flesh as a highlight, and then mix the Decomposed Flesh with Vallejo Game Color Bone White . Finally, use the pure Bone White as a final highlight.
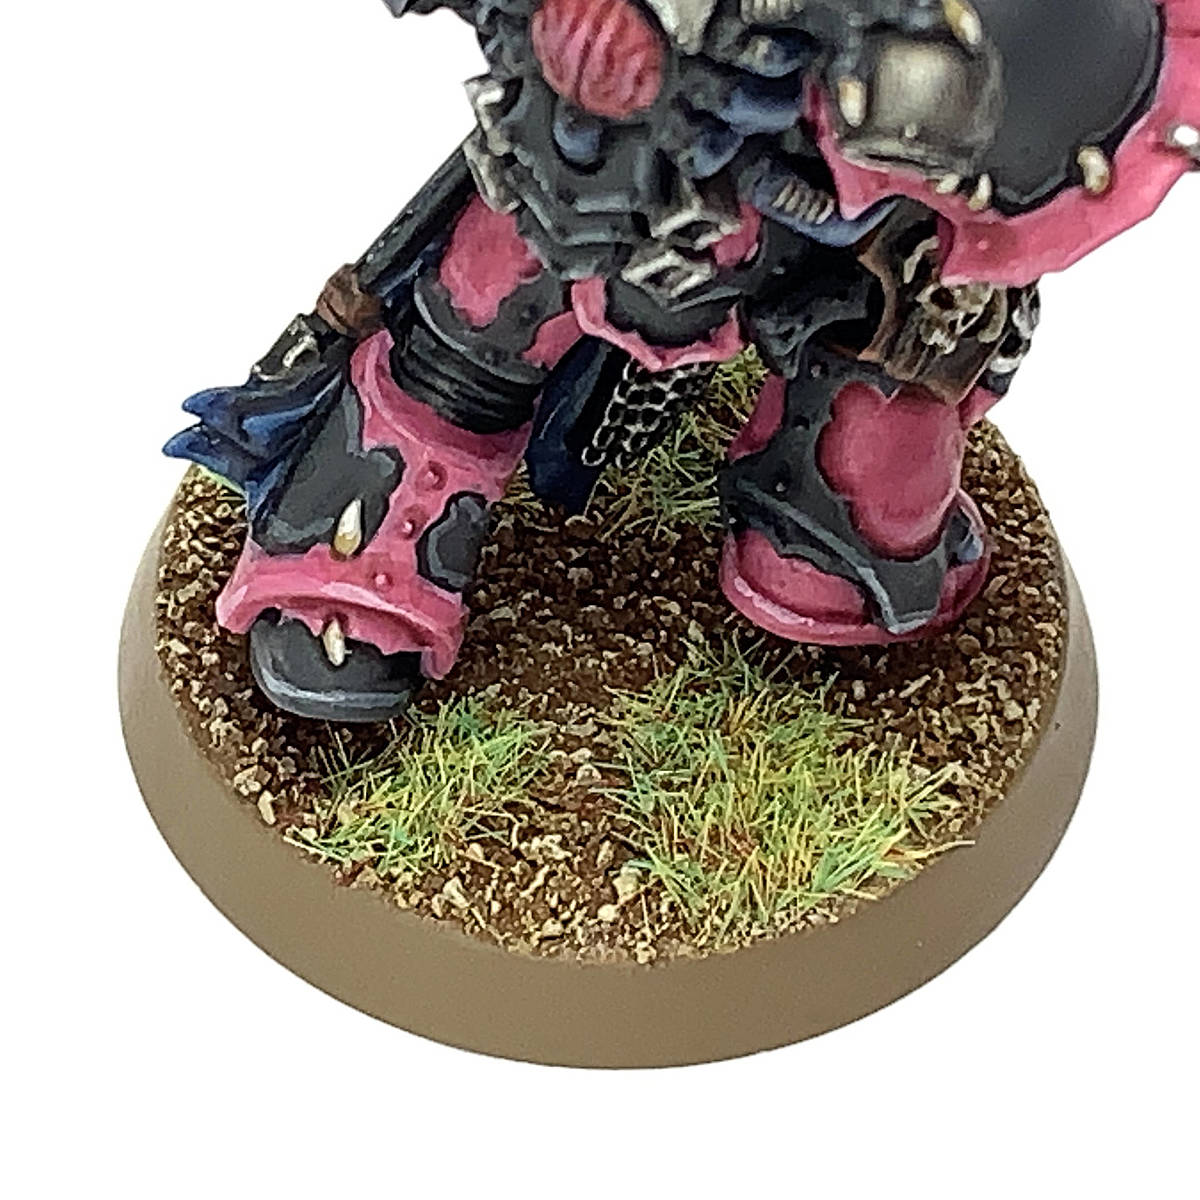
 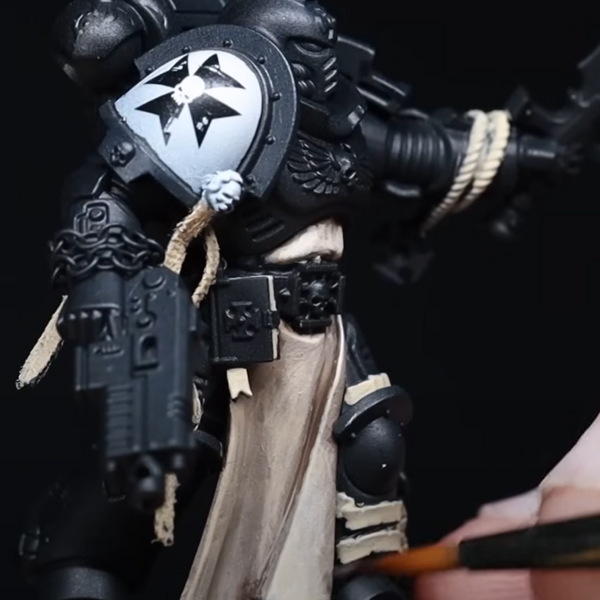 This basically causes some nice transitions, it's hard to mess up and teaches brush control.
 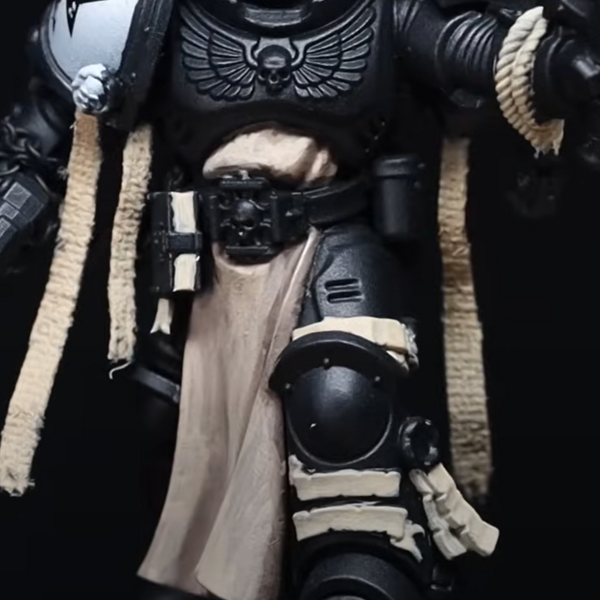 In the end it should look like this. Also, paint all the purity seals, ropes, pages, etc in AK Decomposed Flesh . Highlight them in AK Deck Tan .
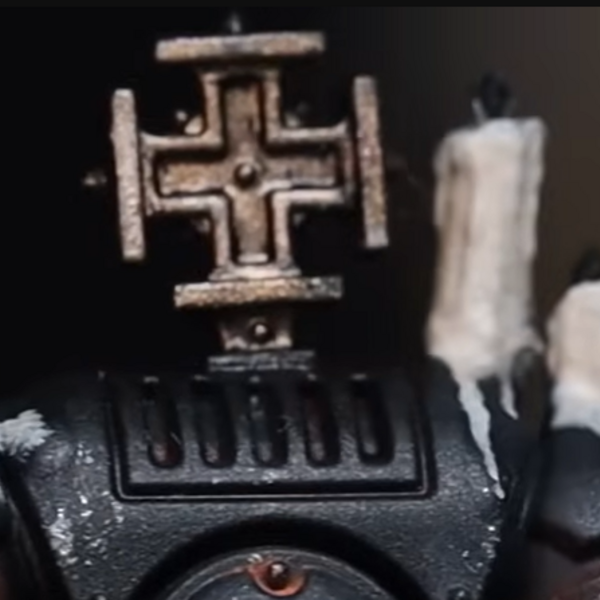 As for the Candles (if you have them), basecoat them with AK Dark Brown , highlight them with Karak Stone . Optional is a wash of (new) Seraphim Sepia , followed by a final highlight of Wraithbone . Later we will use oil paint for the candle's effect.
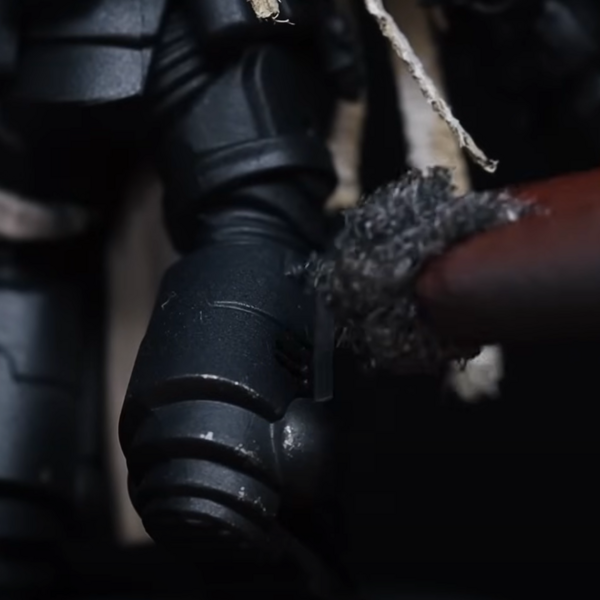 Next add some weathering to the entire armor using a sponge/steelspronge and Iron Warriors , which is a nice and dark metal color. Add some to the sponge, dab the majority of it off and go around the entire model. Focus on things that would naturally get damaged, think hands, shoulderpads, helmet, knees and elbows, etc.
 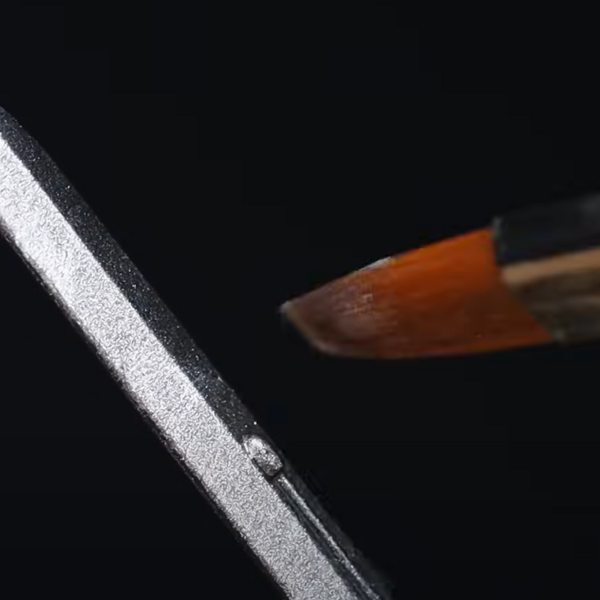 While you're at it, basecoat the weapons with the Iron Warriors . Basically drybrush it on there. Drybrush the weapons with Runefang Steel as a highlight. Do the same with the chains, the vents of the backpack, all the metal.
 Paint the belt, pouches, leather parts, book, etc with a base coat of Rhinox Hide . Then, mix the paint 50/50 with Skrag Brown and scratchily paint it on there. Finish up any bits that really need to pop with puer Skrag Brown .
 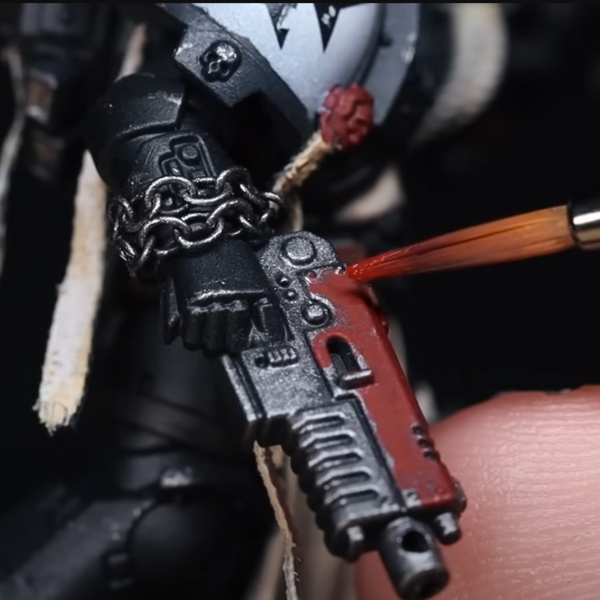 Next up is stippling on AK Burnt Red for the red parts such as the gun, the hilt and the seal. Follow it up with a highlight of Mephiston Red .
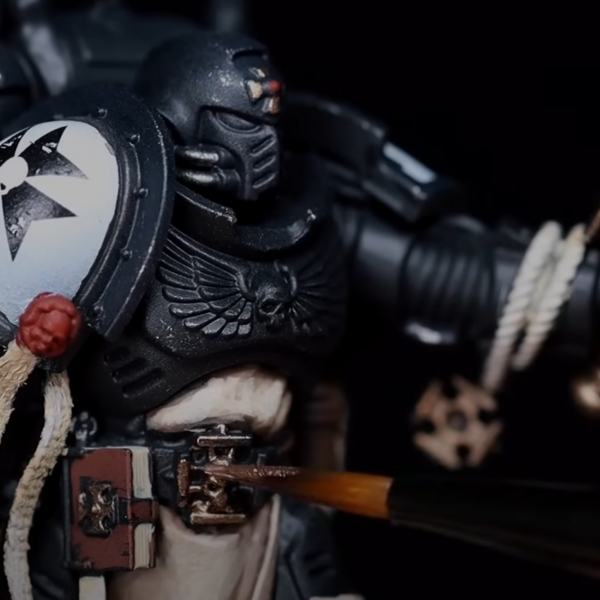 All the golden areas get a basecoat of Pro Acryl Bronze . Follow it up with a drybrush on the metallic areas: a mix of 50/50 Bronze and The Army Painter Metallic Fenatic True Brass
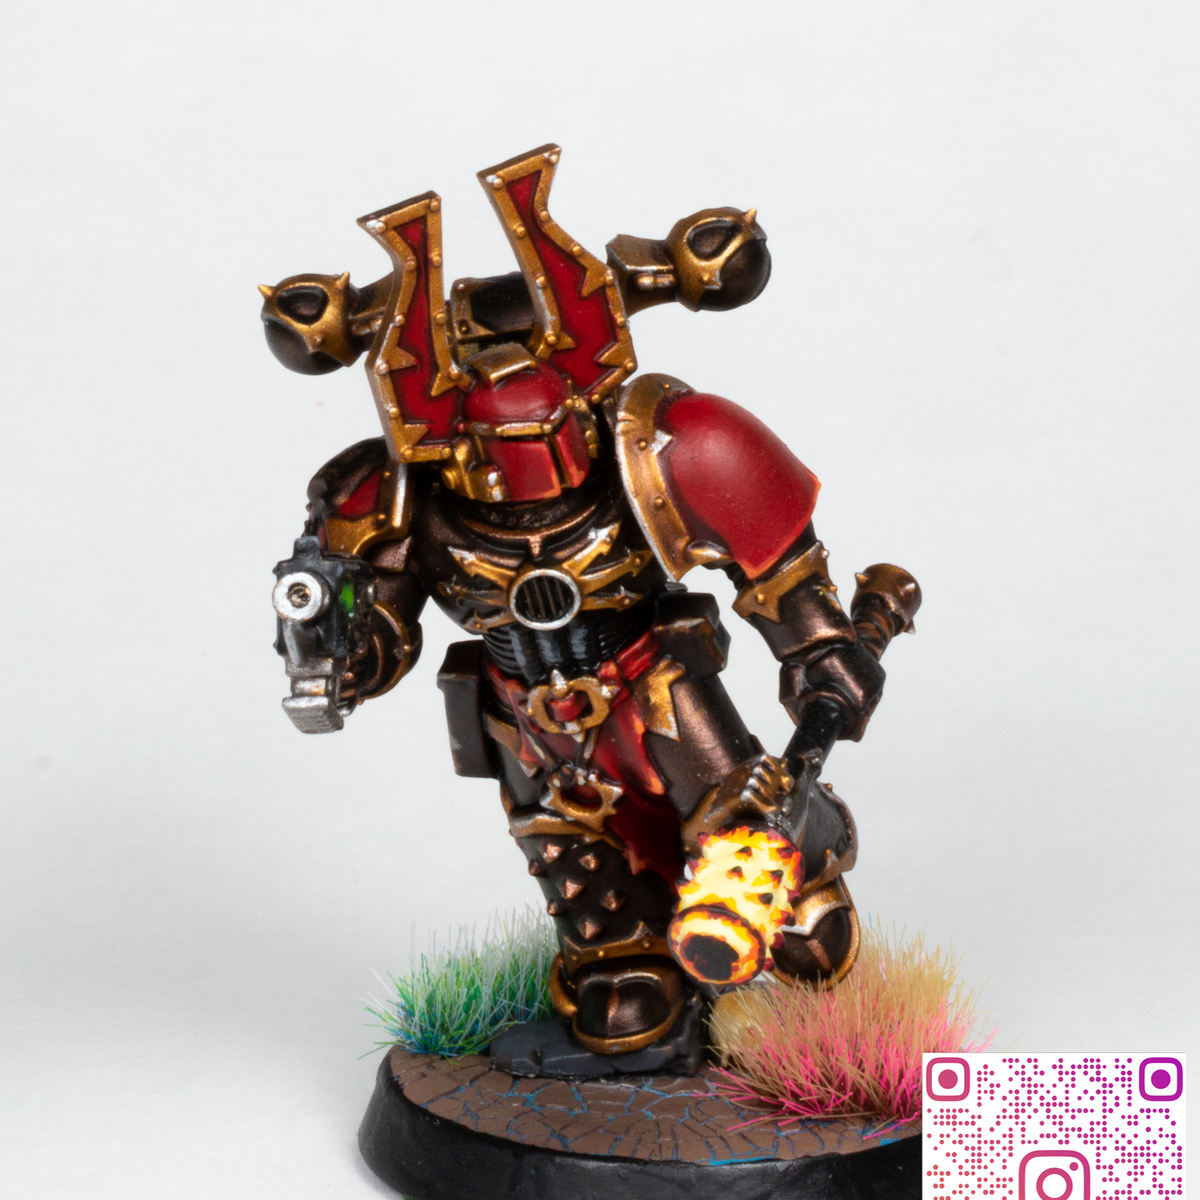
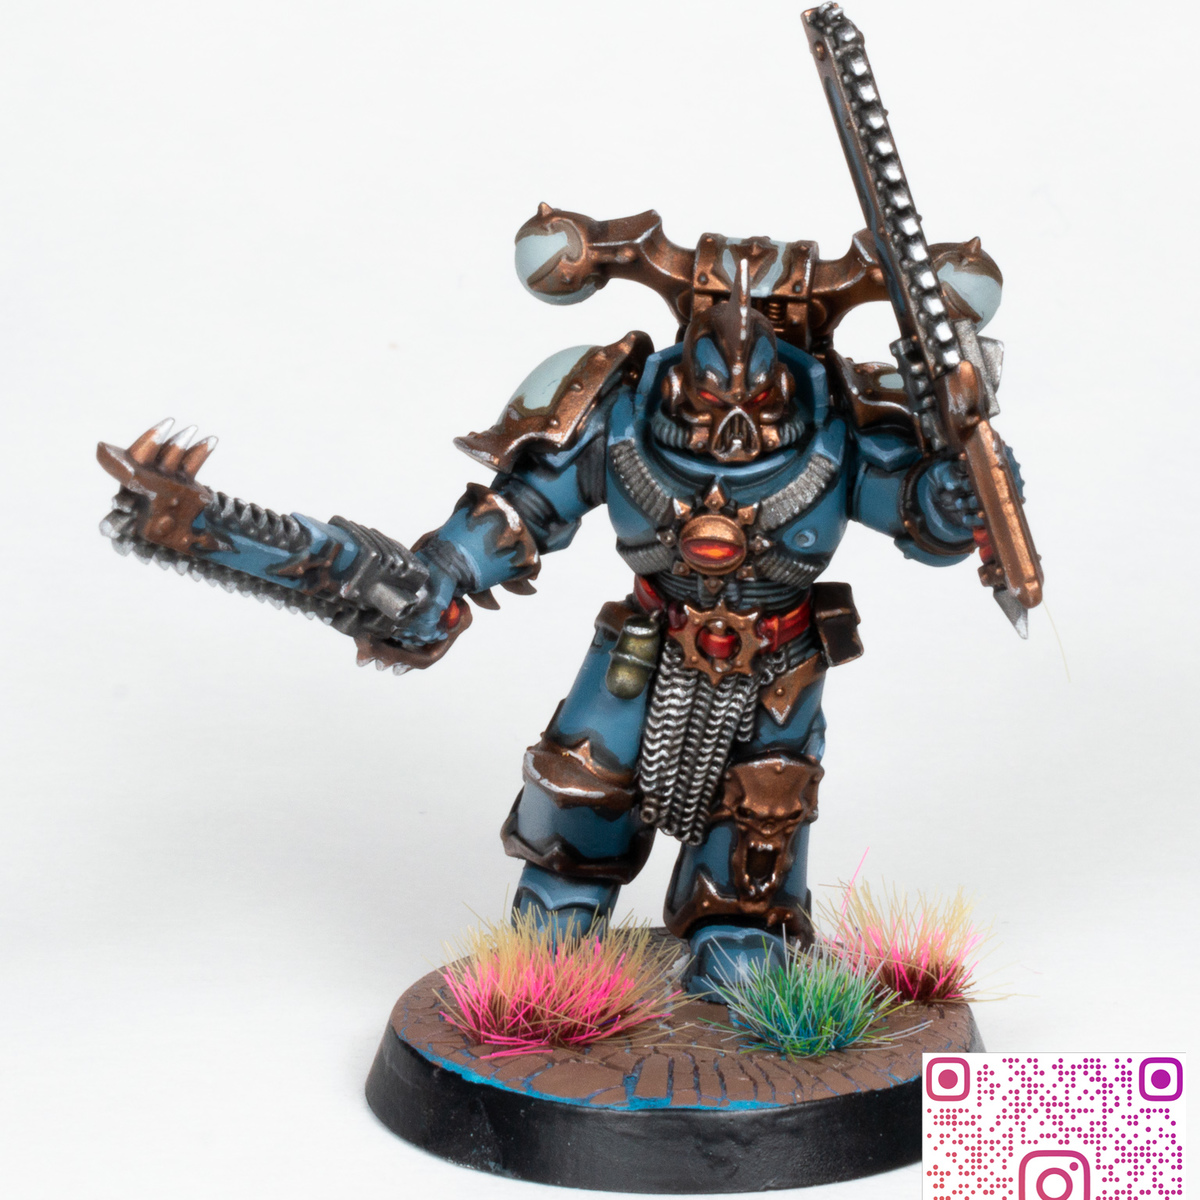
 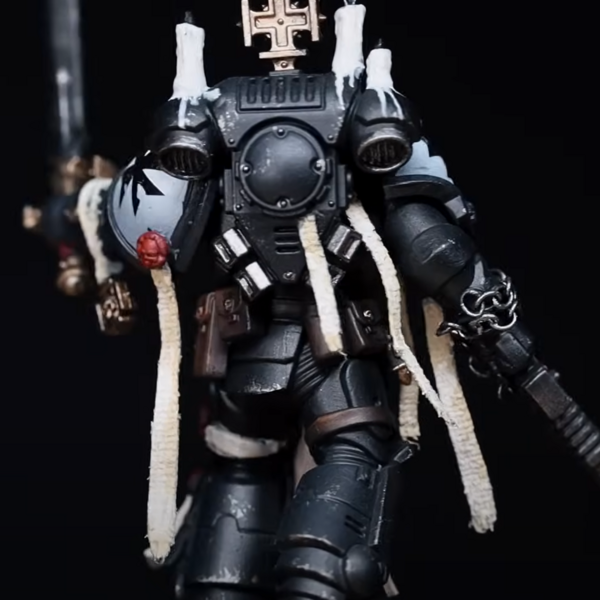 And that's the pase paints done! Check the image if you got everything.
 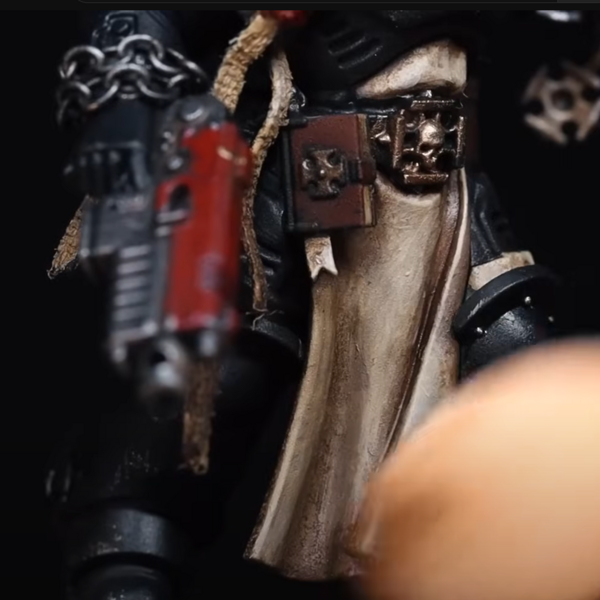 Time for the washing of the model. First we use a unifying wash of Villainy Ink's Goon's Grime. Mix it 50/50 with Mineral Spirit and cover the entire model except for the black armor (a bit at the feet is fine to show grime) and I think the candles. Maybe some bits of the base of the candle.
Once that's done, wait for 15 minutes, then put a q-tip in mineral spirit and start pulling away some of the wash, leaving it where you want it to look grimy and removing it where you want it to be brighter. Better follow the video here.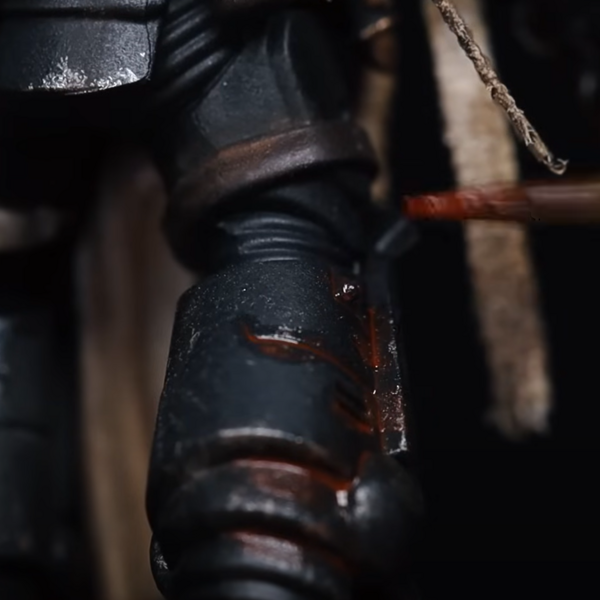 Add rust to the armor and a bit on the chains using Villainy Ink's Sector Rust, again 50-50 mix with spirit. almost use a pinwashing motion, just let it flow into the recesses. You can then go over it and remove parts of it or use a brush with mineral spirit to remove the effect if you want.
 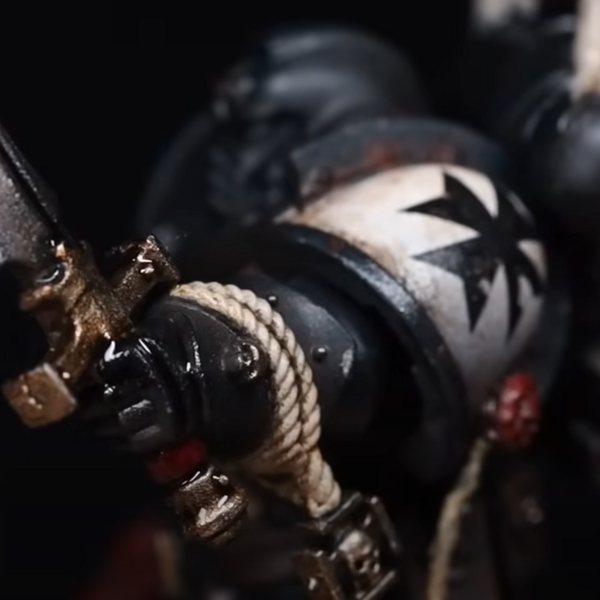 Finally a wash of Villainy Ink's Decrepit Filth to darken up certain areas like the shoulderblades and the metals and the lower halves of the cloths, etc. Just use it as a bit of panel lining and to integrate some shadow areas on the metallics, it's just an additional step of grime.
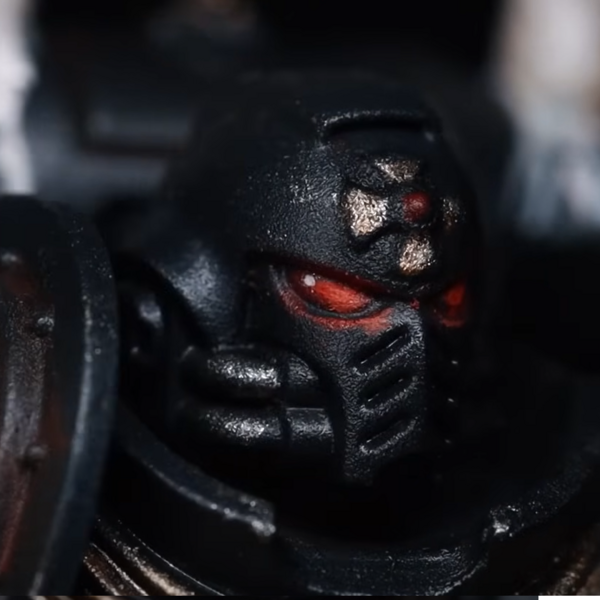 The lenses are done with a basecoat of AK Burnt Red followed by Mephiston Red , Wild Rider Red and a Corax White white dot in the cornor. Also some Wild Rider Red at the bottom rim for an OSL effect.
 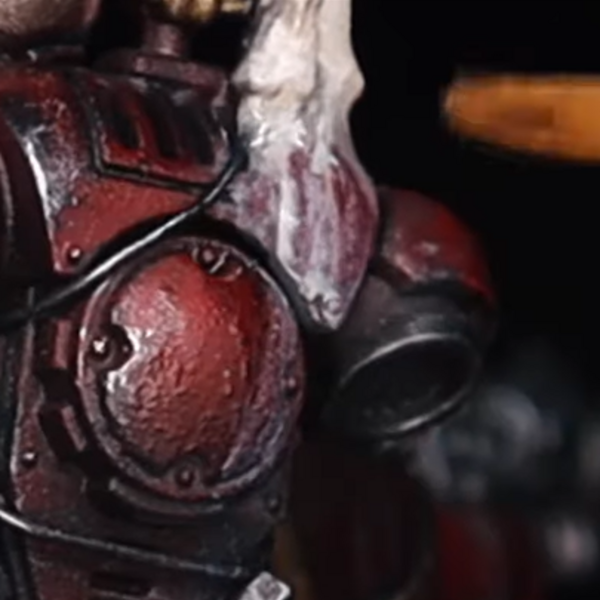 Lastly we will use Abteilung's Dust , an oil paint. the reason why is because you can paint over it, it dries up very matte, and you can create rust streaks that you can then activate with mineral spirit to manipulate them, drag them down so it softens up the paint and makes it look more liquid.
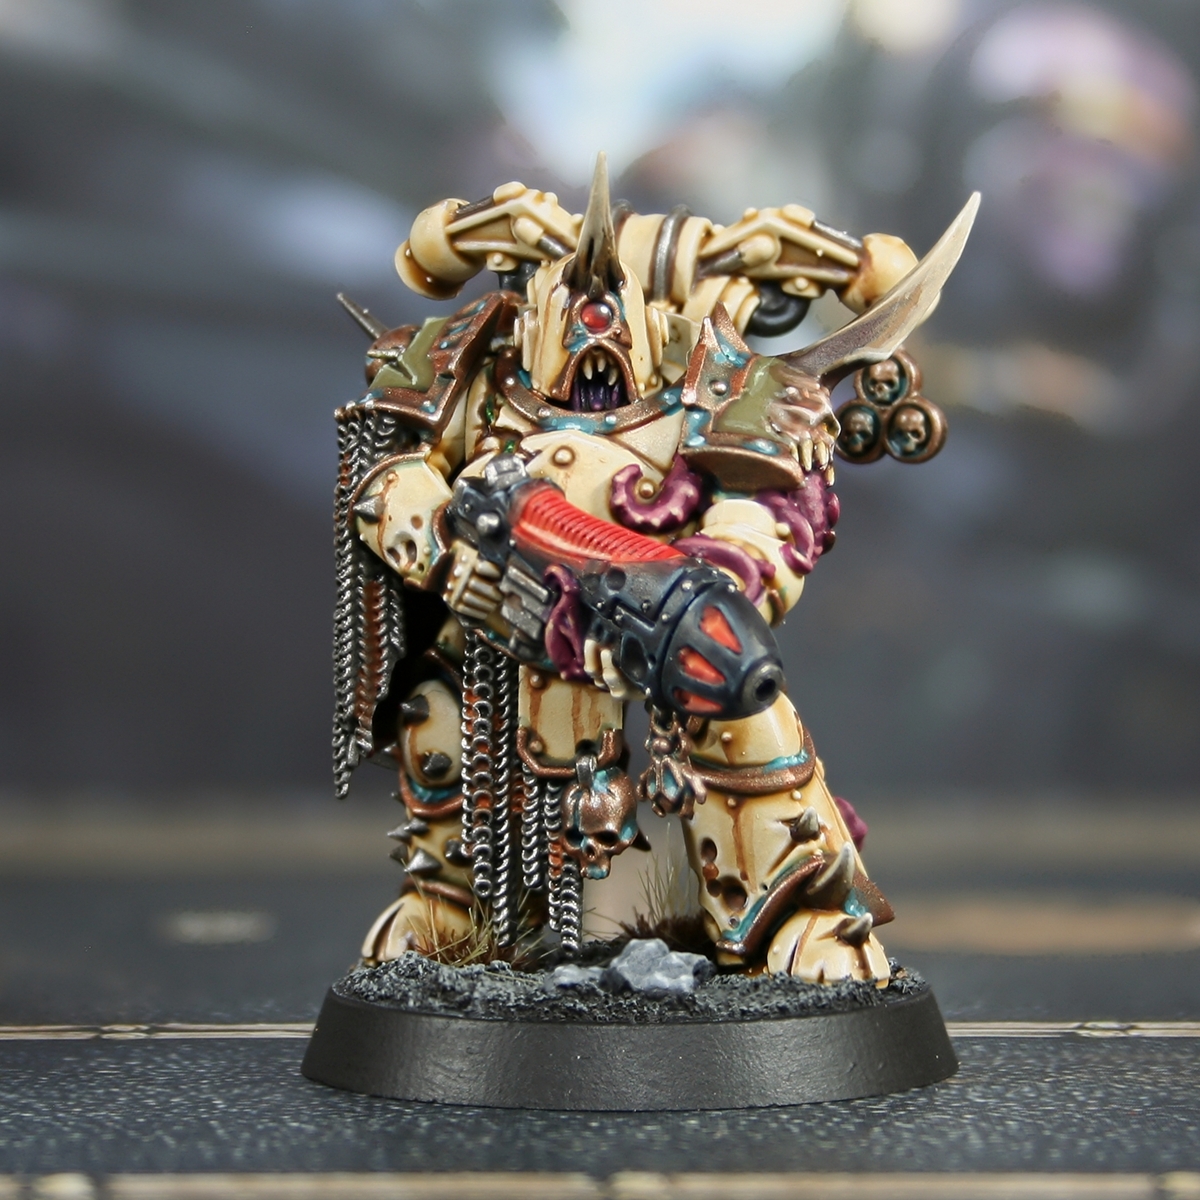
It will dry up matte in the thin areas and the thicker parts will dry up in a glossy waxy style.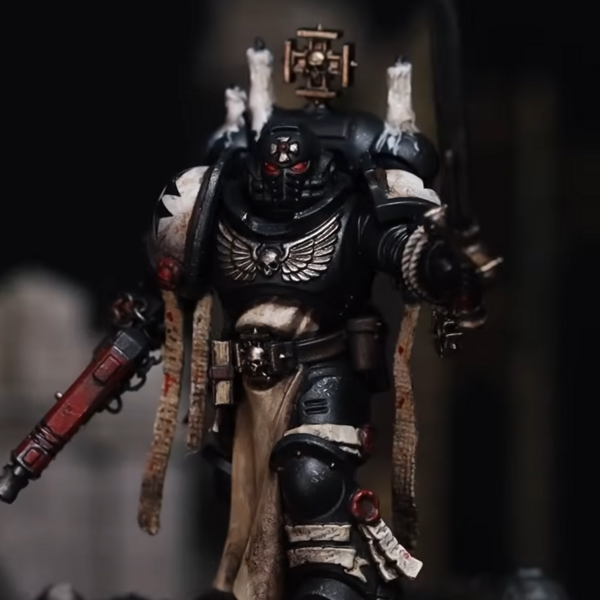 And that's the model finished!
AK Interactive 3rd Generation Acrylics
Standard 4
- AK11058 Decomposed Flesh
- AK11097 Burnt Red
- AK11109 Dark Brown
- AK11114 Deck Tan
AK Interactive Abteilung 502
Base 1
- Dust
Citadel Painting System 13
Base 8
- Abaddon Black
- Corax White
- Corvus Black
- Iron Warriors
- Macragge Blue
- Mephiston Red
- Rhinox Hide
- Wraithbone
Shade 1
- Seraphim Sepia
Layer 3
- Runefang Steel
- Skrag Brown
- Wild Rider Red
Air 1
- Karak Stone
Colour Forge
Base 1
- Raven Black
Monument Hobbies Pro Acryl
Metallic 1
- 032 Bronze
The Army Painter Warpaints Fanatic
Metallic 1
- True Brass
.jpg)