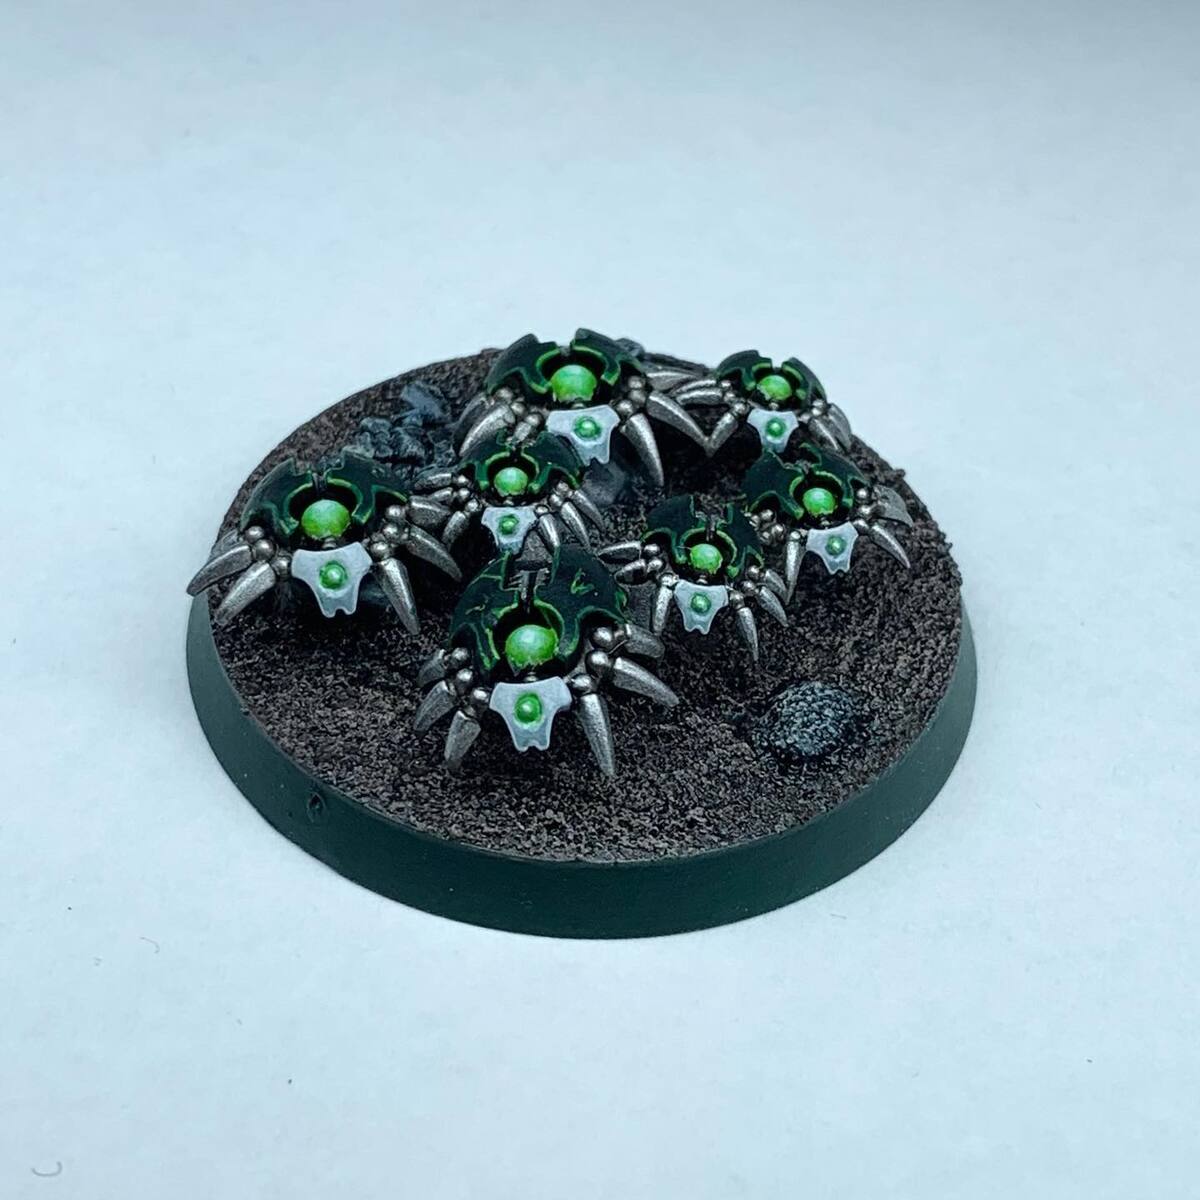
Based on the Necron dynasty shown by Darren Latham and tweaked by Angel Giraldez
INTRO DESCRIBING
Armor Plates
This section covers the Necron armor plates. To stipple, take an old Citadel drybrush, coat the brush with the paint, and wipe off any excess on a paper towel.
- Base armor plates with 2 thinned coats of Incubi Darkness
- Stipple Black Templar liberally on armor plates, especially focusing on areas that aren't raised
- Stipple Sotek Green in the areas that haven't been covered by the Black Templar in step 2
- Stipple Ahriman Blue in the middle of the patches covered with Sotek Green in step 3
- Lightly stipple Temple Guard Blue in the middle of the raised areas of Ahriman Blue from step 4
- Edge highlight Lothern Blue on the edges of the armor panels
- Shade the armor plating all over with thinned Kroxigor Scales
Metallic Areas
- Base gun barrel with Runelord Brass
- Dry-base ekoskeleton, blade, and handles with Iron Warriors
- Base any "fancy areas" with Retributor Armour or Screaming Bell , as you like
- Edge-highlight the brass and steel areas with Leadbelcher
- Edge-highlight the steel areas with Iron Hands Steel
- Shade the brass and steel areas with Agrax Earthshade
- Shade just the steel areas with Nuln Oil
- Shade any "fancy areas" with Seraphim Sepia
Energy Areas
For the gauss orbs on the gun barrel, "power pack" on the barrel, and the eyes, the cabling on the gun, as well as any other glowing spots on the model. Here specifically, you may want to use a wet palette.
- Paint the energy areas with 2 thinned layers of Grey Seer . In the recesses, add in a 1:1 mixture of Grey Seer and Water.
- In the center of the orbs (eyes, gun barrel orbs, bars on the battery pack, and any glowing spots), paint Corax White
- Shade these areas with Tesseract Glow
- In the recesses of these areas, shade a wet 1:1 mixture of Tesseract Glow and Warp Lightning . You may want to repeat this step again to achieve the desired effect.
- Shade the cabling with a wet layer of Warp Lightning
Citadel Painting System 20
Base 9
- Corax White
- Grey Seer
- Incubi Darkness
- Iron Hands Steel
- Iron Warriors
- Leadbelcher
- Retributor Armour
- Runelord Brass
- Screaming Bell
Shade 3
- Agrax Earthshade
- Nuln Oil
- Seraphim Sepia
Layer 4
- Ahriman Blue
- Lothern Blue
- Sotek Green
- Temple Guard Blue
Technical 1
- Tesseract Glow
Contrast 3
- Black Templar
- Kroxigor Scales
- Warp Lightning
