
Don't worry about using correct colors, most of the colors can be replaced, or you can mix your colors yourself (I strongly recommend that as a practice).
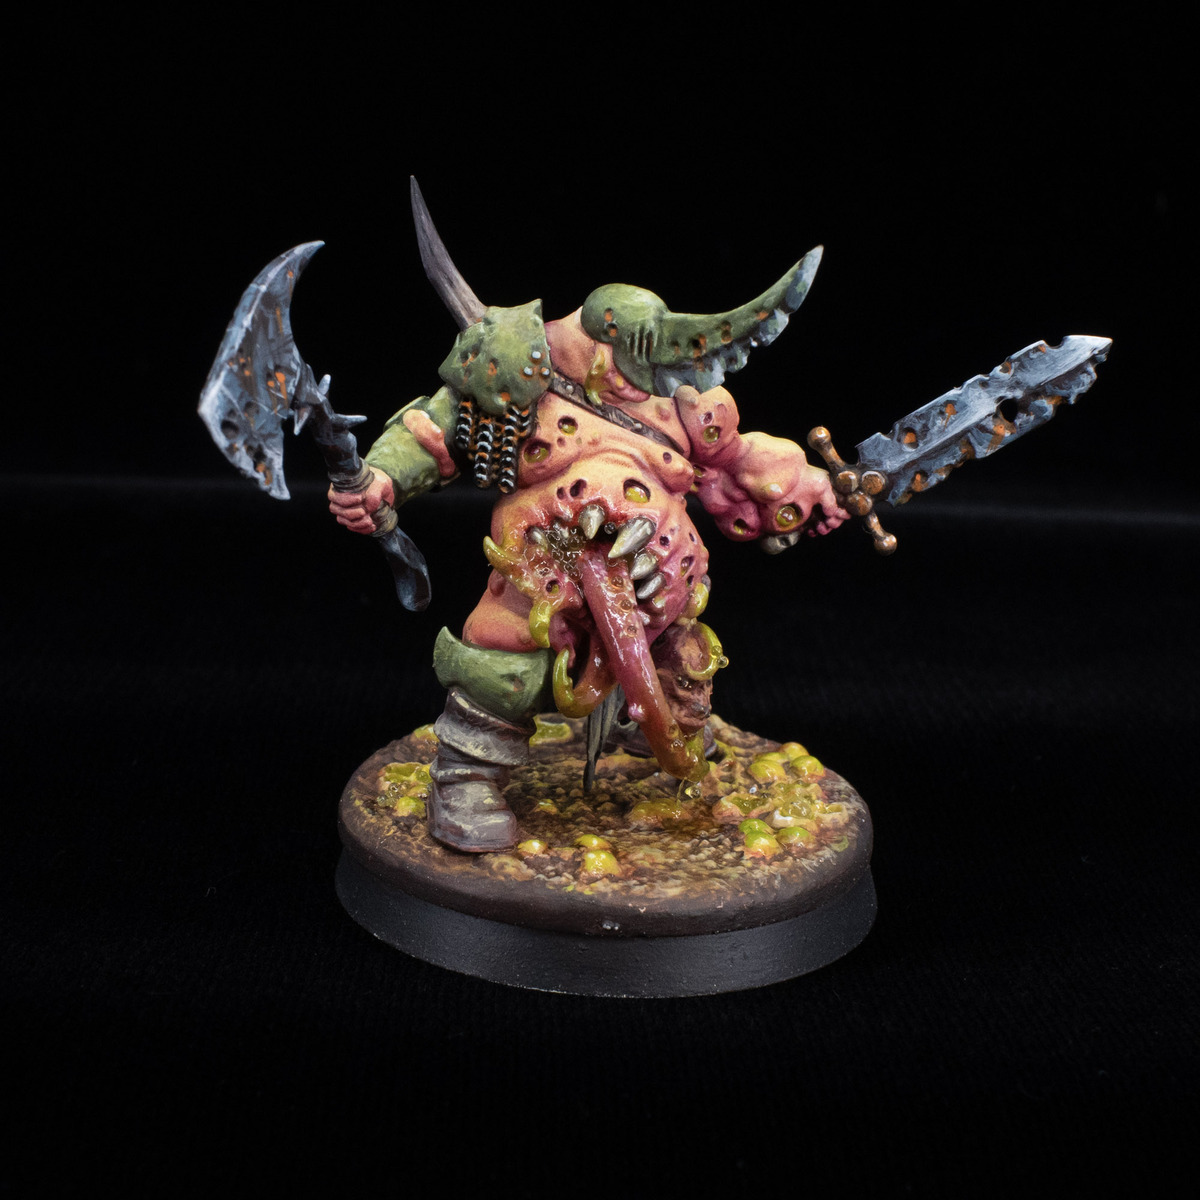
 Skin
Skin
Most of the skin is painted with an airbrush, but you can easily use glazing, or any other technique.
- Basecoat skin with Pale Flesh .
- Build up shadows from below with diluted Moody Mauve , then Velvet Red .
- Boost deepest shadows by airbrushing with diluted Hive Dweller Purple .
- Carefully apply diluted Charming Chartreuse from the top to add just a hints of greenish hue.
- Highlight raised edges and areas with Pale Flesh using a brush.
- If needed, glaze deeper shadows with [AK Dragon Blood].
Horns
- Blend from Buff towards Rhinox Hide and towards black to the tips.
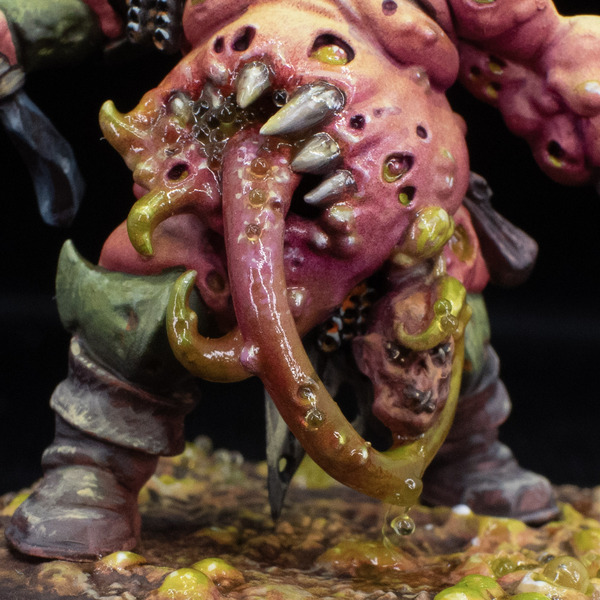
Tentacles
- Transition with airbrush or glazing from [AK Dragon Blood] to Olive Green to Pistachio at the tips.
- Airbrush from bottom with a bit of Velvet Red .
- Highlight with Intense Pink on violet parts and Pistachio on green parts and Pastel Yellow on the lightest tip.
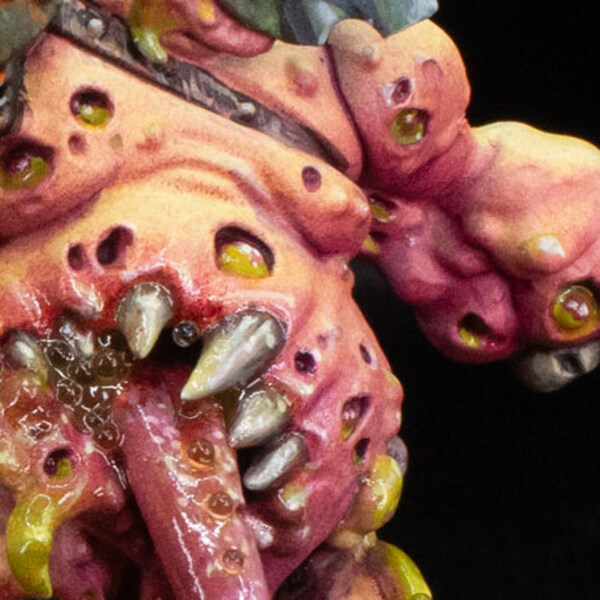
 Wounds and lesions
- Basecoat each wound with [AK Dragon Blood], highlight with Intense Pink or just mix of white and [AK Dragon Blood].
- Add a drop of airbrush consistency Pistachio in the bottom of each wound, it should be thicker than for glazing, but thinned enough to spread and deposit in recesses.
- Paint bowels with more red color like Violet Red , then build up to Brick Red and finally highlight with Pale Flesh .
- Glaze over small pimples on the skin with Pistachio .
- Paint large pimples/abscesses sticking from the wounds with Olive Green , then blend towards the bottom with Pistachio . Add white dot of highlight at the top.
 Leather
- Basecoat with Rhinox Hide , but instead doing typical two thin coats, stop at one coat, so the red from the speedpainting basecoat will show.
- Paint sloppy lines with Rhinox Hide mixed with Buff , start with ~3:1 mix, then ~2:1 mix, and finish with ~1:2 mix on highlighted areas.
Don't paint on the inside and downward-facing parts, leave them brown with red showing through to show environment reflecting on the model.
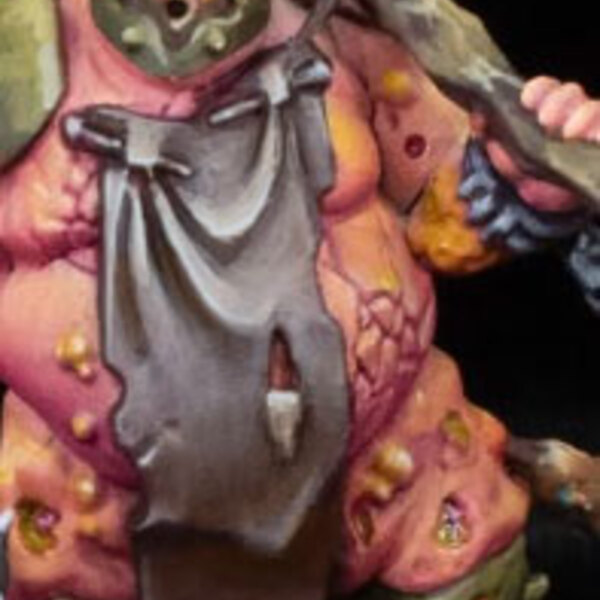 White fabric
- Basecoat with desired midtone mix Rhinox Hide , Camouflage Green and Rock Grey (in this case it was about 40-40-20 mix).
- Build up lighter tones with Rock Grey and edge highlight most rised edges with white.
- Glaze over the shadow areas with Rhinox Hide to build up the shadows.
- Optionally glaze midtones over with Camouflage Green or other desired color to visually "connect" the fabric with the rest of the mini.
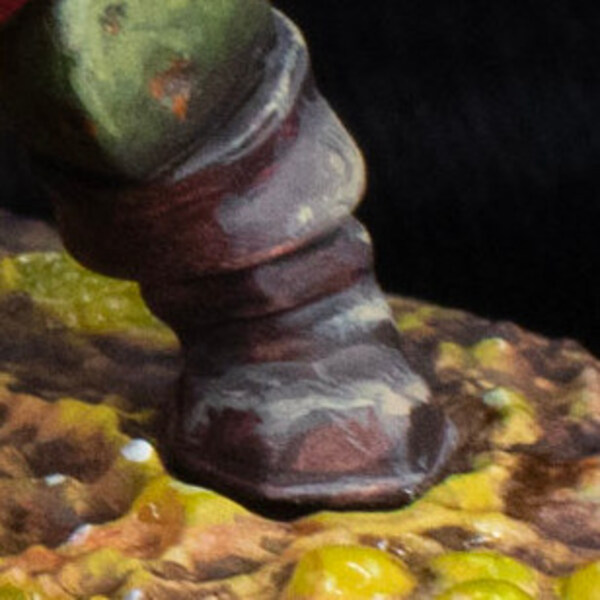
 Green armor
- Basecoat armor with Russian Green .
- With large brush lazily slap Camouflage Green towards upper facing parts.
- Start mixing Pastel Yellow with Camouflage Green and continue layering smaller areas, ending with pure Pastel Yellow on the helmet, shoulder pads and edges of most sticking out bits.
- Glaze over downward-facing armor plates and near armor parts connections with Rhinox Hide . Add more brown on feet to tie the model better with environment.
- Add rust deposits in armor recesses with dots of slightly diluted Orange Fire , pull the paint down if you want to create
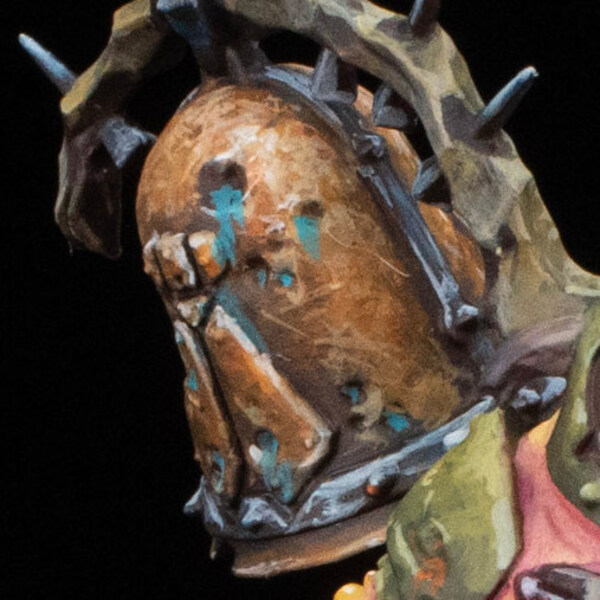 Brass elements
You want to create more drastic color transitions in comparison to green armor parts to show metallic character of the parts.
- Basecoat with Rhinox Hide .
- Start building up the color with Beasty Brown , then start adding Orange Fire to the mix. Similarly to green armor, paint sloppy with large brush to create texture.
- Add Buff highlights.
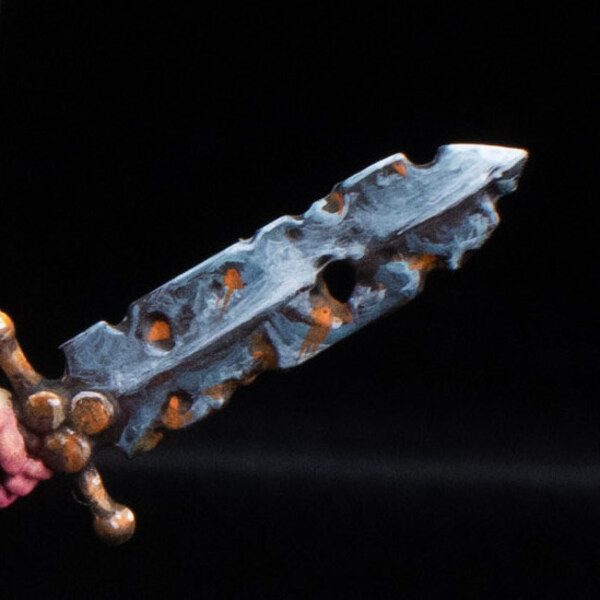 Steel (weapons, chainmail)
Similarly to brass parts, you want to create more more drastic color transitions.
In case of the chainmail, all this is done with smaller and smaller edge highlighting.
- Basecoat with Rhinox Hide to create tonal variation between cold steel and warm shadows.
- Paint upper facing elements with slightly diluted Light Prussian Blue , you don't want too much contrast between the basecoat.
- Add smaller areas with a mix of Light Prussian Blue and Blue Grey .
- Finish with painting relatively large Blue Grey highlights, and add pure white in most upward facing elements to create illusion of shininess.
- Basecoat shafts of the weapons and shields with Rhinox Hide and cover ~half of the areas with Green-Brown layer (edges and planes facing upward), then add one more layer with the mix of Green-Brown and Buff , to finally highlight the edges with Buff
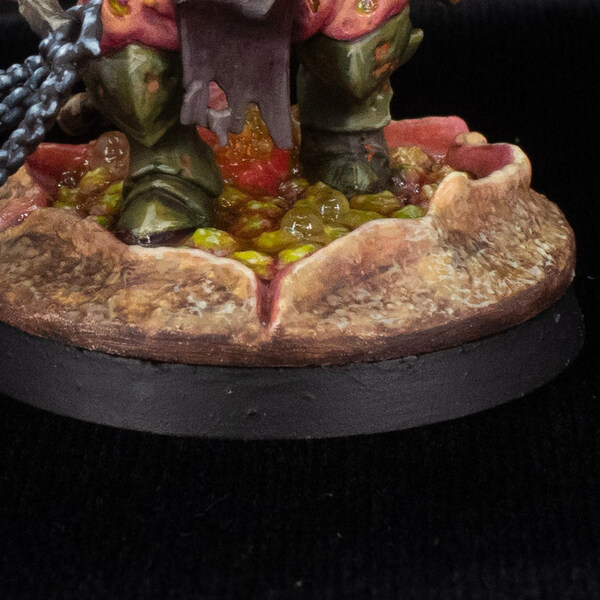 Bases
Bases
Decay/Pestilence bases can be done by hand, or you can buy sets under those same names from Zabavka Workshop MMF.
- Basecoat like skin with Pale Flesh .
- Paint rims of the base toppers with Rhinox Hide and wash with diluted Rhinox Hide over whole base, to emphasize recesses.
- Paint with wash consistency Green-Brown towards the middle, adding slight gradient to the base. Try not to cover all the dark recesses with this paint.
- Glaze with Brick Red around any pimples, seams and more organic elements to add more life to the ground.
- Edge highlight hard edges of the base with Buff
- Paint any pimples/abscesses on the ground with Olive Green from the bottom to Pistachio on the top.
- Paint tongues Brick Red and layer with mix of more and more white towards upper facing edges, but don't overdo it, you only want slight gradient, so base elements won't be fighting with the mini for attention.
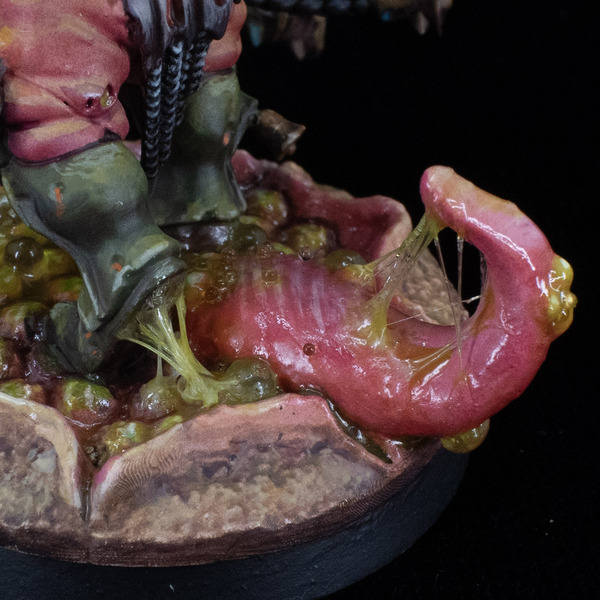 Slime effect
⚠️ Remember to fix the mini to the base and varnish it before adding any effects
- If you want to add strings of slime, use some semi-hardened UHU Glue (30-60s out of the tube is great consistency). Connect multiple elements with gooey string using a toothpick.
⚠️ Important: Leave the glue to dry, because using water effects or painting over it may cause it to haze and whiten. - Mix water effect (for example Still Water from Vallejo) with Malignant Green around 2:1 and paint with it over larger wounds, pimples/abscesses on the ground or large ones on the skin, tongues, tentacles, strings of slime created with UHU Glue, and other organic elements.
- Wherever you want bubbly effect, add transparent micro beads (used in nail art), or larger ones (found in silica gel packets you often see when you buy new pair of shoes for example).
- Paint insides of smaller wounds and any small pimples you might've missed with gloss varnish, you can also blend gloss varnish into your usual (matt/satin) varnish, connecting elements covered with water effect

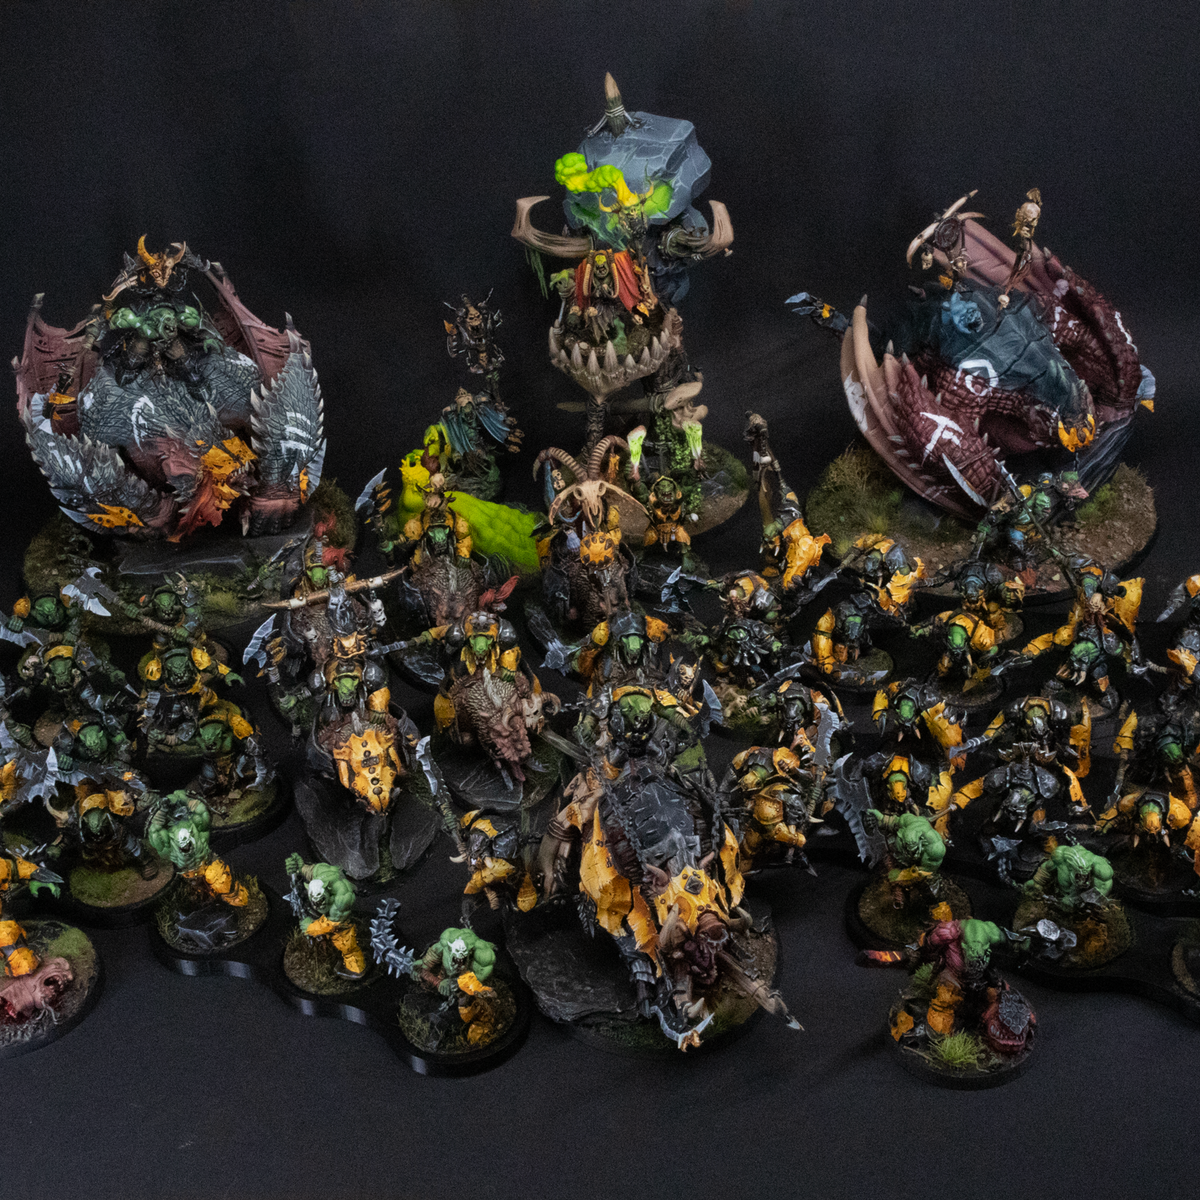
Bartosz Pielak 🇵🇱
Czokalapik
Mini painter first, Age of Sigmar player second. My two main reasons to go bankrupt are Orcs and Nurgle, but Gitz and Skaven might join the list soon...
AK Interactive 3rd Generation Acrylics 12
Standard 10
- AK11007 Rock Grey
- AK11011 Blue Grey
- AK11031 Buff
- AK11075 Violet Red
- AK11093 Brick Red
- AK11126 Green-Brown
- AK11130 Pistachio
- AK11147 Olive Green
- AK11159 Russian Green
- AK11186 Light Prussian Blue
Pastel 1
- AK11037 Pastel Yellow
Intense 1
- AK11065 Intense Pink
Citadel Painting System
Base 1
- Rhinox Hide
The Army Painter Speedpaint 2.0
Speedpaint 4
- Charming Chartreuse
- Hive Dweller Purple
- Malignant Green
- Moody Mauve
Vallejo Game Color
Base 4
- 72.003 Pale Flesh
- 72.008 Orange Fire
- 72.031 Camouflage Green
- 72.043 Beasty Brown
Vallejo Xpress
Xpress 1
- 72.407 Velvet Red