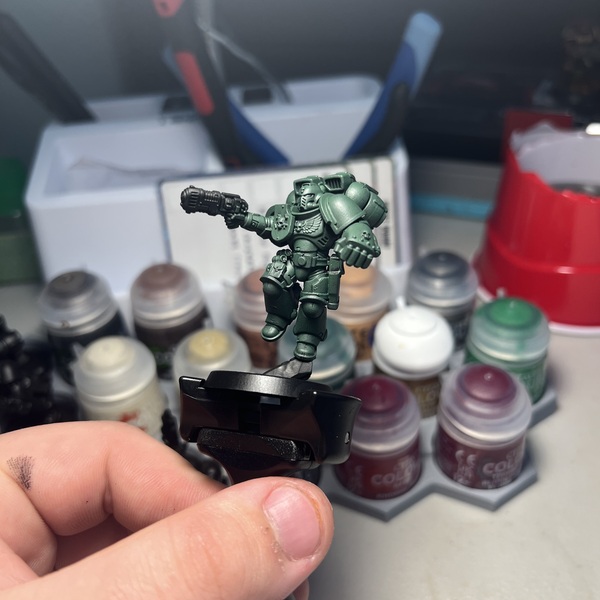
Salamanders
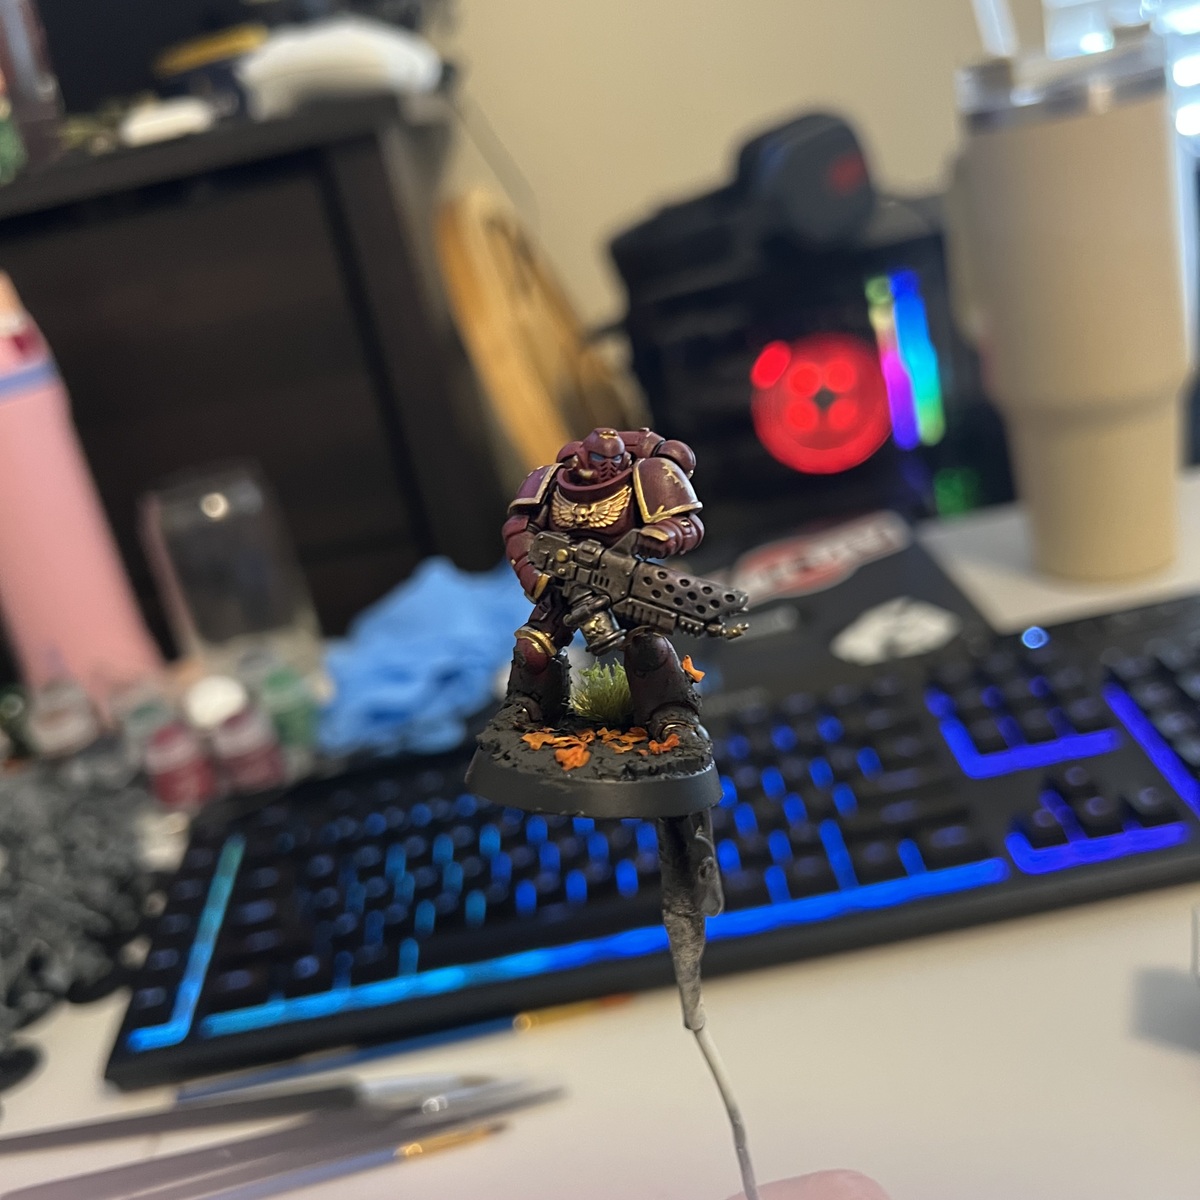
Im using a Jump pack intercessor for this how to but this is the paint scheme i use for the entire army.
 Primer/Fill in
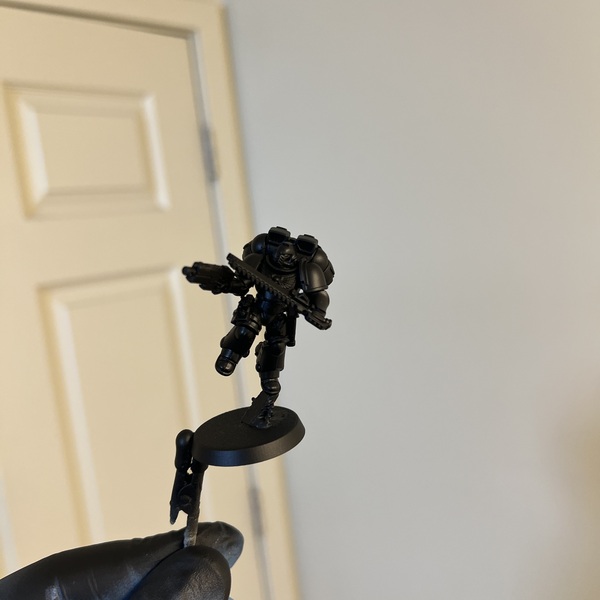 Chaos Black spray this into the hard to reach places, behind weapons, war gear, any hanging accoutrements (i.e chains, holsters, bags, etc) doing quick sprays 3-5 inches away from the models, spraying for 1-2 seconds per pass, it should be fast and thin enough to cover the model in those spaces but enough to let dry before the next pass. DO NOT HOLD THE NOZZLE FOR ONE CONTINUOUS SPRAY.
- Abaddon Black after the primer has dried, go over THE ENTIRE MODEL, using a mixer of thin dry brushing and thin wet brush coats, (2-3 coats). this should fill in any odd spots missed by the primer and allowing the model to have a little texture as well for the worn look later. (use a #2 flat brush)
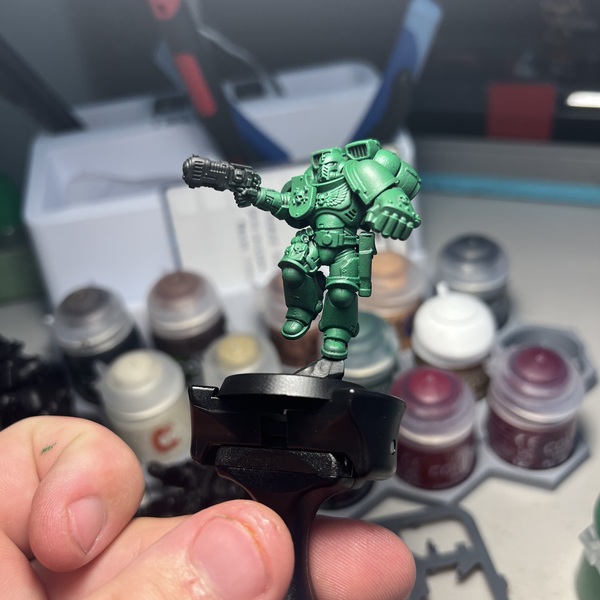
Base
 Waaagh! Flesh I started by using thin dry brush coats. The goal is to coat the entire model and covering as much black as possible but not worrying about COMPLETLY coating the model, some thin spots where black kind of comes through is perfectly fine. You are basically adding a base green for the other colors to stand on and POP. The black coming through adds a nice faded worn look later.
Main Color
 Warpstone Glow Dry brush, Dry Brush, Dry brush. you want this color to pop without coating every square inch. you want the base coat underneath to add worn edges, dark dull spots etc. but the majority of the armor will be this vibrant green. I applied 1-2 coats for mine but you can add 2-3 or more, depending on how you want it to look.
Trim
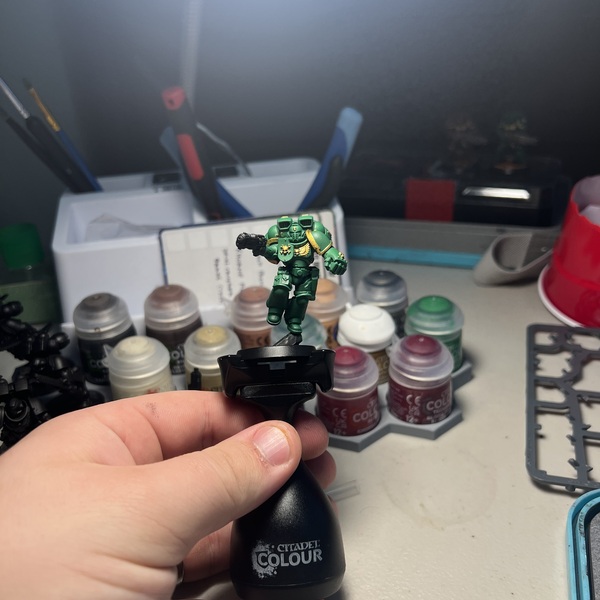 Skullcrusher Brass VERY CARFULLY, using a 5/0 brush go over EVERY TRIM PIECE making sure to coat the trim in the brass. if you touch the green with the brass thats ok, its part of the process. we can touch up later. Look for any trim, "buttons" or places you want to see "gold"
"Leather"
 Bugman's Glow Agrax Earthshade Start by painting your "leather" pouches with a healthy coat or two of "bugman" once it has completely dried, add a generous amount of AGRAX to the pouches to get your desired "worn leather look"
Pauldrons, Under-Armor and Fill In
 Abaddon Black Paint your pauldrons (dont paint over the trim, if you do you can fix it) you want the center black. after go over the entire model and paint the Under-armor pieces , tubes (if applicable) and vents. you want them to have some contrast to the green,
Eyes
- Khorne Red paint the eyes if you have helmets on your model. I used Khorne red but obviously you can choose whatever you would prefer
Citadel Painting System 8
Base 4
- Abaddon Black
- Bugman's Glow
- Khorne Red
- Waaagh! Flesh
Shade 1
- Agrax Earthshade
Layer 2
- Skullcrusher Brass
- Warpstone Glow
Spray 1
- Chaos Black