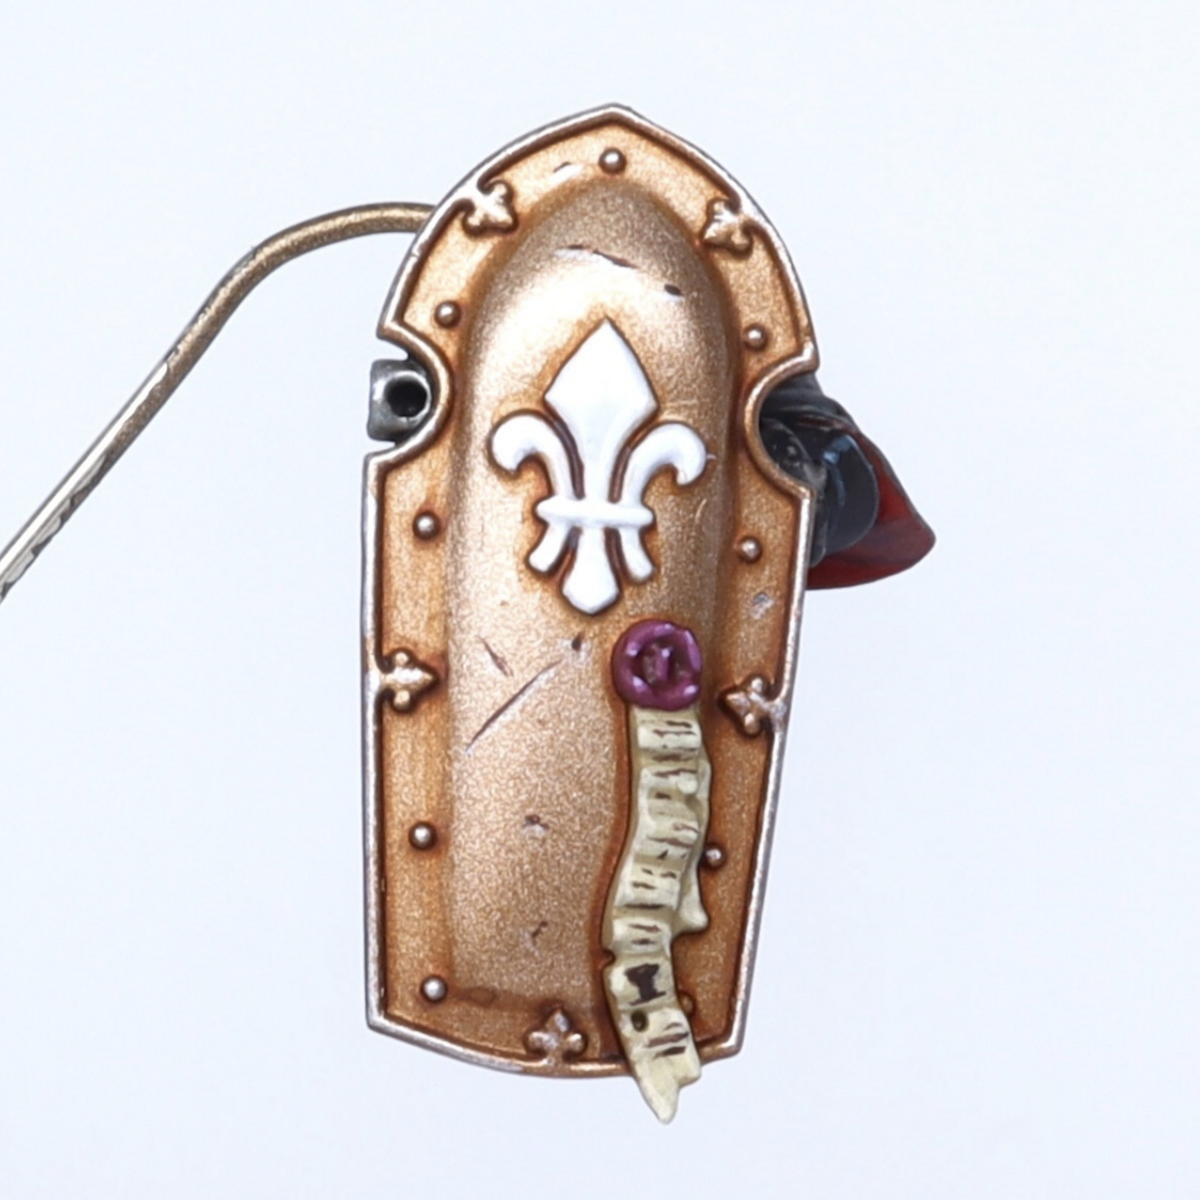
House Raven (Imperial Knights)
Method done on a Armiger Helverin and Cerastus Knight, should work for all others
Build the model in subassembly, leaving the majority of the armor plates, arms, and head, separate from the main body
Prime
- Prime the skeleton and arms of the knights in Leadbelcher
- Prime the carapace and armor plates in Zandri Dust
Basecoat
- Basecoat the underside of all the armor plates in Leadbelcher
- Basecoat any areas of the head that need to be Leadbelcher
- Basecoat any areas of the armor on the skeleton in Zandri Dust
- Basecoat the armor plates to be red in Mephiston Red
- Basecoat the armor plates to be yellow in Averland Sunset
- Basecoat the armor plates to be black in Black Legion
- Basecoat the armor plates to be white in Corax White
- Basecoat the trim of the armor plates in Leadbelcher
- Basecoat the accent pieces of the skeleton and arms in Balthasar Gold
- Basecoat the pipes and tubing in Kantor Blue
Shade
- Shade the metal trim of the armor plates and the recesses with Agrax Earthshade
- Shade the whole skeleton and arms with a 2:1 mix of Ratling Grime and Lahmian Medium
- Shade the pipes with Drakenhof Nightshade
- Recess shade the yellow panels with Seraphim Sepia
- Shade the exhaust pipes with pure Ratling Grime
Layer
- Layer the yellow panels with hazard stripes using Abaddon Black paint the boundary between black and yellow with a thin line of Corax White
- Layer the glowy bits of the spear and shield (Cerastus) with Talassar Blue
- Layer the armor trim with Grey Knights Steel
Highlights
- Clean up any excess shade from the previous step
- Highlight the armor trim with Stormhost Silver
- Drybrush the entire skeleton and arm (all metal parts) with Leadbelcher then Stormhost Silver
- Highlight the armor panels on their edges (just inside the shade line that separates the panel from the trim) with Evil Sunz Scarlet for red panels, Ushabti Bone for yellow ones, Mechanicus Standard Grey for black ones, and White Scar for white ones
- Highligh the edges of any open armor panels with their highlight color
- Highlight the pips with Alaitoc Blue and Hoeth Blue
- Highlight the eyes with Temple Guard Blue
- Paint any skull mechanicums with Abaddon Black and Corax White half and half
- Paint any small wires in Temple Guard Blue
Use superglue to attach all armor plates and the head. Head might need to be pinned depending.
Citadel Painting System 24
Base 10
- Abaddon Black
- Averland Sunset
- Balthasar Gold
- Corax White
- Grey Knights Steel
- Kantor Blue
- Leadbelcher
- Mechanicus Standard Grey
- Mephiston Red
- Zandri Dust
Shade 3
- Agrax Earthshade
- Drakenhof Nightshade
- Seraphim Sepia
Layer 7
- Alaitoc Blue
- Evil Sunz Scarlet
- Hoeth Blue
- Stormhost Silver
- Temple Guard Blue
- Ushabti Bone
- White Scar
Technical 1
- Lahmian Medium
Contrast 3
- Black Legion
- Ratling Grime
- Talassar Blue

.jpg)