
Pale Skin
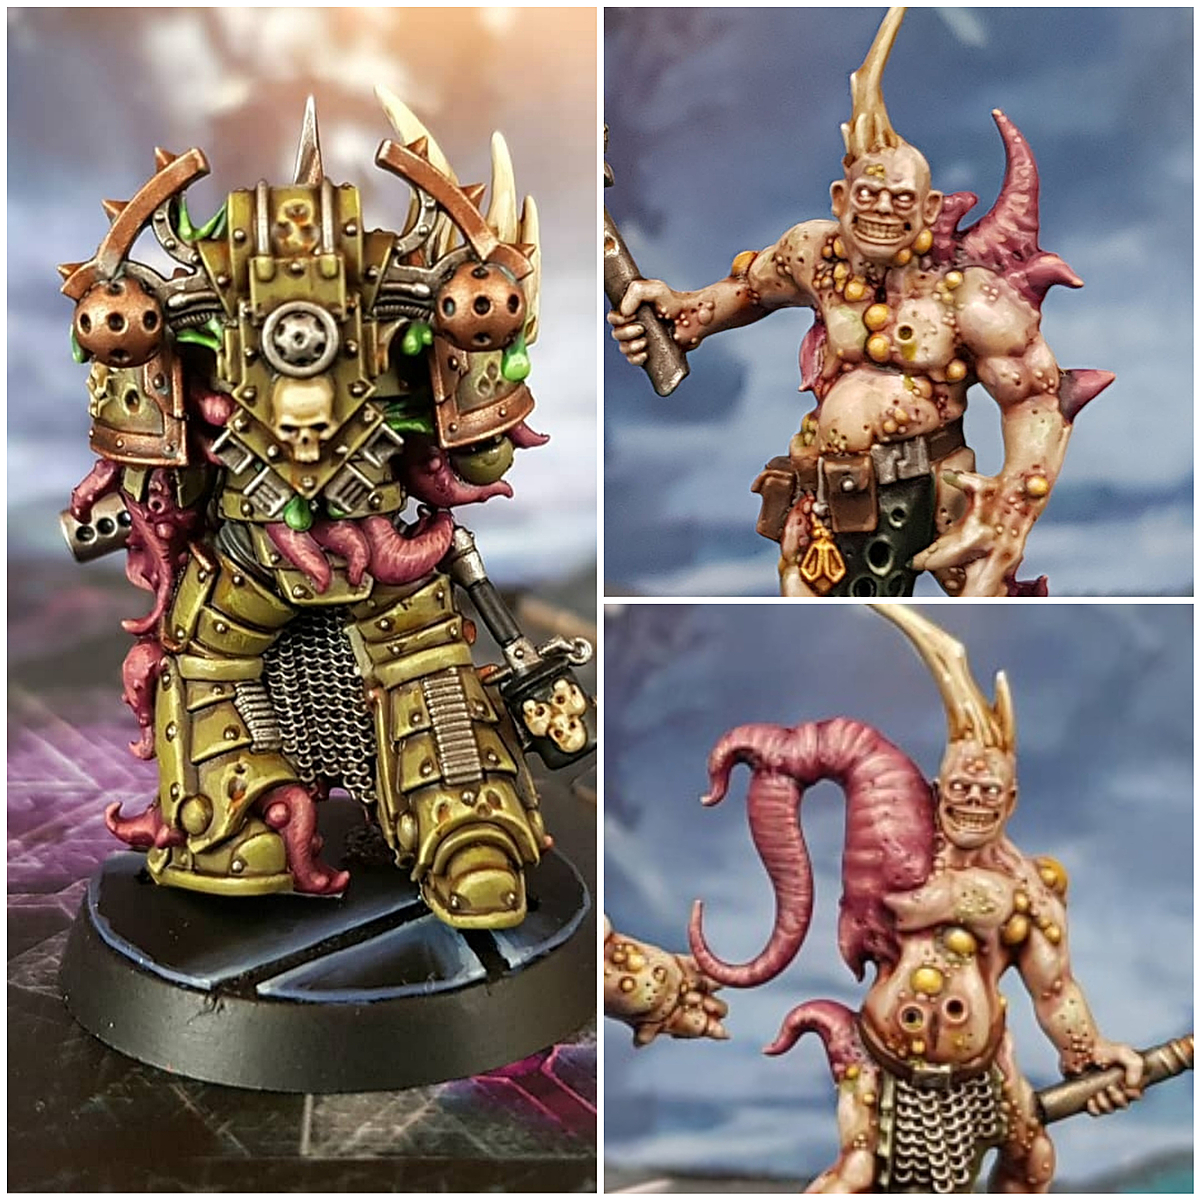
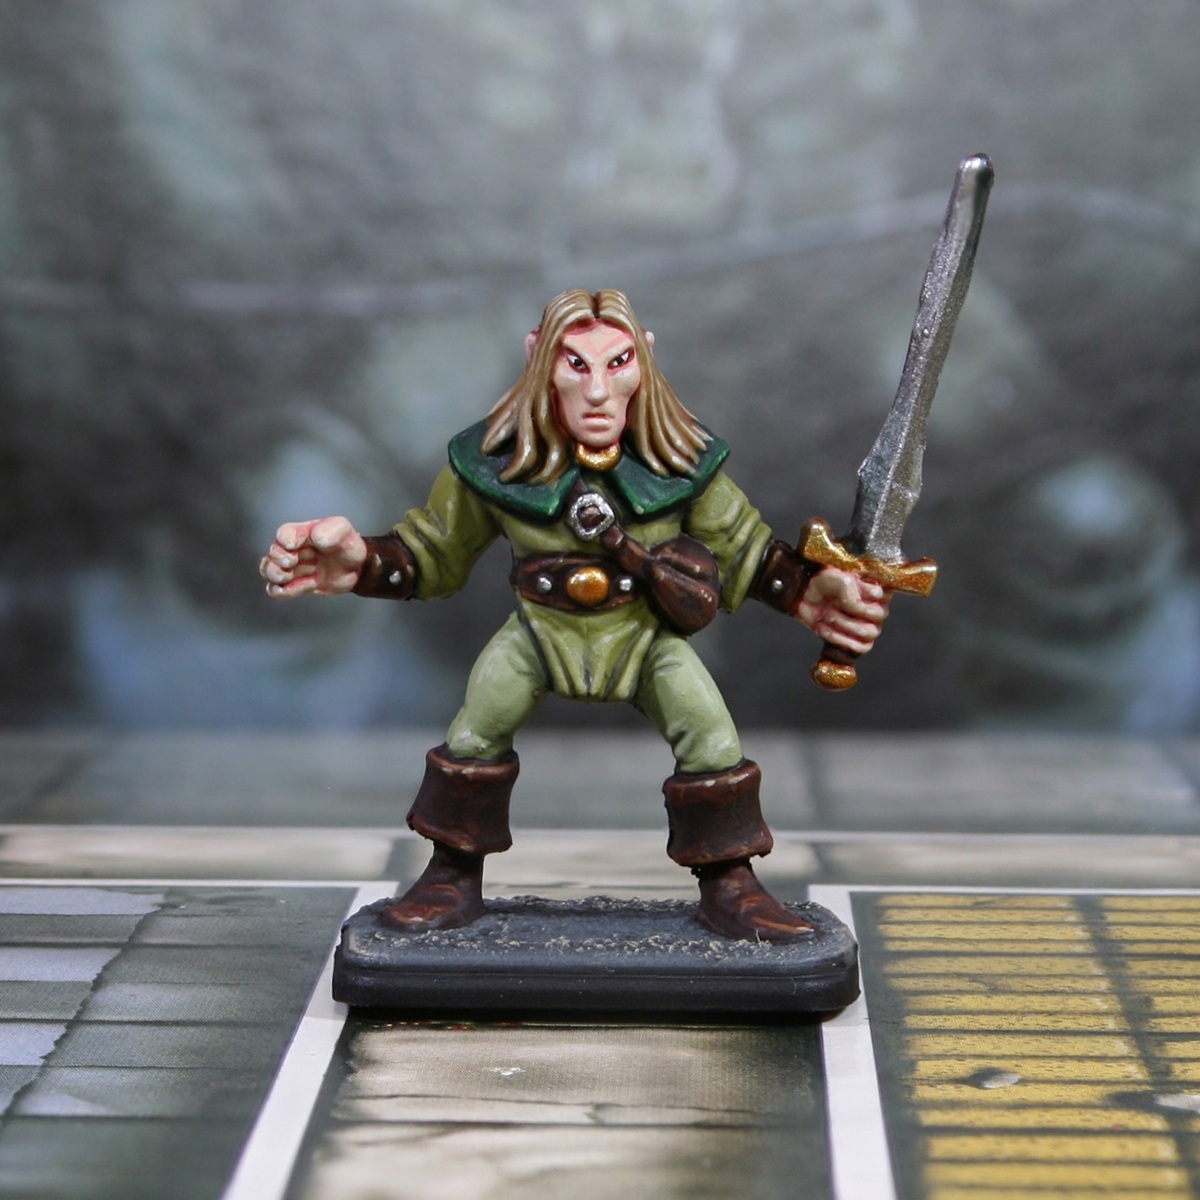
- Basecoat with a mix of 2 parts Cadian Fleshtone , 1 part White and 1 part Screaming Skull .
- Mix some of the base colour 2:1 with Doombull Brown , then add some soft shading to the skin. For this stage, I like to keep it nice an thin with some Lahmian Medium .
- Increase the amount of Doombull Brown in the mix. it should now be arounf 1:2 base colour and Doombull Brown . Refine the shading further.
- Around eye sockets and particuarly deep recesses, you may want to shade with some pure Doombull Brown .
- Now, mix some White into the base colour and highlight the skin. Do this in a few passes, increasing the amount of White and highlighting smaller each time.
Blonde Hair
- Basecoat with Tallarn Sand .
- Wash with a mix of Reikland Fleshshade and Seraphim Sepia .
- Pick out strands with 1:1 Tallarn Sand and Ushabti Bone .
- Highlight selectively with Ushabti Bone .
Light Green Cloth
- Basecoat with Nurgling Green .
- Shade the cloth with some Straken Green .
- Mix a little Black into the Straken Green and shade deeper folds.
- Mix a little Wraithbone into the Nurgling Green for highlights.
Green Cloth
- Basecoat with Elysian Green .
- Shade with some Deathworld Forest .
- Mix a little Black into the Deathworld Forest and shade deeper folds.
- Edge highlight with 1:1 Elysian Green and Ogryn Camo .
- Selectively highlight with Ogryn Camo .
- Finish with a few very small/specular highlights of Ushabti Bone .
Dark Green Cloth
- Basecoat with Caliban Green
- Shade the cloth with some 1:1 Caliban Green and Black .
- Highlight with 1:1 Caliban Green and Warpstone Glow .
- Add fine highlights of Warpstone Glow .
- Mix some Ushabti Bone into your Warpstone Glow and highlight more selectively.
- Finish with specular Ushabti Bone highlights on points and at the apex of upward facing curves.
Brown Leather
- Basecoat with Rhinox Hide .
- Highlight with Doombull Brown .
- Selectively highlight with XV-88 .
- Finish with very small/specular highlights of Ushabti Bone .
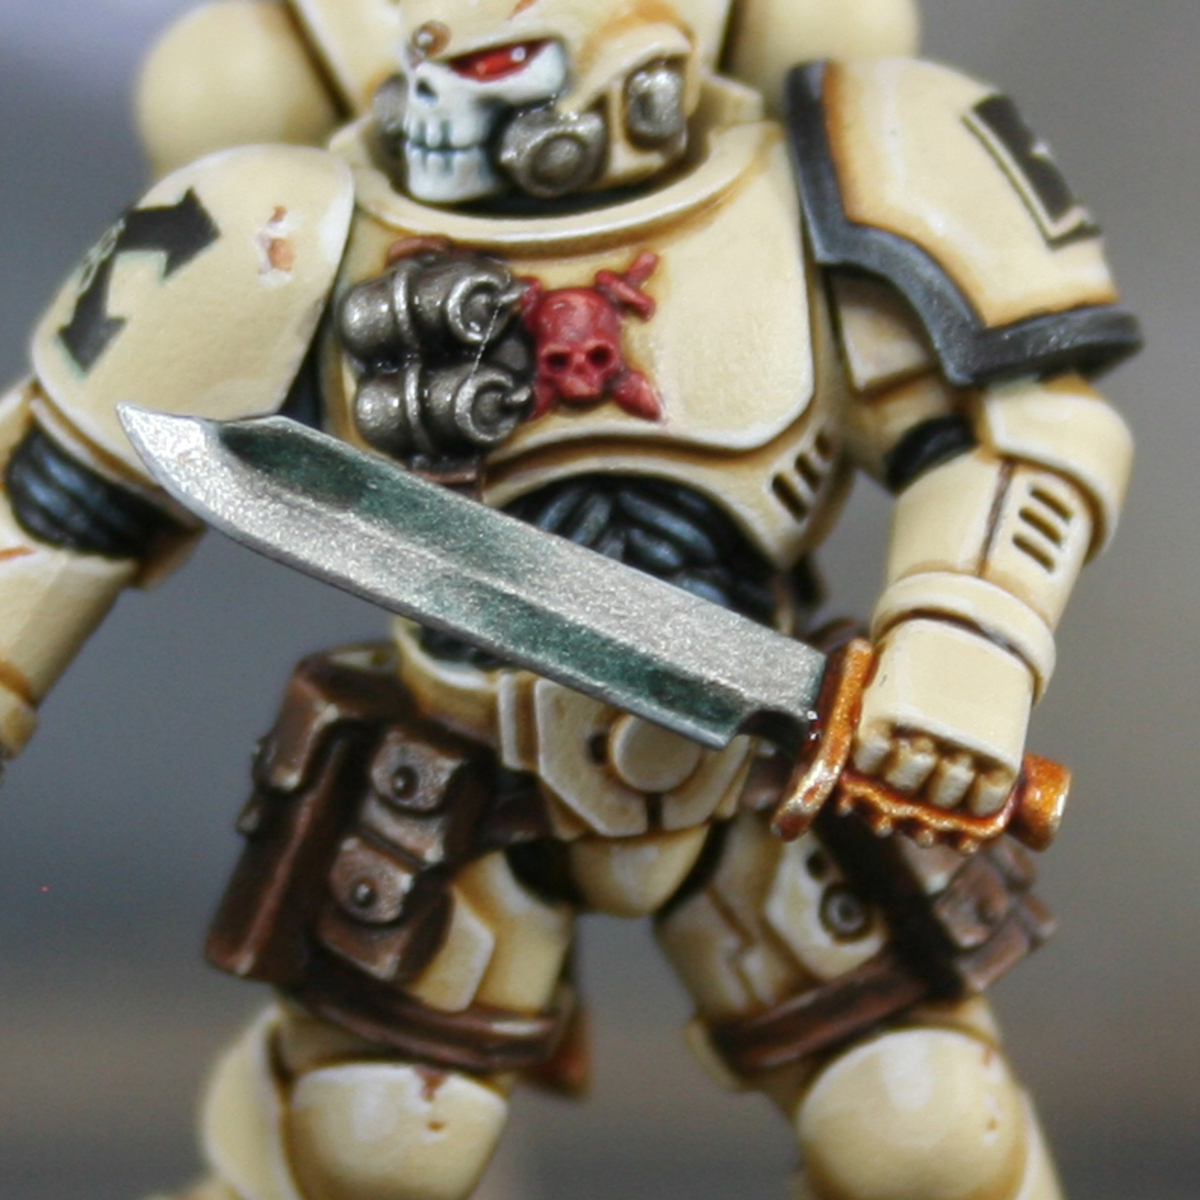
Blade
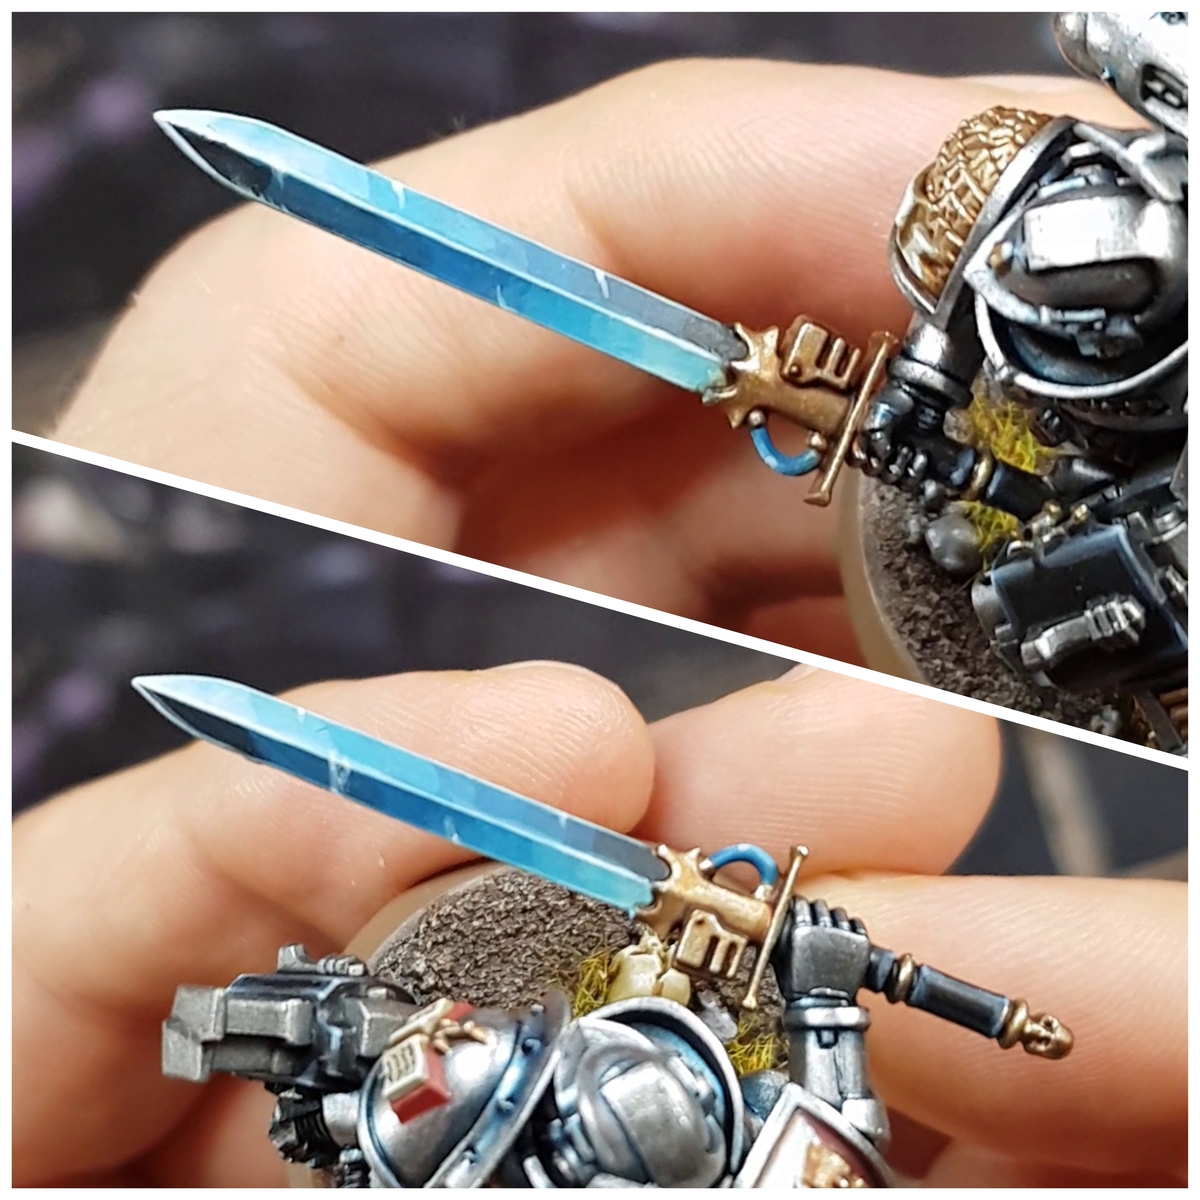
- Basecoat with Leadbelcher .
- Glaze Gryph-charger Grey towards the guard, starting from just below the half way point on the blade.
- Add a little Black to your Gryph-charger Grey , then glaze a smaller area. This should create a nice dark transition to the gold.
- Edgde highlight everything and glaze half closest to the tip with Ironbreaker .
- Finish with selective highlights of Silver RLM01 Metallic .
Gold
- Basecoat with Retributor Armour .
- Wash with Reikland Fleshshade .
- Mix a little Silver RLM01 Metallic into your Retributor Armour , then add general highlights and highlights to all hard edges.
- Increase the amount of Silver RLM01 Metallic in the mix, so it is a very pale gold. Now selectively highlight.
- Finish with specular highlights of Silver RLM01 Metallic .

Rookie Brushes
RookieBrushes
Aspiring miniature painter and biscuit enthusiast. Here to share my hobby and help where I can.
Citadel Painting System 22
Base 7
- Caliban Green
- Deathworld Forest
- Leadbelcher
- Retributor Armour
- Rhinox Hide
- Wraithbone
- XV-88
Shade 2
- Reikland Fleshshade
- Seraphim Sepia
Layer 11
- Cadian Fleshtone
- Doombull Brown
- Elysian Green
- Ironbreaker
- Nurgling Green
- Ogryn Camo
- Screaming Skull
- Straken Green
- Tallarn Sand
- Ushabti Bone
- Warpstone Glow
Technical 1
- Lahmian Medium
Contrast 1
- Gryph-charger Grey
Vallejo Model Air
Base 1
- 71.063 Silver RLM01 Metallic
Vallejo Model Color
Base 2
- 70.950 Black
- 70.951 White