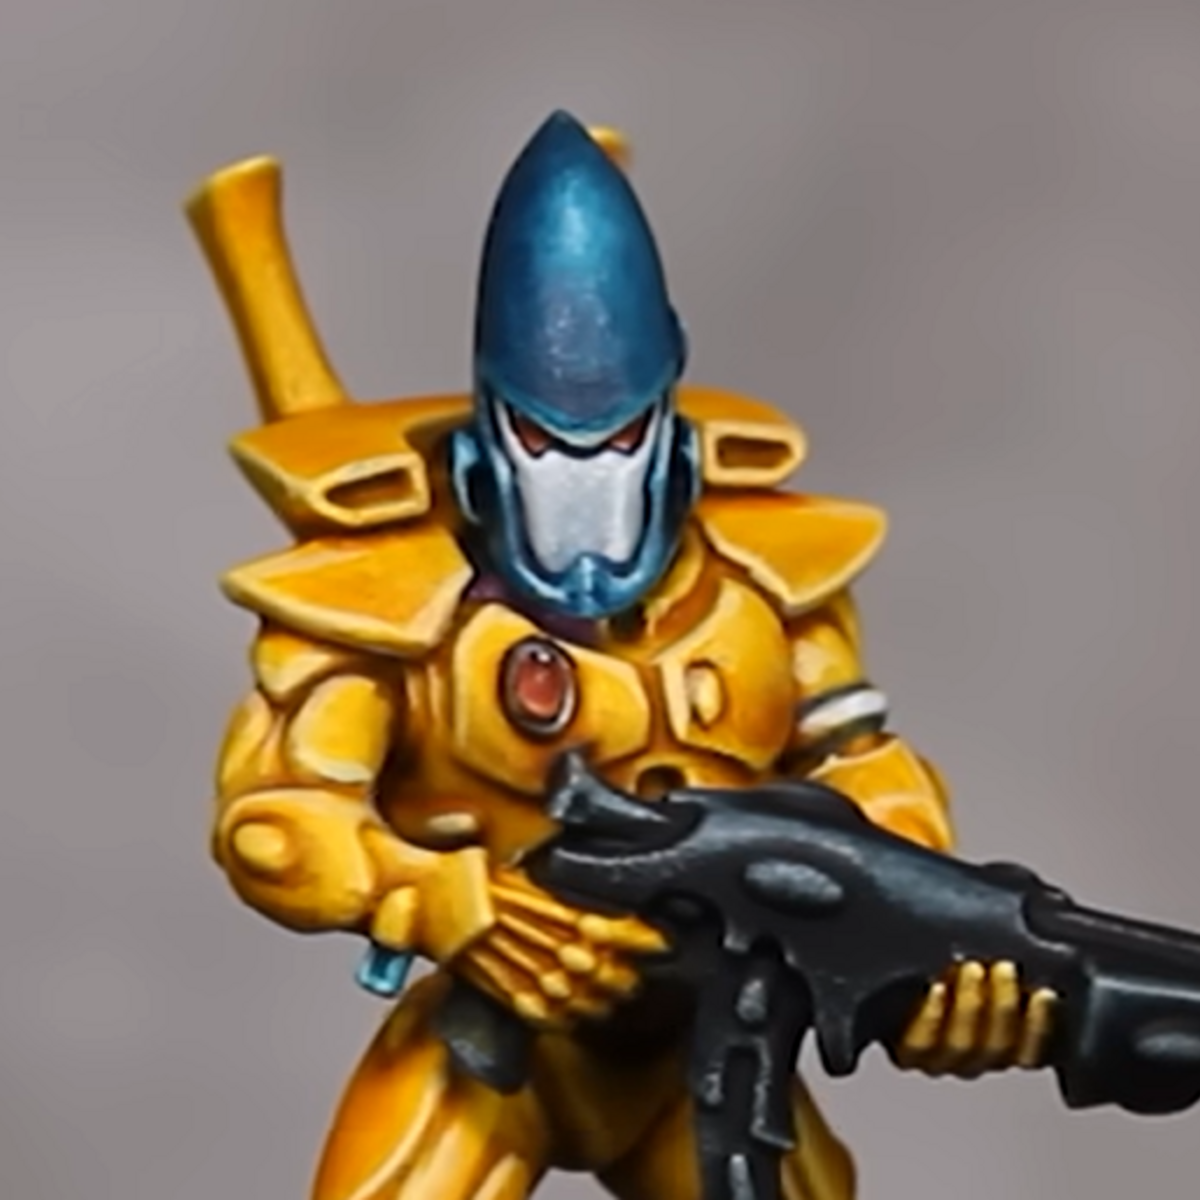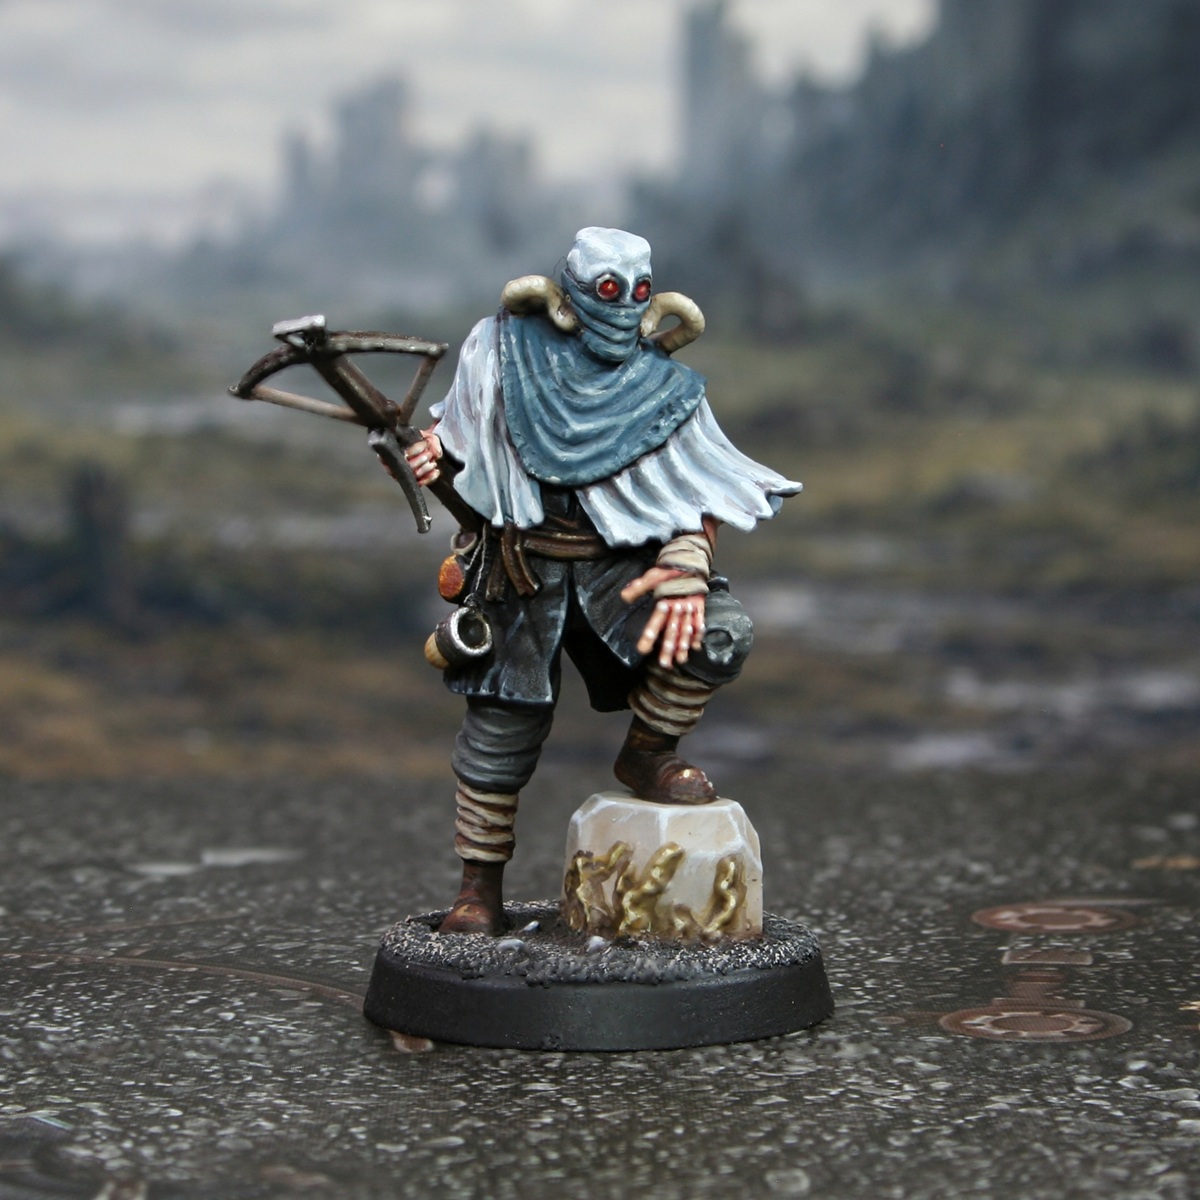

How I painted this stunning character from "The Outpost at Meerbridge" starter set for 1490 DOOM.
Blue Cloth
- Basecoat with Thunderhawk Blue .
- Thin some Dark Reaper and add general shading.
- Shade fols and the darkest recesses with a 1:1 mix of Dark Reaper and Black .
- Glaze highlights of 1:1 Thunderhawk Blue and Karak Stone .
- Take a portion of the above paint and mix it 1:1 with Grey Seer . Now glaze a more selective area/
- Finish with edge highlights of 1:1 Grey Seer and Screaming Skull .
Light Grey Cloth
- Basecoat with Grey Seer .
- Shade with some thinned Abaddon Black Mix your Fenrisian Grey 1:2 with Rhinox Hide and shade the deepest recesses.
- Edge highlight with 1:1 Grey Seer and White .
- Finish with selective White highlights.
Grey Trousers
- Basecoat with Skavenblight Dinge .
- Shade with 2:1 Skavenblight Dinge and Black .
- Highlight with Stormvermin Fur .
- With 1:2 Stormvermin Fur and Administratum Grey , apply some highlights.
- Increase the amount of Administratum Grey and highlight selectively.
- Finish with very small Administratum Grey highlights.
Black CLoth
- Basecoat with Black .
- Highlight with Dark Reaper .
- Mix the Dark Reaper 1:1 with Administratum Grey and add fine highlights.
- Selectively highlight with Administratum Grey .
- Finiosh with a few specular White highlights.
Brown Leather
- Basecoat with Rhinox Hide .
- Highlight with Doombull Brown .
- Highlight more selectively with XV-88 .
- Finish with a few specular Screaming Skull highlights.
Wood
- Basecoat with 1:1 Dryad Bark & Mournfang Brown .
- Run some thin Dryad Bark into deep recesses.
- Apply chunky highlights with a 1:1 mix of the base colour & Karak Stone .
- Now apply fine highlights with Karak Stone .
- Finish with selective highlights of 1:1 Karak Stone & Wraithbone .
I found the finish was a bit chalky at this point, so I added richness with a glaze of Reikland Fleshshade .
Skin
- Basecoat with an equal parts mix of Cadian Fleshtone , Kislev Flesh and White .
- Mix some Doombull Brown into the basecoat and glaze in some shading.
- Increase the amount of Doombull Brown in the mix and shade the deepest recesses.
- Mix some White into the base colour and highlight the skin.
- Increase the amount of White in the mix for further highlights, pushing them as far as you need.
Bandages
- Basecoat with Steel Legion Drab .
- Shade between the wrapping with thinned Rhinox Hide and a thin brush.
- Glaze raised areas with Karak Stone , dragging your brush towards the centre.
- Edge highlight wrappings with Ushabti Bone .
- More selectively highlight with Screaming Skull .
Red Lenses
- Basecoat with Khorne Red .
- Paint the centre with Evil Sunz Scarlet .
- Add a specular highlight of Ice Yellow to represent a glint.
Pale Leather
- Basecoat as Karak Stone .
- Shade with Baneblade Brown .
- Deep shade with Dryad Bark . The jump between the initial stage and this is quite big, consider a 1:1 mix of the two to bridge the gap.
- Apply a chunky highlight of Ushabti Bone . This is best applied as a heavy glaze.
- Apply smaller highlights with Screaming Skull .
- I finished of the tubes by mixing a little White into your Screaming Skull and applying a few specular highlights.
Horn
- Paint the inide of the wide end with Rhinox Hide .
- Basecoat with Ushabti Bone .
- Glaze XV-88 towards the point, covering roughly two thirds of the horn.
- Repeat the process covering less area with a glaze of Mournfang Brown . This colour is so rich, I kept it thin and did two passes in the end.
- Mix the Mournfang Brown with Rhinox Hide and glaze again. At this point you should be covering less than one thirds of it (roughly).
- Finally, glaze the tip with Rhinox Hide .
- Highlight the edges at the wide end with Screaming Skull and White Scar .
Gold Details
- Basecoat with Retributor Armour .
- Wash with Reikland Fleshshade .
- Gradually mix Silver RLM01 Metallic into your Retributor Armour and highlight.
- Finish with specular Silver RLM01 Metallic highlights.
Steel
- Basecoat with Leadbelcher .
- Shade with glazes of Gryph-charger Grey . I mixed in a little :black and glazed a smaller area on the second pass.
- Highlight with Ironbreaker .
- Finish with some small Silver RLM01 Metallic highlights.

Rookie Brushes
RookieBrushes
Aspiring miniature painter and biscuit enthusiast. Here to share my hobby and help where I can.
Citadel Painting System 29
Base 10
- Dryad Bark
- Grey Seer
- Khorne Red
- Leadbelcher
- Mournfang Brown
- Retributor Armour
- Rhinox Hide
- Steel Legion Drab
- Wraithbone
- XV-88
Shade 1
- Reikland Fleshshade
Layer 16
- Administratum Grey
- Baneblade Brown
- Cadian Fleshtone
- Dark Reaper
- Doombull Brown
- Evil Sunz Scarlet
- Fenrisian Grey
- Ironbreaker
- Karak Stone
- Kislev Flesh
- Screaming Skull
- Skavenblight Dinge
- Stormvermin Fur
- Thunderhawk Blue
- Ushabti Bone
- White Scar
Air 1
- Abaddon Black
Contrast 1
- Gryph-charger Grey
Vallejo Model Air
Base 1
- 71.063 Silver RLM01 Metallic
Vallejo Model Color
Base 3
- 70.858 Ice Yellow
- 70.950 Black
- 70.951 White
.jpg)