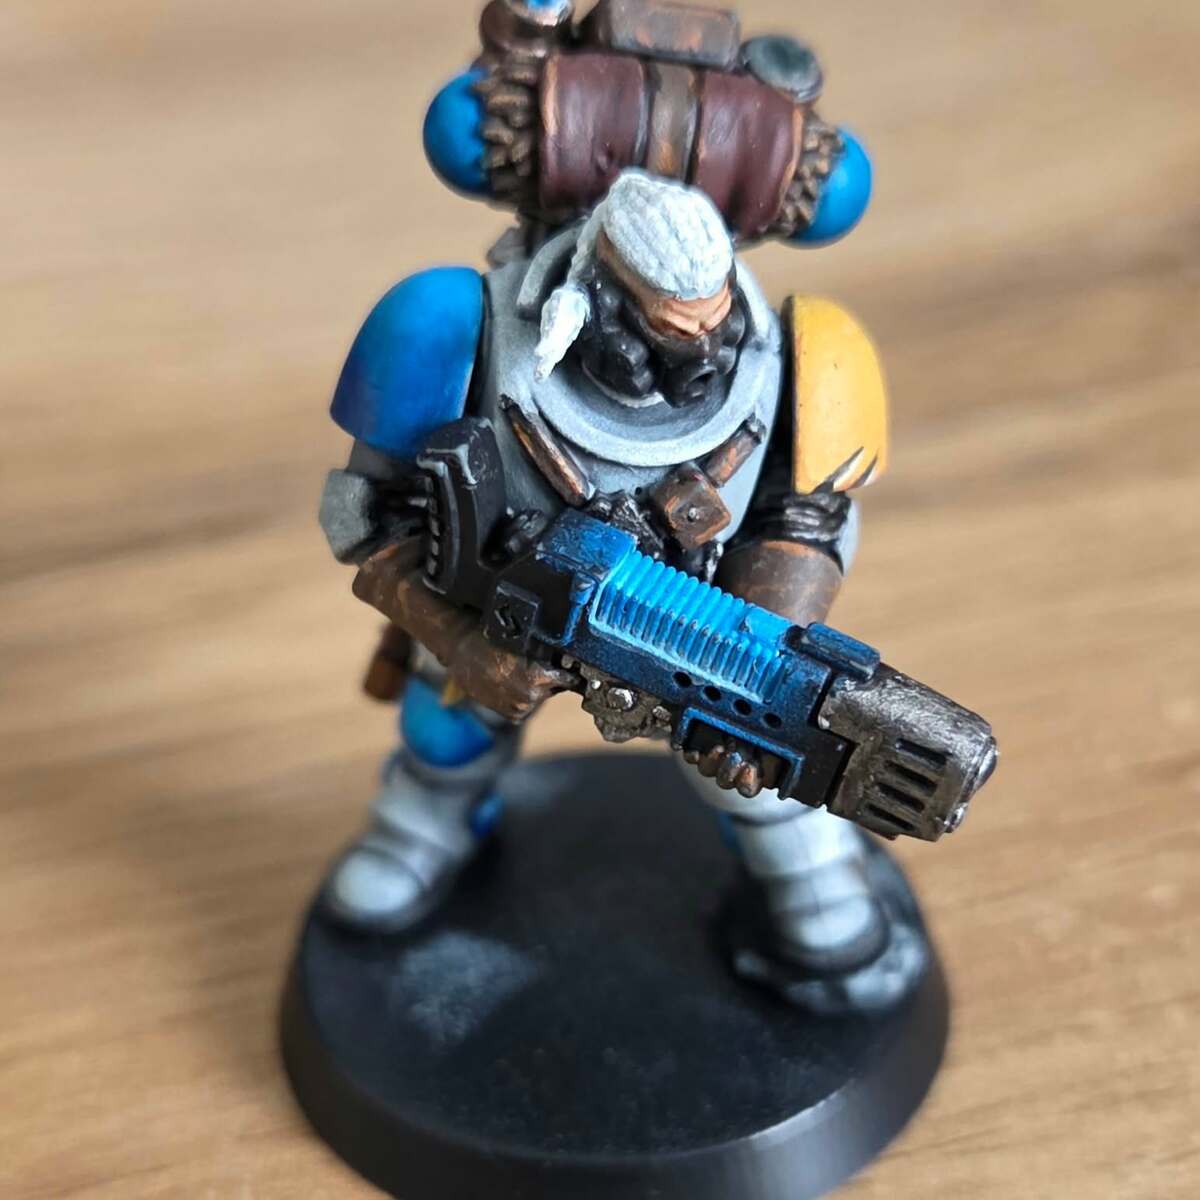
- Prime the whole model with Matt Black
except the plasma coils and the hair, use Matt White for that.
For the face, use Boney Spikes , dilute it with water on a 1:2 ratio, and prime the surface in multiple layers.
Grey armor panels
- Basecoat the armor with Neutral Grey
- Using a slightly damp sponge, dab the armor with Celestra Grey .
Use much less paint for the areas away from the lightsource, like the inner thighs, - Repeat the previous step with Matt White , but use it on a smaller area. Concentrate on sections of the armor where light should shine, like the upper parts of the pauldrons, the shoe, etc. The Celestra Grey from the previous step should remain on most of the armor.
- If Celestra Grey or Matt White goes into the separator line of the armor, use Nuln Oil to fill them back.
Blue armor panels
- Wash the exhaust pipes of the backpack, the right kneeguard and the gem on the knife sheath with a generous amount of Talassar Blue diluted with Contrast Medium in a 2:1 ratio. Work only on one section at a time, and as Talassar Blue is a contrast paint, you should wash quick and wipe off the excess with a prepared slightly wet brush.
- In case the panel turns too dark, make a glaze from Ducat Blue by diluting it with water on a 1:5 ratio, clean the brush, take a small amount of paint on it, and pull it towards the top of the panel in small strokes. The paint should not flow back down, if it does, clean the brush and take fewer paint on to the brush
Pauldrons
- Wash the right shoulder pad with Talassar Blue diluted with Contrast Medium in a 2:1 ratio.
- Basecoat the left shoulder pad with Fiendish Yellow
- For the scratches, draw a widening triangle using Boney Spikes then draw a second triangle with Matt Black , overlapping the previous triangle on one side, creating a tearing effect.
Plasma Coil
- With a slightly dab sponge, dab the plasma coils and near parts of the plasma gun's body with Regal Blue
- Dilute Ducat Blue with water on a 1:2 ratio, wash the coils of the plasma gun.
- Make a glaze of Matt White with water on a 1:3 ratio. Clean the brush, take a moderate amount of paint and apply it on the lower edge of the plasma coil. The paint should rise up a bit in the recesses of the coils, and shouldn't color the recesses completely white, more like making the Ducat Blue a bit lighter.
- If there are any white lines risen too much on the coils, wait until it dries, and re-apply Ducat Blue on the parts where it risen too much, making each white line roughly the same height.
- Using some less diluted Matt White (roughly 2:1 ratio) apply dots on the lower edge of the coils to increase contrast with the rest of the parts.
Metal parts
- Basecoat the end of the knife sheath with True Copper
- Basecoat the undersuit of the armor, the crossguard of the knife, the soles of the shoe, plus the barrel and the bottom parts of the plasma gun with Gunmetal Metallic
- Wash the barrel and the bottom parts of the plasma gun with Nuln Oil
- Wash the undersuit of the armor with Ratling Grime
Face
- Wash the whole face with a generous amount of Guilliman Flesh . Wipe off the excess with a prepared clean brush.
- Wait until the face dries completely, then re apply Guilliman Flesh to the eyes.
- Wash the shaved sides of the head with Gryph-charger Grey . Wipe off the excess with a clean brush.
Hair
- Wash the hair with Gryph-charger Grey diluted with Contrast Medium on a 1:1 ratio.
- Drybrush the hair with Matt White
Leather Straps
- Basecoat any parts that uses leather, the straps, knife sheath, etc. with Bootstrap Brown
- Edge highlight the leather parts with Orange Brown . Also apply small dots and lines, to simulate wear and tear on the leather.
- If you think the result is too bright, a wash of Nuln Oil can darken the surface without ruining the colors.
Leather on backpack
- Basecoat the leather parts with a 1:2 mix of Bootstrap Brown and Burnt Red
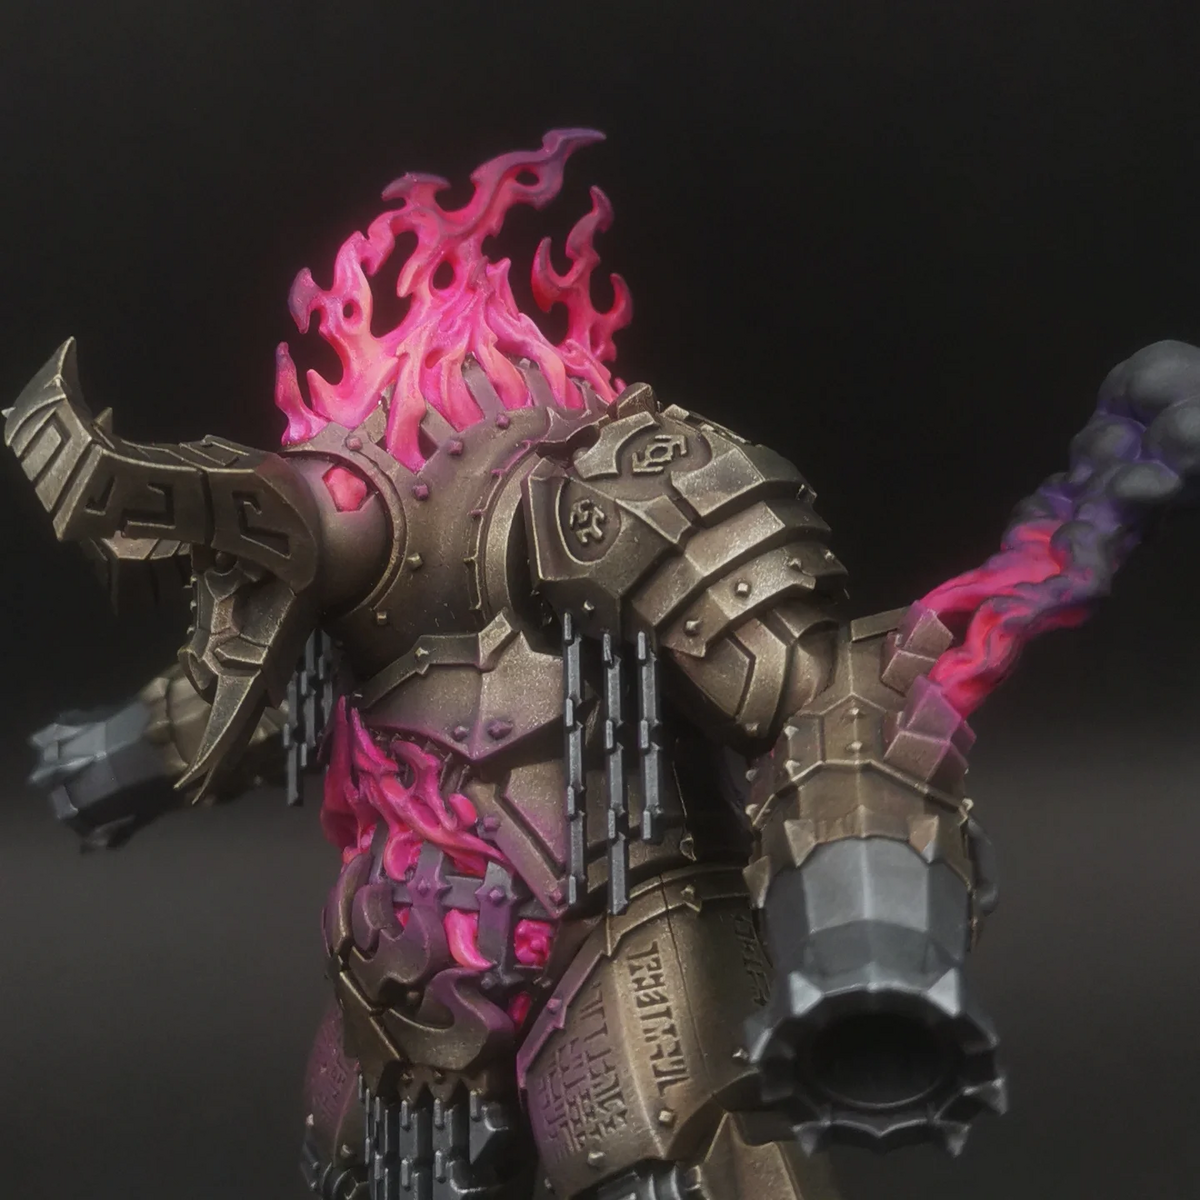
For Glowing effects/eyes
- Use a white primer, wash it with Frostheart , and apply Matt White to the center of the light source.
For cybernetic eyes
- Dilute Burnt Red with water on a 1:2 ratio. Apply it on the lower right half of the lense. Repeat this step by applying the paint in a lesser area tending toward the lower right corner.
- Dilute Pure Red with water on a 1:2 ratio. Apply it on the lower right corner of the lense in a smaller area you applied the Burnt Red . If the gradient isn't smooth enough, mix the glaze with a tiny amount of Burnt Red , and apply it on the connection of Burnt Red and Pure Red .
- Mix Boney Spikes with Pure Red on a 1:1 ratio, and draw a small circular line near the bottom right corner of the lense.
- Put a small dot of Matt White near the upper left corner of the lense.
Skull decoration
- For the skull hanging from the backpack, basecoat the whole skull with Boney Spikes
- Wash the skull with Skeleton Horde . This is a contrast paint, so use a generous amount of paint, work quickly, and wipe the excess with a clean brush.