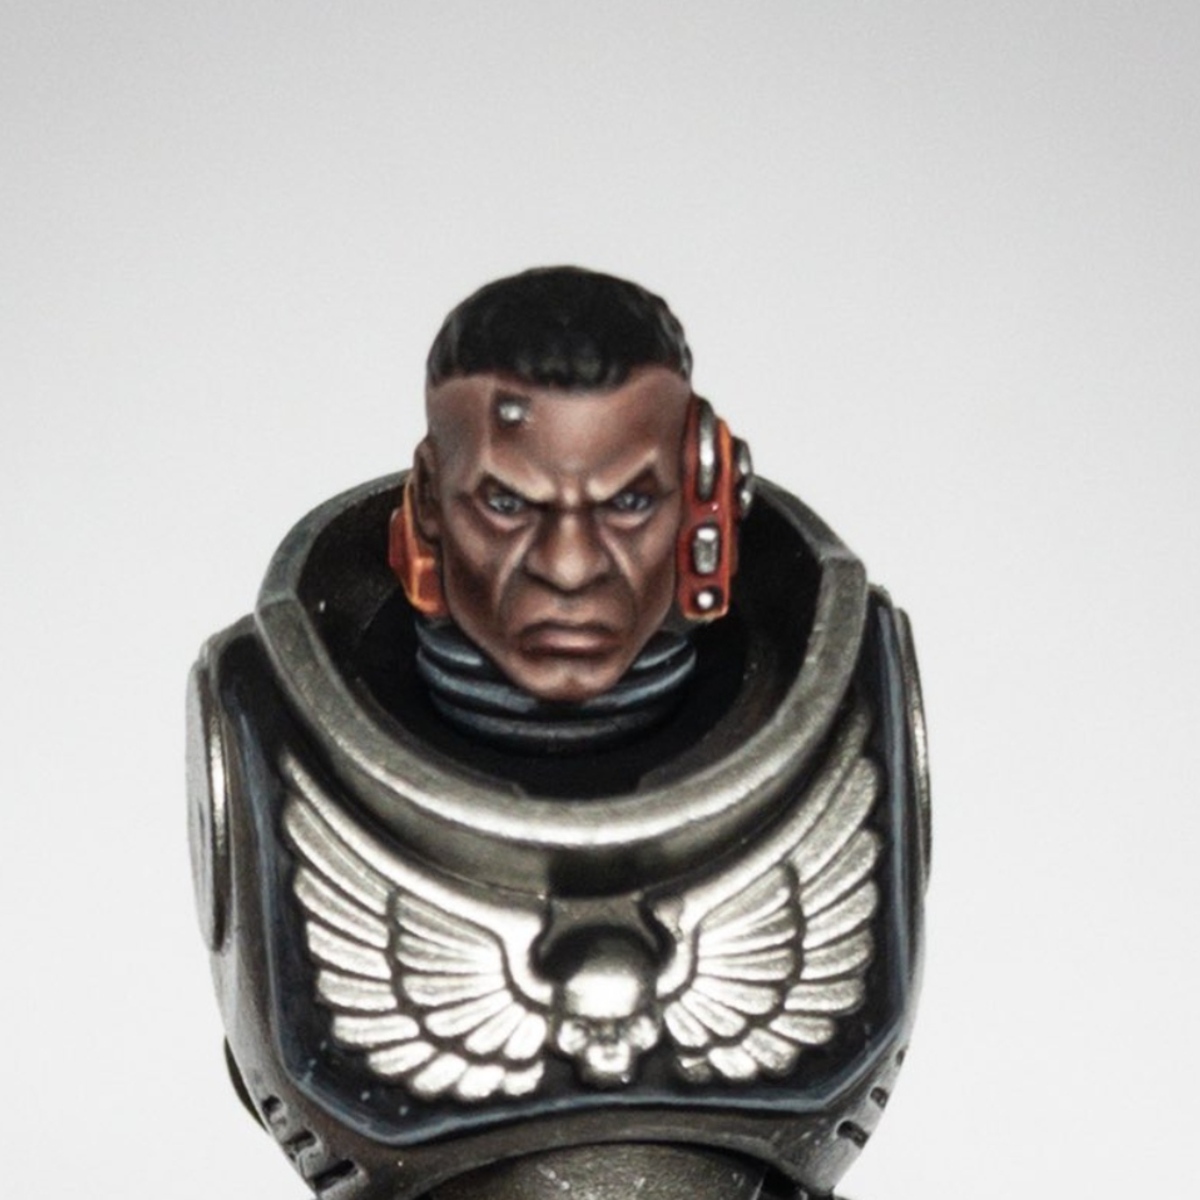
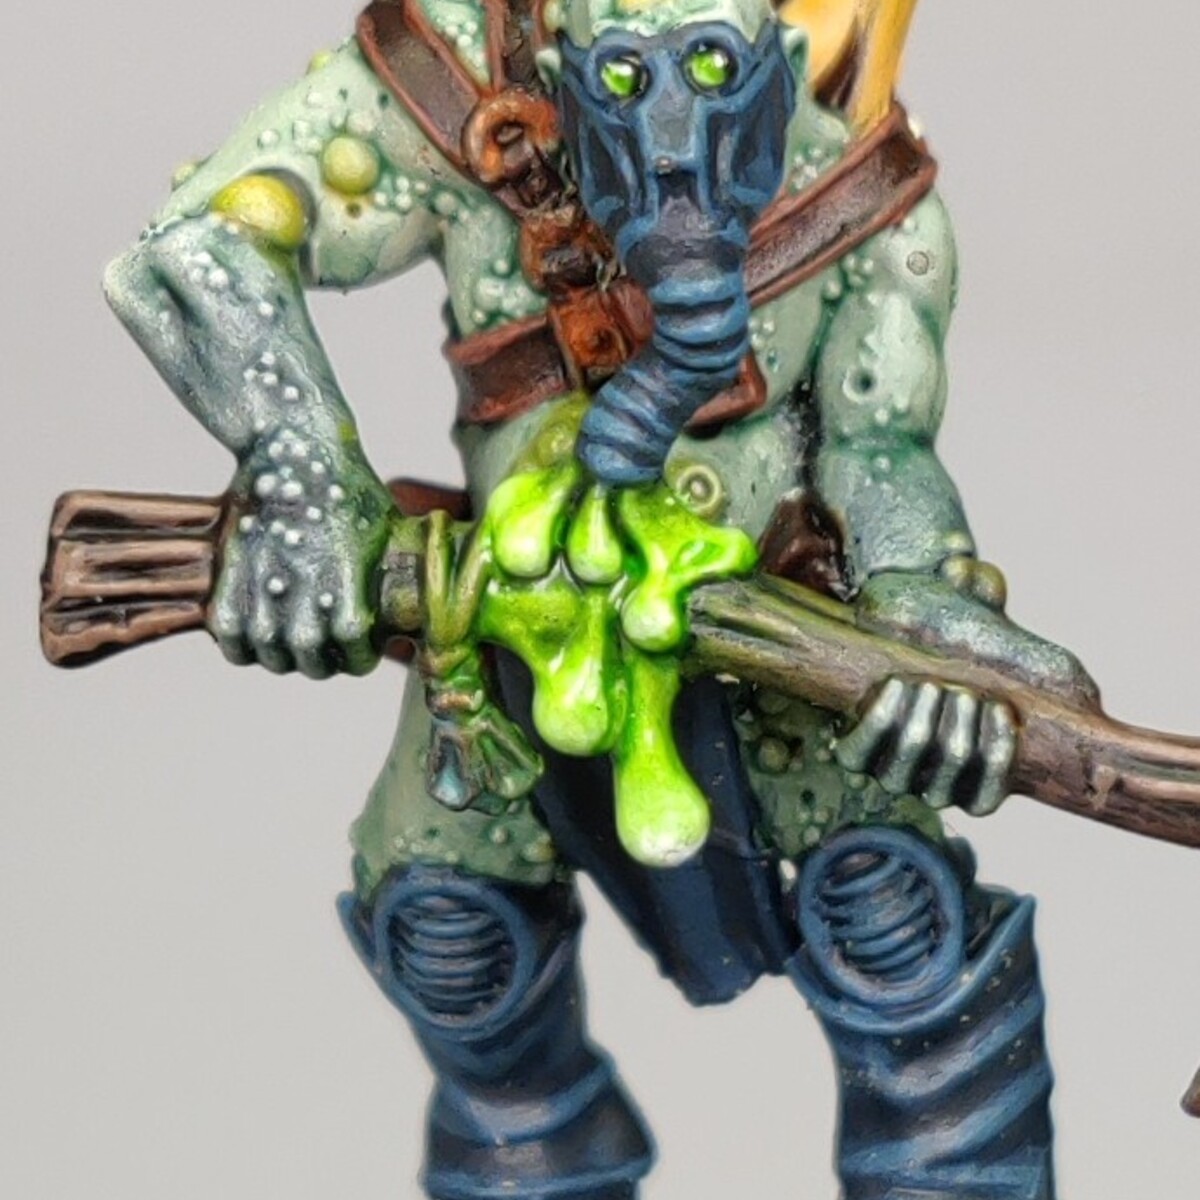
Inquisition: Gun Servitor Agent
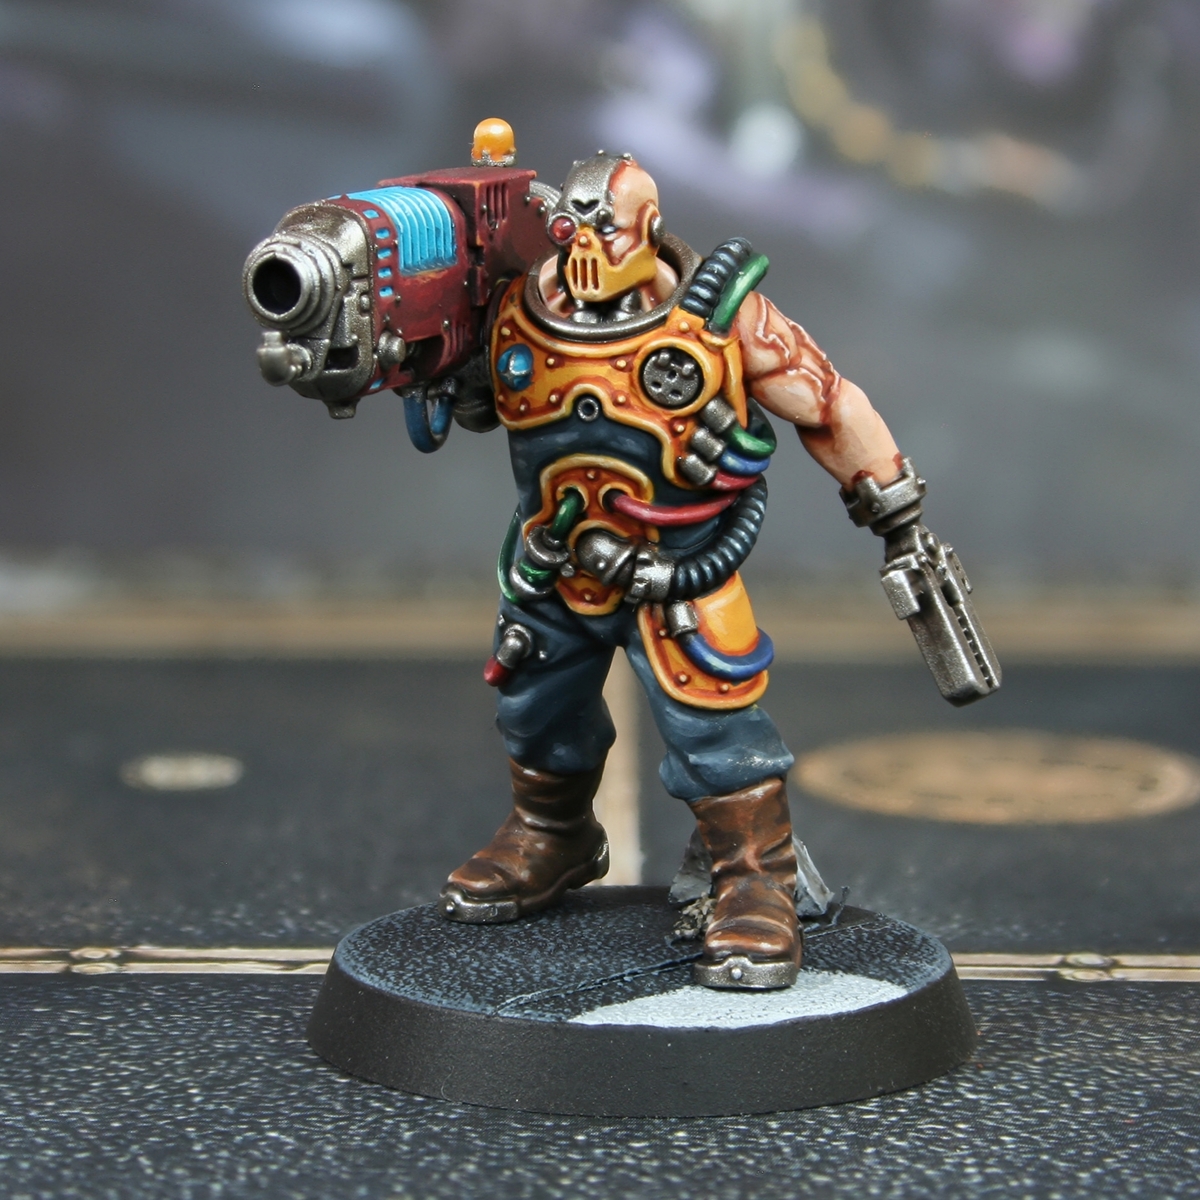
How I painted my Gun Servitor for my Inquisitorial Agents Kill Team. I wanted an increased amount of vibrancy in the armour, which I think turned out well. The basic colour composition in the same as the box art though.
Skin
- Basecoat with an equal part mix of Cadian Fleshtone , Kislev Flesh and White .
- Add general shading with Reikland Fleshshade .
- Enhance the shading in deeper parts with Doombull Brown .
- Re-establish the Cadian Fleshtone , Kislev Flesh and White basecoat where needed.
- Now add more White to the basecoat and begin to highlight. Slowly mix in more and more white, highlighting smaller as you go.
Yellow Armour
- Basecoat with Averland Sunset .
- Add some soft shading with thinned Skrag Brown .
- Enhance shading in deep recesses with small amounts of Doombull Brown .
- Mix your Averland Sunset 1:1 with Ice Yellow and add fine edge highlights.
- Now mix in some White to the previous colour and edge highlight more selectively.
Blue Cloth
- Basecoat with Dark Reaper .
- Shade with Abaddon Black .
- Mix the Dark Reaper 2:1 with Administratum Grey and add some general highlighting.
- Increase the amount of Administratum Grey in the above mix, so it is about 1:2 Dark Reaper and Administratum Grey . Now highlight more selectively.
- Finish with specular highlights of Administratum Grey where needed.
Dark Brown Leather
- Basecoat the leather area with Rhinox Hide .
- Glaze most of the leather with thinned Mournfang Brown . Use quite a small brush and drag towards edges in rough lines. This should create some extra texture.
- Add a chunky edge highlight of Skrag Brown to all edges.
- Highlight everything again, this time with a fine line of Skrag Brown and Ushabti Bone mixed 1:1. This is a good mix to throw in occasional fine lines as scratches too.
- With pure Ushabti Bone , selectively highlight corners and exposed edges of the leather. Put a dot of this colour where the additional scratched above meet edges too.
- Add a little pure white (like Dead White ) to your Ushabti Bone and add dot highlights to corners.
Black Rubber Tubing
- Basecoat with Abaddon Black .
- Paint chunky highlights of Incubi Darkness onto raised details.
- Mix the Incubi Darkness 1:1 with Deepkin Flesh and add fine highlights onto edges.
- Add selective highlights of Deepkin Flesh on corners and points that would catch the light.
- Mix a little Ivory or Pallid Wych Flesh into your Deepkin Flesh and add specular highlights where needed.
Coloured Tubing
I painted all of these tubes in essentially the same way, but changed the main colour depending on what colour surrounded them. I used Khorne Red , Caliban Green and Kantor Blue as these colours.
- Use your main colour to basecoat the tubes.
- Glaze a brighter shade of your main colour over all of the accessible surface area of the tube, pulling your brush towards the centre. We are leaving the basecoat to serve as shading. For this I used Evil Sunz Scarlet , Warpstone Glow and Altdorf Guard Blue .
- Now start mixing Ice Yellow into the previous paint, slowly. Each time you add some, highlight a smaller area, building up those highlights.
- You can finish with a glint of pure Ice Yellow if you want to add some punch.
Red Weapon Casing
- Basecoat 2:1 Khorne Red and Abaddon Black .
- Increase the amount of Abaddon Black in the above mix and shade the recesses.
- Apply chunky highlights of Khorne Red .
- Fine edge highlights of Wazdakka Red .
- Selective highlights of Squig Orange .
- Very small/specular highlights of Tau Light Ochre .
Plasma Coil
- Basecoat with Temple Guard Blue .
- Thin down some Sotek Green alot, then wash the coil. I used water, with a little flow improver in, to ensure it settled in recesses.
- Take some thinned Stegadon Scale Green and paint the lowest third of the recesses, to darken them.
- Edge higlight the coil with Baharroth Blue , pulling your brush towards the curve.
- Mix your Baharroth Blue 1:1 with White and highlight the curve.
- Finish with a small White highlight, within the last stage.
Steel
- Basecoat with Leadbelcher .
- Wash with Nuln Oil .
- Glaze some Agrax Earthshade or a brow of yourchoice into areas you want to look darker.
- Edge highlight with Ironbreaker .
- Add fine highlights with small amounts of Vallejo Model Air Silver RLM01 Metallic .
Brass
- Basecoat with Balthasar Gold .
- Shade with Agrax Earthshade .
- Highlight with Hashut Copper
- Selectively highlight with a mix of Hashut Copper and Silver .
- Finish with a specular highlight of Silver RLM01 Metallic .

Rookie Brushes
RookieBrushes
Aspiring miniature painter and biscuit enthusiast. Here to share my hobby and help where I can.
Citadel Painting System 34
Base 11
- Abaddon Black
- Averland Sunset
- Balthasar Gold
- Caliban Green
- Incubi Darkness
- Kantor Blue
- Khorne Red
- Leadbelcher
- Mournfang Brown
- Rhinox Hide
- Stegadon Scale Green
Shade 3
- Agrax Earthshade
- Nuln Oil
- Reikland Fleshshade
Layer 20
- Administratum Grey
- Altdorf Guard Blue
- Baharroth Blue
- Cadian Fleshtone
- Dark Reaper
- Deepkin Flesh
- Doombull Brown
- Evil Sunz Scarlet
- Hashut Copper
- Ironbreaker
- Kislev Flesh
- Pallid Wych Flesh
- Skrag Brown
- Sotek Green
- Squig Orange
- Tau Light Ochre
- Temple Guard Blue
- Ushabti Bone
- Warpstone Glow
- Wazdakka Red
Vallejo Game Color
Base 1
- 72.001 Dead White
Vallejo Model Air
Base 1
- 71.063 Silver RLM01 Metallic
