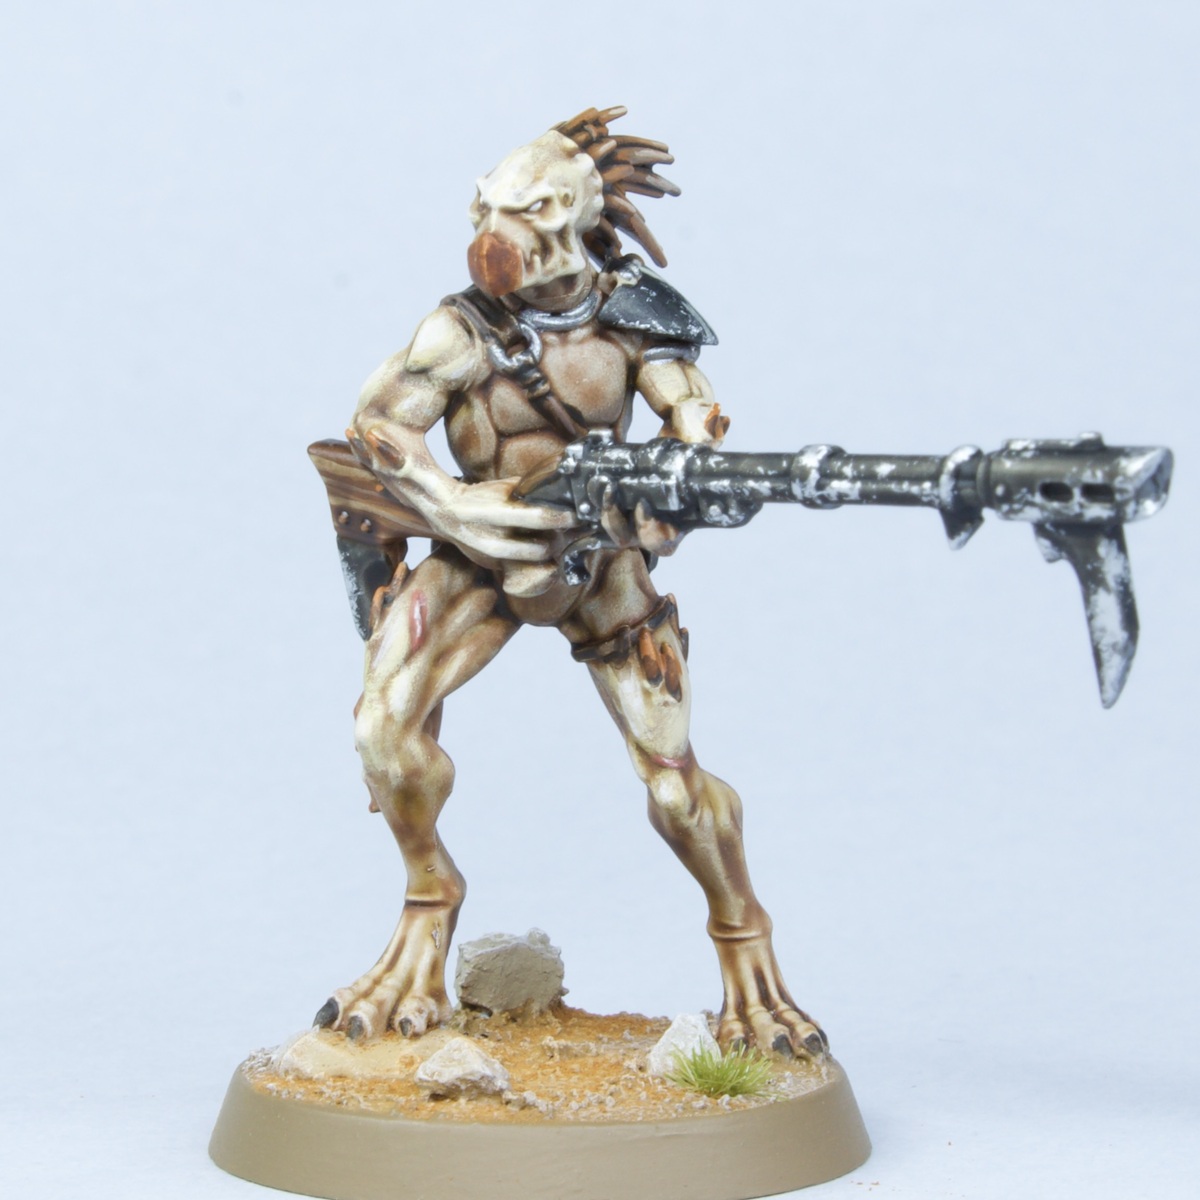
Not really a model specific guide as my template for my Entire DG army. these models are heavy with rust and effects. So be cautious and what order you do so you don't get rust on stuff where it doesn't belong such as tentacles and robes. Just a word of advice
this is a good article for alot of stuff if you want to swap in and out effects and such
https://www.goonhammer.com/how-to-paint-everything-tentacles/
https://www.goonhammer.com/how-to-paint-everything-death-guard/
Prime the Model (zenithal method)
- Prime the entire model using any black primer.
- Allow time to dry. Follow up with a few blast of wraith bone from the top of the model to pick out the lighter areas
- If you want to go extra one blast of pure white from the very top
Armor Areas
White armor areas
base coat with a few thinned down coats of Trooper white. May take 3-4 coats. Obviously try to not get this everywhere. But a touch up will need to happen dont panic
- Baecoat with Trooper White
- Shade with Agrax Earthshade
Green Armor Areas
- Base coat Camouflage Olive Green
- Shade with Agrax Earthshade
- highlight with Death Guard Green
Black Armor
- Basecoat with Abaddon Black
- Shade with Agrax Earthshade
- Highlight with Skavenblight Dinge
Chains
- Baecoat Leadbelcher
- Shade with Agrax Earthshade
Red robes
- Base coat with half Screamer Pink half Khorne Red
- Shade with Carroburg Crimson
- highlight with 1:2 mix of Screamer Pink and Rakarth Flesh
Deathguard trims and trinkets
- Basecoat with Balthasar Gold
- shade with Agrax Earthshade
- highlight with Sycorax Bronze
Grim dar effects
- Apply Light Rust Wash selectively and as a streaking effect. Wait atleast a hour or so before proceeding. use qtipps to clean if needed.
- Apply Dark Streaking Grime all over whhere you want there to be a cacked on muddy/ non washed look. Such as all armor areas
- wait about 10-15 minutes. Go with a few qtips and pick out out and clean raised areas or areas you down waht the effect to be as clumped up
- apply Typhus Corrosion in pockets and places you think dirt would accumulate
- Heavily apply Ryza Rust all over the model. Focusing on metallic areas.
============================================================================================================================================================Everything bellow here needs to be done after the above is done. Or is model specific. ==========================================================================================================
Tabard (White)
- Basecoat with celestea grey
- Wash with agrax earth shade
- Wash again with Agrax Earthshade this time focus on the bottom of the tabard areas
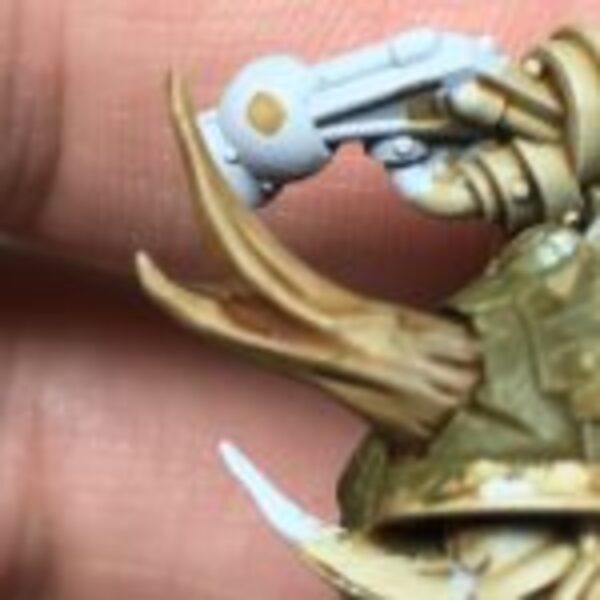
Boney Protrusions and Spines --- https://brushandboltgun.com/2017/10/15/death-guard-painting-techniques/
If you are painting thos esmaller ones these gets aliitle harder to get details unless your good. I usually stop after step 3. good enough espically after all the effects
 Base with Rakarth Flesh, then wash with Citadel Seraphim agrax earth shade
 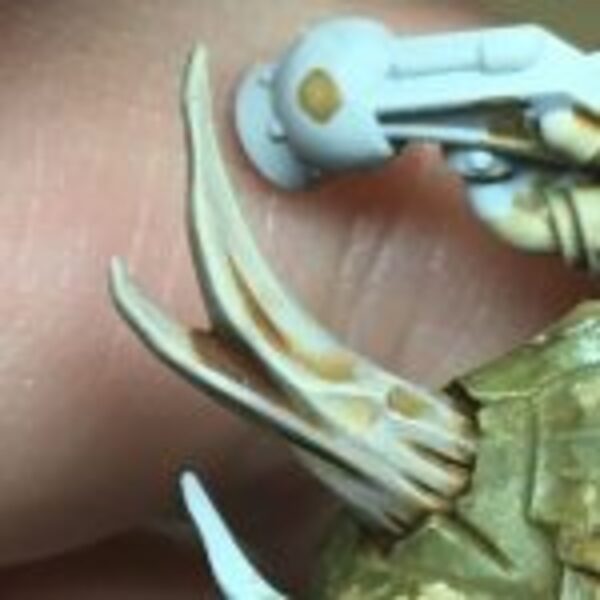 Reapply Rakarth Flesh, leaving the Seraphim Sepia in the recesses
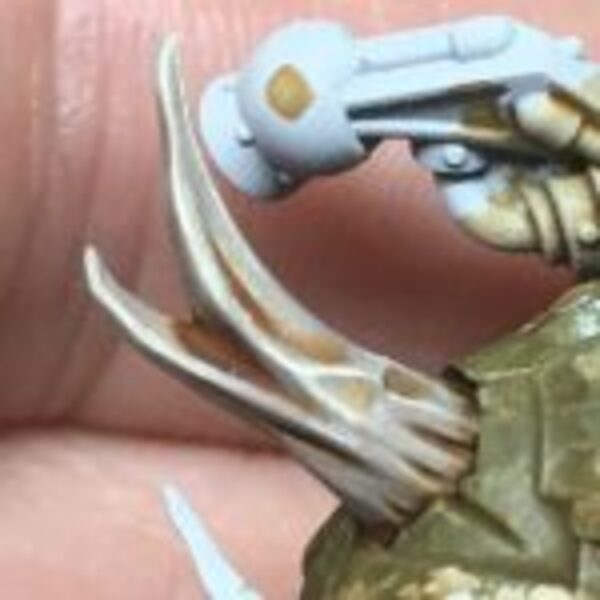 Highlight the ends of the protrusions and highlight with Citadel Ushabti Bone
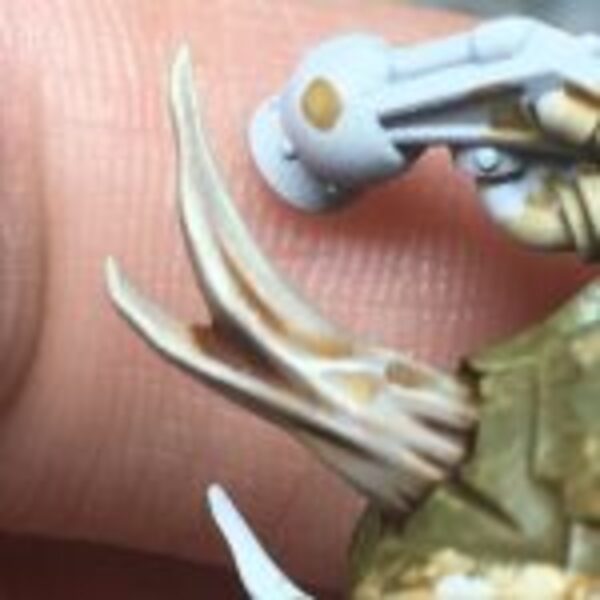 Mix a little White with Ushabti Bone and add final highlights to the raised areas.
Skin Areas
This incluse organ tubes that are popular with deathguard.
- basecoat with Rakarth Flesh
- Cover all over with Druchii Violet
- mix a 1:2 solution of Rakarth Flesh and Druchii Violet :. goal here is to hit the pertruding areas. Hazing a glazed effect
- Apply Carroburg Crimson to areas touching arrmor, metel are anything else. hitting areas where the tears would be worse
- I personally like to make the tubes inside of htese tubes looke copper ish. I use Screaming Bell thin hit it with Agrax Earthshade
- highlight selectivly with Rakarth Flesh
- above those highlights use Ushabti Bone
U can change some of the tubes with Runelord Brass Balthasar Gold or Screaming Bell Just go with waht you feel is right
Sctythe
- Hit all the meteel ares like the main sytche head with Leadbelcher . paint the main scythe area of the blade with Black Templar or really thinned Abaddon Black
- hit the tip fo the sctyhe and up about 1/3 of the way with pure Abaddon Black then grab water and start glacing up the rest of the weapon aming to the power pack at the top of the sctye
- paint the wooden areas of the scyhe with a basde of Dryad Bark
- Basecoat straps with Mournfang Brown highlight Gorthor Brown . Dry brush is ok
- hit the wiring with screaming bell to make a copper tube look
- Highlight balck areas with Skaenblight Dinge
- highlight metel with runefang steel
Tenecles (not tubes)
Not 100% happy with this. May try something different
- Basecoat in Screamer Pink
- shade with Carroburg Crimson
- highlight with Screamer Pink
- smaller highlight with Pink Horror
- fade out Pink Horror transitioning with Emperor's Children
Leather straps (need to complete this)
- basecoat brown leather straps Mournfang Brown
Ruptures and green neon highlights
- base coat areas with a highly watered Trooper White
- apply Green Fluorescent
- apply watered down Nurgles Rot to achieve a watery oozy effect
boils
- basecoat Averland Sunset
- if there IS skin around boil apply Carroburg Crimson right around boil. followed by a medium or watered down and Carroburg Crimson going out see dunchan roads painting choas cultist for instructions
- apply Yriel Yellow on the bottom half of boil
- put a dot of Ushabti Bone right in the middle of boil
- apply watered down Nurgles Rot to achieve a watery oozy effect
Citadel Painting System 28
Base 10
- Averland Sunset
- Balthasar Gold
- Death Guard Green
- Dryad Bark
- Khorne Red
- Leadbelcher
- Mournfang Brown
- Rakarth Flesh
- Screamer Pink
- Screaming Bell
Shade 3
- Agrax Earthshade
- Carroburg Crimson
- Druchii Violet
Layer 8
- Emperor's Children
- Gorthor Brown
- Pink Horror
- Runelord Brass
- Skavenblight Dinge
- Sycorax Bronze
- Ushabti Bone
- Yriel Yellow
Dry 1
- Ryza Rust
Technical 2
- Nurgles Rot
- Typhus Corrosion
Air 3
- Abaddon Black
- Balthasar Gold
- Leadbelcher
Contrast 1
- Black Templar
Two Thin Coats
Highlight 1
- Trooper White