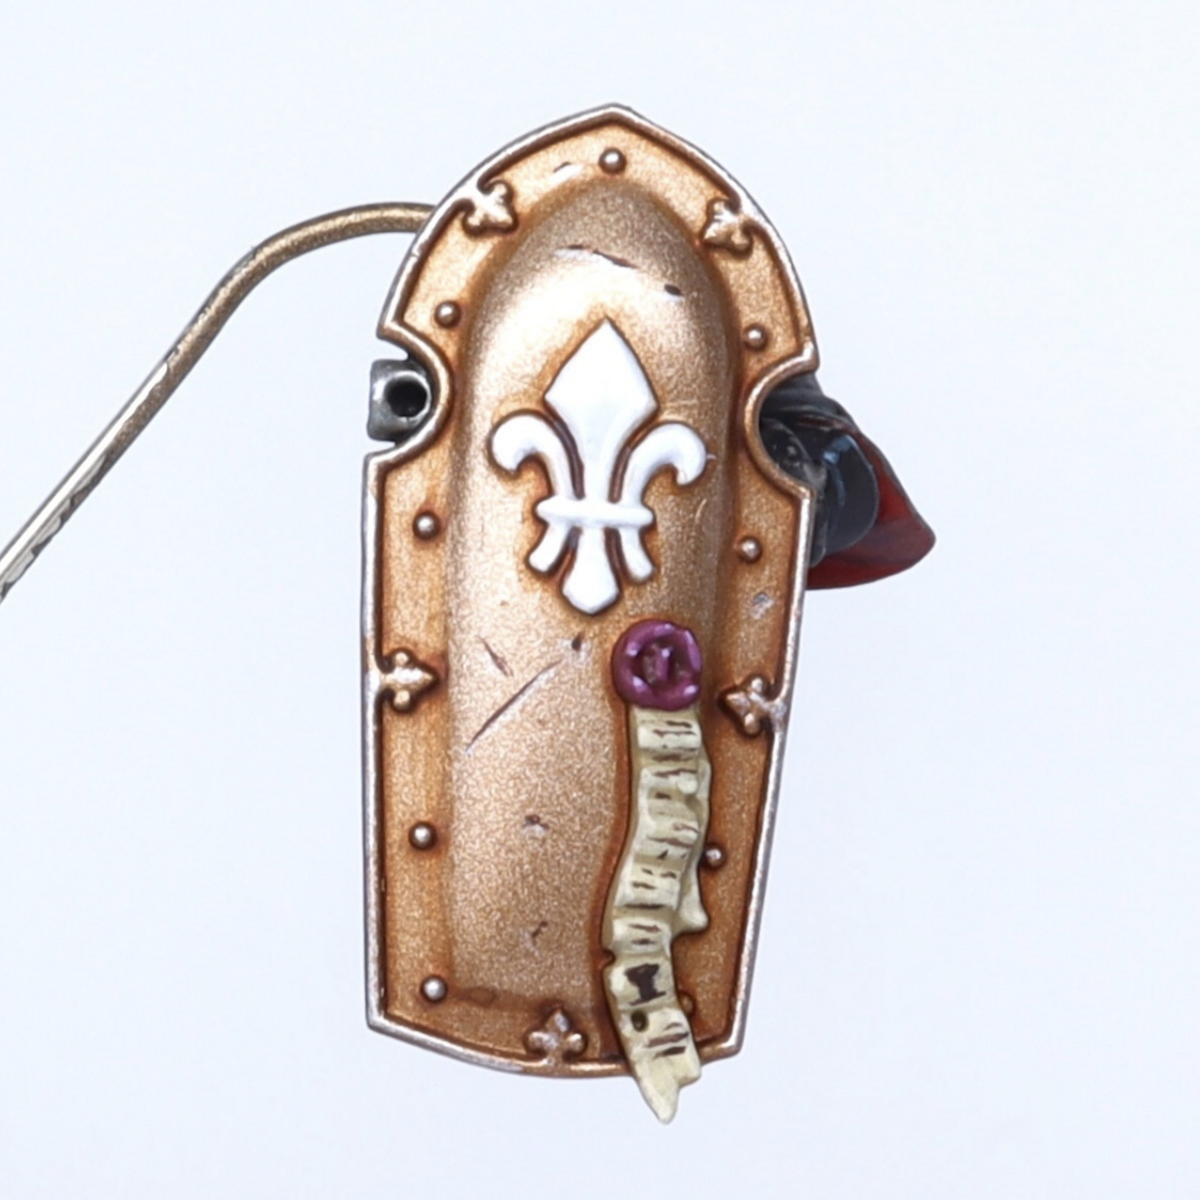
- Brass Balls Base coat with Brass Balls
- Armor Wash Umbral Umber Bloodtracker Brown Mix Armor Wash, Umbral Umber, and a touch of Bloodtracker Brown to create a rich, deep tarnish. This ages the metal by making it look used and gives you a base to build up highlights from. As such, make sure you blend this into the shadows on the miniature.
- Brass Balls For naval brass, after the tarnish layer, use straight (but thinned) Brass Balls to give the mini the proper base color. Don’t slap this on. Blend it onto balls and, if you need to, retake some of that tarnish so that you retain the richness and depth while still getting the brass hue.
- Brass Balls Quick Silver This highlight consists of half Brass Balls and half Quick Silver mixed together. Remember to keep it simple. It’s easy to slip and end up with sloppy color splashes at this stage, so keep your paint thinned with water.
- Quick Silver The last highlight is straight Quick Silver. This is what brass with a high percentage of zinc in it would look like, which makes it ideal for use with the Privateers.

.jpg)