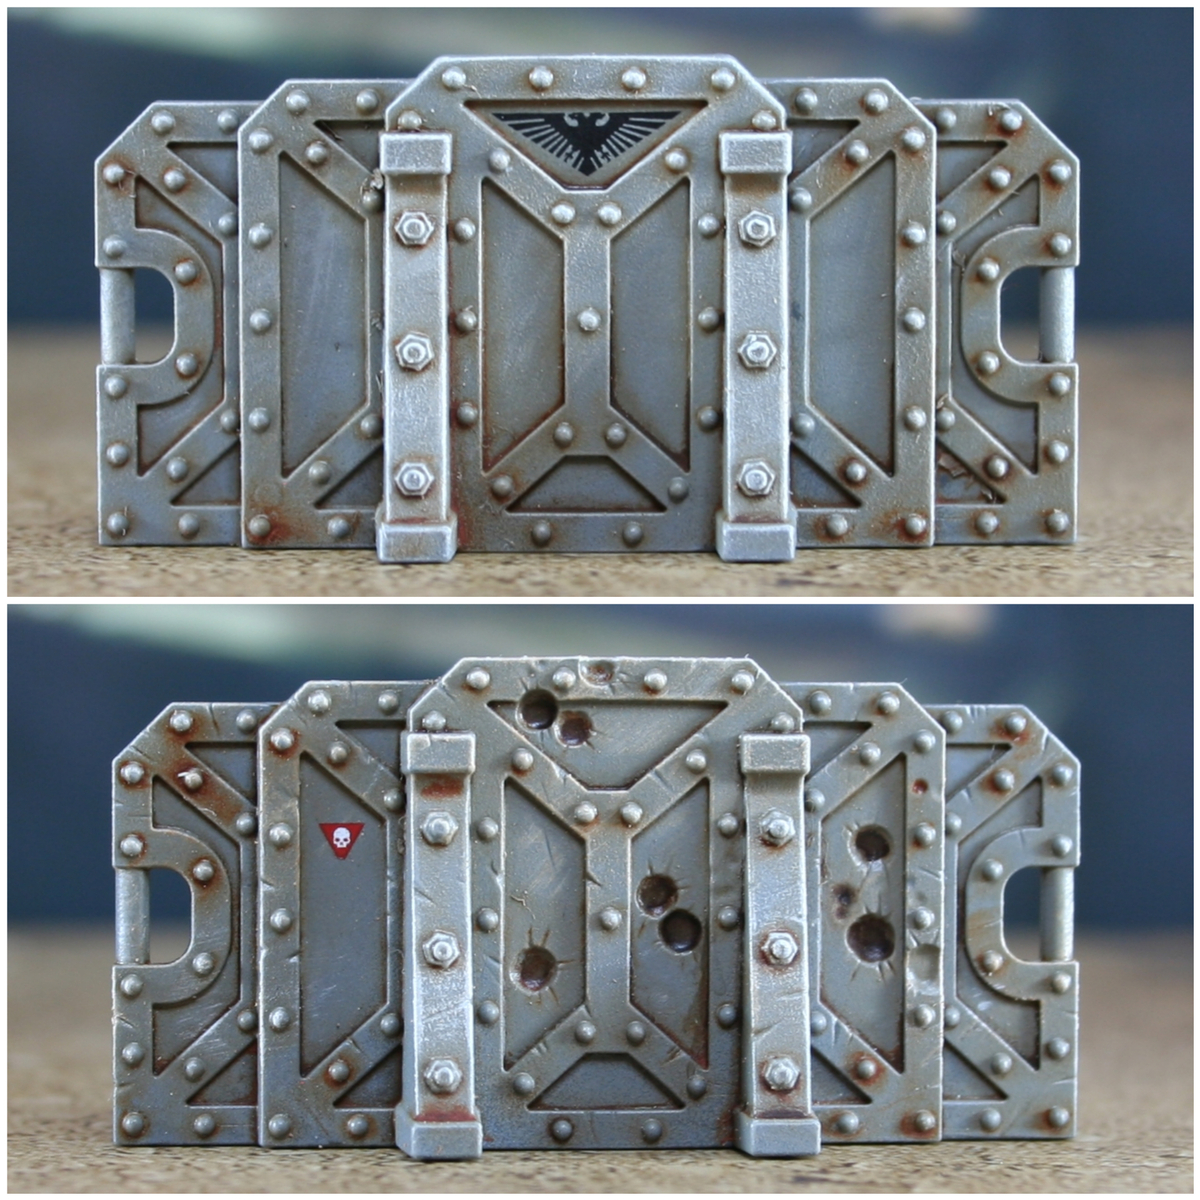

I wanted to get the cool little barricades from Kill Team: Octarius finished up quickly, but in a similar way to the official Games Workshop art. This is what I came up with.
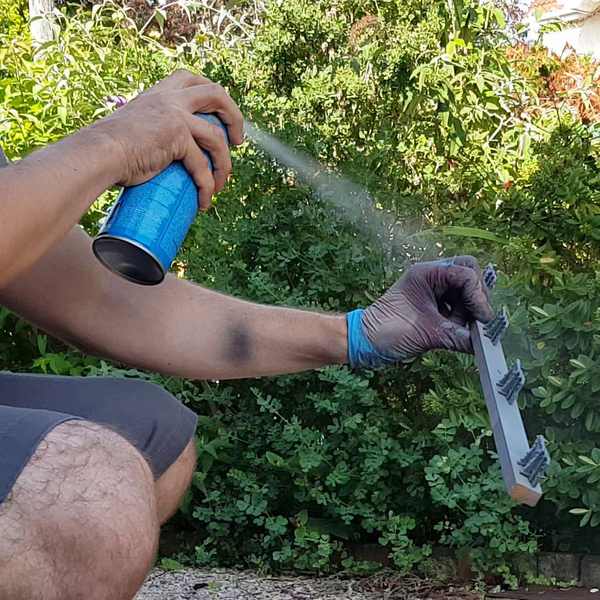 Prime your barricades. I would recommend using a light grey, if you have one available.
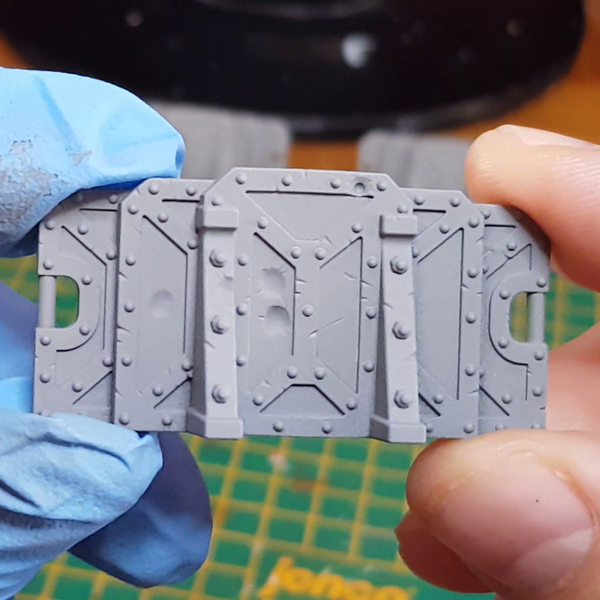 Basecoat with a light-ish grey. I used Cold Grey , which is close to Dawnstone .
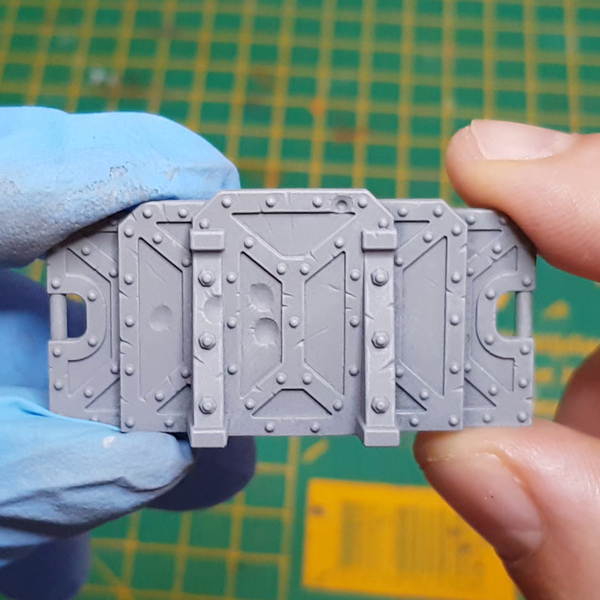 Apply a heavy drybrush of a lighter grey. I used Stone Wall Grey , but Administratum Grey is the Games Workshop equivalent.
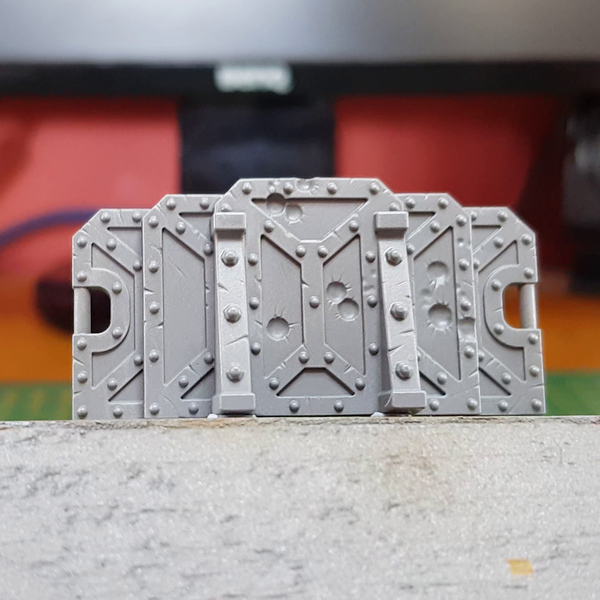 Now give the barricades a quick coat of gloss varnish. I used Vallejo gloss varnish through an airbrush, but you could use a spray can like Munitorum Varnish .
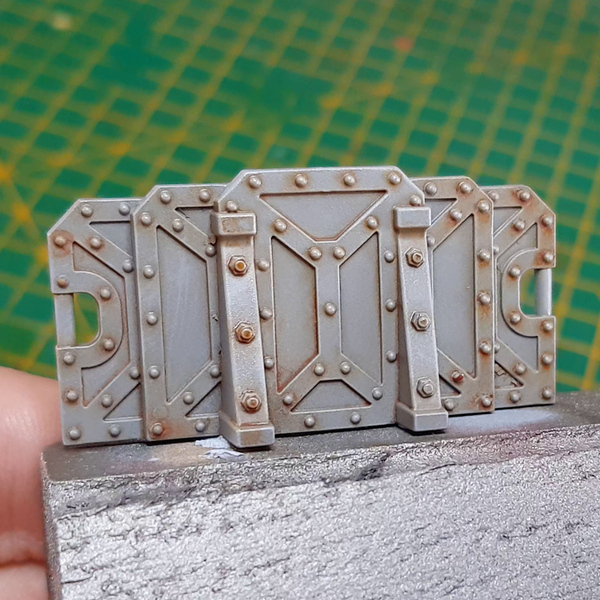 Pin wash the recesses and around nuts and bolts with a brown oil paint. I used Burnt Sienna from the Winton series.
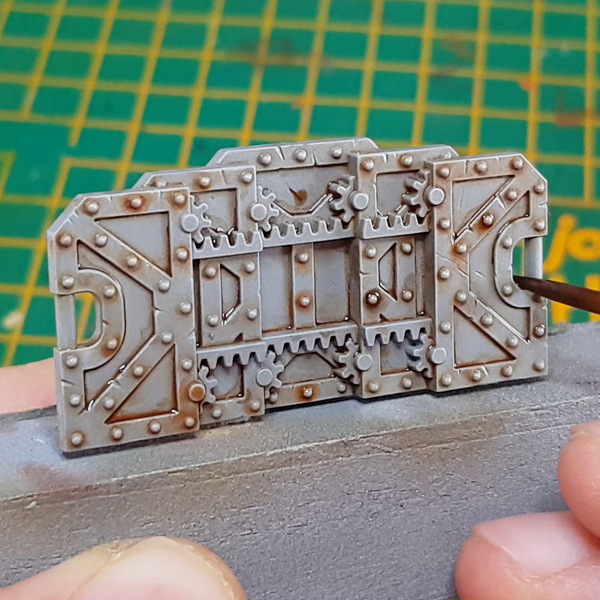 I did another pin wash, now with Burnt Umber. With this step I only popped oil paints in horizontal recesses and shadow areas.
 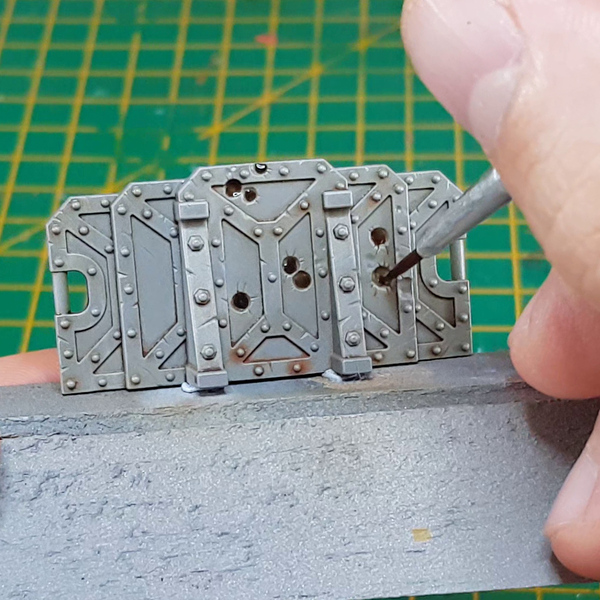 Pop some Agrax Earthshade into the bullet holes, just to make sure they are extra dark.
 Now I would advise sealing in the oil paints with another coat of varnish.
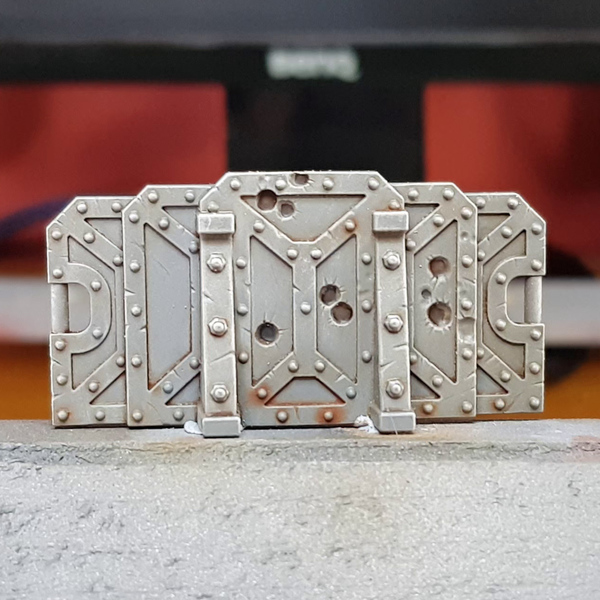 Drybrush all the edges and rivets again, lightly this time, using Ulthuan Grey .
 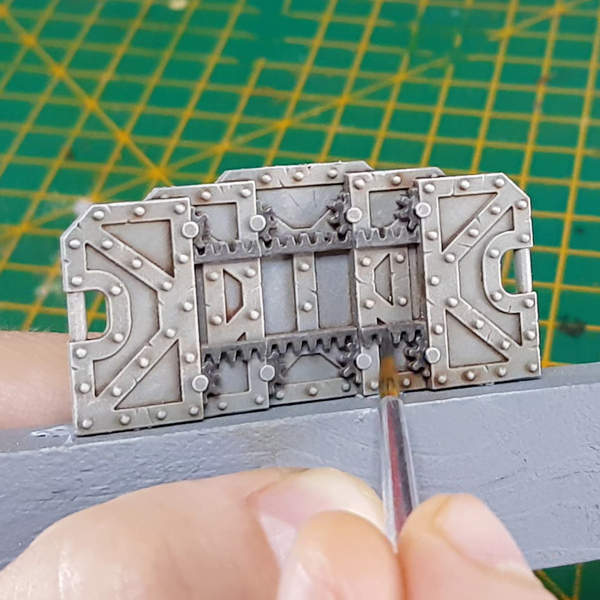 Basecoat all of the mechanical parts on the back with a 1:1 mix of Leadbelcher and Abaddon Black .
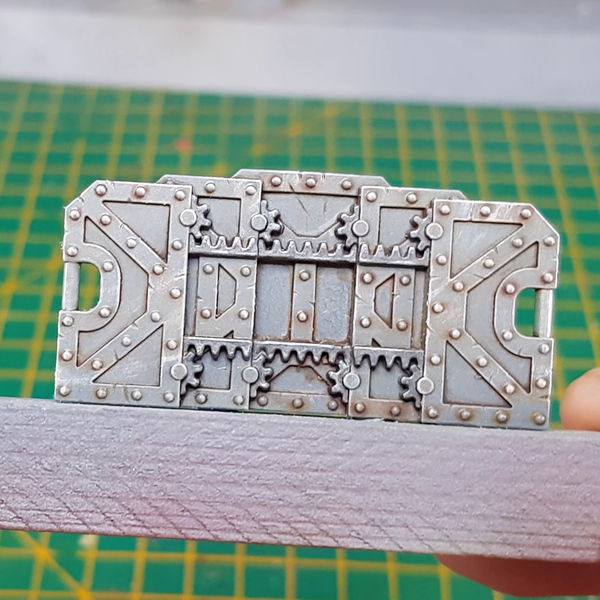 Edge highlight the metallic components with pure Leadbelcher .

Rookie Brushes
RookieBrushes
Aspiring miniature painter and biscuit enthusiast. Here to share my hobby and help where I can.
Citadel Painting System 7
Base 2
- Abaddon Black
- Leadbelcher
Shade 1
- Agrax Earthshade
Layer 3
- Administratum Grey
- Dawnstone
- Ulthuan Grey
Spray 1
- Munitorum Varnish
Vallejo Game Color
Base 2
- 72.049 Stone Wall Grey
- 72.050 Cold Grey