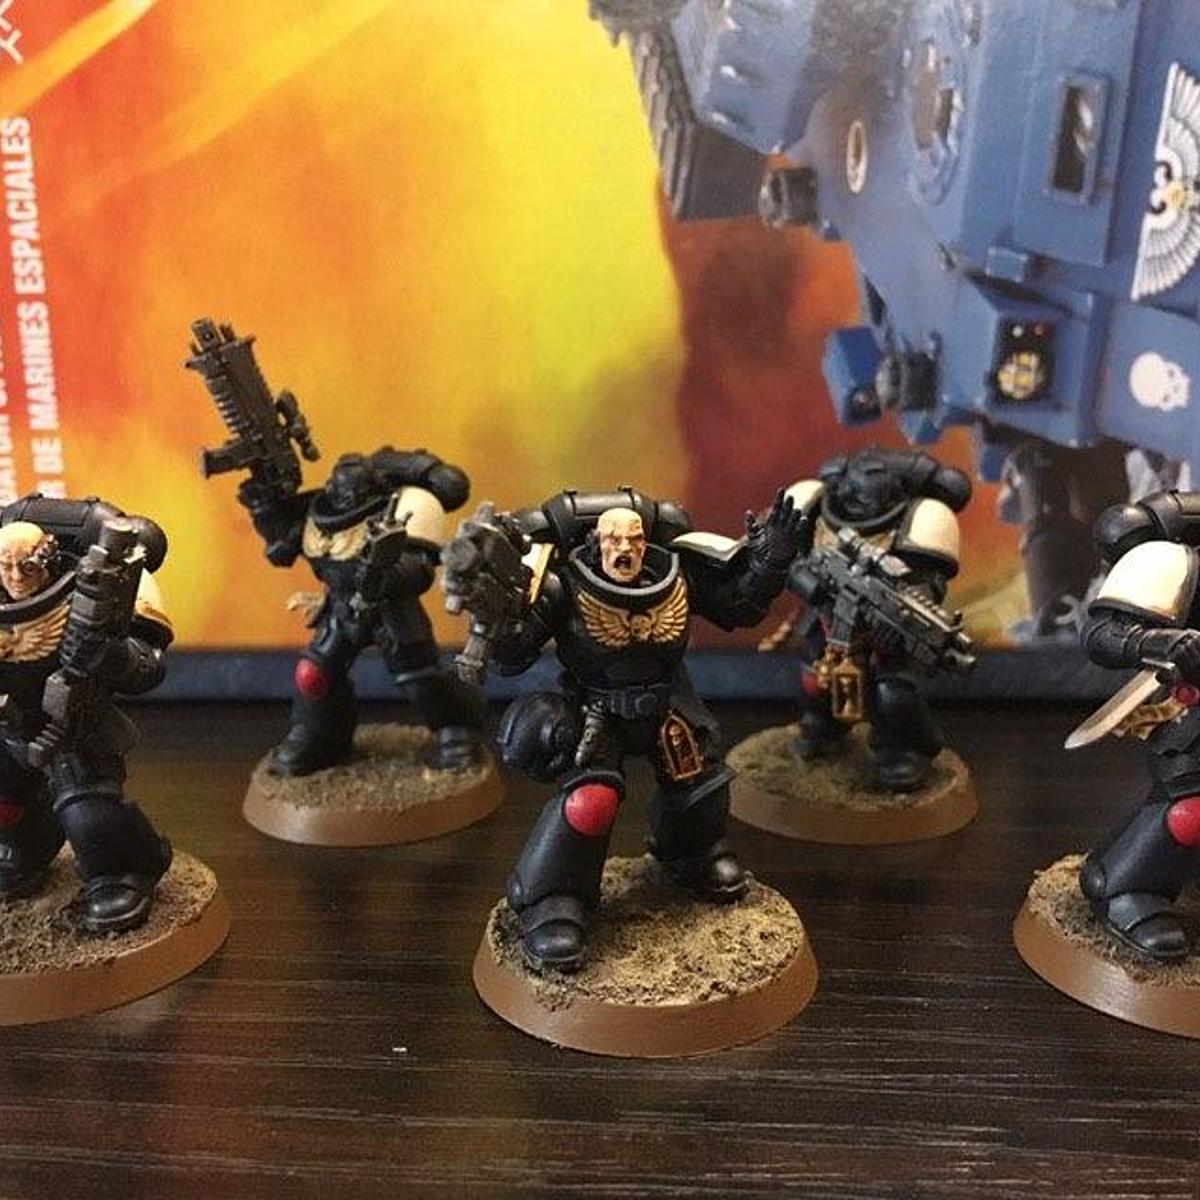
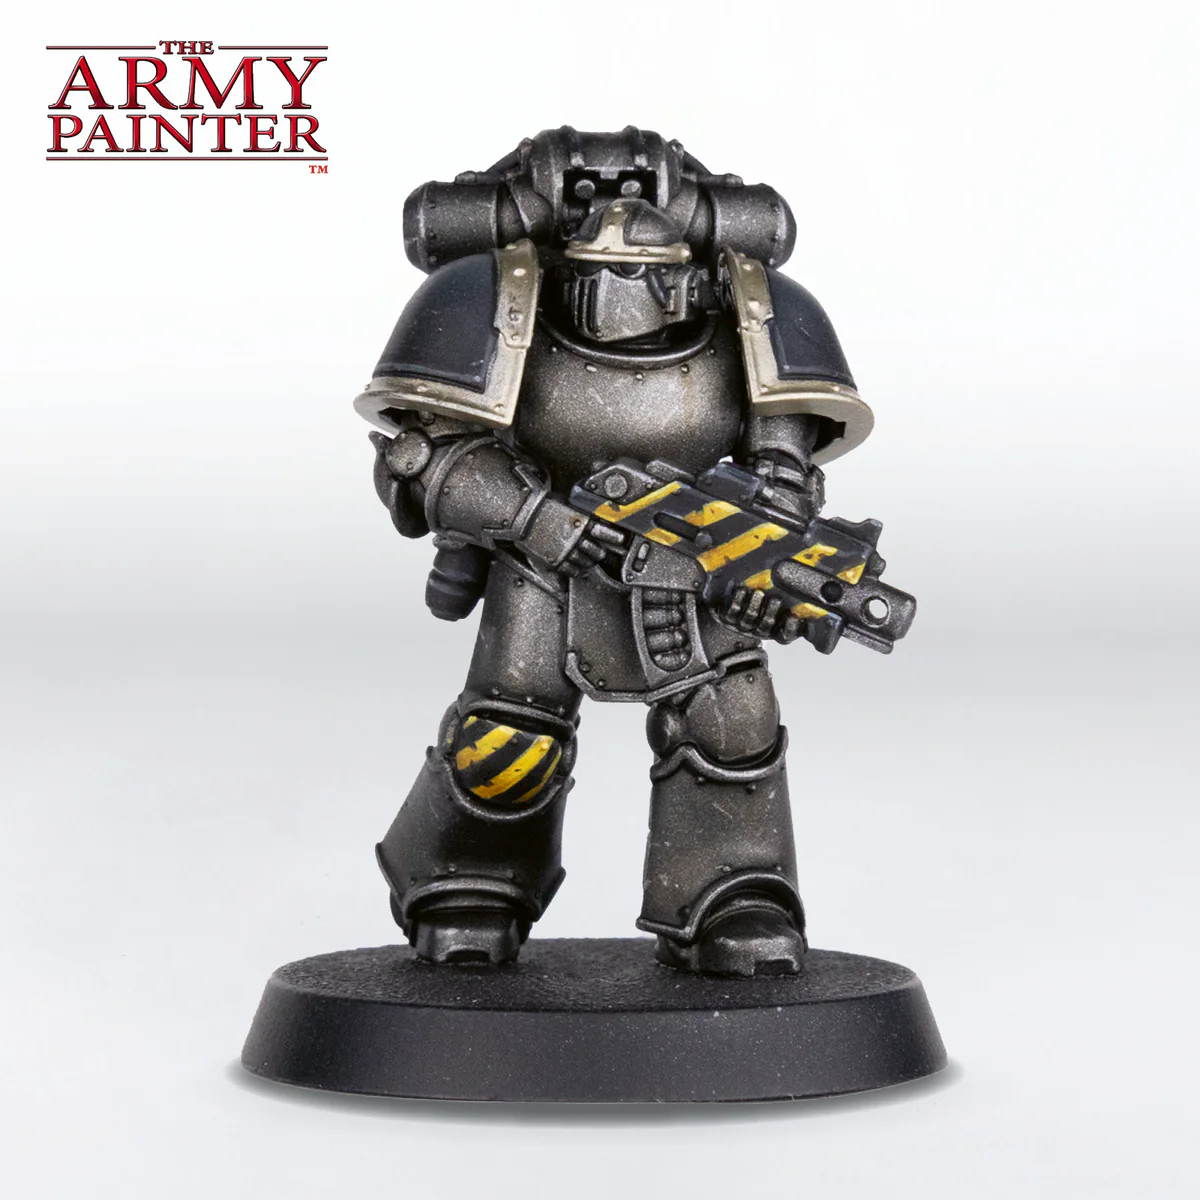
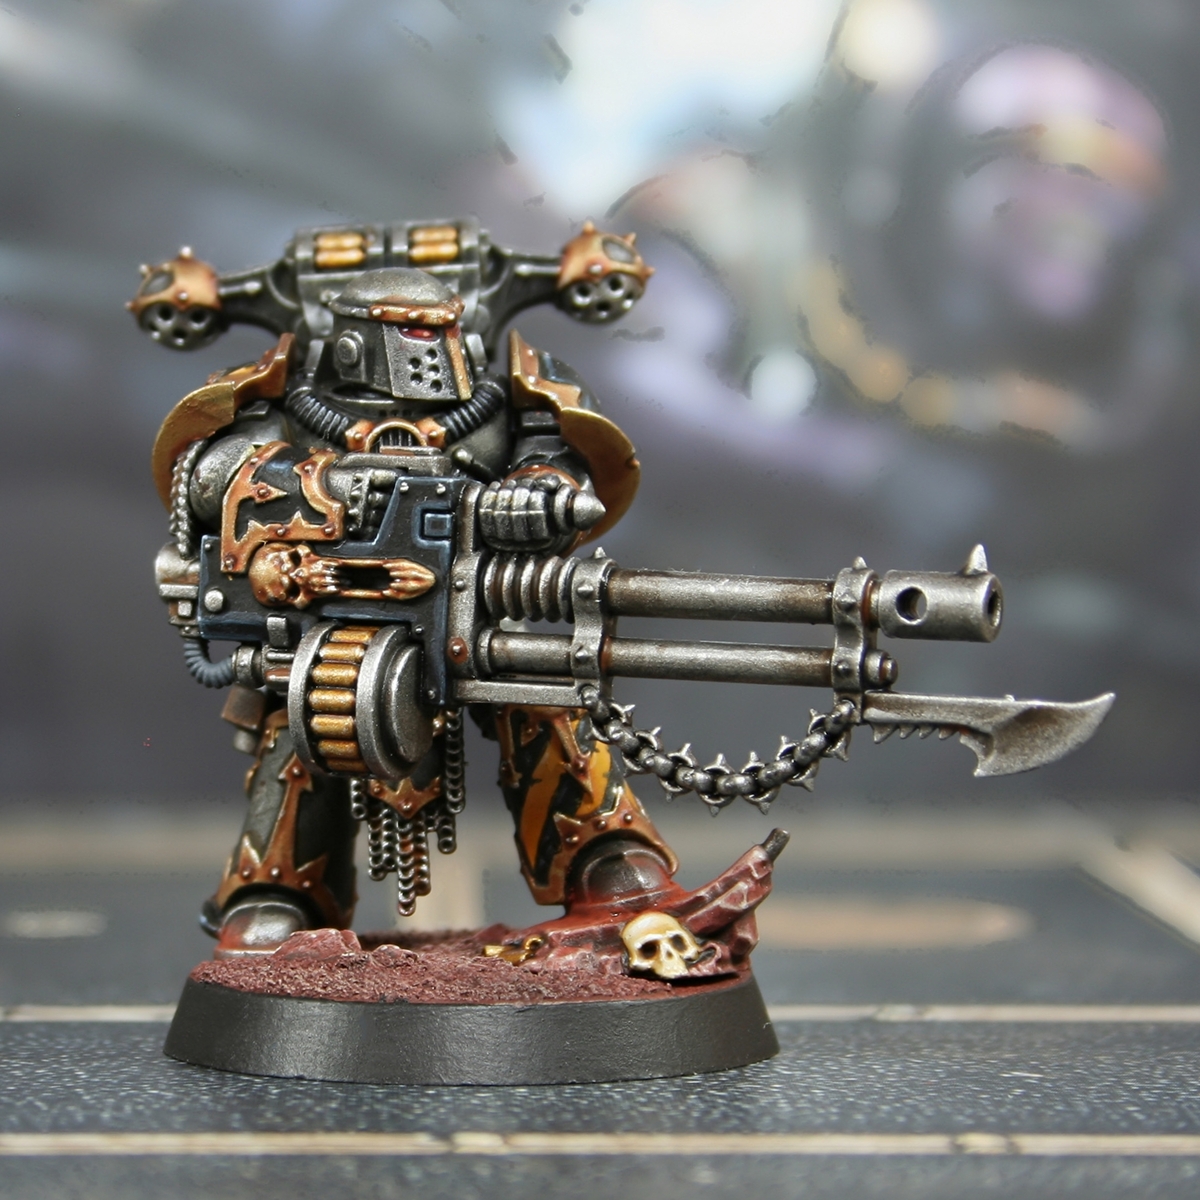
This recipe explains how I get some quick Black Templars for a small kill team I'm assembling with scraps from my bits box and the Warhammer Conquest issues. The main idea came from this YouTube video: https://www.youtube.com/watch?v=75g05-w_WBs
Accounting for drying times it takes about an hour per space marine. The main bottleneck is the many layers required for the shoulder pads.
Prime the models with a black primer. I use Chaos Black .
Black shadowed parts
- Dry brush the power armour with The Fang .
- Add some highlights with Russ Grey . I dry brush them but can do an edge highlight if you fancy.
- Paint the metal areas with Leadbelcher and the leather areas with Burnt Umber .
- Give the whole model a wash of Nuln Oil and wait for it to dry.
Brown shadowed parts
- Paint the red details such as the eye lenses, the wax seals and other red details (like the red knee in my case) with Flat Red .
- Paint the shoulder pads, the chest eagle and the parchments with Bone White . This paint covers really poorly (maybe is my bottle tho). I'm looking for a way to improve the efficiency of this step so it doesn't takes to long to get a nice and even coat.
- Paint the gold details with Retributor Armour and give a wash to the cream, red and gold areas with Agrax Earthshade . The minis in the preview were washed with Sepia Wash , but I prefer the former because the result is less dirty.
Further steps
From this point you can highlight further any area you want to improve. For the rank and file miniatures I don't bother. After the miniature is done and based apply a light coat of Acrylic Satin Varnish to give the power armour a slight satin finish.
foldr
I make this recipes for the foldr that lives far in the future. He is a very forgetful person.
Citadel Painting System 7
Base 3
- Leadbelcher
- Retributor Armour
- The Fang
Shade 2
- Agrax Earthshade
- Nuln Oil
Layer 1
- Russ Grey
Spray 1
- Chaos Black
Vallejo Auxiliaries
Base 1
- 28.532 Acrylic Satin Varnish
Vallejo Model Color
Base 2
- 70.941 Burnt Umber
- 70.957 Flat Red
