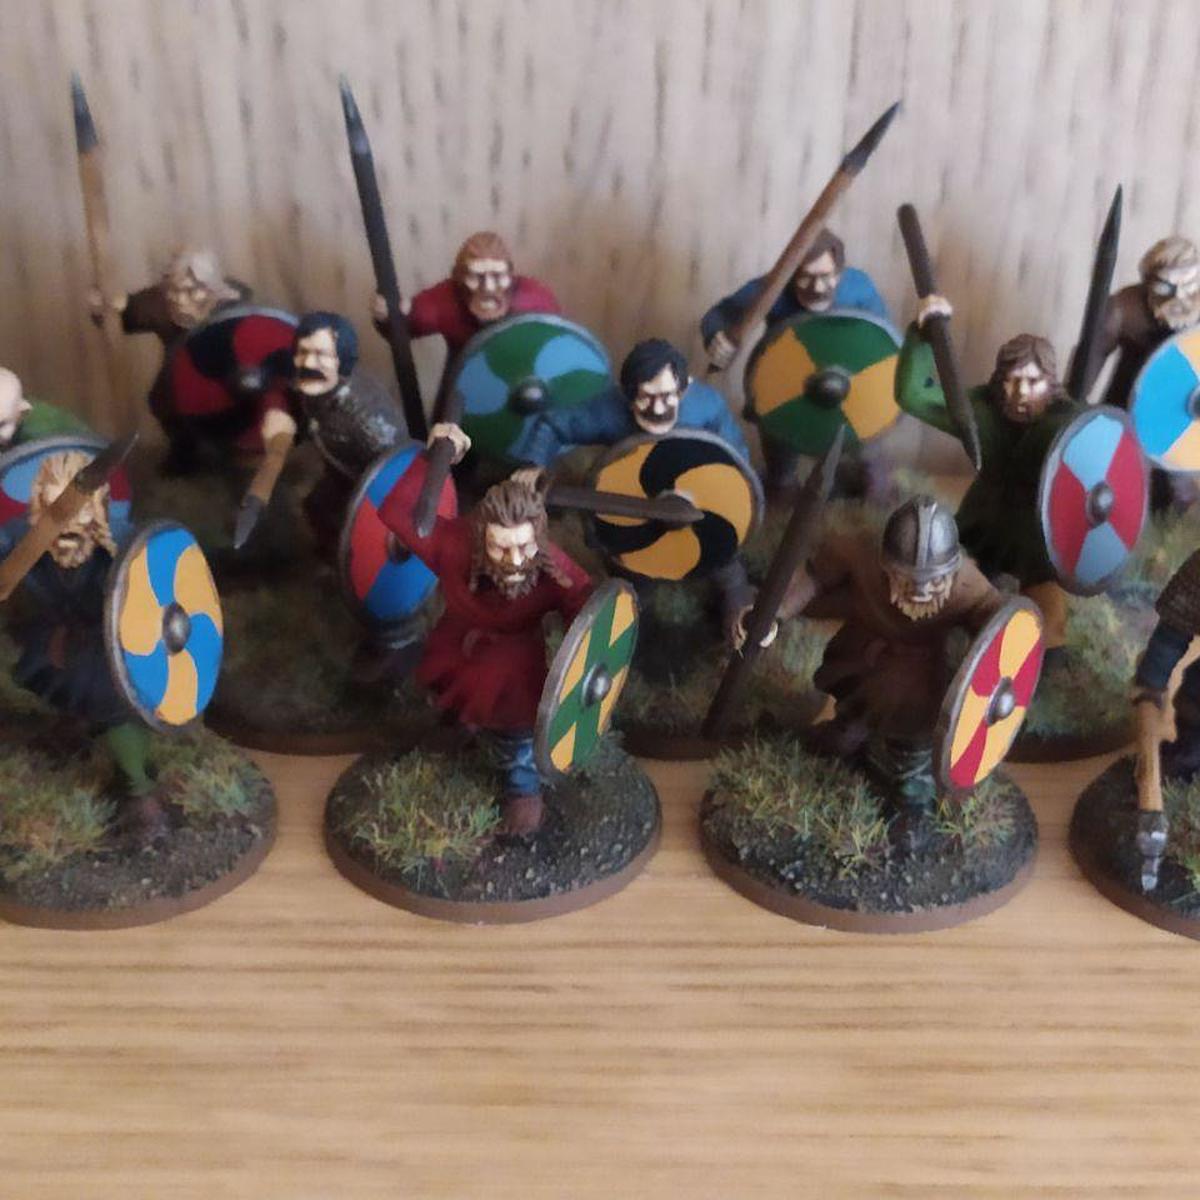
SAGA Viking Bondi

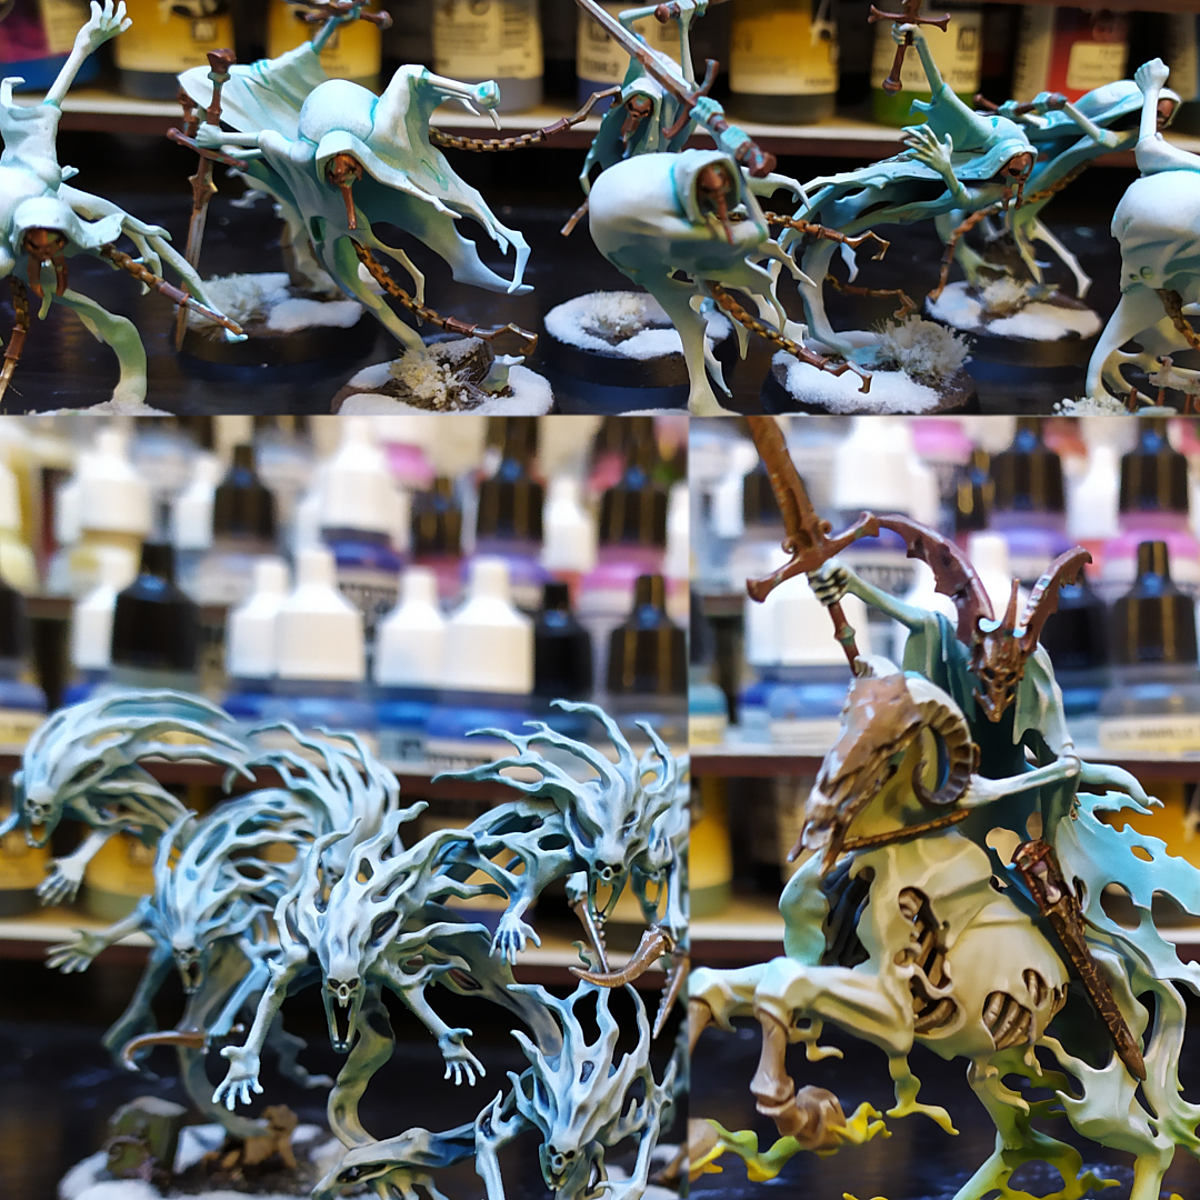
Viking warriors painted in a variety of colors. The main principle is to highlight on a upward fashion. The first highlight is only applied from the waist to the head and the second only in the face, hair and shoulders. Most of the colors are highlighted with a desaturaded version of themselves to get a slight washed out appearance.
Prime the miniatures black. If I recall correctly I used Chaos Black .
Base coats
- Base coat the cloth. I use two colors per warrior, one for the pants and other for the shirt. I randomly pick between The Fang , Flat Earth , Mephiston Red , Olive Green , Death Guard Green , Wild Rider Red and Averland Sunset . The last two were not used in the batch shown in the preview
- Base coat the leather with Saddle Brown .
- Base coat the wraps and other pieces of linen cloth with Karak Stone .
- Base coat the metal with Leadbelcher .
- Base coat the skin with Flat Flesh .
- Base coat the hair with either Abaddon Black , Flat Earth , Orange Brown or Tan Yellow .
- Base coat the wood with either Desert Yellow or Burnt Umber .
- Small details like the sword hilt can be base coated with a neighboring color or with it's own. In the case of the hilt I used a little of Balthasar Gold .
Wash and highlights
- Apply an overall wash of Agrax Earthshade .
- Dry brush the hair with its base color except the black hair, which is dry brushed with Eshin Grey . Then add a little bit of Ivory to the color and apply a light dry brush to the most protuberant areas of the hair. This last dry brush is not applied to the black hair.
- Highlight the face with Flat Flesh and then with a mix 1:1 of Flat Flesh and Ivory .
- Highlight the shirt with its base color, then apply a stipling highlight with a mix 1:1 of the base color and Ivory to the shoulders, back and arms if they are raised up the shoulder. Don't bother to highlight anything that is going to end up covered by a shield. The last highlight will help to get a rough cloth efect thanks to the stipling motion.
Shields
- Paint the back of the shields with Burnt Umber and dry brush the wood grain with Desert Yellow . Once dry glue the shield to the warrior with CA glue.
- Pick a bright color from step 2 and paint the front of the shield. I add Black and Deep Sky Blue to the array of colors and replace The Fang with Flat Blue .
- With the base coat of the shield applied pick a darker color that looks good with the base color and paint a Viking motif on the shield. You can go as simple or as hardcore as you want here. If freehanding is not your thing there are decals available for this kind of shields on some hobby stores.
- With the shield design done paint with Leadbelcher the trim and the boss. As an alternative the trim may be leather ( Saddle Brown ), but I do believe that those trims were metalic.
- Apply a wash of Agrax Earthshade to the interior of the shield, the trim and the boss. Be careful around the edges to not stain the front of the shield.
Finishing touches
Base and apply varnish. I prefer to apply a matt varnish like Acrylic Matt Varnish to this medieval models.

foldr
I make this recipes for the foldr that lives far in the future. He is a very forgetful person.
Citadel Painting System 12
Base 7
- Abaddon Black
- Averland Sunset
- Balthasar Gold
- Death Guard Green
- Leadbelcher
- Mephiston Red
- The Fang
Shade 1
- Agrax Earthshade
Layer 3
- Eshin Grey
- Karak Stone
- Wild Rider Red
Spray 1
- Chaos Black
Vallejo Auxiliaries
Base 1
- 28.531 Acrylic Matt Varnish
Vallejo Model Color
Base 12
- 70.844 Deep Sky Blue
- 70.912 Tan Yellow
- 70.918 Ivory
- 70.940 Saddle Brown
- 70.941 Burnt Umber
- 70.950 Black
- 70.955 Flat Flesh
- 70.962 Flat Blue
- 70.967 Olive Green
- 70.977 Desert Yellow
- 70.981 Orange Brown
- 70.983 Flat Earth