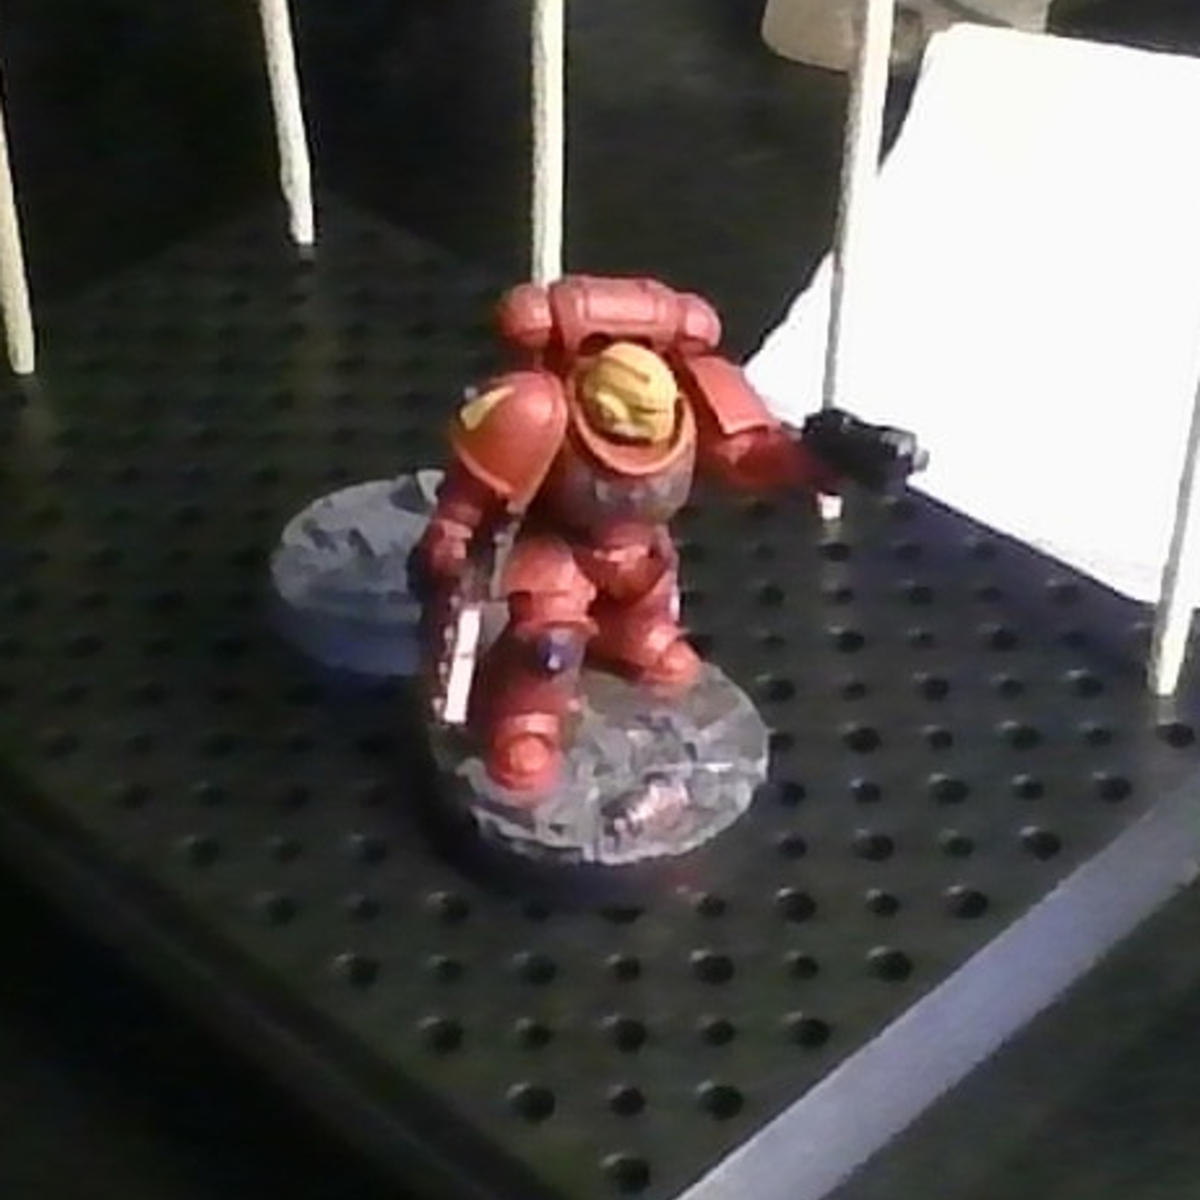
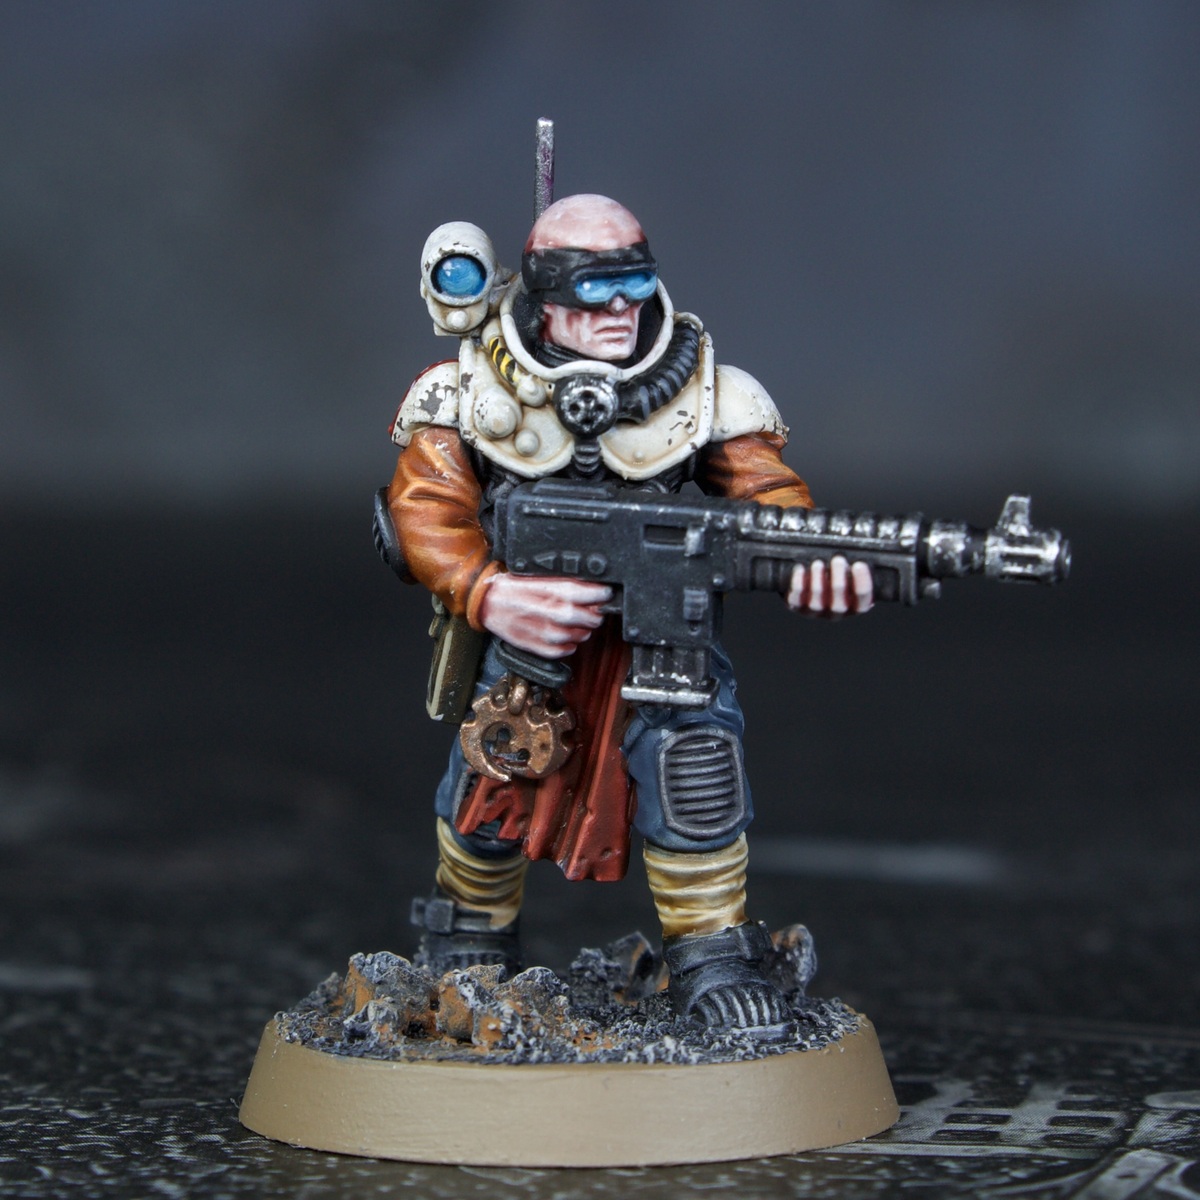
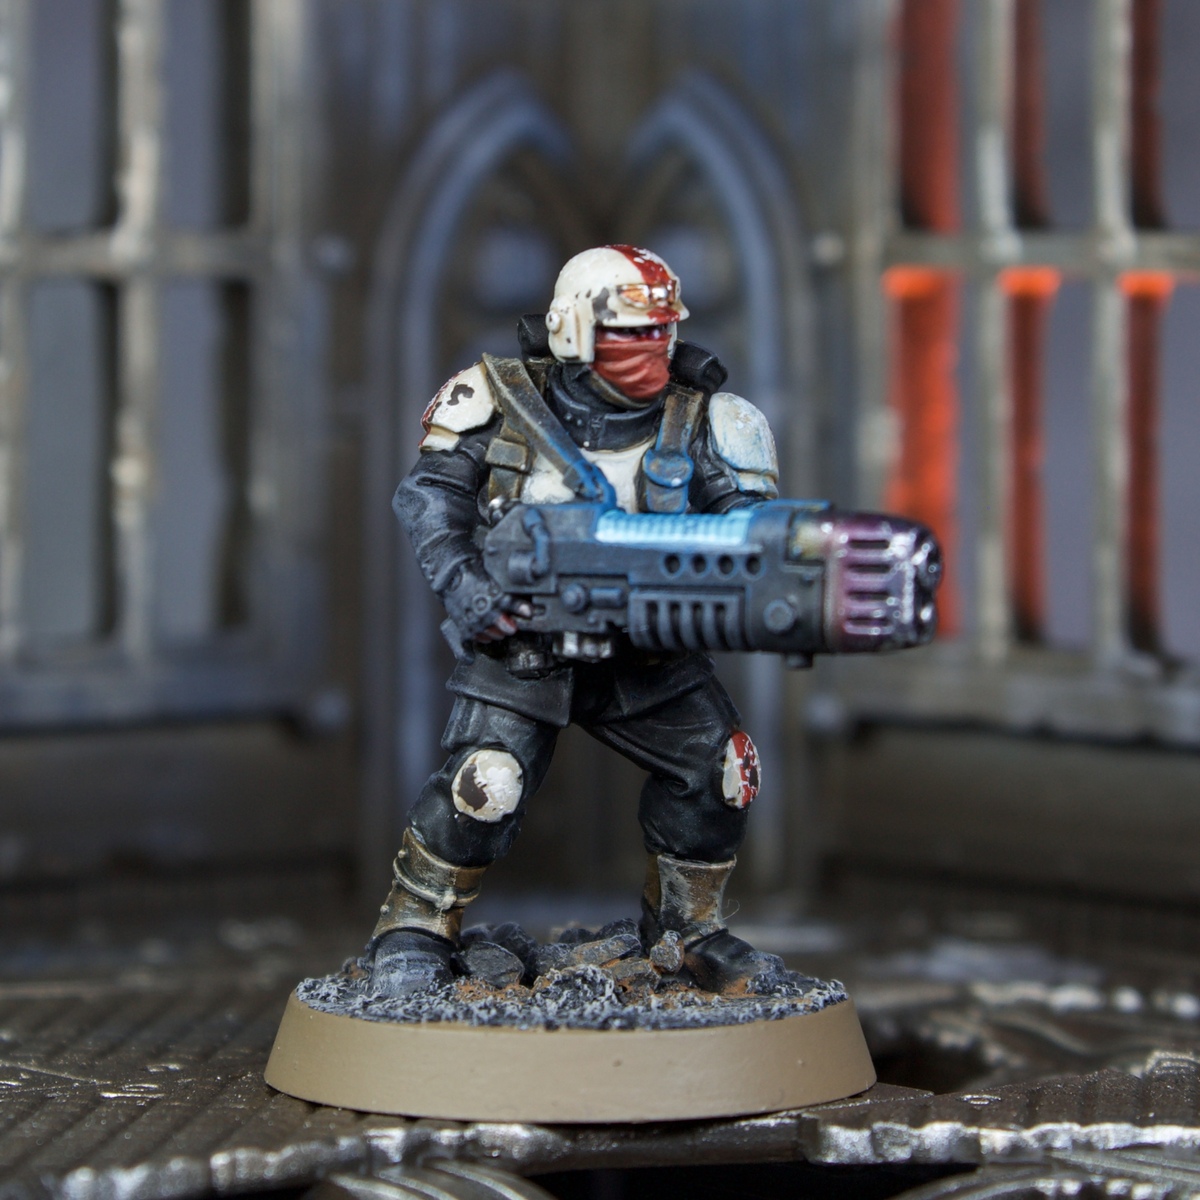
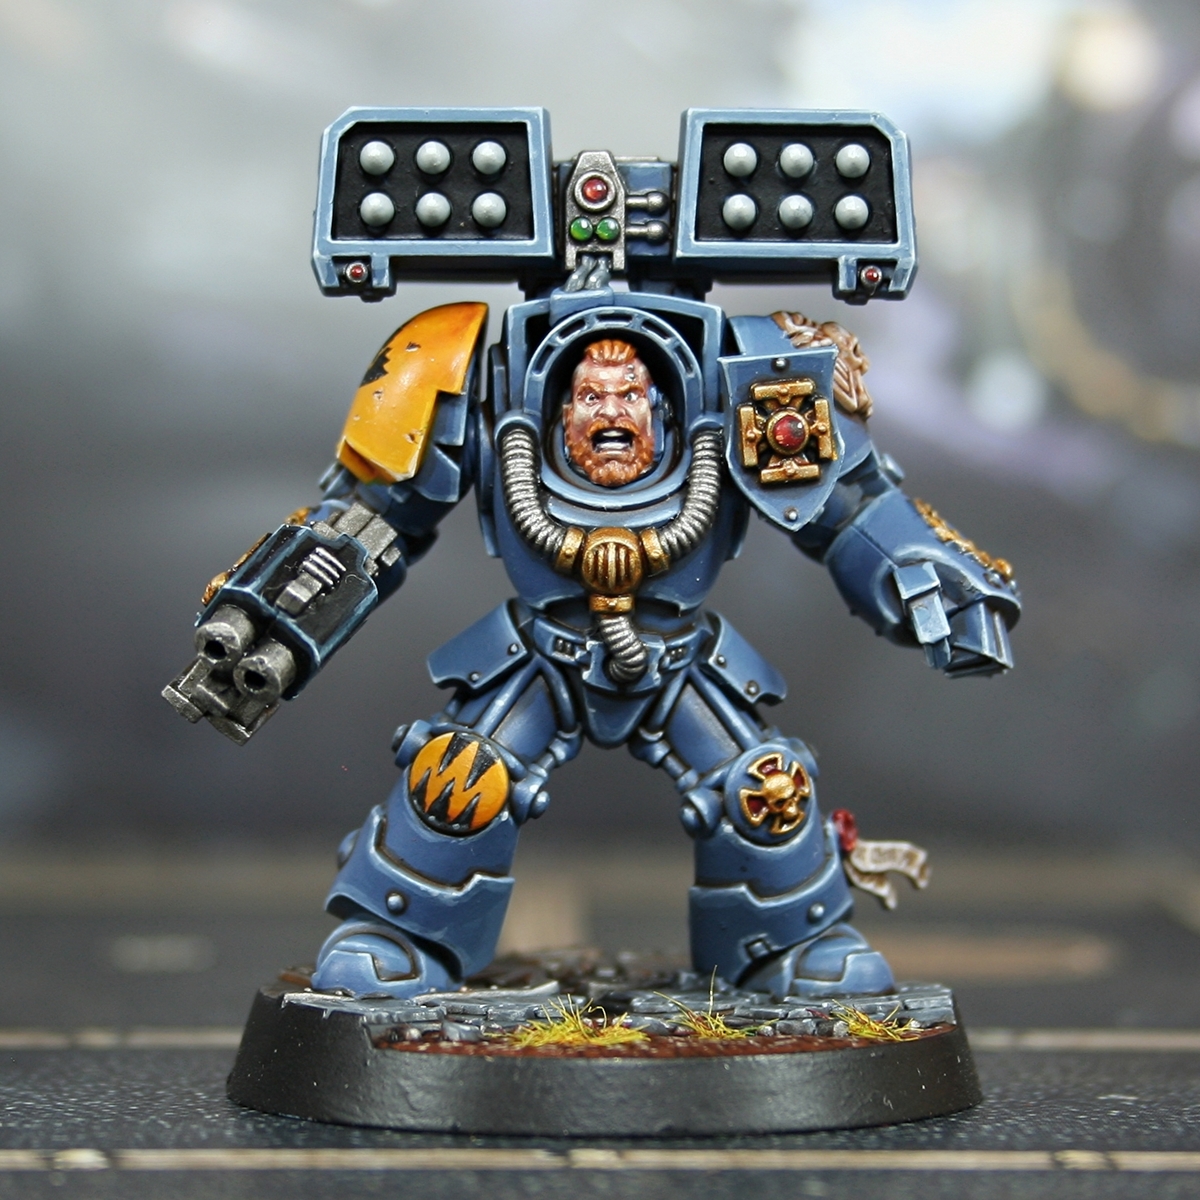
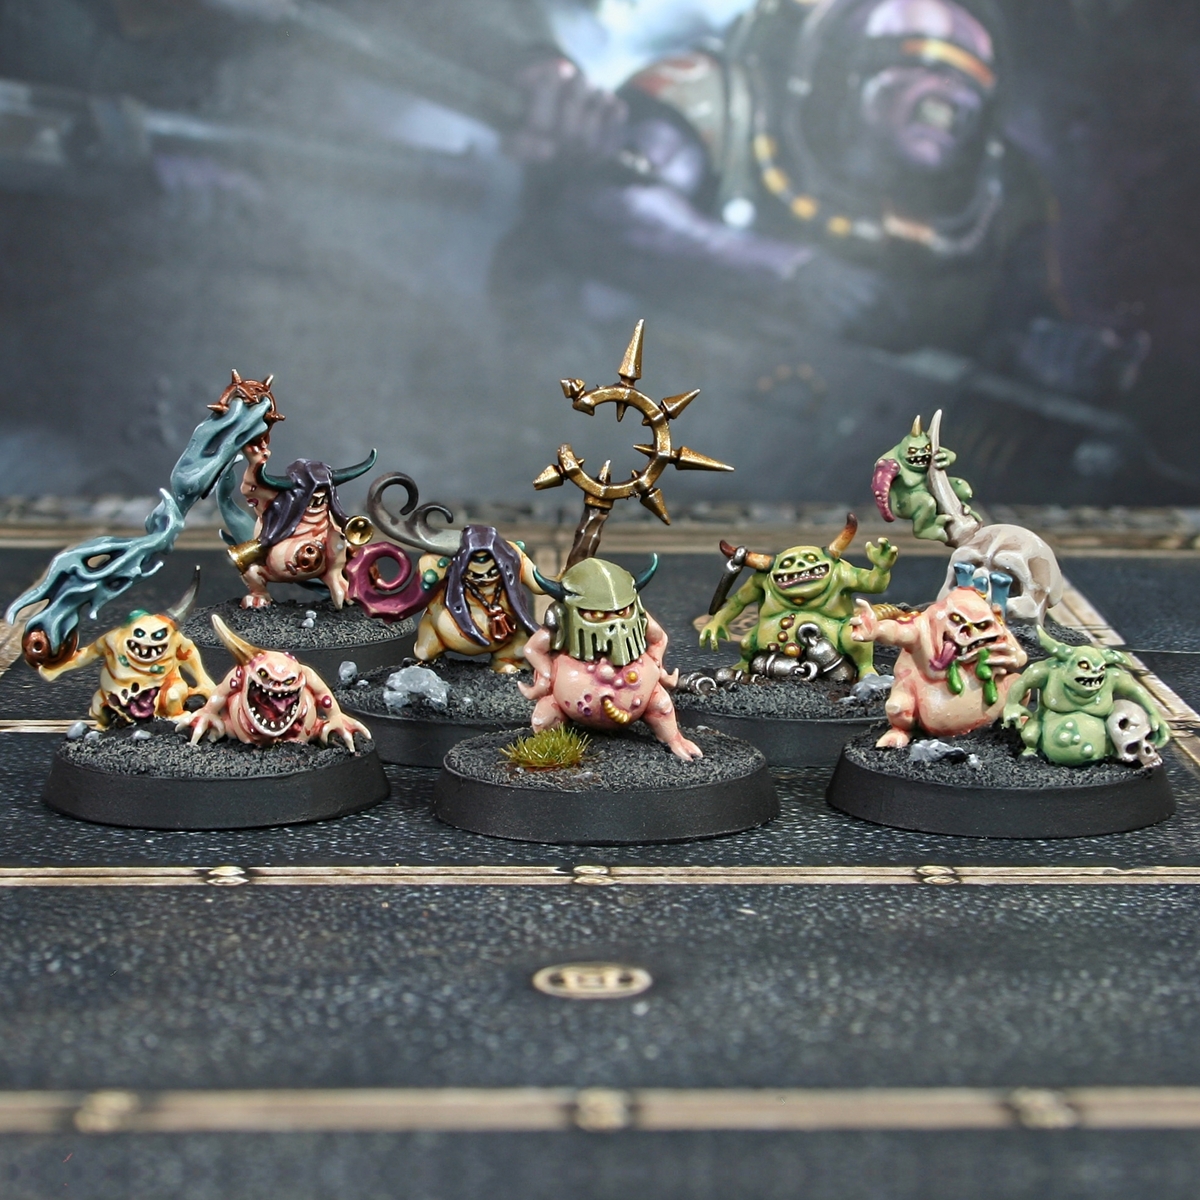
This is a general starting point for Blood Angels, and includes some basic techniques for how to paint these miniatures to a standard that I would consider between battle ready and parade ready.
Some steps will be split in two, so be prepared for many options.
Armor
- Base in either Khorne Red or Mephiston Red . The easiest way to start is to coat using a spray version of Mephiston Red , but this can mean having to put the model entirely together, which means that you can't get as many good details without a very (very) precise brush. Either way is fine though.
- Add some more coats of Mephiston Red , although one technique I saw was using a 1:1 mix of Mephiston Red and Evil Sunz Scarlet , if you want it to be brighter.
- For the power pack, use Abaddon Black then Leadbelcher to color all the vents and give them depth.
- For gold details, use Retributor Armour or Liberator Gold , as two good bright golds. Then use a brighter gold or yellow to add VERY careful edge highlights.
- For the under suit, use Abaddon Black as a base, then use a slightly lighter color, like Incubi Darkness to do the ridges on the under suit. The slight teal color of Incubi Darkness also adds some contrast to the bright red of the Blood Angels.
- Optional: Use Khorne Red to glaze the lower parts of the armor panels. I personally don't like glazing, but it makes your armor panels more interesting.
- Option 1: Use watered down Khorne Red , Agrax Earthshade , or Nuln Oil to add recess shading under the armor panels.This allows the figure to look more realistic.
- Option 2: The easier, yet less good looking method is to use Agrax Earthshade or Nuln Oil all over the miniature, which allows there to be shade and texture on your armor. Be careful not to let too much shade clump into a single area, as it creates a "coffee stain" sort of look that just doesn't look good. I used this technique on an Intercessor, and I don't regret it at all.
- Use Evil Sunz Scarlet to add edge highlights, as to bring out the panels on the armor. I would consider this next step optional, as it takes out some realism, but you could use a lighter red or dark orange to make the highlight pop out a little more.
- If it wasn't already clear, use Khorne Red or Nuln Oil to add shade in all the little crevices in the armor.
Helmet
I always feel that the helmet deserves its own section, as it can be complicated and very detail oriented. However, I'll give you a little heraldry and options to work with. (Be sure to know what battlefield role your marine is, as it will help.)
- If your marine is Battleline, use Mephiston Red for the main color of the helmet. If he's Close Support, use Averland Sunset (can get chunky). For Fire Support, use Macragge Blue . Finally, if your Space Marine is either a Veteran or Command, paint his helmet using Retributor Armour .
- For the lenses, basecoat in Warpstone Glow , then use a lighter green like Moot Green to add highlights and light reflections. You could also use Corax White or another white for the reflections as well.
- Use Leadbelcher for the tubes and sides of the helmet.
- For the under suit, use the same technique as earlier, with the Abaddon Black and the Incubi Darkness .
- Use Nuln Oil to shade the details and crevices, and use a lighter version of the color of you helmet to do edge highlights, like Evil Sunz Scarlet or Liberator Gold , to name a few.
Weapons and Other Details
This won't include everything, but it has pouches and holsters, sheaths, Bolt rifles and pistols, and knives. It also includes purity seals, which look real cool, if you do them right.
- Option 1 (Pouches and Holsters): Paint using Abaddon Black . Cover the pouches in Agrax Earthshade and color the latches/buttons using Leadbelcher . Shade details on the knife sheath with Agrax Earthshade . Edge highlights with Incubi Darkness .
- Option 2 (Pouches and Holsters): Rather than use black for the pouches, which is a more tactical look, you can go for a more traditional (and preferred) look by using Mournfang Brown instead of Abaddon Black . Keep every other step though, as it keeps it looking good.
- For knives, paint the blade with Leadbelcher then color the edge of the blade with a darker silver like Iron Warriors or a shade like Nuln Oil . For the handle, paint it with Caliban Green (for contrast) or Abaddon Black . Then add a layer of Agrax Earthshade , to match the sheath.
- For Bolt weapons, basecoat in Abaddon Black . For the magazine, barrel, scope and top areas and details, use Leadbelcher . For the decoration on the weapon, use Retributor Armour . Add shading with Nuln Oil and highlights with Incubi Darkness (or another grey) for black areas, Liberator Gold for gold areas, and Iron Hands Steel for silver areas, allowing your weapon to look nice.
- For purity seals, color the wax with Khorne Red , and if you want to, do edge highlights with Mephiston Red . For the paper, basecoat it in Wraithbone , then use Agrax Earthshade to create a very worn down/parchment sort of feel. If you're feeling especially skilled, you can use a very precise paintbrush with Abaddon Black to add some writing to the parchment of the Purity Seal.
Base
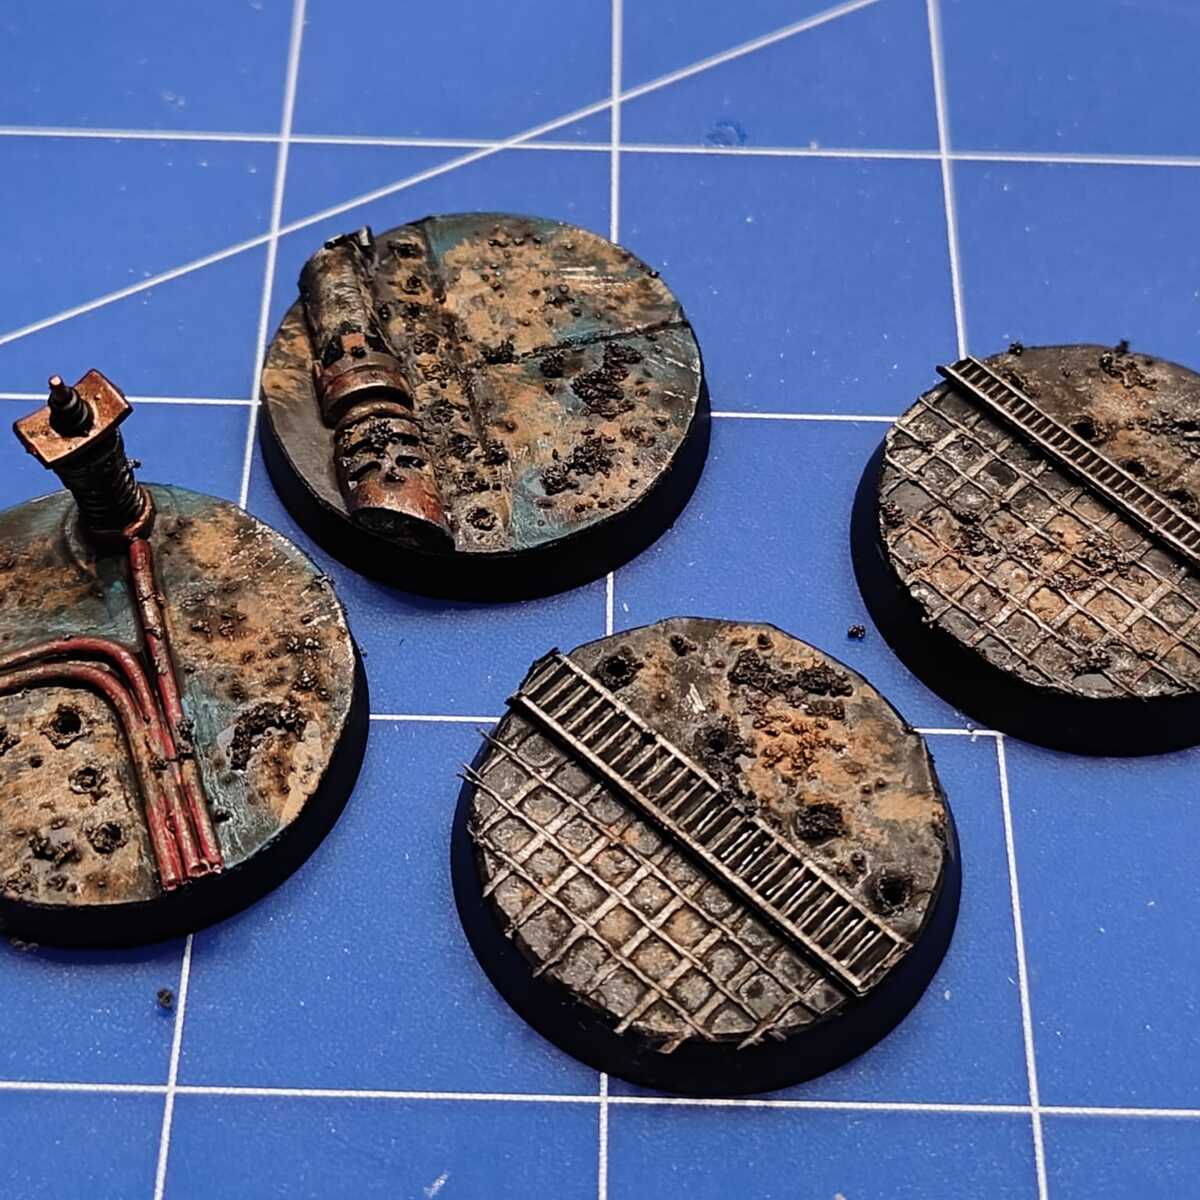
This is the most differentiating piece of a miniature, because it's entirely up to you. Some bases are fancy and have the terrain and vision all laid out for you, but most Warhammer bases are plain black, with a bit of texture on the top. I like to take advantage of this texture, but there are many other strategies to painting these. This is how I painted one like basic soil.
- I started by basecoating in Skrag Brown , to get a lighter brown color on the peice.
- I then coated in a lighter dusting of grey. I used Astrogranite , but that is meant to get a good texture, so you should just use another grey, probably lighter too.
- I went over this mix with what can only be described as a very thin coat of Skrag Brown , with maybe a bit of drybrushing or the color. Make sure to allow the other colors to show through, otherwise the previous steps are pointless.
- After all this, go over it with Agrax Earthshade , to get a slightly darker, yet browner color.
- You can then add a variety of texture paints, or get some sand and rocks and glue them to your base. This is purely optional, but good if you want a parade ready base. I just kept the original paint scheme, as glueing is hard, and it didn't really look good.
When I painted my base, it was much less organized than this, but the real technique is to use these four colors over to get the right mix and color to make the base look like soil. use Abaddon Black to cover up any mistakes, and be proud with your work.
I am only a beginner, but even so, I've learned a lot about how to paint these miniatures in a way that makes them look good. I have tried and failed in some techniques, and I've succeeded in others, but in the end, you find a way to do it that you like. If you don't want to use this recipe to paint your miniatures, that's fine with me, and I encourage you to go check out other recipes and tutorials.

Citadel Painting System 23
Base 14
- Abaddon Black
- Averland Sunset
- Caliban Green
- Corax White
- Incubi Darkness
- Iron Hands Steel
- Iron Warriors
- Khorne Red
- Leadbelcher
- Macragge Blue
- Mephiston Red
- Mournfang Brown
- Retributor Armour
- Wraithbone
Shade 2
- Agrax Earthshade
- Nuln Oil
Layer 5
- Evil Sunz Scarlet
- Liberator Gold
- Moot Green
- Skrag Brown
- Warpstone Glow
Texture 1
- Astrogranite
Spray 1
- Mephiston Red