- Complete Painting Guide for the Hunters of Huanchi Warband
1. Priming the Models
All models begin with a solid foundation provided by an even coat of primer. This will help the paints adhere better and create a smooth surface for applying colors.
Primer: Use Chaos Black spray or Wraithbone spray as the undercoat, depending on whether you want darker, richer colors or brighter tones with easier highlights.
2. Skinks – Skin and Scales
The skin of the skinks forms a major focal point of the models, providing an opportunity to showcase their jungle-dwelling nature. This guide offers two options for the skin tone: a brighter, vibrant green and a darker, more muted version with a bluer tone.
Lighter Green Skin
Basecoat:
Apply Caliban Green as the base color for all skinks. This will give them a rich green foundation.
Layer:
Use Warpstone Glow to layer the raised areas, such as the face, arms, and legs. Be sure to leave Caliban Green in the recesses to maintain depth and shadow.
Wash:
Wash the entire skin with Biel-Tan Green. This will darken the recesses and maintain the bright, vibrant green tone on the raised areas.
Highlight:
Apply Warboss Green to the raised areas like muscles, knuckles, and facial ridges to brighten the skin.
For the final edge highlight, use Skarsnik Green or Ogryn Camo on the sharpest edges, such as facial ridges, knuckles, and the tops of the legs and arms, to create a vibrant, energetic appearance.
Darker Green Skin
For a more subdued and ominous effect, this option provides a darker skin tone with a bluish tint.
Basecoat:
Start with the same base as the lighter skin: Caliban Green basecoat, Warpstone Glow layer, and Biel-Tan Green wash.
All-over Wash:
Apply a wash of Coelia Greenshade or Drakenhof Nightshade over the entire skin once the lighter green steps are complete. This wash will darken the skin and give it a blueish tone, creating a more subdued and ominous appearance.
Optional Highlight:
After the wash dries, you can add a highlight with Warpstone Glow on the raised areas, or if you'd like more contrast, use Kabalite Green for sharper edges.
Final Edge Highlight:
For the very sharpest features like knuckles, face ridges, or the edges of muscles, use Gauss Blaster Green or Sybarite Green sparingly to give the skin a cold, sharp look.
3. Back Scales
The back scales provide texture and a darker contrast to the skink skin. These scales help emphasize the reptilian nature of the skinks.
Basecoat:
Use Stegadon Scale Green for the base of the back scales.
Wash:
Apply Drakenhof Nightshade to deepen the recesses and shadows.
Highlight:
Use Temple Guard Blue on the edges and tips of the scales for a brighter, glowing effect.
Final Highlight:
Apply Baharroth Blue for the sharpest highlights, focusing on the very edges of the scales for a vibrant, luminous effect.
4. Bola Weapons
These skinks wield bola weapons made of rough-hewn stone and bound with rope, providing a primitive but dangerous look. Here’s how to paint these weapons.
Stones:
Basecoat: Use Dawnstone for the rocks.
Wash: Apply Nuln Oil to the crevices to darken and define.
Highlight: Use Administratum Grey for the raised areas, followed by a final edge highlight of White Scar.
Rope:
Basecoat: Paint the rope using Rhinox Hide.
Wash: Use Agrax Earthshade to add definition.
Highlight: Layer the rope with Gorthor Brown, and finish with Baneblade Brown for a worn look.
5. Spears
The spears carried by the skinks feature a detailed wooden shaft and a sharp obsidian spearhead, giving them a tribal and dangerous appearance. Here’s how to achieve that look.
Spear Shaft:
Basecoat: Start with Mournfang Brown for the wood.
Wash: Apply Agrax Earthshade to deepen the wood grain.
Highlight: Use Skrag Brown to layer the shaft, and finish with Deathclaw Brown for sharp highlights.
Spearhead: The spearhead is obsidian-like with a polished black appearance.
Basecoat: Apply Abaddon Black for a deep black base.
First Highlight: Edge highlight with Dark Reaper on the ridges and edges of the spear.
Final Highlight: Use Fenrisian Grey sparingly on the sharpest edges.
Optional Sharp Highlight: Add a fine edge highlight of White Scar on the very tips for maximum contrast.
Gloss Finish: Apply Ardcoat to give the spearhead a polished, glass-like shine for an obsidian effect.
6. Shields
The shields carried by the skinks are adorned with intricate turtle shell patterns and golden embellishments. Here's how to paint them.
Main Surface:
Basecoat: Use Khorne Red for the base color of the shield.
Wash: Apply Agrax Earthshade to the recesses.
Layer: Use Wazdakka Red on raised areas to bring out the rich red hue.
Highlight: Apply Wild Rider Red along the edges for a bright finish.
Gold Ornamentation:
Basecoat: Use Retributor Armour for the gold inlays or designs.
Wash: Shade with Reikland Fleshshade for warmth and depth.
Highlight: Use Auric Armour Gold for brighter edges and Runefang Steel for final highlights on the sharpest edges of the gold.
7. Mounts
The flying mounts ridden by the skinks feature black wings and orange scales, emphasizing their jungle predator appearance. Here's how to paint them.
Skin and Wings
Black Skin and Wings:
Basecoat: Use Abaddon Black for the entire body and wings.
First Highlight: Drybrush or edge highlight with Eshin Grey on raised areas like the wing bones and body musculature.
Final Highlight: Apply Fenrisian Grey on the sharpest edges of the wings and along ridges for sharper contrast.
Inner Wing Membranes:
Basecoat: Use Mephiston Red for the inner wing membranes.
Layer: Apply Wild Rider Red for a brighter tone on the raised areas.
Highlight: Use Troll Slayer Orange on the edges and veins of the wings for a glowing effect.
Orange Armored Back:
Basecoat: Use Jokaero Orange for the scales and armor plates.
Wash: Shade with Fuegan Orange to deepen the recesses.
Highlight: Use Fire Dragon Bright on the edges, followed by Yriel Yellow for the brightest highlights.
8. Bone Helmet
The bone helmets worn by some skinks are shaped like skulls, adding an ancient and tribal feel to the warband. Here’s how to paint them.
Basecoat:
Apply Zandri Dust over the entire skull helmet to establish a natural, earthy bone color.
Wash:
Wash the helmet with Agrax Earthshade to darken the recesses and bring out the details, giving the helmet a worn, aged appearance.
Layer:
Reapply Zandri Dust on the raised areas, avoiding the deepest recesses.
Highlight:
Use Ushabti Bone to highlight the raised bone ridges, teeth, and horn edges.
Final Edge Highlight:
Apply Screaming Skull to the sharpest edges, such as the brow, teeth tips, and horn edges, for a stark contrast.
Optional Additional Wash:
Use Reikland Fleshshade in the eye sockets or deep crevices for extra definition if needed.
9. Brown Leather Loincloth
Some of the skinks wear simple loincloths made from leather, a durable material they use in their tribal lifestyle. Here's how to paint these.
Basecoat:
Start with Rhinox Hide for a deep brown leather look.
Wash:
Apply Agrax Earthshade or Nuln Oil to shade the folds and recesses of the loincloth.
Layer:
Reapply Rhinox Hide on the raised areas and folds of the fabric, leaving the shadows in the recesses.
First Highlight:
Use Gorthor Brown to highlight the edges and raised folds, giving the loincloth more texture and depth.
Final Highlight:
Apply Baneblade Brown sparingly on the sharpest edges and tips of the folds for a weathered, worn leather look.
10. Stone Ornaments
The skinks carry carved stone ornaments with geometric patterns. These pieces add detail and depth to their appearance, emphasizing their connection to ancient, mysterious powers. Here’s how to paint them.
Basecoat:
Use Mechanicus Standard Grey for the stone.
Wash:
Apply Nuln Oil or Agrax Earthshade to define the recesses and enhance the carved details.
Layer:
Reapply Mechanicus Standard Grey on the raised areas, leaving the wash in the deeper crevices.
Highlight:
Use Dawnstone on the edges and raised surfaces to make the details stand out.
Final Edge Highlight:
Apply Administratum Grey to the sharpest edges for a clean, defined look.
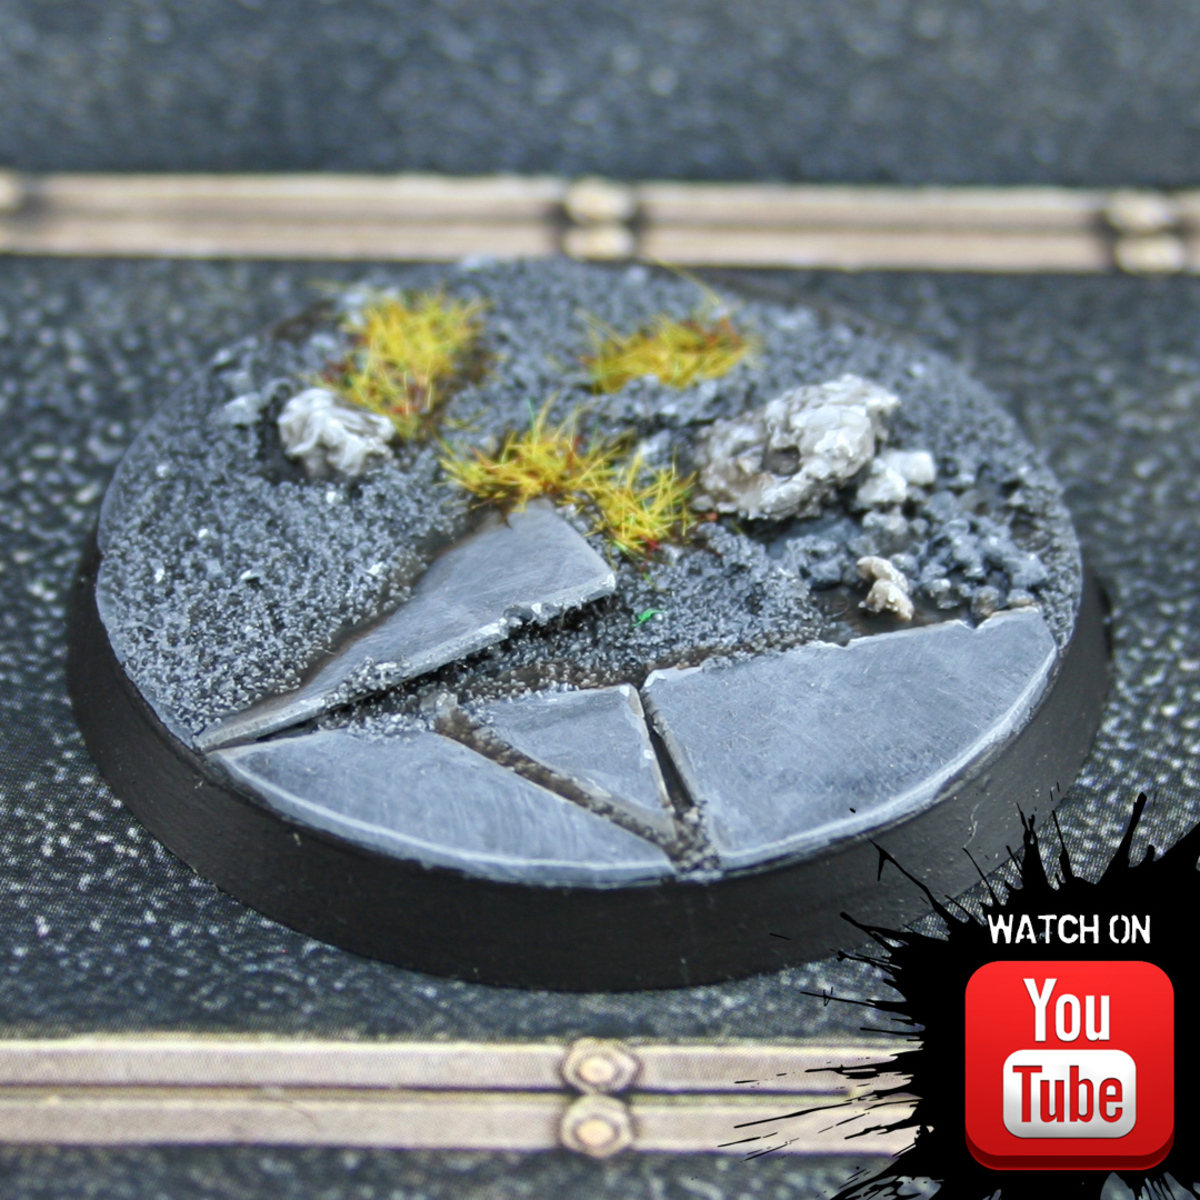
11. Basing Guide
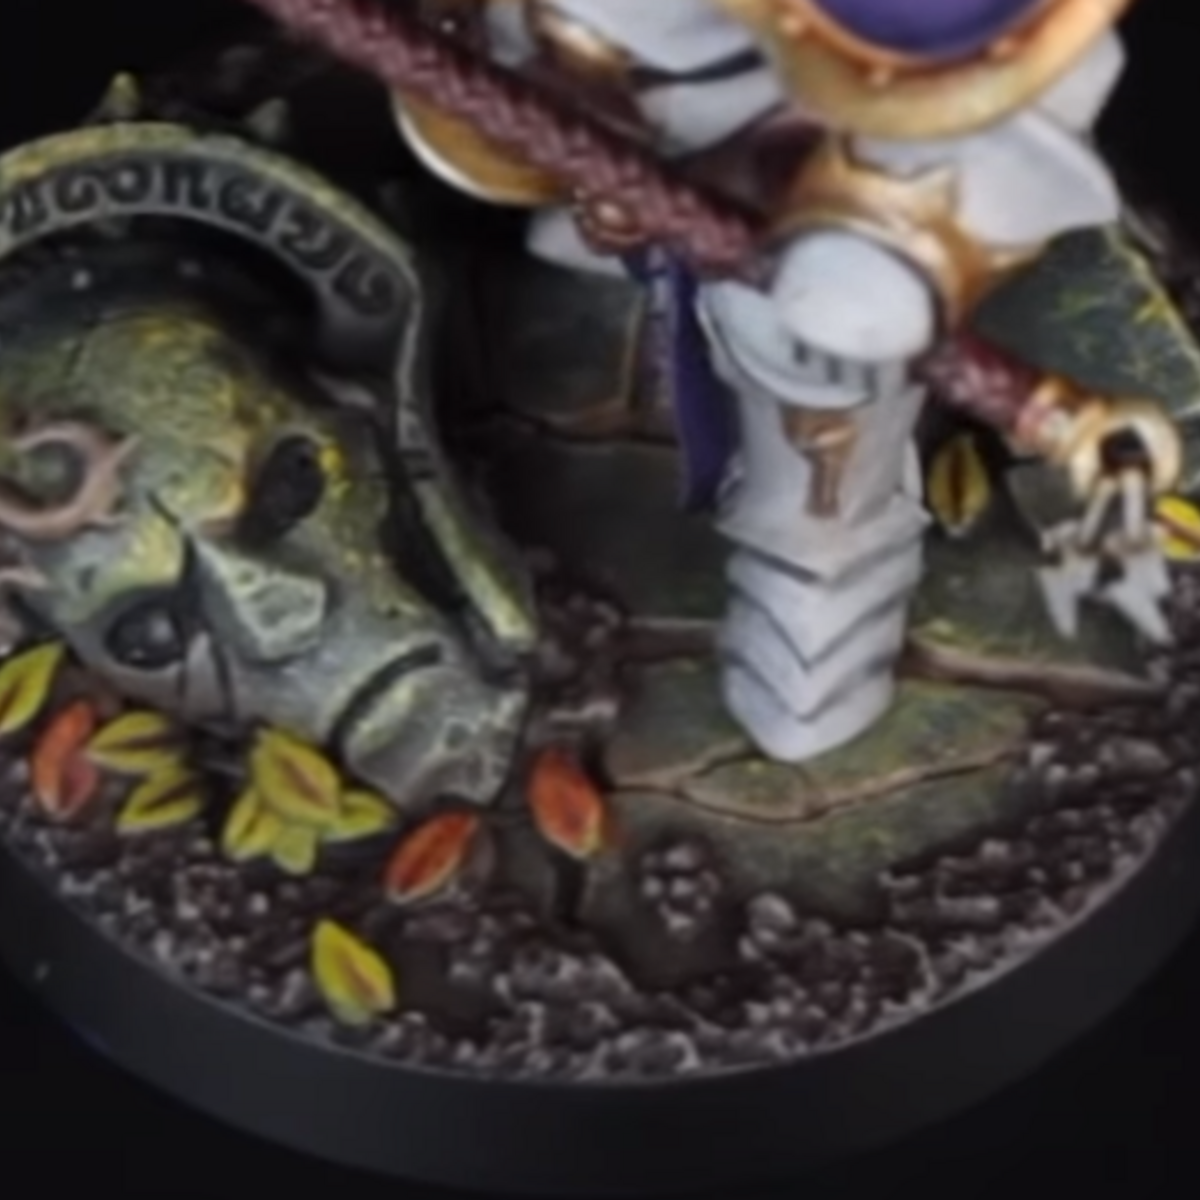
The bases feature a combination of stone ruins, organic elements, and other jungle-related details, reflecting the wild environment the skinks inhabit.
Stone Ruins
The skinks stand on Aztec-like stone ruins. Here's how to paint the stone blocks:
Basecoat:
Use Stegadon Scale Green for the stone. This gives a bluish tint that complements the jungle aesthetic.
Wash:
Apply Nuln Oil into the recesses to darken and define the cracks and carvings in the stone.
Layer:
Reapply Stegadon Scale Green on the flat surfaces of the stone, leaving the shaded areas dark.
Highlight:
Use Thunderhawk Blue or Russ Grey to highlight the sharp edges and the upper surfaces of the stone. This will create a weathered, ancient effect.
Final Highlight:
Apply Fenrisian Grey sparingly on the sharpest edges for pronounced highlights.
Organic Elements (Grass Tufts and Vegetation)
These bases also feature jungle-like vegetation, such as tufts of grass. Here's how to recreate that look:
Tufts and Grass:
Use pre-made grass tufts from a hobby store, such as Army Painter Jungle Tufts or Gamers Grass Jungle Tufts. These are great for recreating the vibrant, lush jungle flora.
For variation, add some swampy or moss-like tufts, such as Citadel Mordheim Turf or Gamers Grass Moss Tufts to create overgrown or mossy textures.
Placement:
Place the tufts around the stone ruins, small creatures, and skulls to make the base feel overgrown and wild. You can use a mix of different sizes to create natural variation.
Snakes
The bases feature small jungle snakes, coiled around the ruins and debris. Here’s how to paint them:
Basecoat:
Use Mephiston Red or Khorne Red for the snake's body.
Stripes:
Apply Abaddon Black or Rhinox Hide in small, thin stripes or bands along the length of the snake to create a natural snake pattern.
Wash:
Apply Agrax Earthshade or Reikland Fleshshade over the entire snake to deepen the colors and bring out details.
Highlight:
Use Wild Rider Red on the raised areas of the snake’s body, particularly along the back.
Eyes:
Dot the eyes with Averland Sunset or Yriel Yellow, followed by a small Abaddon Black pupil for a striking, vibrant look.
Skulls and Bones
Skulls and bone fragments are scattered around the bases, lending an ancient and foreboding vibe to the warband. Here’s how to paint them:
Basecoat:
Apply Zandri Dust as the base for all skulls and bones.
Wash:
Apply Agrax Earthshade to deepen the shadows and define the details.
Layer:
Reapply Zandri Dust to the raised areas, leaving the darker tones in the recesses.
Highlight:
Use Ushabti Bone to highlight the sharp edges and details of the skull.
Final Highlight:
Apply Screaming Skull for the sharpest edges and tips of the bones for a clean, stark finish.
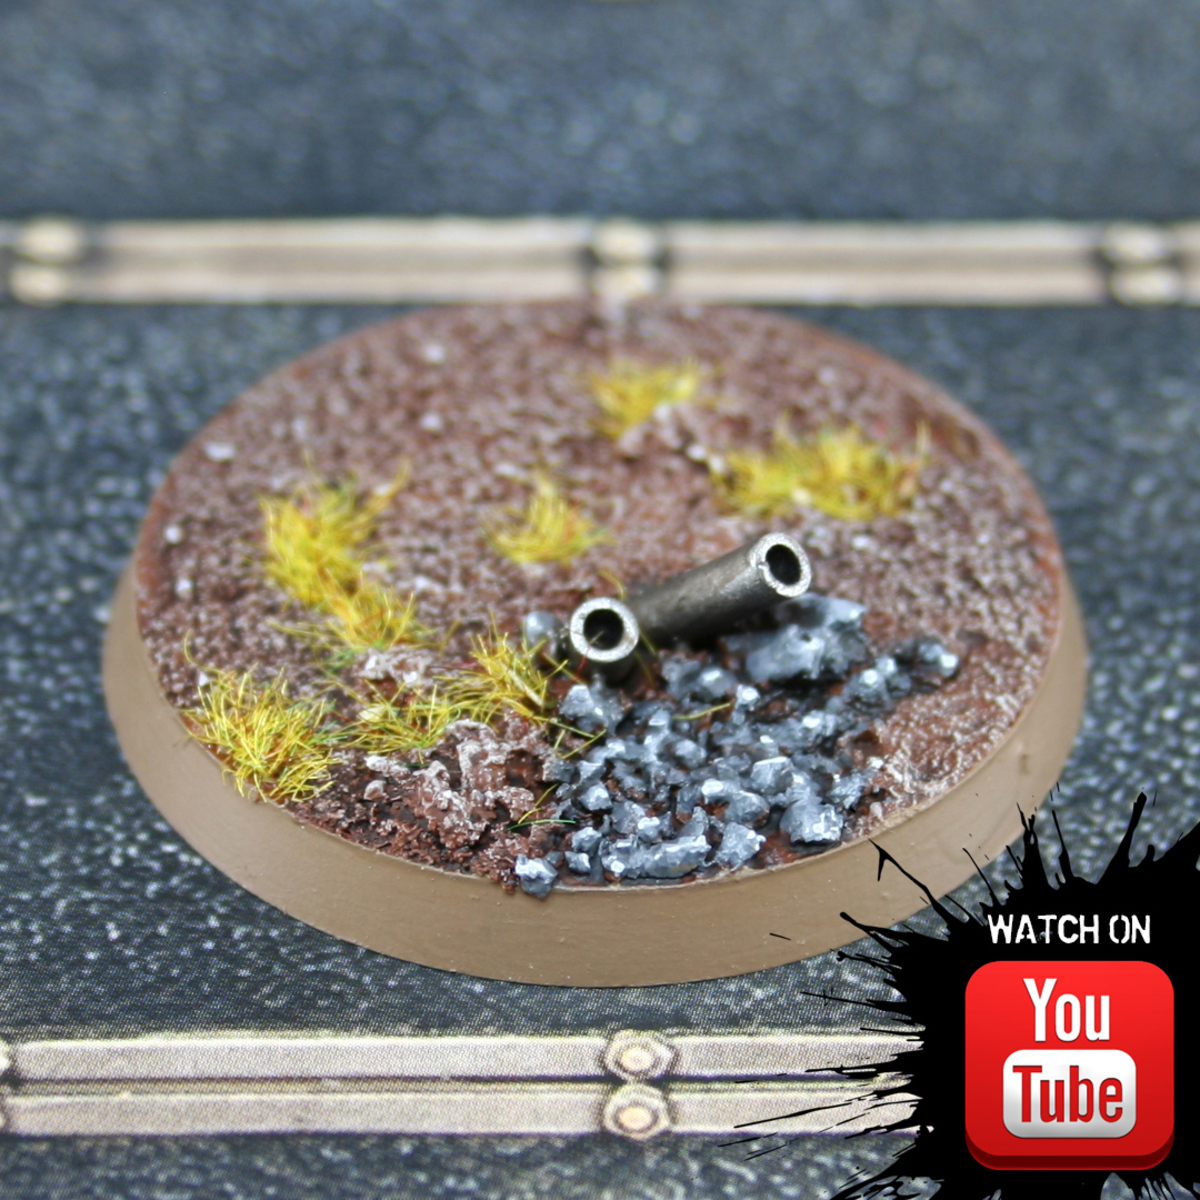
Ground Texture (Dirt and Soil)
The bases use a mixture of stone textures and dirt to give the appearance of a jungle floor. Here’s how to paint that:
Basecoat:
Start by applying Steel Legion Drab or Dryad Bark over the dirt areas of the base.
Wash:
Use Agrax Earthshade to shade the dirt and give it a more natural, earthy tone.
Drybrush:
Drybrush the dirt with Gorthor Brown, and then a lighter pass with Baneblade Brown to bring out the texture and give the dirt a more varied appearance.
Final Touch:
Add small pieces of debris or rocks, painted in Dawnstone with a Nuln Oil wash, to create scattered stones for added texture.
Plant Life (Roots, Branches, and Vines)
Many bases also feature roots, branches, and broken tree trunks. Here’s a quick guide to painting those:
Basecoat:
Apply Dryad Bark or Rhinox Hide to the tree trunks or branches.
Wash:
Wash the roots or branches with Agrax Earthshade to darken the recesses and bring out the bark texture.
Highlight:
Use Gorthor Brown to highlight the raised areas of the bark, focusing on the ridges and sharp edges.
Add a final highlight of Baneblade Brown for the sharpest edges and texture details.
Optional Moss:
To add a jungle feel, lightly stipple Deathworld Forest and Ogryn Camo to simulate moss growing on the wood.
Alternatively, use pre-made moss tufts from a hobby store for a more realistic mossy texture.
Additional Jungle Details
To enhance the jungle theme, you can add extra details like:
Tiny Reptiles (like lizards):
Basecoat: Apply Abaddon Black for the body.
Highlight: Use Eshin Grey for a subtle edge highlight along the body.
Eyes: Use Averland Sunset for the eyes, with a small Abaddon Black pupil.
Skull Details:
Position skulls in and around the roots and stones to create an ancient, mysterious feel.
Conclusion
This comprehensive guide covers every aspect of painting your Hunters of Huanchi warband, from skin tone variations and weapon detailing to the basing techniques that immerse your models in a vibrant jungle environment. With these detailed instructions, your warband will stand out both on the tabletop and within the lore-rich world of Warcry!
