- Claws of Karanak Full Paint Guide
The Claws of Karanak are a savage warband dedicated to Khorne, known for their brutality and wild appearance. Their models are adorned with vicious weapons, stitched flesh cloaks, and gruesome trophies. They wear a mix of crimson armor, weathered furs, bone trophies, and rugged leathers, embodying the raw, bloodthirsty nature of Khorne's followers. This guide will walk you through painting each element of these models to bring out their savage and fearsome look, starting with base layers and progressing to the detailed elements for maximum efficiency.
1. Skin
The skin tones vary between a pale, sickly appearance and a reddish-brown, earthy tone. The skin is a prominent feature and tends to sit underneath much of the armor, furs, and other elements. Starting with the skin will allow you to paint around it cleanly later. Here are the two skin tone options:
Pale, Sickly Skin Tone:
This skin tone is most common among the more humanoid models and reflects the worn and brutal lives of the Claws of Karanak.
Basecoat: Apply Cadian Fleshtone to all exposed skin areas (faces, arms, torsos).
Shade: Use Reikland Fleshshade to deepen the recesses and add warmth.
Layer: Reapply Kislev Flesh to the raised areas, leaving the shaded recesses intact.
Highlight: Use Pallid Wych Flesh on the highest points such as knuckles, cheekbones, and noses for a pallid, worn look.
Dark, Reddish-Brown Skin Tone:
This skin tone, seen on more feral models like the one crouching on all fours, has a reddish, earthy appearance that gives the model a more primal, savage look.
Basecoat: Apply Doombull Brown to all exposed skin areas.
Shading: Use a 50/50 mix of Agrax Earthshade and Reikland Fleshshade to add warmth and deepen the shadows in the recesses.
Blending: Use Gorthor Brown to blend between the shadows and highlights, applying it where smoother transitions are needed or in areas that require a more muted tone, like under the arms or sides of the torso.
Highlight: Use Tuskgor Fur for the first highlight on raised edges like muscles and facial features.
Final Highlight: Apply Kislev Flesh very sparingly on the most prominent points like knuckles, cheekbones, and fingers to create a slight contrast and bring out the details.
2. Stitched Flesh Cloak
The stitched flesh or skin cloak draped over some of the models adds a gruesome, savage appearance. This method can also be used for skin stretched between the gold metal elements, like the leader’s helmet. The cloak and stretched skin are foundational elements, so painting them early helps avoid accidental over-painting later.
Basecoat: Start with Kislev Flesh or Cadian Fleshtone, depending on whether you prefer a slightly pinker or warmer tone.
Shading: Apply Reikland Fleshshade into the recesses, especially around stitching and folds.
Highlighting: Use Pallid Wych Flesh mixed with the base color to pick out raised areas, giving the skin a scarred, stretched look.
Stitches: Paint stitches with Rhinox Hide and shade around them with Agrax Earthshade to simulate dirt or blood accumulation.
Final Highlight: Edge highlight the stitches with Gorthor Brown to give them more definition and a worn look.
3. Shoulder Drapes (Clothing) Under Pelts
These drapes or garments under the pelts are often overlooked but add important texture to the models. Since they are tucked under the fur, it's best to paint them now before moving on to the pelts.
Basecoat: Apply Screamer Pink or Barak-Nar Burgundy to these sections for a deep, muted fabric tone.
Shading: Wash with Druchii Violet to create a rich shadow in the folds and recesses.
Layer: Reapply Screamer Pink or Barak-Nar Burgundy on the raised areas, leaving the deeper parts shaded.
Highlight: Use Pink Horror or Squig Orange to edge highlight the raised folds and creases, bringing out the texture and fabric-like feel.
4. Fur Pelts
The fur pelts are a major feature on the models, adding to their wild, feral appearance. Since the fur sits over the draped cloth and skin, it should be painted after those sections are completed. There are four fur color options to bring variety to the models.
4a. Black Fur
Basecoat: Paint all fur areas with Abaddon Black.
Drybrush: Lightly drybrush Skavenblight Dinge to bring out texture in the fur.
Further Highlight: Apply a lighter drybrush of Dawnstone on the raised portions and tips.
Final Highlight: Drybrush Administratum Grey on the very tips for stark contrast.
4b. Brown Fur
Basecoat: Apply Rhinox Hide to the fur.
Shading: Wash the fur with Agrax Earthshade to deepen the recesses.
Drybrush: Drybrush the fur with Mournfang Brown to pick out texture.
Further Drybrush: Follow up with Gorthor Brown on the raised sections for added depth.
Final Highlight: Use Baneblade Brown or Karak Stone on the tips for a weathered, sun-bleached look.
4c. Grey Fur
Basecoat: Paint the fur with Skavenblight Dinge.
Shading: Apply Nuln Oil to darken the recesses.
Drybrush: Use Dawnstone to highlight the raised fur areas.
Further Drybrush: Apply Administratum Grey to the raised tips for a lighter tone.
Final Highlight: Lightly drybrush Pallid Wych Flesh on the very tips to give the fur an aged, bleached appearance.
4d. Off-White Fur
The off-white fur option creates a striking visual contrast, giving the models a sun-bleached, weathered look.
Basecoat: Apply Zandri Dust to the fur.
Shading: Use Agrax Earthshade to create depth in the fur.
Drybrush: Start with Ushabti Bone to highlight the raised areas, then use Screaming Skull for a lighter effect.
Final Highlight: Use Pallid Wych Flesh or White Scar on the tips for a bright, bleached look.
5. Leather Straps
Leather straps are found all across the models, from belts to wrappings. Since the leather straps cross over the furs and skin, it’s best to paint them now to avoid hitting them later when working on armor or weapons.
Basecoat: Apply Doombull Brown to the leather straps and belts.
Shading: Wash with Agrax Earthshade to create depth and age.
Layer: Apply Tuskgor Fur on the raised areas to create a warm, reddish tone on the leather.
Highlight: Edge highlight with Karak Stone to give the leather a weathered and worn appearance.
6. Crimson Armor
The crimson armor is a defining feature of the Claws of Karanak, worn and battle-scarred from countless fights. The armor should be painted at this stage since it is usually laid over the skin and leather elements.
Basecoat: Apply Khorne Red to all armor plates.
Shading: Wash the armor with Agrax Earthshade to deepen the shadows and give a weathered look.
Layering: Reapply Wazdakka Red on the raised areas, avoiding the recesses.
Highlighting: Edge highlight the armor with Mephiston Red, focusing on the sharp edges and any rivets or raised details.
7. Wooden Spear Shaft
The wooden spear shafts on some models have a weathered, rugged appearance. It’s best to paint them after the surrounding elements like skin and armor are complete.
Basecoat: Use Dryad Bark for the wooden shaft.
Shading: Apply Agrax Earthshade to bring out the grain and deepen the texture.
Highlight: Drybrush the shaft with Gorthor Brown to pick out the grain, focusing on the raised edges.
Final Highlight: Use Baneblade Brown to lightly edge the sharp ridges or grain patterns for a weathered, aged look.
8. Weapon Blades & Metallics
The weapons and metallic armor are dark and worn, reflecting the Claws’ endless battles. They should be painted after the larger elements, such as the skin and armor, are complete.
Basecoat (Blades): Apply Leadbelcher to all metal parts, including weapons and armor trim.
Shading: Wash with Nuln Oil to darken the recesses and give a battle-worn effect.
Highlight (Blades): Edge highlight the sharp areas of the blades with Ironbreaker.
Basecoat (Gold Trim): Use Balthasar Gold on any gold or brass details, such as decorative elements or weapon hilts.
Shading (Gold): Apply Agrax Earthshade to create a tarnished look.
Highlight (Gold): Use Runelord Brass for an aged gold highlight on raised edges.
9. Leader's Axe Handle Hair
The hair hanging from the leader's axe handle has a unique blend of dark teal and black, adding a mystical and worn look. This hair is one of the last details to paint to avoid overspill onto surrounding areas.
Basecoat: Use Incubi Darkness for the top half of the hair.
Shading: Apply Nuln Oil into the recesses.
Layer: Feather in Kabalite Green toward the middle section.
Highlight: Use Sybarite Green near the transitions, and leave the tips in Abaddon Black without further highlights for a clean, dark finish.
10. Bone and Skulls
Bone details, such as skulls and teeth, are key features of these models. Since bones are often scattered across the models, they should be painted last to avoid hitting them while painting other elements.
Basecoat: Paint all bone elements with Zandri Dust.
Shading: Apply Agrax Earthshade to deepen the recesses and bring out the detail.
Layering: Use Ushabti Bone to layer the raised areas of the bone.
Highlight: Apply Screaming Skull as a final highlight to make the bones look aged and dry.
11. Boots & Wraps
The boots are relatively clean and provide a contrast to the wilder elements of the model. This technique can also be used for the wraps on certain models, such as those around the arms.
Basecoat: Apply Abaddon Black.
Shading: Wash with Nuln Oil to deepen the recesses and add depth.
Highlight: Edge highlight the raised portions of the boots and wraps using Eshin Grey.
Final Highlight: Use Dawnstone very sparingly to edge the sharpest points of the boots and wraps for a clean, subtle highlight.
12. Black Trousers
For models with cleaner black trousers, the following method will achieve subtle highlights and contrast well with the rest of the model.
Basecoat: Apply Abaddon Black.
Layer: Use Dark Reaper for a soft highlight on raised folds and edges of the trousers.
Highlight: Apply Fenrisian Grey as a final edge highlight, focusing on sharp points like seams to create a subtle but clean contrast.
13. Feral Model's Skin Drape
The skin drape on the more feral model has a grey base with pinky-purple shadows, giving it a weathered, leathery look. This should be painted after the skin and armor to avoid overlap.
Basecoat: Apply Stormvermin Fur for a grey, worn leather base.
Shading: Apply a 50/50 mix of Druchii Violet and Nuln Oil to the recesses and folds to create the pinkish-purple shadows.
Layer: Reapply Stormvermin Fur on the raised areas, avoiding the shaded recesses.
Highlight: Use Administratum Grey for the final highlights on the edges and tips of the folds.
Optional Glaze: Lightly glaze with Carroburg Crimson in deeper creases for added tonal variation.
14. Teeth and Eyes
These small details can really enhance the vicious and menacing look of the Claws of Karanak. As they’re small, they should be painted last to avoid any accidental overspill during earlier steps.
Teeth: Basecoat with Ushabti Bone and wash with Agrax Earthshade for depth. Highlight with Screaming Skull for sharp, dirty teeth.
Eyes: Dot the eyes with White Scar and then carefully add a small dot of Abaddon Black or Mephiston Red for a fierce, glaring look.
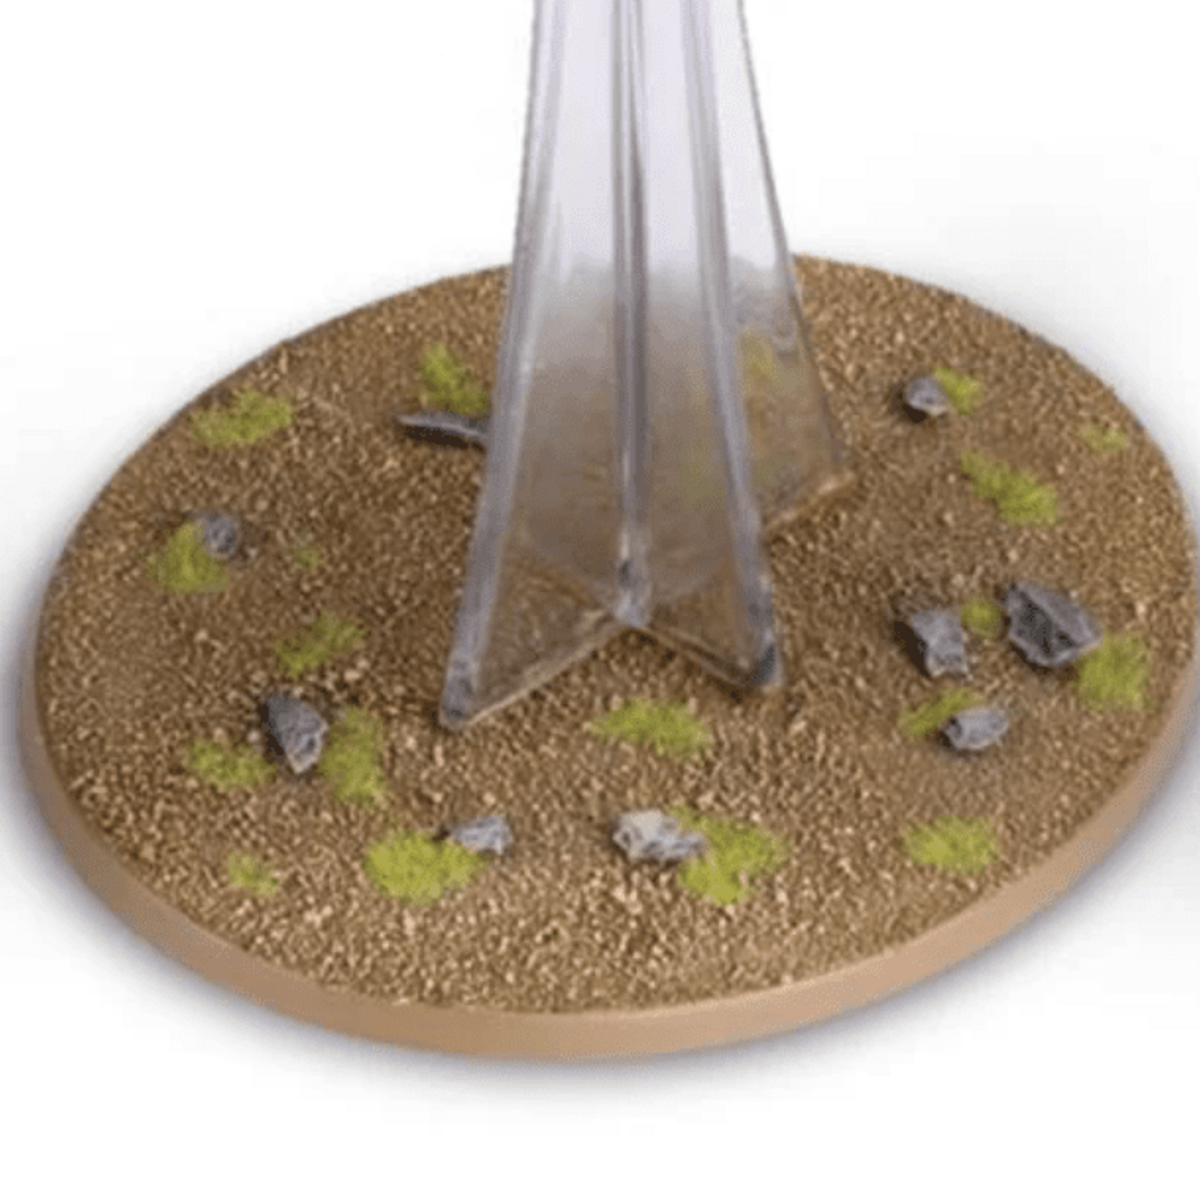
15. Basing
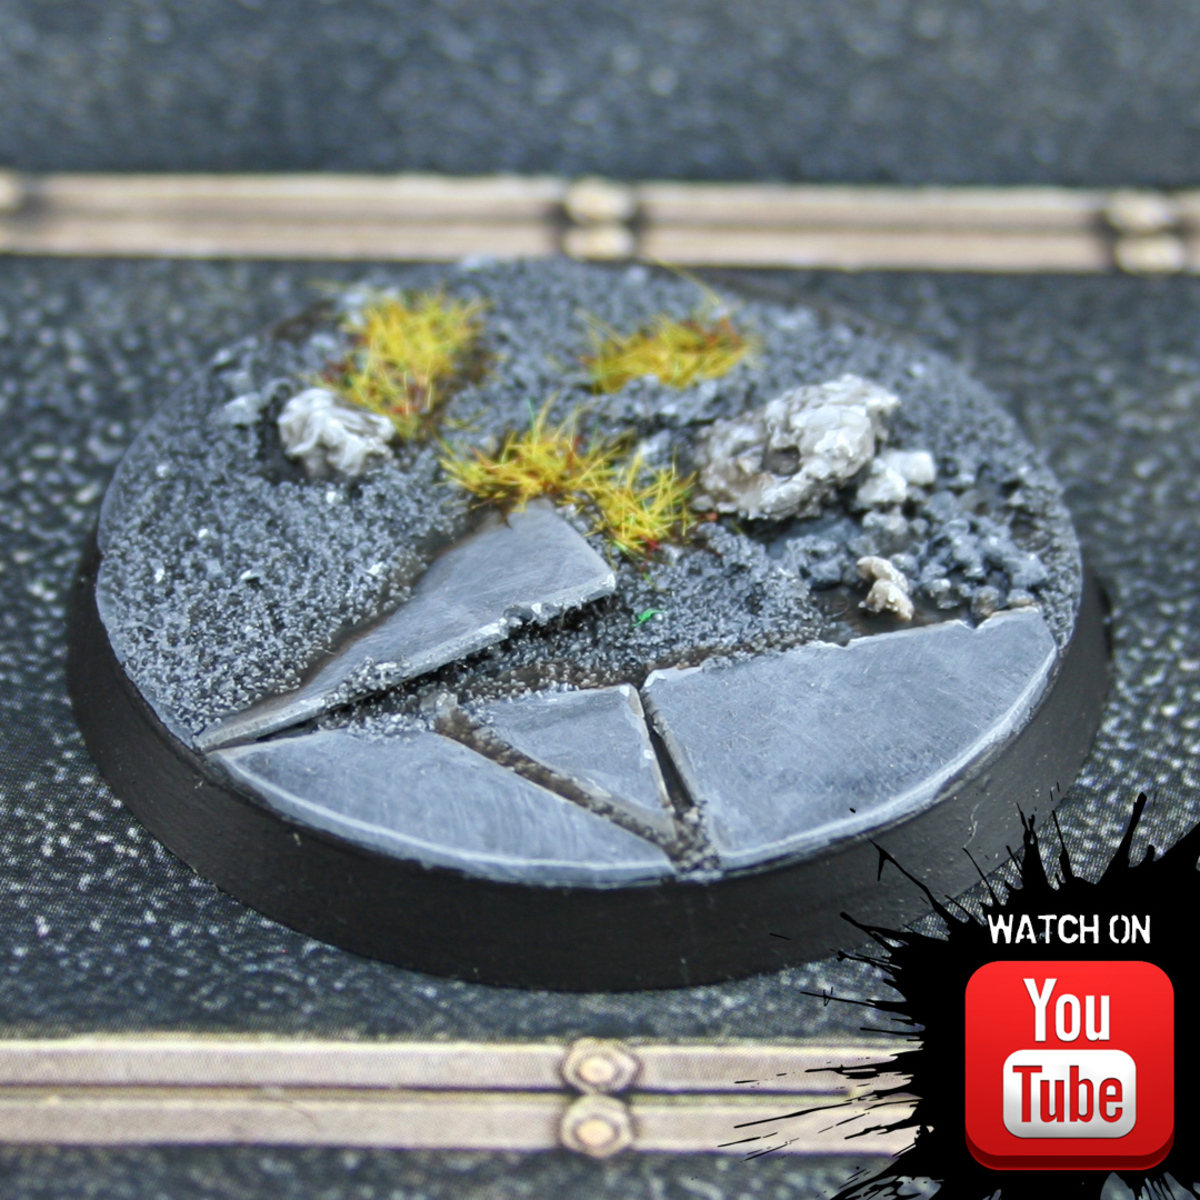
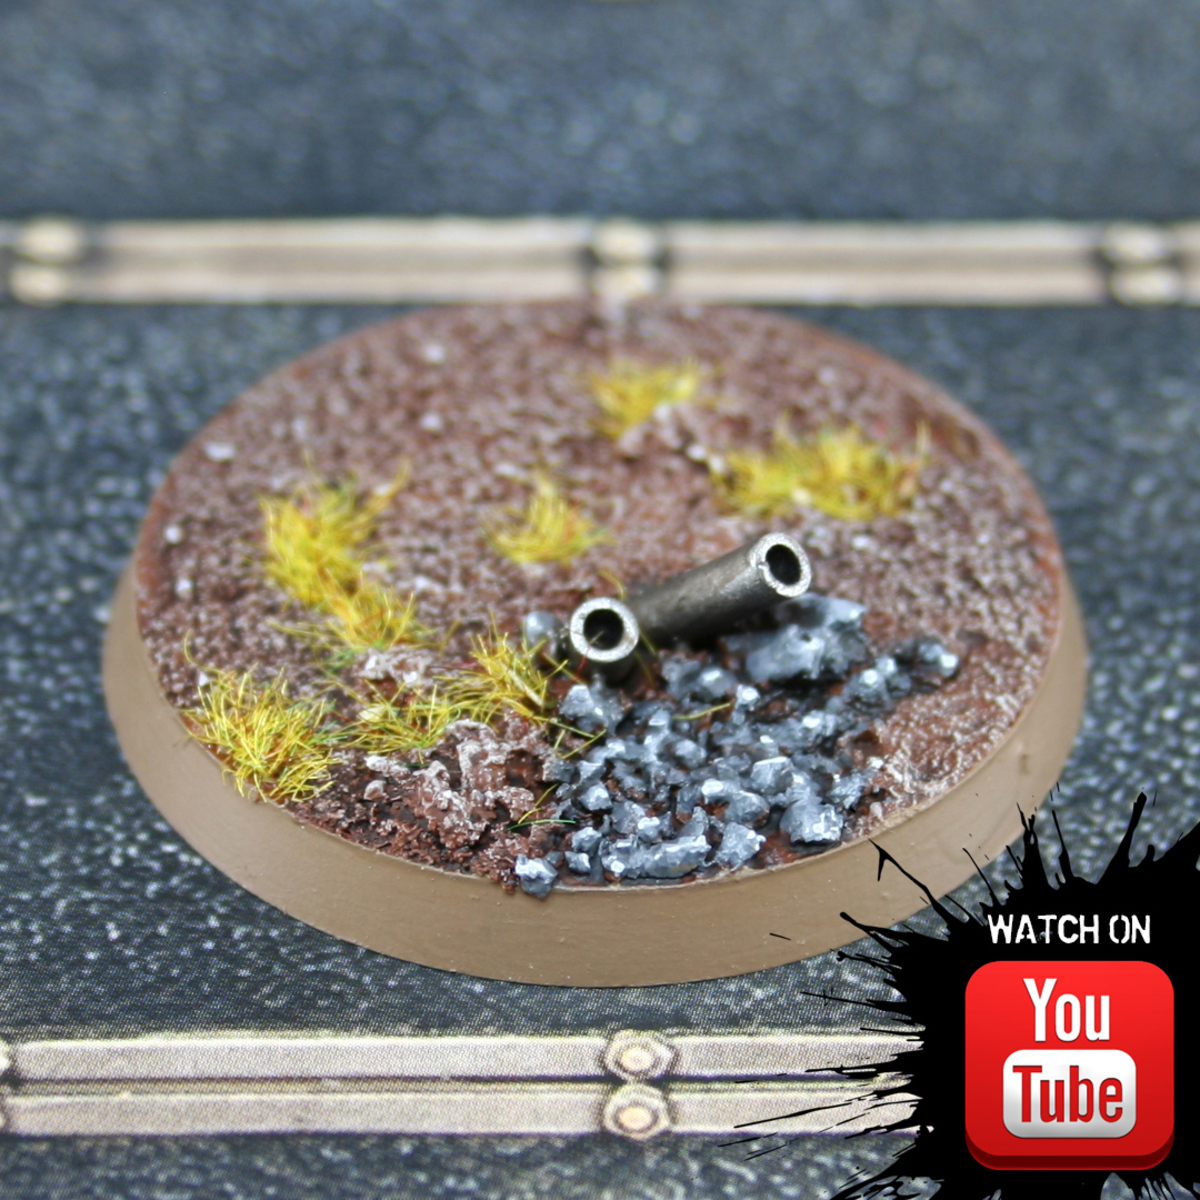
The bases should reflect the harsh, arid environment the Claws of Karanak roam, adding a narrative touch to their savagery. Once the model is complete, you can move on to the base to match the arid, barren environment the Claws of Karanak thrive in.
Basecoat: Paint the base with Steel Legion Drab.
Drybrush: Use Tyrant Skull to drybrush the texture of the base for added detail.
Vegetation: Add tufts of dead grass like Mordheim Turf to represent a barren, dried-out landscape.
Skulls/Details: Scatter small skulls or bones on the base, using the same bone recipe for consistency with the models.
Final Summary
This guide provides a step-by-step approach to painting the Claws of Karanak in an efficient order, starting with the inner details such as skin and stitched flesh, and moving outward to the armor, fur, and metallics. With four distinct fur color options—black, brown, grey, and off-white—you can create a visually diverse but cohesive warband. The rugged leather, weathered wood, and brutal weaponry all help bring out the wild, savage nature of these Khorne followers. By following this guide, your Claws of Karanak models will look battle-worn, feral, and ready to spill blood in Khorne's name.
