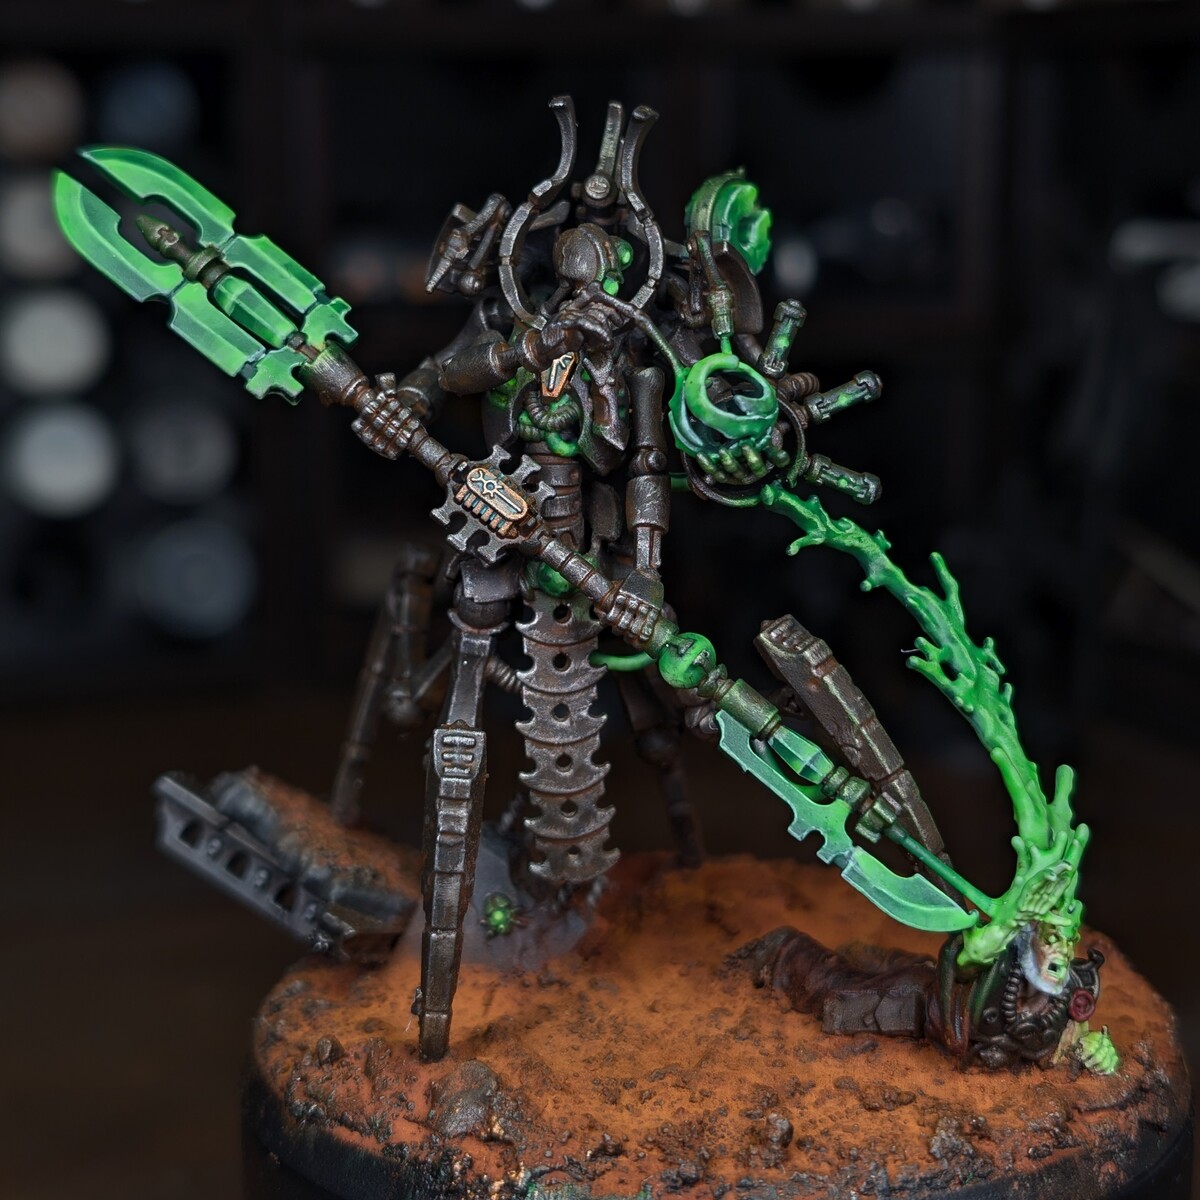
- Comprehensive Painting Guide: Royal Beastflayers Warband
The Royal Beastflayers are ghastly, primal creatures. With skin stretched taut over sinewy muscle, bones jutting through their flesh, and wild, bristling fur, this warband exudes savagery. To capture their brutal appearance, we will use an efficient painting method, starting with zenithal priming to create natural shadows and highlights, then progressing through the larger elements like skin and fur before focusing on finer details.
1. Preparation
Proper preparation is essential to ensure a smooth painting process and to help the paint adhere properly to the models.
Cleaning: Begin by removing any mold lines using a mold line remover or hobby knife. This ensures a clean finish and prevents imperfections from showing through your paint job.
Washing: After removing the mold lines, give your sprues a quick wash in warm soapy water to remove any residual mold-release agents that can prevent primer from sticking.
Assembly: Use plastic glue to assemble the models, ensuring all parts are securely in place. Let the glue cure fully before proceeding to priming.
2. Priming Options
You can either go for a solid base primer or use a zenithal priming technique for added depth:
Standard Priming:
Use Chaos Black Spray as an undercoat. This black primer creates deep shadows and gives the model a dark, ominous tone—perfect for the grim nature of the Beastflayers.
Zenithal Priming (Optional): For those looking to create natural lighting and shadow effects before painting:
Step 1: Start with Chaos Black Spray or another black primer for an overall base.
Step 2: Once the black primer is dry, spray Mechanicus Standard Grey or Grey Seer from a 45-degree angle to catch the mid-tones, adding depth and contrast.
Step 3: Finish by spraying Corax White or another white primer from directly above the model (90-degree angle) to highlight the areas that will naturally catch the most light.
Zenithal priming helps guide your shading and highlighting later in the painting process, especially for models with complex textures like skin, fur, and bones. It’s ideal for creating dynamic contrast right from the start.
3. Skin (Main Focus)
The skin of the Royal Beastflayers is one of the most striking features. While many of the models share a decayed, undead look, there are distinct variations in their skin tones, from pallid and ghostly hues to bruised, necrotic flesh. These different tones will give your warband a diverse, chaotic feel, capturing their grotesque nature.
Skin Tone 1: Pale, Ghostly Flesh
This skin tone will give your models an almost spectral appearance, evoking a sense of lifelessness and undeath.
Basecoat: Start with Rakarth Flesh for the majority of the skin areas. This pale, off-white base provides a solid, ghostly foundation.
Shading: Apply a thin wash of Reikland Fleshshade, thinned with a little water, to define the details.
Layering: Reapply Rakarth Flesh, leaving the recesses shaded. For areas that need more subtle shading, glaze over with Pallid Wych Flesh.
Highlighting: Use Pallid Wych Flesh to edge highlight the prominent features, such as cheekbones, fingers, and muscles.
Extreme Highlights: Apply a fine highlight of White Scar on the sharpest edges like the nose, brow, and knuckles for a stark contrast, emphasizing the ghostly appearance.
Skin Tone 2: Sickly, Green-Tinged Flesh
This option is perfect for models that look more diseased and decayed, giving them a necrotic, almost sickly hue.
Basecoat: Use Nurgling Green as the base for a putrid, unhealthy flesh tone.
Shading: Wash the skin with Athonian Camoshade to deepen the green tones and add a decayed look.
Layering: Reapply Nurgling Green to the raised areas.
Highlighting: Apply Ogryn Camo as a highlight to bring out the muscles and facial features.
Optional Bruising Effect: Glaze Druchii Violet or Carroburg Crimson into certain areas like joints or scars to add bruising.
Skin Tone 3: Grey, Decayed Flesh
This variation represents cold, corpse-like flesh, perfect for long-dead creatures.
Basecoat: Use Celestra Grey to create a dull, grey foundation for the skin.
Shading: Wash the skin with Nuln Oil mixed with Drakenhof Nightshade for a cool, bluish tint.
Layering: Reapply Celestra Grey on raised areas, leaving the shadows in the recesses.
Highlighting: Use Ulthuan Grey for highlighting the raised areas.
Extreme Highlights: Apply White Scar to the highest points for a dramatic cold highlight.
Skin Tone 4: Bruised, Mottled Flesh
For a bruised, battered, and decaying look:
Basecoat: Start with Rakarth Flesh.
Shading: Wash with a mix of Druchii Violet and Reikland Fleshshade.
Layering: Reapply Rakarth Flesh to brighten the pale skin.
Glazing: Add thin glazes of Druchii Violet or Carroburg Crimson to create mottling.
Highlighting: Use Pallid Wych Flesh for raised areas.
Skin Tone 5: Dull, Brownish-Dead Flesh
For a more earthy, decayed look:
Basecoat: Use Steel Legion Drab or Mournfang Brown.
Shading: Wash with Agrax Earthshade to create a dirty, grimy look.
Layering: Reapply Steel Legion Drab on raised areas.
Highlighting: Highlight with Karak Stone or Ushabti Bone for a dirty yet defined skin tone.
Skin Tone 6: Dark, Green-Grey Flesh
For a more weathered, ghoul-like appearance with a subdued greenish tone:
Basecoat: Start with Deathworld Forest for the greenish-grey skin.
Shading: Wash with Agrax Earthshade to darken the recesses and give the skin a grimy, dirty appearance.
Layering: Reapply Deathworld Forest on raised areas, leaving the recesses dark.
Highlighting: Use Ogryn Camo to highlight the muscles and edges of the face, knuckles, and fingers.
Extreme Highlights: Add a fine highlight of Pallid Wych Flesh sparingly on the sharpest features like knuckles, brow, and cheekbones.
Optional Glaze: To increase depth, glaze Drakenhof Nightshade lightly into areas like joints and scars for a bruised effect.
Skin Tone 7: Pale, Greenish-Grey Flesh (for the Royal Flaymaster)
This skin tone has a more pale, greenish-grey hue, setting the Royal Flaymaster apart from the rest of the warband with a more regal, eerie appearance.
Basecoat: Use Nurgling Green for the skin, giving it a sickly, pale green tone.
Shading: Wash with Athonian Camoshade thinned with water, focusing on the recesses to give the skin depth and a subtle green hue.
Layering: Reapply Nurgling Green on the raised areas, leaving the shaded recesses untouched.
Highlighting: Use Pallid Wych Flesh to highlight the prominent areas like the face, knuckles, and muscles.
Extreme Highlights: Apply White Scar sparingly on the sharpest edges to create crisp, extreme highlights on the nose, fingers, and cheekbones.
4. Fur & Hair
The thick, coarse fur is a key part of the Beastflayers’ aesthetic, providing contrast with the pale, sickly skin.
Basecoat: Start with a mix of Abaddon Black and Eshin Grey.
Drybrush: Lightly drybrush Dawnstone to pick out the texture of the fur.
Highlighting: Add a finer drybrush of Administratum Grey to the tips.
Optional Wash: Apply a diluted wash of Nuln Oil to blend the highlights into the fur for smoother transitions.
5. Dark Blue-Grey Flesh with Yellow-Green Contrast (for the Offal Hounds)
The Offal Hounds have distinct, dark blue-grey flesh with contrasting yellow-green areas on their chest, palms, and soles. This contrast adds a feral yet sickly tone to these creatures.
Dark Blue-Grey Flesh
Basecoat: Apply Dark Reaper on the majority of the skin (arms, legs, back, and face).
Shading: Wash with Nuln Oil to deepen the recesses.
Layering: Reapply Dark Reaper to the raised areas.
Highlighting: Use Thunderhawk Blue on muscles, knuckles, and other raised areas.
Extreme Highlights: Use Fenrisian Grey sparingly for sharp highlights.
Yellowy-Green Flesh Areas (Chest, Palms, and Soles)
Basecoat: Apply Nurgling Green on the chest, palms, and soles.
Shading: Wash with Athonian Camoshade to deepen the shadows and add a muted green tint.
Layering: Reapply Nurgling Green to the raised areas.
Highlighting: Highlight with Ogryn Camo on the prominent areas.
Extreme Highlights: Use a mix of Pallid Wych Flesh and Ogryn Camo for sharp detail.
Blending Between Dark and Light Areas
Blending: Thin down Nurgling Green with Lahmian Medium to create a smooth transition between the dark and light areas.
Optional Glaze: Use Seraphim Sepia around transitions for a more decayed tone.
6. Stitched Flayed Flesh Cloak (Royal Flaymaster)
The Royal Flaymaster’s cloak is made from a grotesque patchwork of flayed human skin and fur, creating a disturbing, primal aesthetic. This section will guide you through painting the stitched, weathered flesh and fur components.
Step-by-Step Process:
Basecoat:
Flesh Sections: Apply Rakarth Flesh to the pale, flayed flesh patches.
Fur Areas: Use Abaddon Black for the dark fur along the top.
Shading:
Flesh Sections: Wash the flesh areas with Reikland Fleshshade to add depth, focusing on the recesses.
Fur Areas: Wash the black fur with Nuln Oil to darken the recesses.
Layering & Highlighting the Flayed Flesh:
Reapply Rakarth Flesh to the raised areas.
Highlight with Pallid Wych Flesh and add sharp highlights using White Scar for a worn, dried look.
Stitches:
Paint the stitches using Dryad Bark and shade with Agrax Earthshade.
Highlight with Gorthor Brown to make the stitches stand out.
Tattered Leather:
Basecoat with Steel Legion Drab or Mournfang Brown.
Wash with Agrax Earthshade and highlight with Karak Stone.
Back of the Cloak – Flayed Hand:
Basecoat the flayed hand with Rakarth Flesh.
Wash with Reikland Fleshshade, and highlight with Pallid Wych Flesh, focusing on the fingers and knuckles.
7. Scar Tissue & Wounds
The Beastflayers are covered in scars and open wounds, enhancing their brutal appearance.
Basecoat: Use Bugman’s Glow for scar tissue and Khorne Red for open wounds.
Shading: Wash with Druchii Violet or Carroburg Crimson.
Highlighting: Highlight scars with Pallid Wych Flesh.
Optional: Use Blood for the Blood God for fresh blood effects.
8. Bones, Skulls, and Spikes
The protruding bones and skeletal trophies are a key visual element.
Basecoat: Use Rakarth Flesh for all bone elements.
Shading: Apply Agrax Earthshade to deepen the shadows.
Layering: Reapply Rakarth Flesh to the raised areas.
Highlighting: Use Ushabti Bone for sharp highlights and Screaming Skull for final details.
9. Weapons & Armor
The crude weapons and armor add to their savage look.
Bone Weapons
Basecoat: Start with Rakarth Flesh.
Shading: Apply Seraphim Sepia or Agrax Earthshade for a worn look.
Highlighting: Use Ushabti Bone and Screaming Skull for highlights.
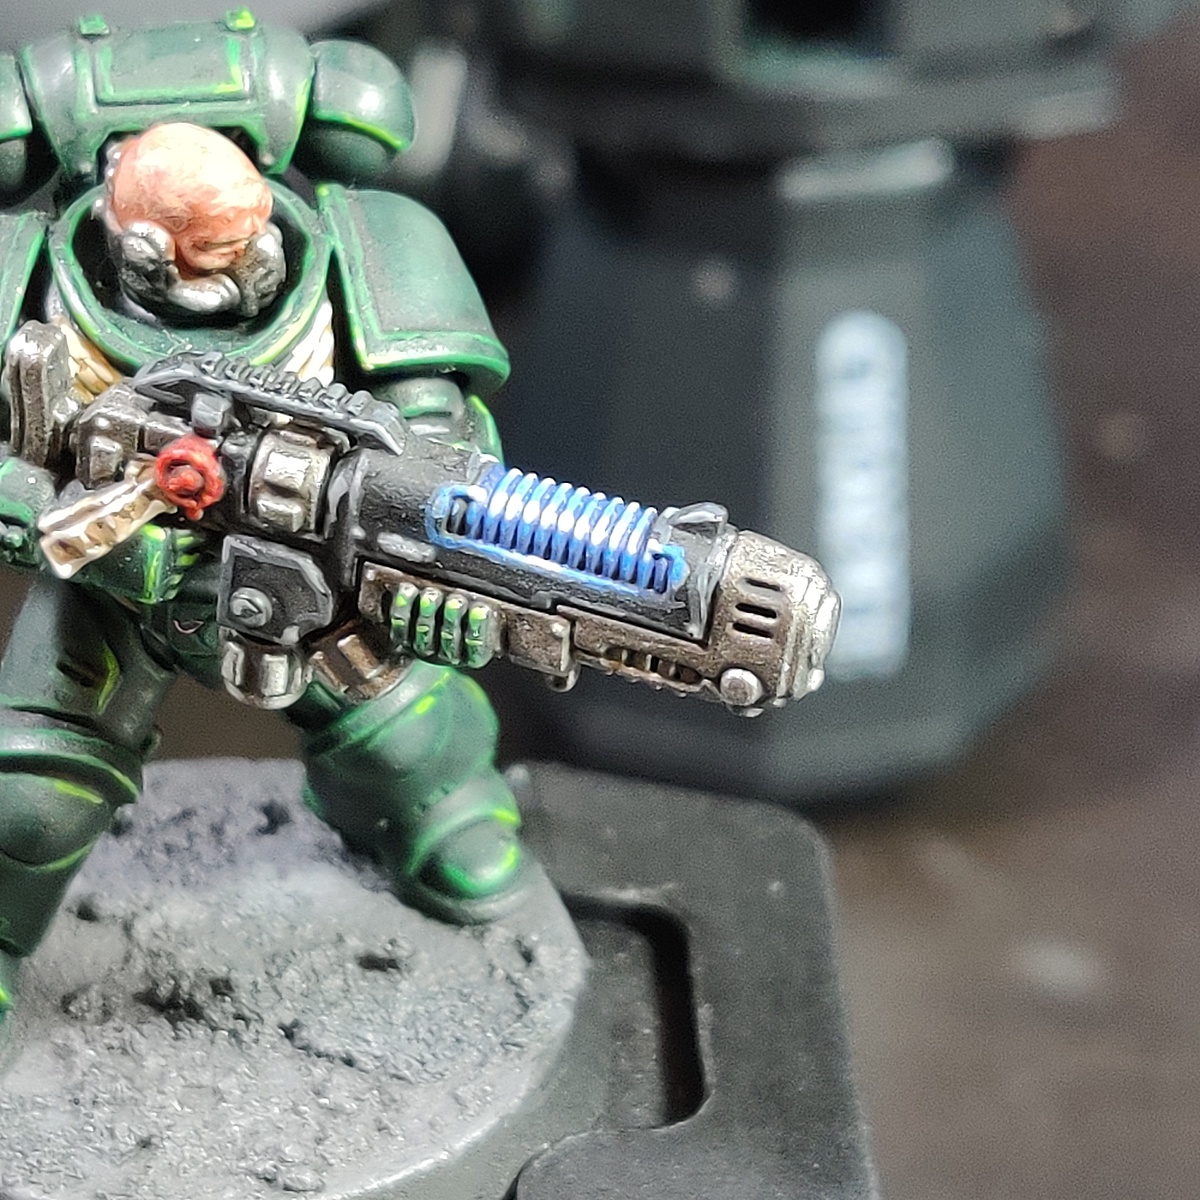
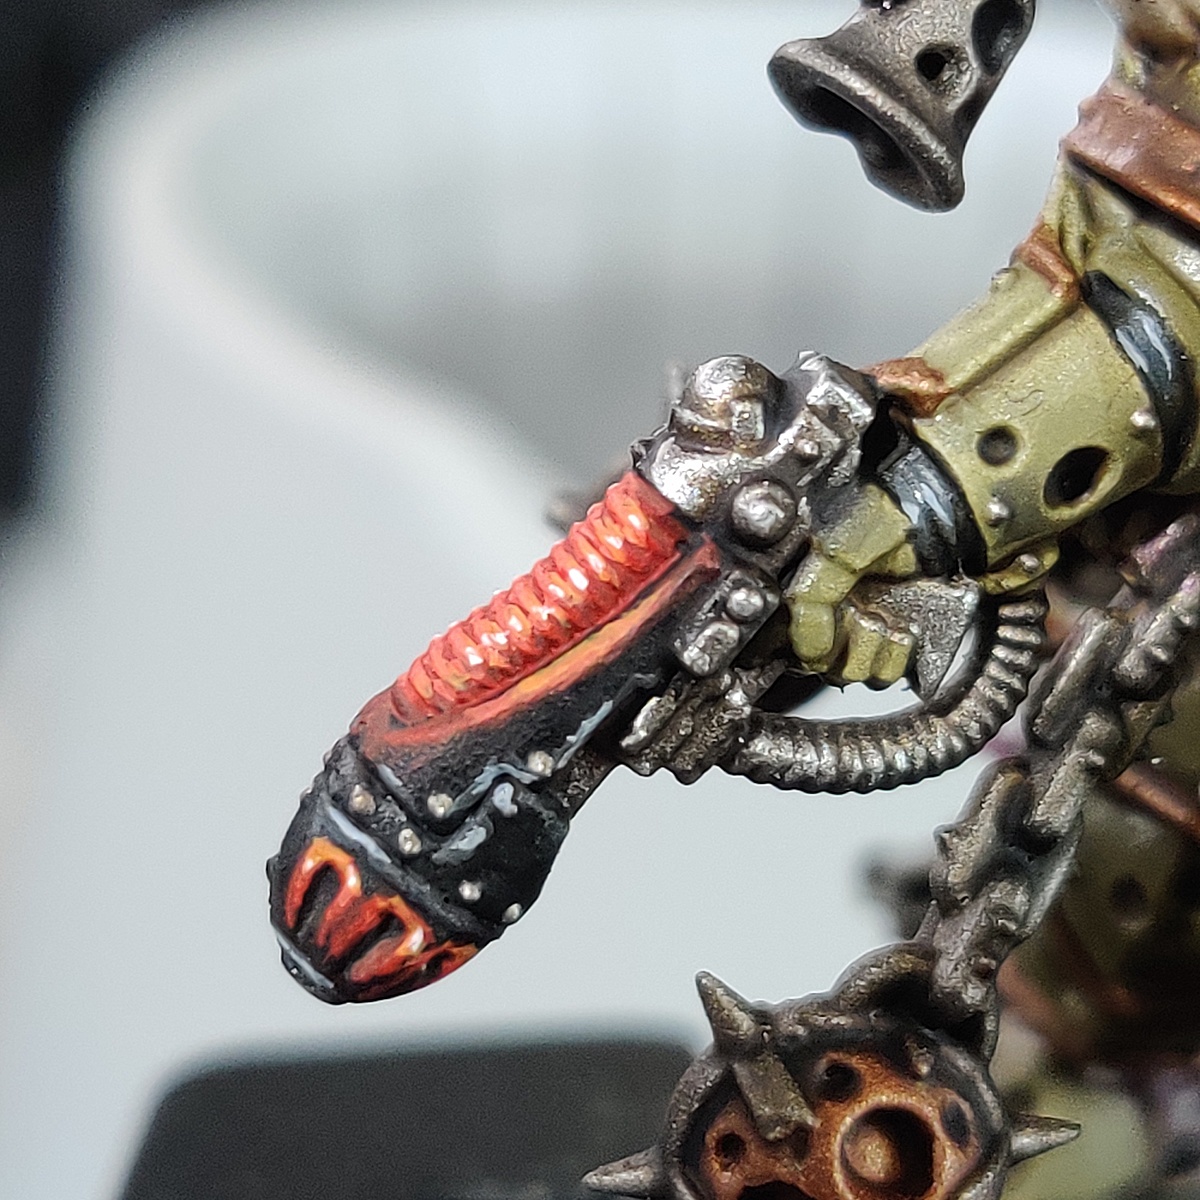
Metal Armor
Basecoat: Paint with Leadbelcher.
Shading: Wash with Nuln Oil for a grimy appearance.
Rust Effects: Apply Typhus Corrosion and drybrush with Ryza Rust.
10. Cloth & Leather Straps
Small cloth and leather elements help tie the models’ aesthetic together.
Cloth
Basecoat: Use Dryad Bark or Gorthor Brown.
Shading: Wash with Agrax Earthshade.
Highlighting: Use Baneblade Brown for highlighting.
Leather
Basecoat: Use Rhinox Hide for leather straps and belts.
Shading: Apply Agrax Earthshade.
Highlighting: Use Mournfang Brown or Doombull Brown.
11. Pink Sinew Accents (Royal Flaymaster)
The Royal Flaymaster features pinkish sinew-like accents around the neck and waist, adding organic, gruesome detail.
Basecoat: Use Bugman’s Glow for the sinew.
Shading: Apply Carroburg Crimson to deepen the recesses and give a rich, bloody look.
Highlighting: Use Cadian Fleshtone for sharp highlights on the raised sinew areas.
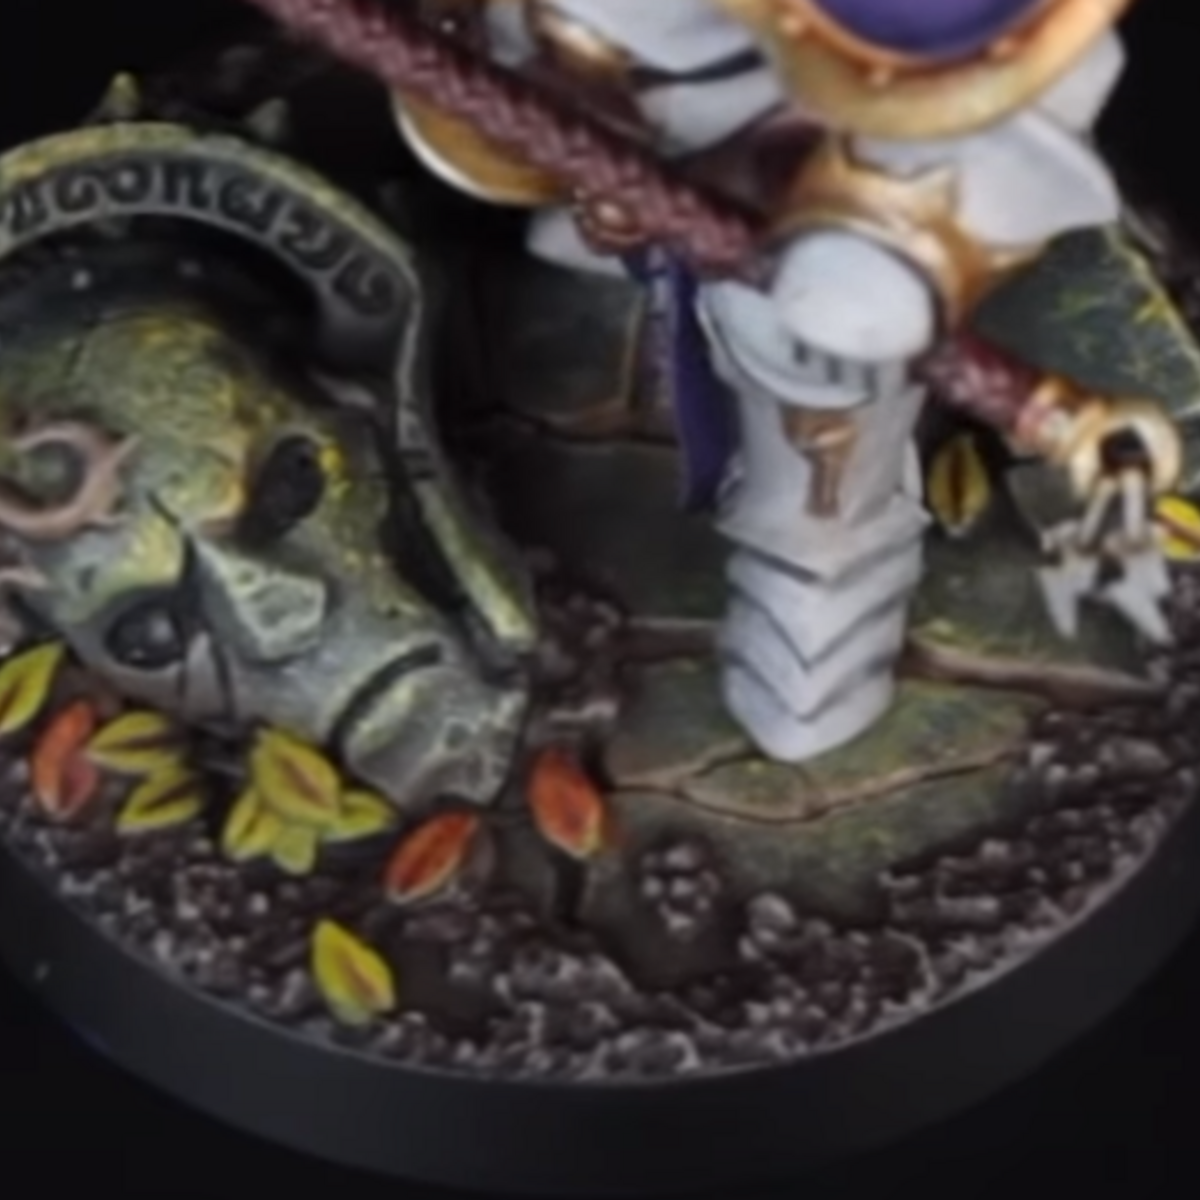
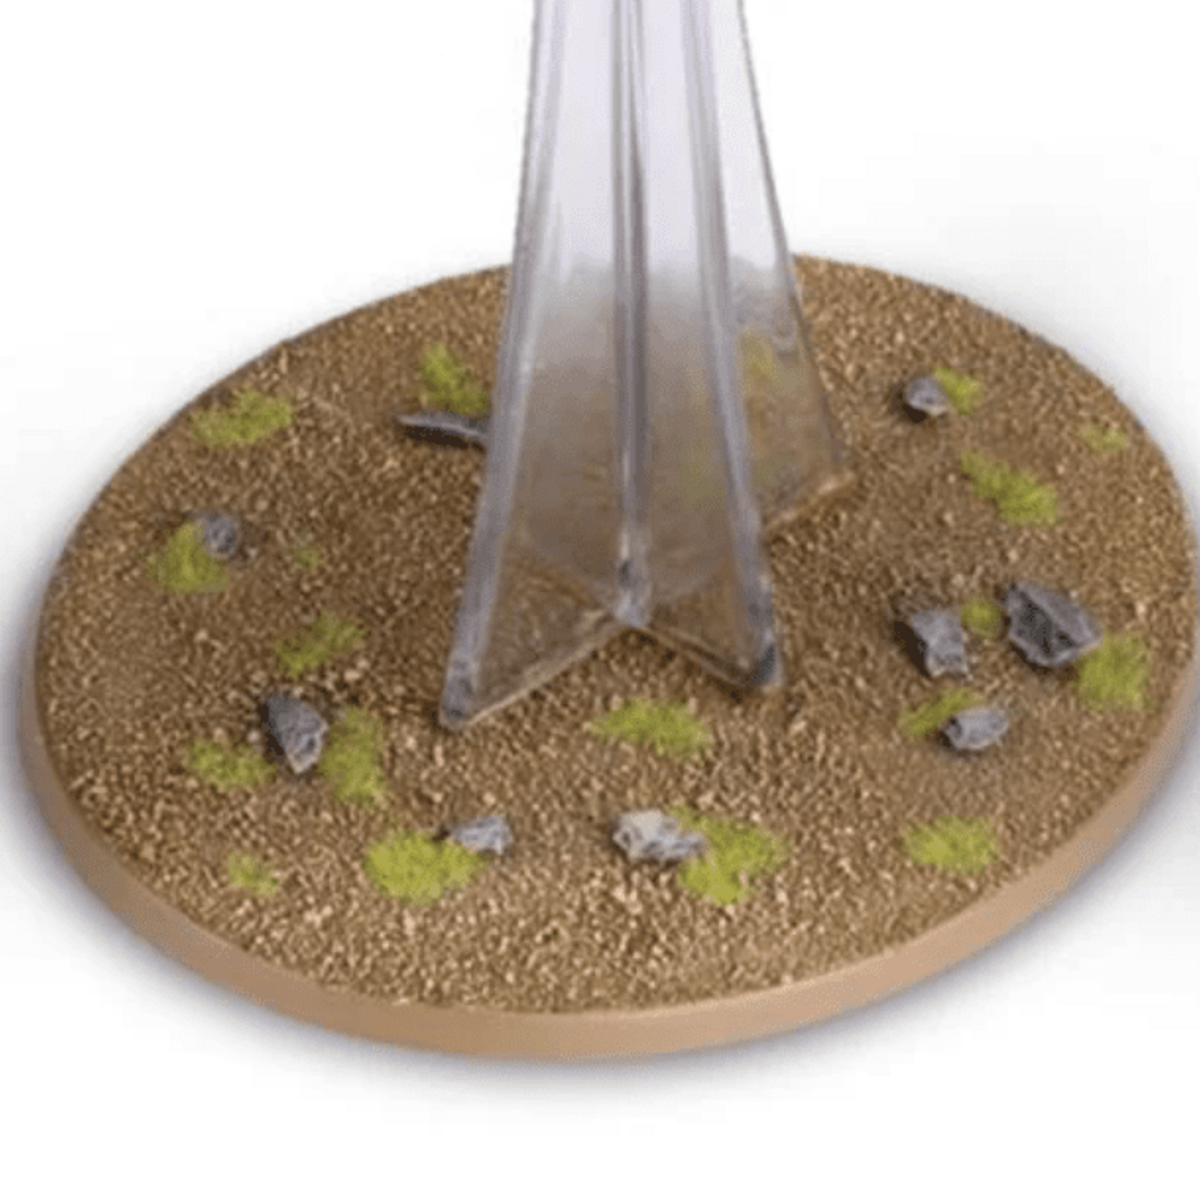
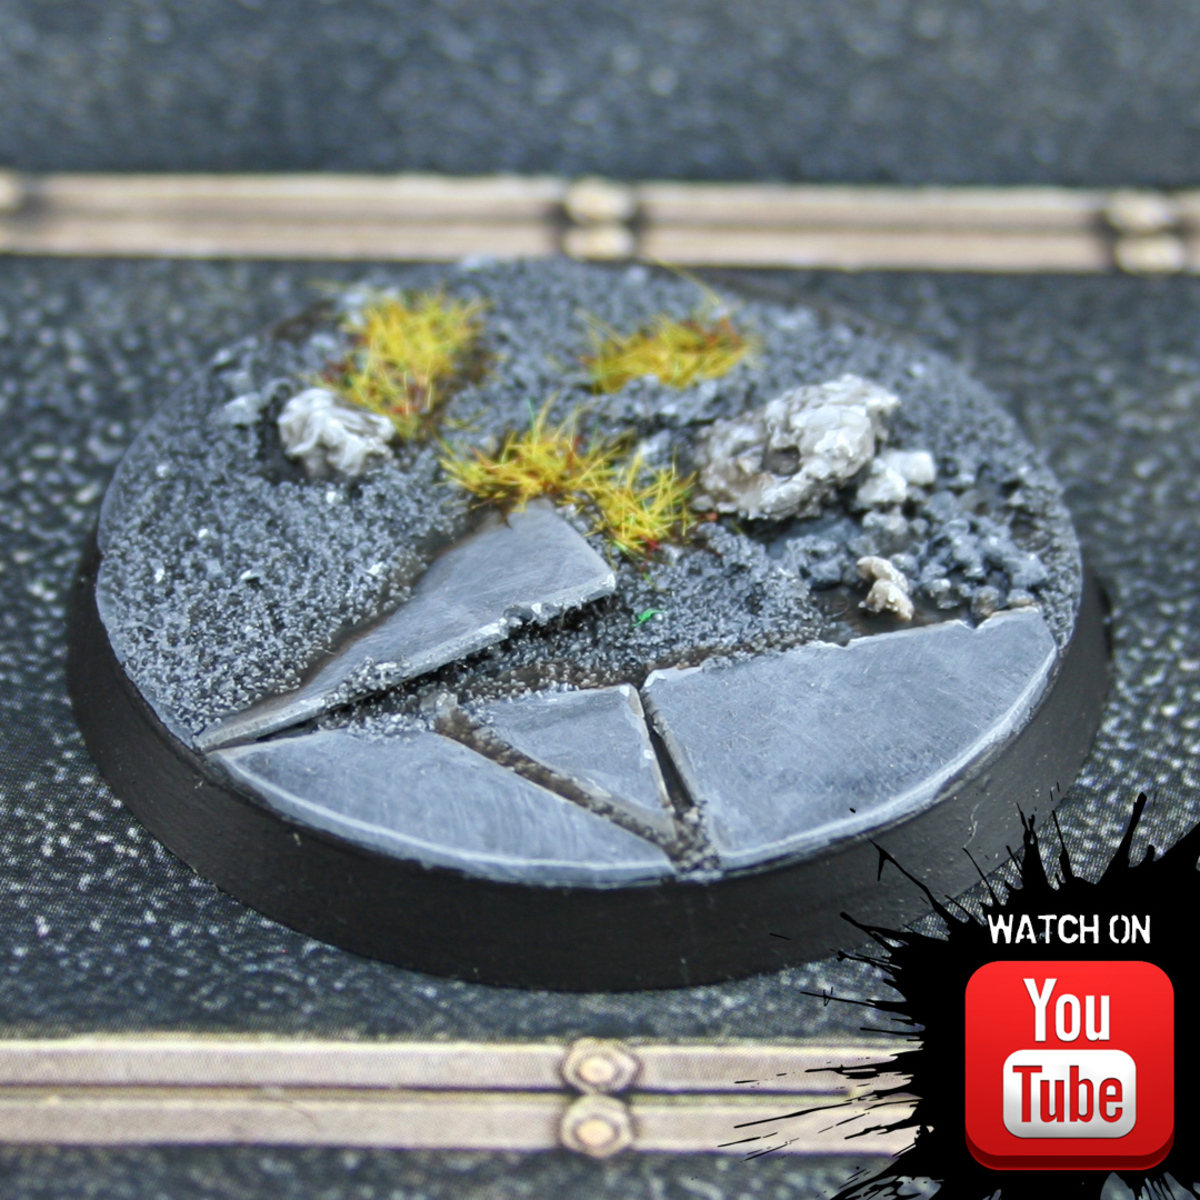
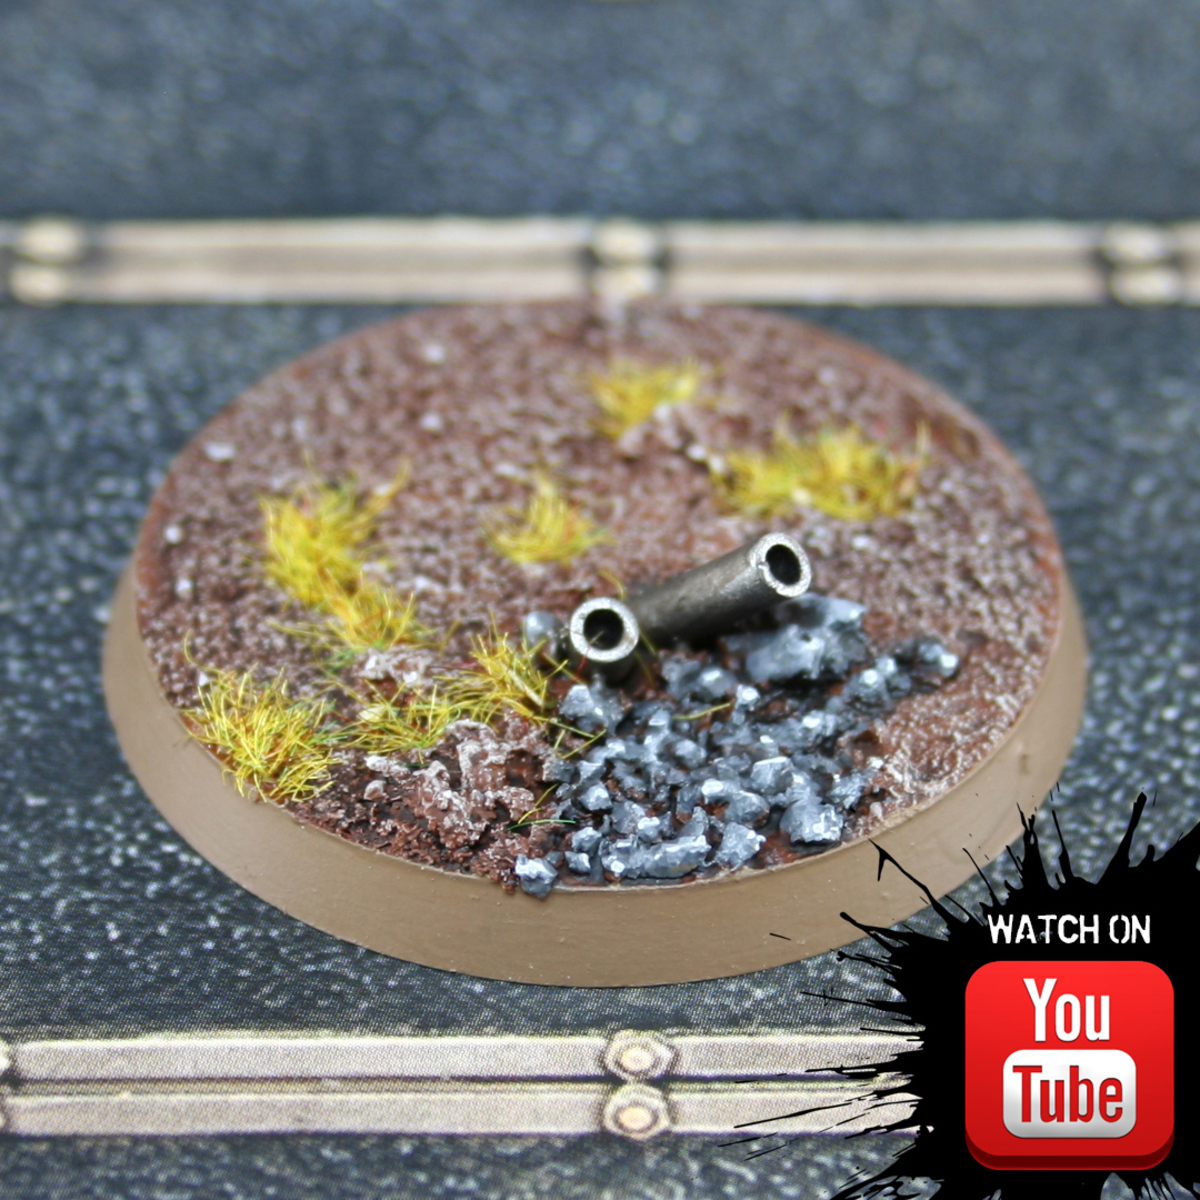
12. Basing
Complete the look with a savage environment.
Basecoat: Use Steel Legion Drab or Mournfang Brown for the base.
Texture: Apply Armageddon Dust for a cracked earth look.
Drybrush: Highlight with Karak Stone.
Grass Tufts: Add Mordheim Turf or Dead Grass Tufts to create a wild, untamed environment.
13. Final Touches
Apply ’Ardcoat to eyes, scars, and open wounds for a glossy effect. This will add realism to the model and make these key details pop.
Conclusion: Bringing the Royal Beastflayers to the Tabletop
With the completion of your Royal Beastflayers warband, you now hold a visually striking group of feral, undead warriors ready to dominate the battlefield. Their detailed, decayed appearance — from the torn and stitched flesh to the blood-soaked weapons and grim trophies — is sure to impress both onlookers and opponents alike. Not only will they stand out on the tabletop, but they’ll evoke the savage and primal terror that defines this Warcry warband.
Now it's time to unleash them on the battlefield, where their savage appearance will only be outdone by their ferocity in combat. Good luck, and may the flayed skin of your enemies be added to your warband’s growing collection!
