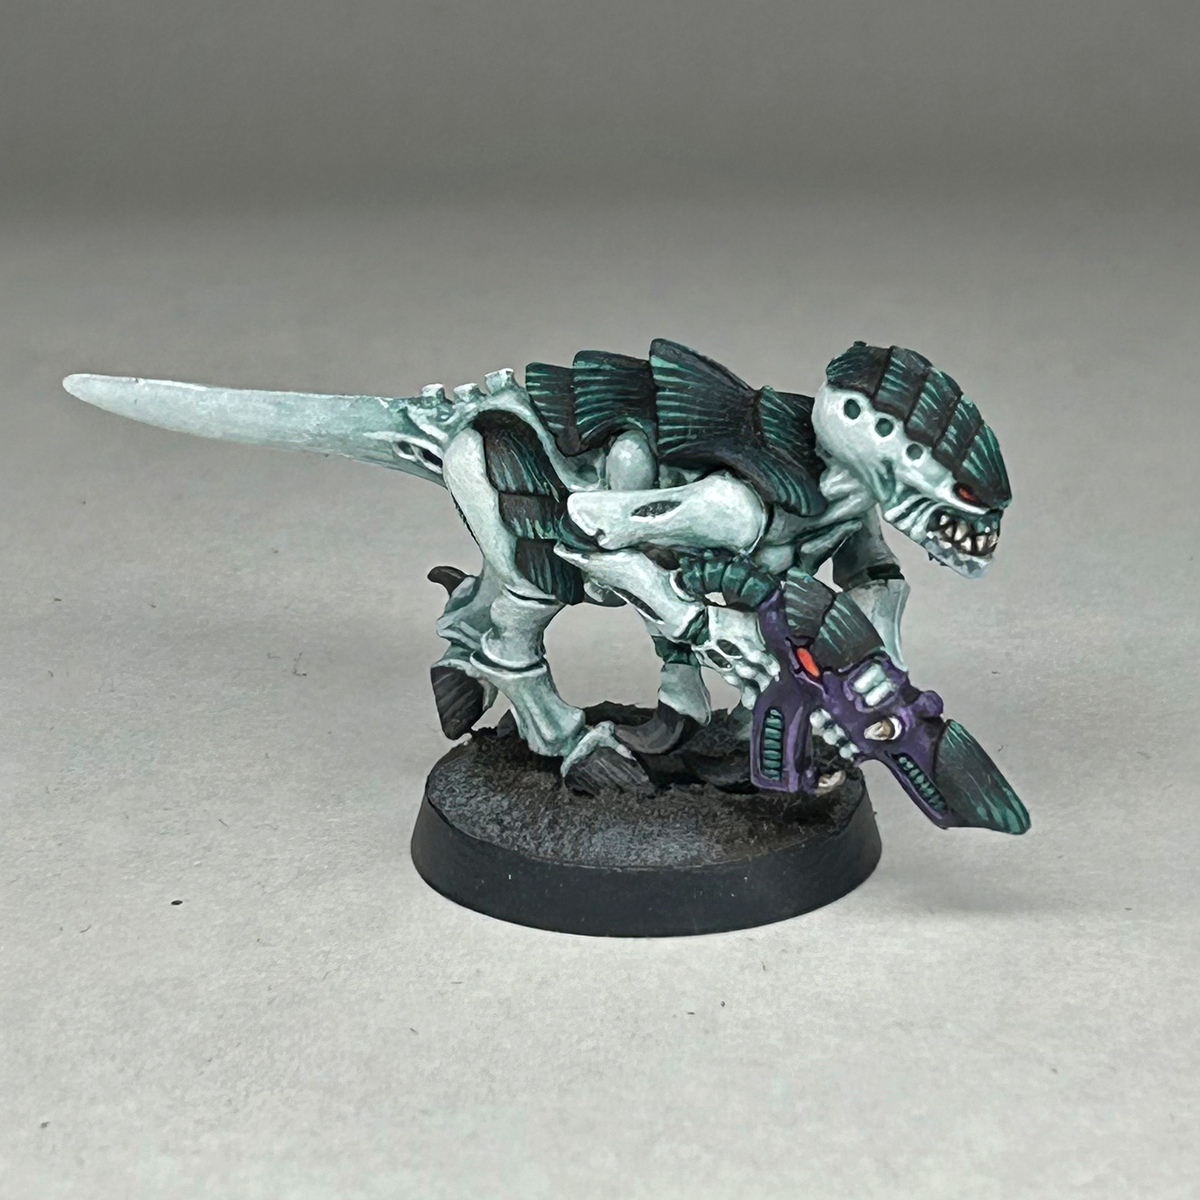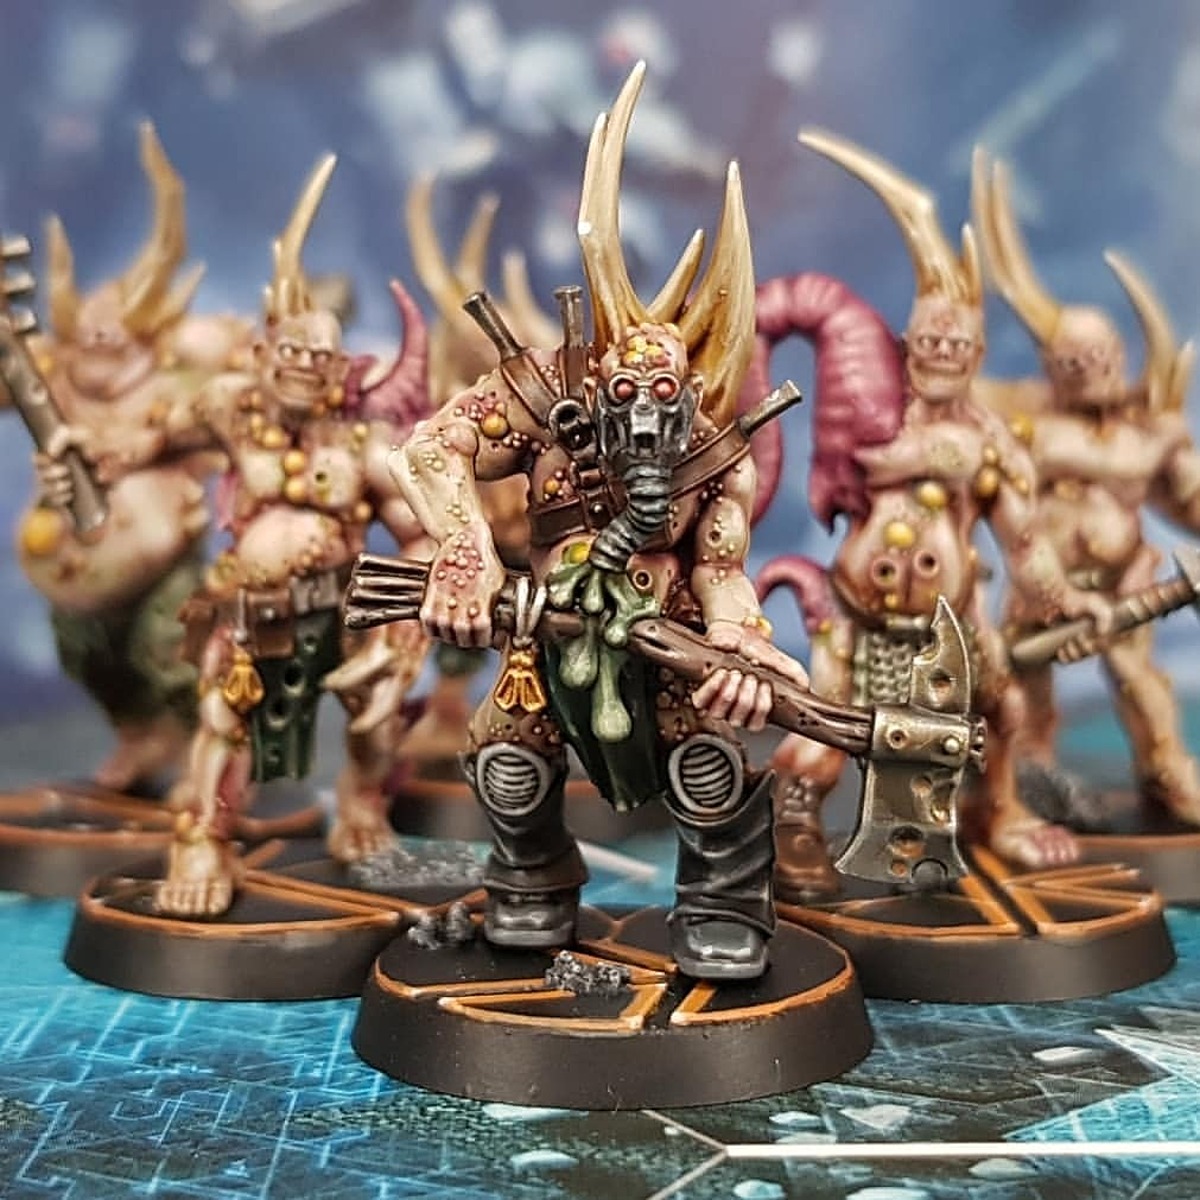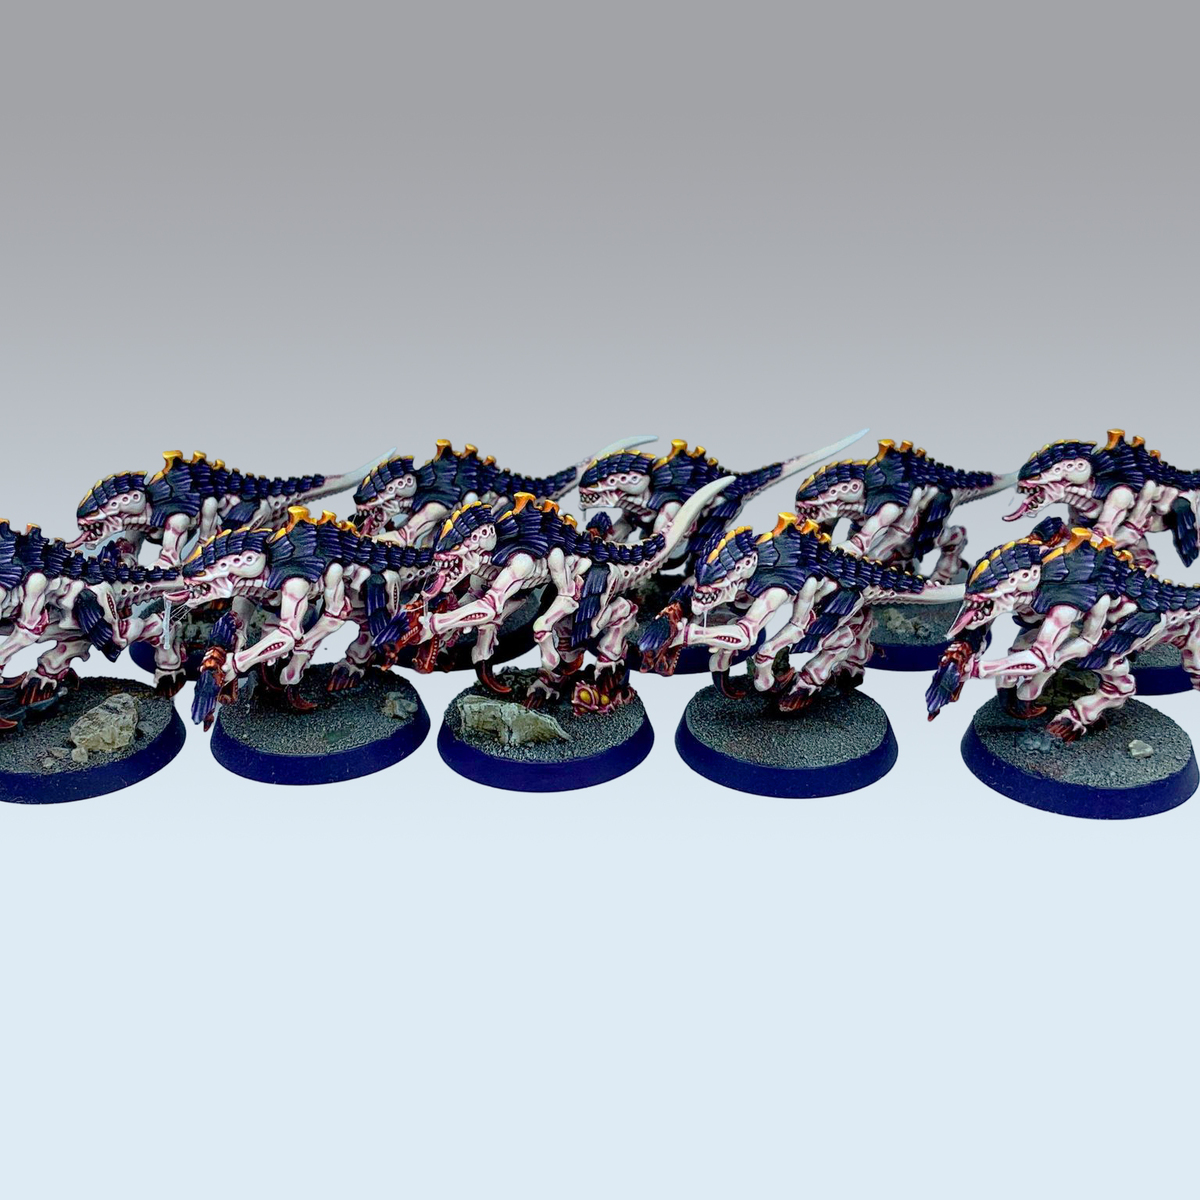

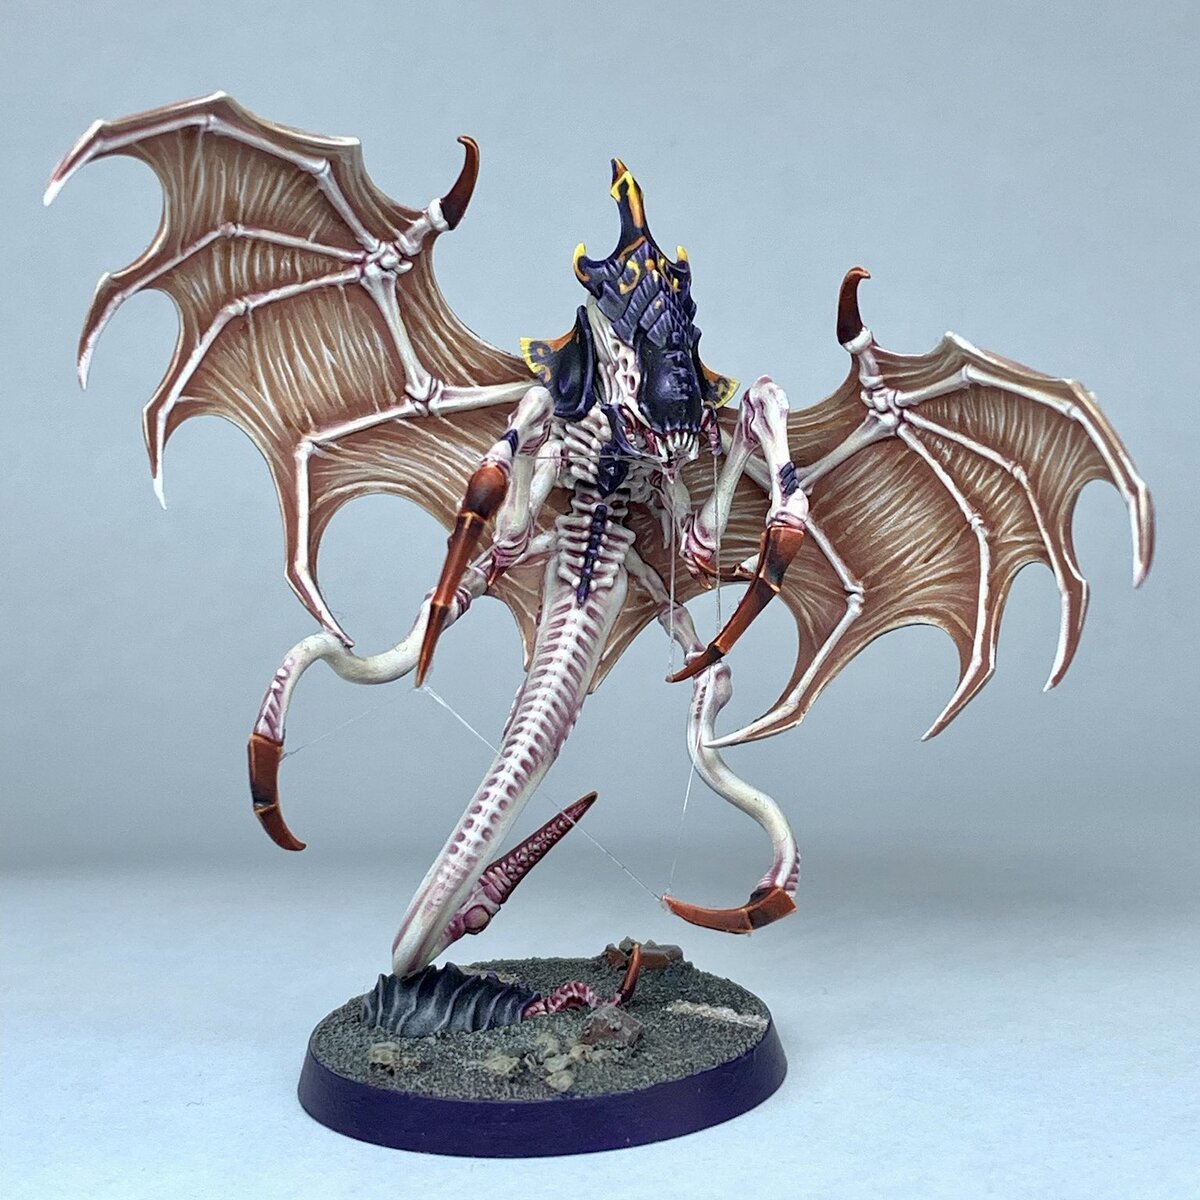
Step by step on how I paint Tyranid Termagants in the Hive Fleet Leviathan colour scheme.
A starting note - I keep the arms off the Termagants to help with getting a brush in to the chest and behind the arms. If you're speed painting, feel free to push them on and ignore the chest details!
Cream Flesh
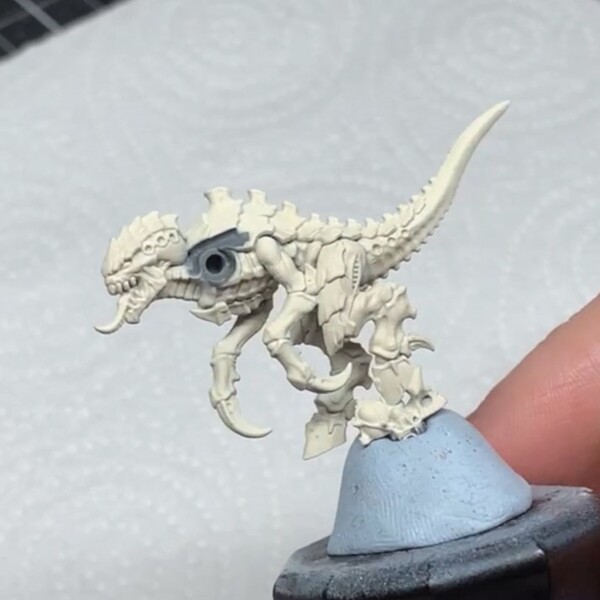 I primed with Wraithbone . I used a spray can, but a pot and brush or airbrush is fine too, just get as solid a coverage as you can.
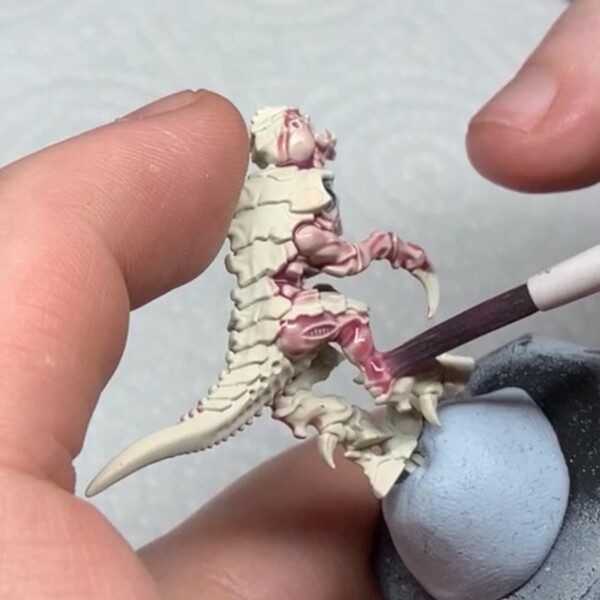 Wash the skin with a 1:2 mix of Magos Purple and Contrast Medium . Be aware of heavy pooling, especially towards the bottom of the legs and underside of the ribcage, but get a good wash of colour on there.
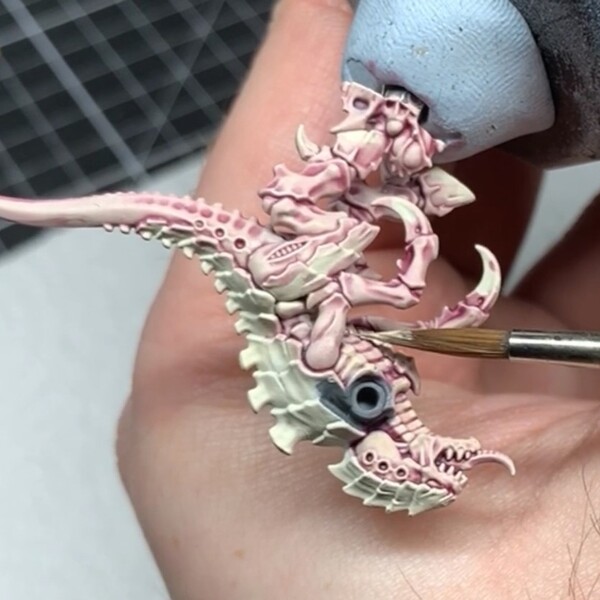 Work your way around the with Screaming Skull , relayering over the skin but leaving the Contrast in the recesses. Watering down your paint more than usual will help to make an easier gradient from the shade. Alternatively, a heavy drybrush will speed along your process.
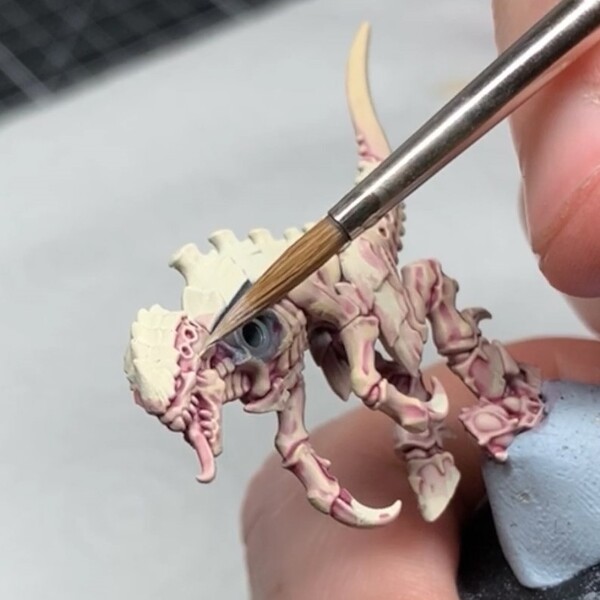 Highlight with Pallid Wych Flesh . Again, a drybrush can speed things up for batch painting, just be lighter than your previous colour.
Internal Flesh
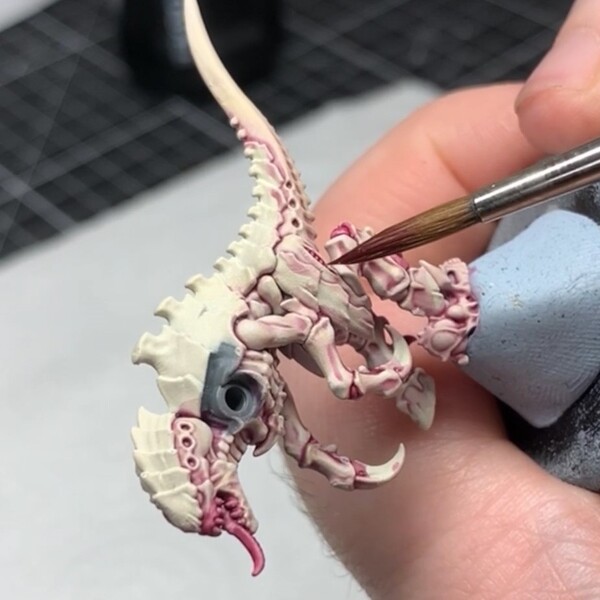 Wash splits in the skin or any areas of flesh that you don't want to be cream with a 2:1 mix of Volupus Pink and Contrast Medium . Be careful around your finished skin here, and be careful again of heavy pooling.
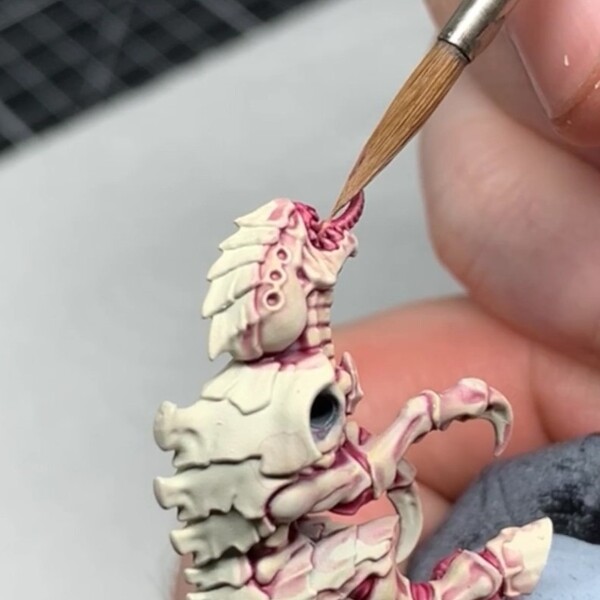 Highlight with Kislev Flesh , mostly just touching the raised edges
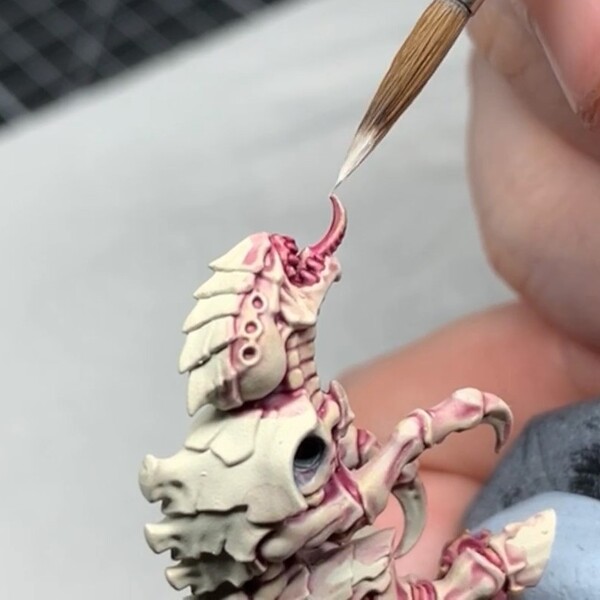 I do a last dot highlight with Pallid Wych Flesh to make the flesh look a bit shiny, but you can easily skip this if you're trying to be speedy.
 I block in the hooves and claws at this point with Doom Death Black , as I like to paint what I can before attaching it to the base.
Claws and Hooves
 Glaze on a transition of Khorne Red to get that deep red gradient to build on. You can opt to very carefully drybrush this instead, block in with red instead of black, or skip this entirely depending on your needs and skill.
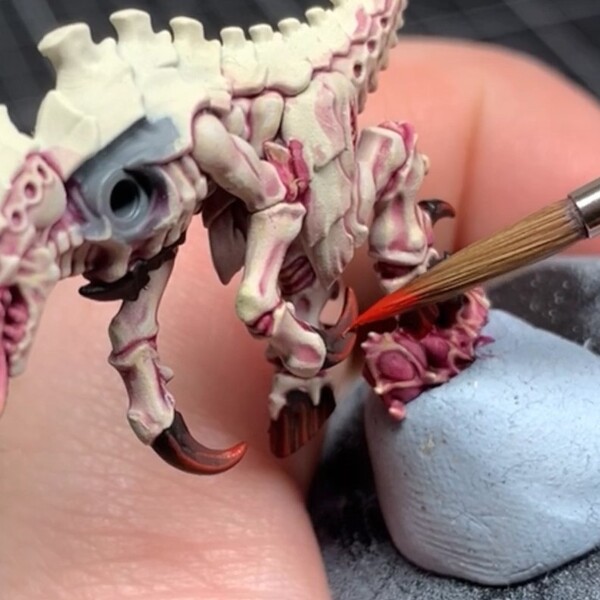 Edge highlight with Evil Sunz Scarlet , focusing on any sharp edges. I run a center line on the claws as well, plus painting striations onto the hooves to mix up the textures, but got at it however you want!
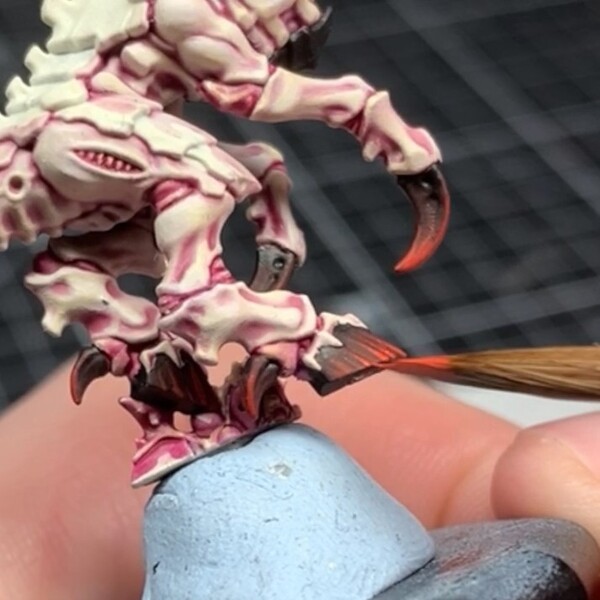 Highlight again with Wild Rider Red , covering a smaller area than before.
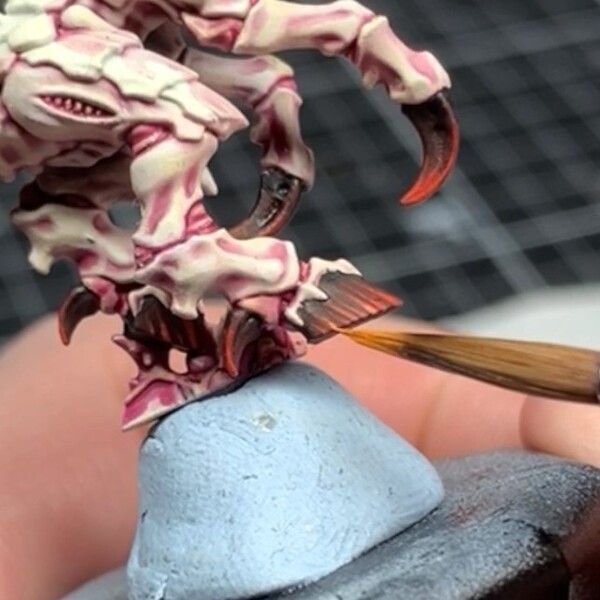 One last point highlight with Fire Dragon Bright .
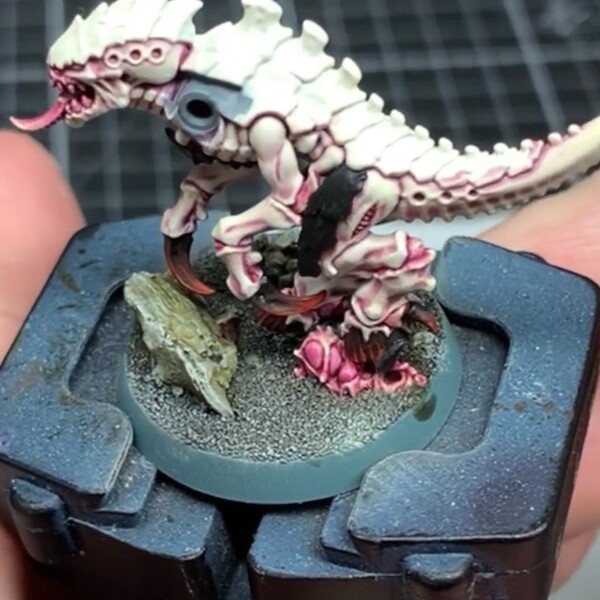 For the video I attached the mini to the base, forgetting that I'd struggle to reach the chitin on the chest in the next step... For the sake of matching the video I'll put this here as was, but note that I'd likely at least paint the little plate on the chest in the next step before attaching it on when I'm not fretting about recording a video for Youtube!
 I then painted in the chitinous plates on the leg and the chest with the same steps I detail for the carapace - Just know that the small chest plate only needs edge highlights of Xereus Purple , Genestealer Purple and Slaanesh Grey , rather than trying to glaze and add striations onto such a small area.
Weapons
 My example Termagant here has a Fleshborer, but the scheme also works great for alternate weapons in the their arsenal. You'll just want to add more of other colours where it makes sense to - The large, open front of a Devourer looks great painted with the pinker flesh tone to look like a big muscle, for example.
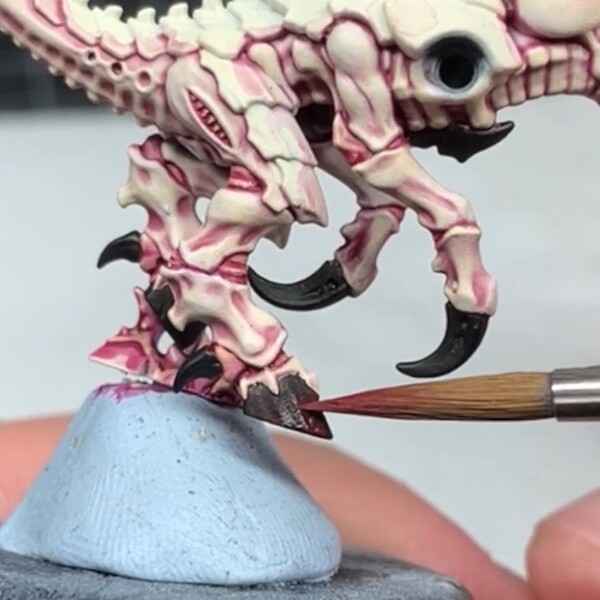
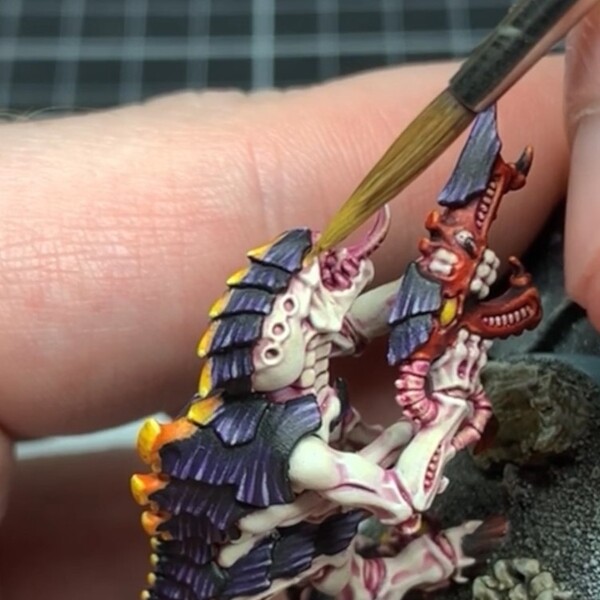
 I start by painting in any areas that read as 'internal flesh' using the same steps as the main skin areas - Flooding with 2:1 mix of Volupus Pink and Contrast Medium , highlighting with Kislev Flesh and dotting with Pallid Wych Flesh .
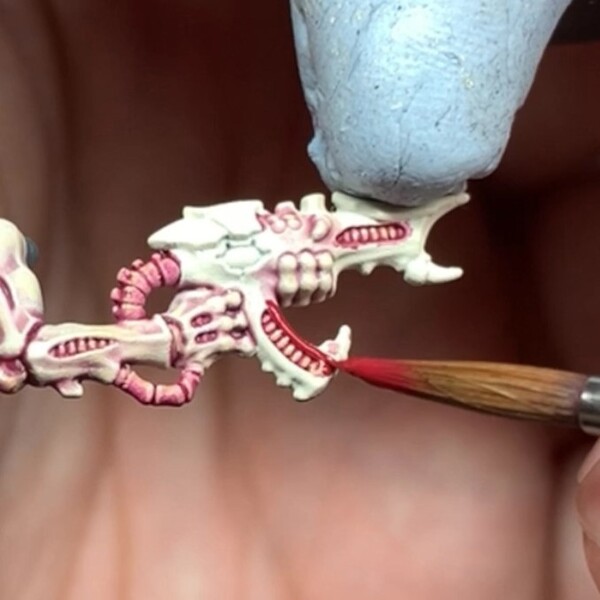 Block in the main body of the weapon with Khorne Red , being careful around the pink areas.
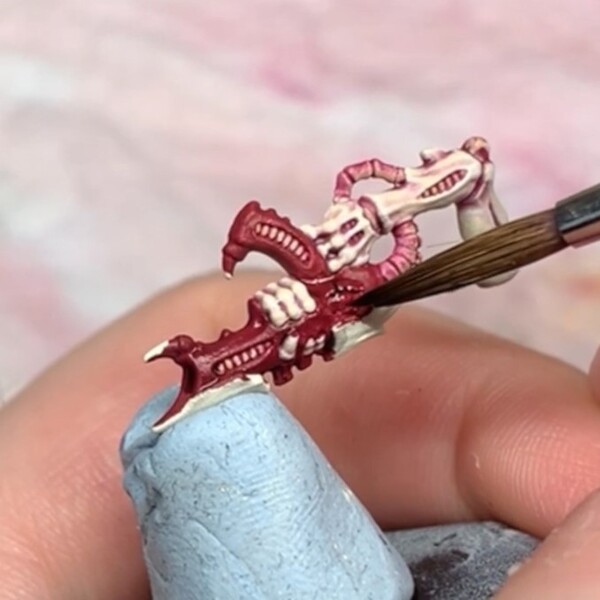 Wash with Nuln Oil .
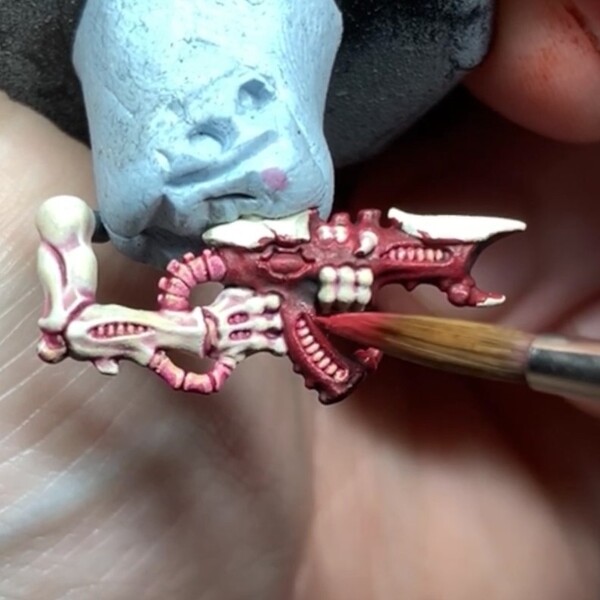 Relayer with Khorne Red .
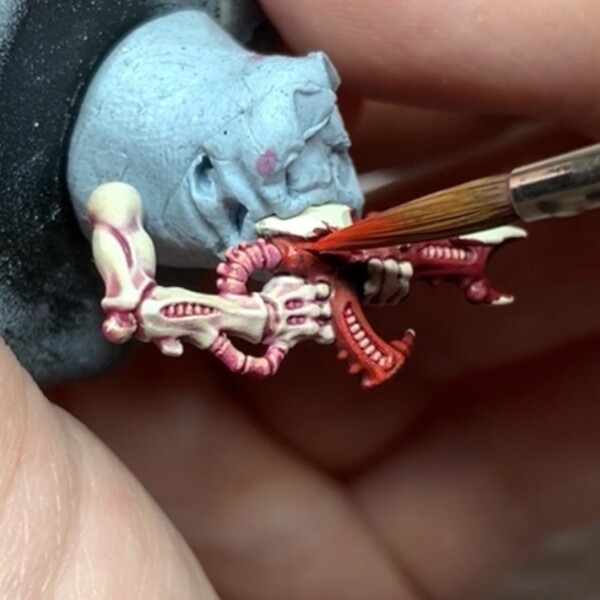 Highlight with Evil Sunz Scarlet .
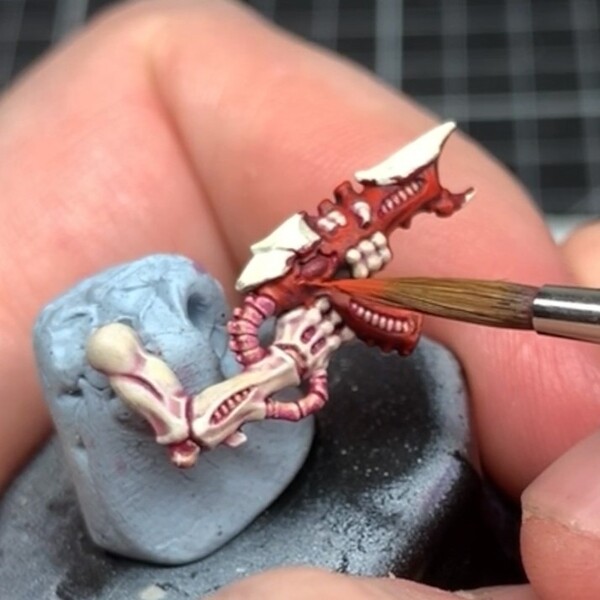 Again with Wild Rider Red over a smaller area than before.
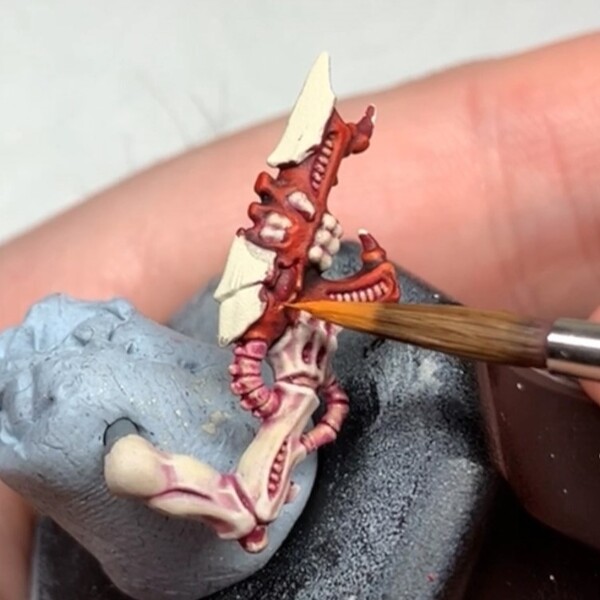 Small final highlight with Fire Dragon Bright .
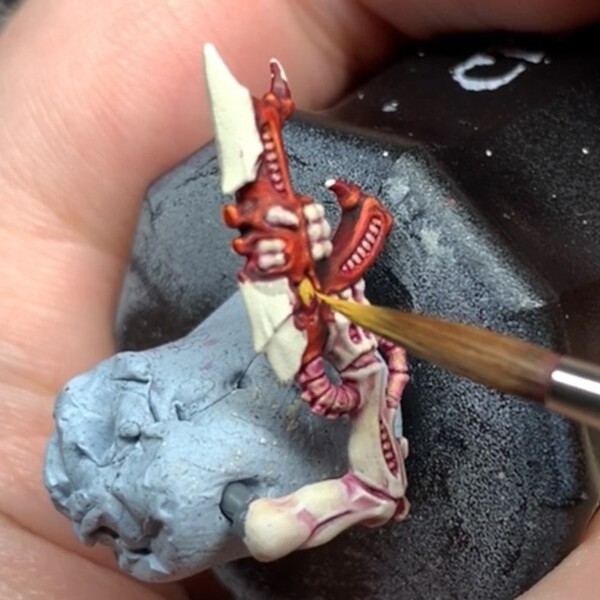 I block the eye on the side of the weapon with Averland Sunset .
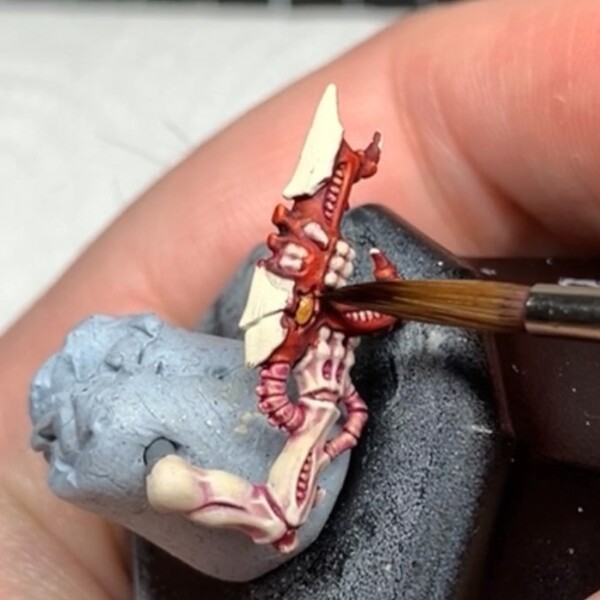 Wash with Druchii Violet .
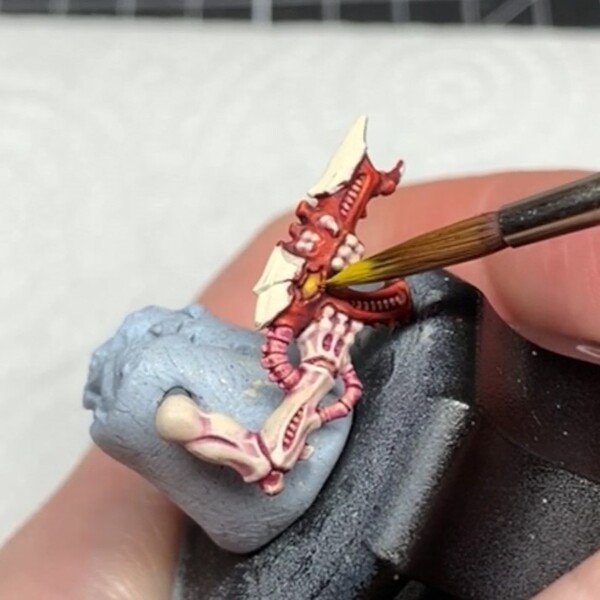 Layer on some thinned Yriel Yellow , leaving some of the washed yellow around the edges. Feel free to draw a pupil on there if you'd like, I personally prefer not to!
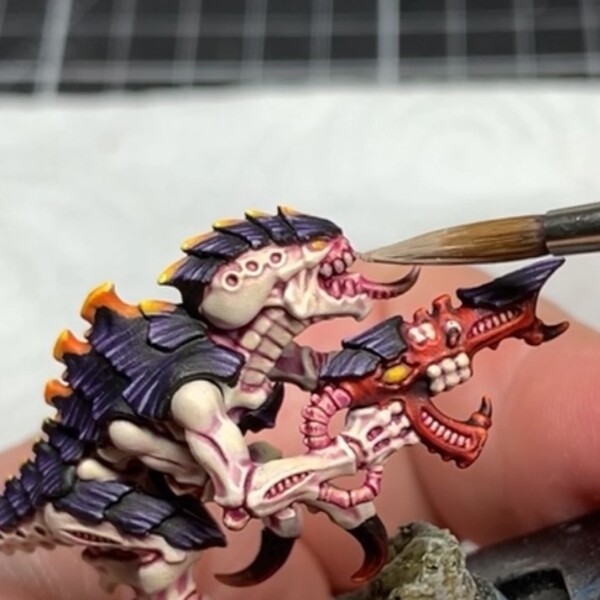
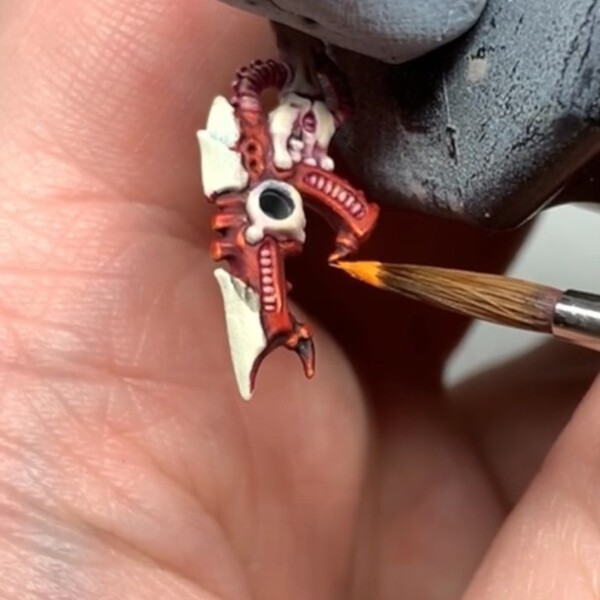 Paint in any small claws around the weapon in the same way as earlier - Block in with Doom Death Black , highlight with Khorne Red (No need to glaze, these are tiny), Evil Sunz Scarlet , Wild Rider Red and Fire Dragon Bright .
 At this point I attach the arms and smooth out any gaps. New Termagants are push fit, but I prefer to cut the pegs off and glue them on for as flush a fit as possible.
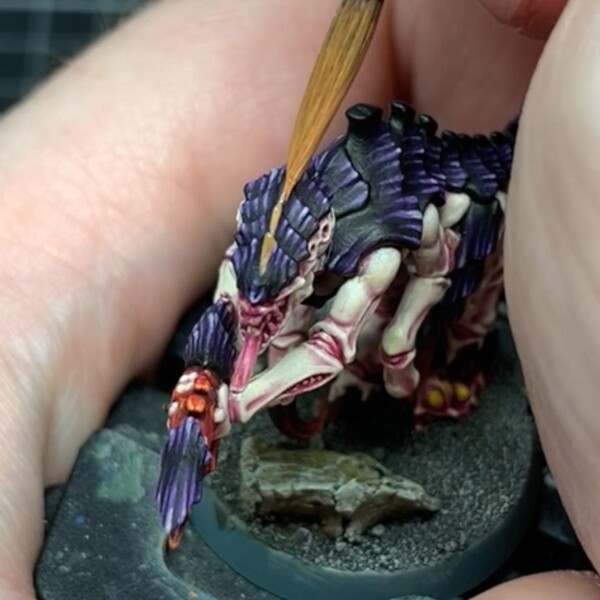
Carapace
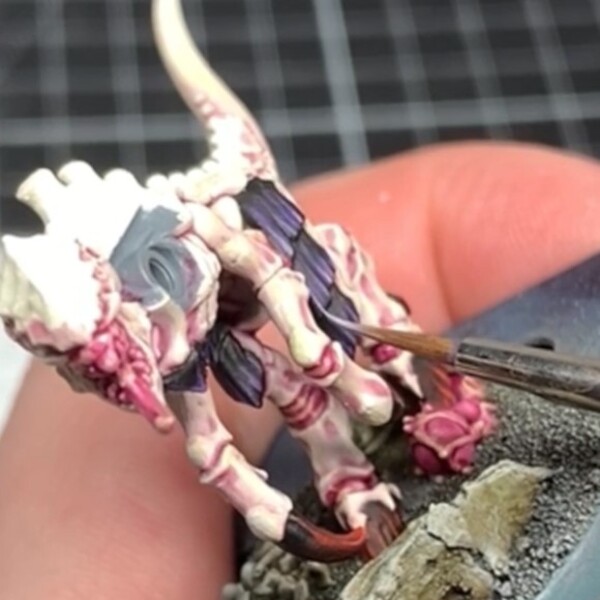
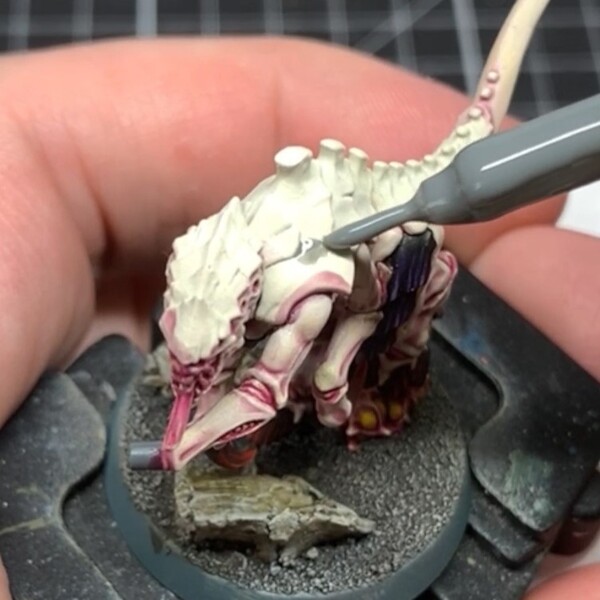
 Now I can block in the carapace with Doom Death Black . Be super careful around your finished work!
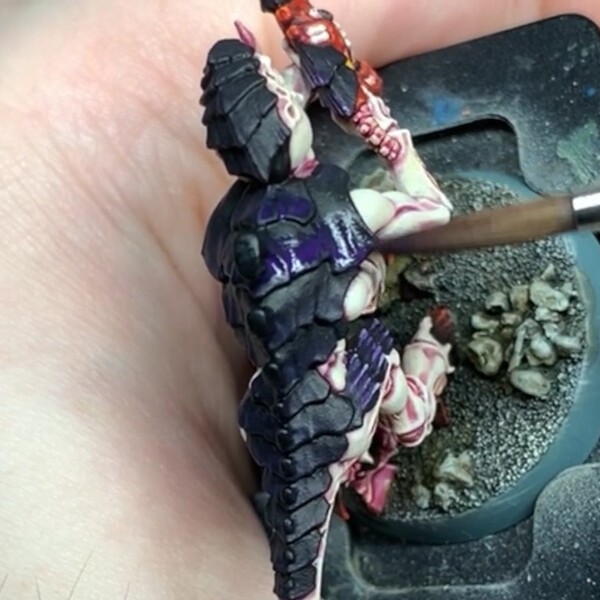 Glaze to the sharp end of each carapace plate with Naggaroth Night . Like with the red, you can -really carefully- drybrush, block in entirely or skip this step, up to you!
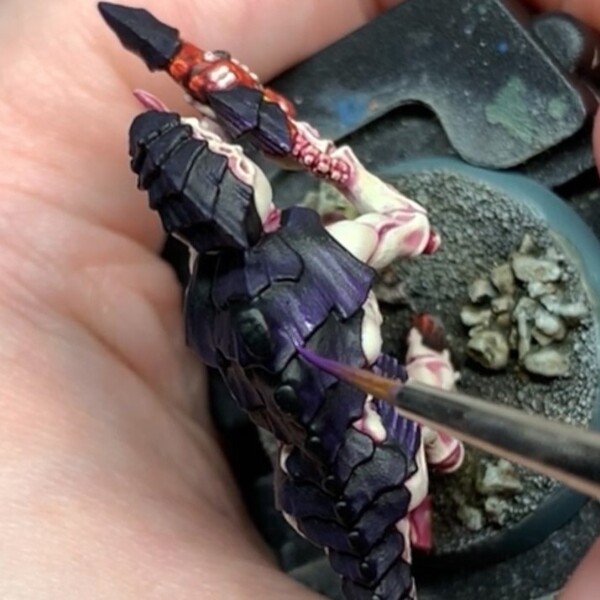 Draw lined striation patterns with Xereus Purple . Practice makes perfect with the patterning, just take your time, paint comfortably (I swipe the brush towards me wherever I can as it's the most comfy to me) and try not to stress over any errors. Highlights can cover a lot of sins with this!
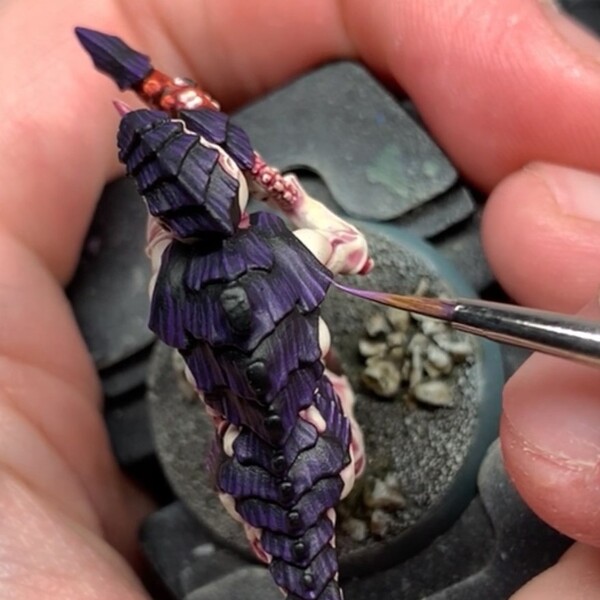 Paint over the same lines you made with Genestealer Purple , just covering a smaller amount to get a sense of colour gradiation.
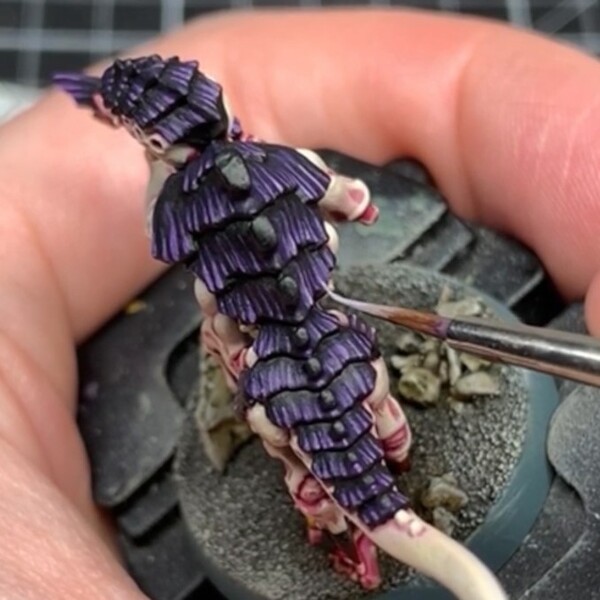 Dot a little Slaanesh Grey to the bottom of the sharpest edges, both the moulded ones and on your painted striations. You don't need many, just a couple dots to sell some of them as sharper than the others.
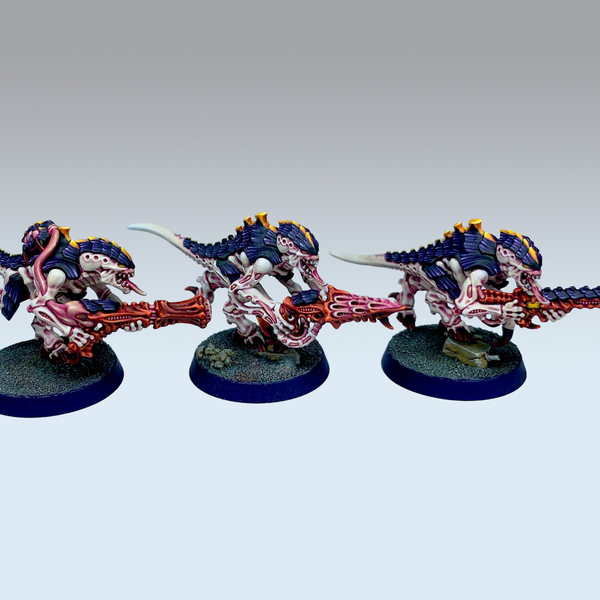
Carapace Markings
This is purely options - My little Leviathan splinter makes use of carapace patterns for a bit more flair, but you can absolutely leave it at the purple if you prefer!
 Mark out the pattern with Jokaero Orange - For Termagants I just have a single stripe down the length of the body to keep it fairly simple.
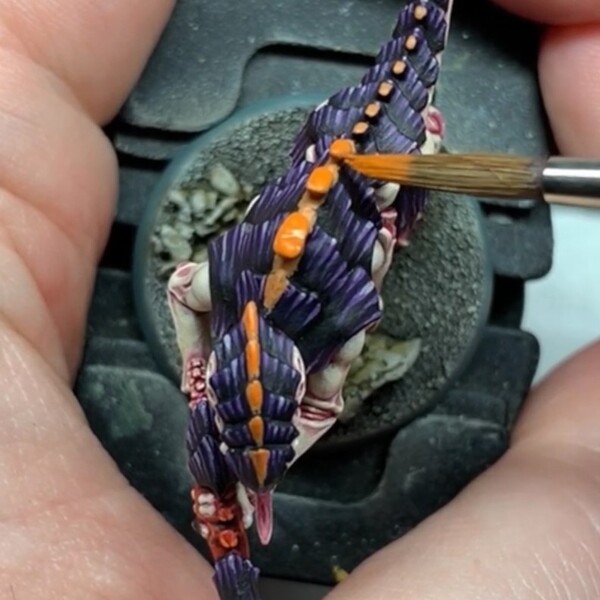 Relayer with Troll Slayer Orange to boost the colour.
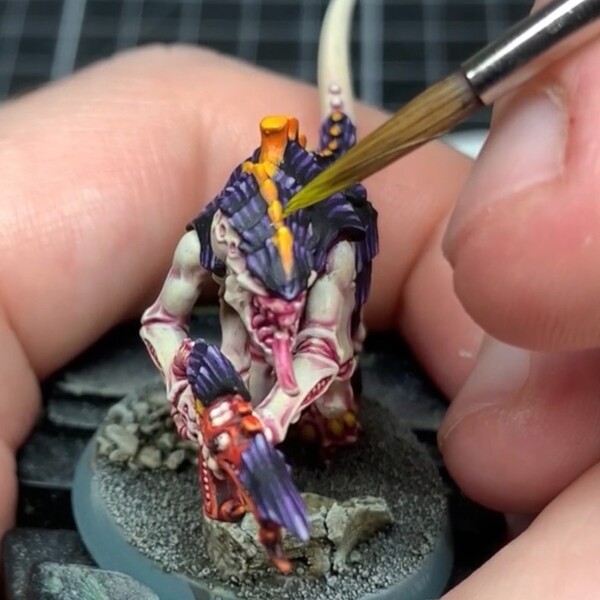 Add a glaze or two of Yriel Yellow to get the gradient.
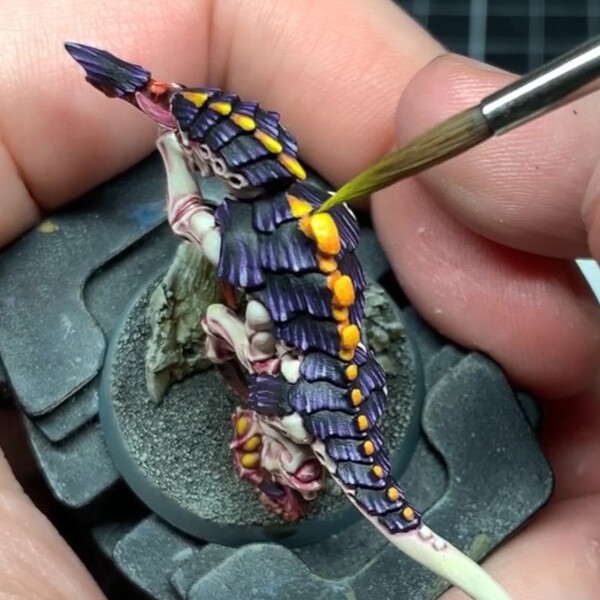 Repeat again with Flash Gitz Yellow to punch the yellow.
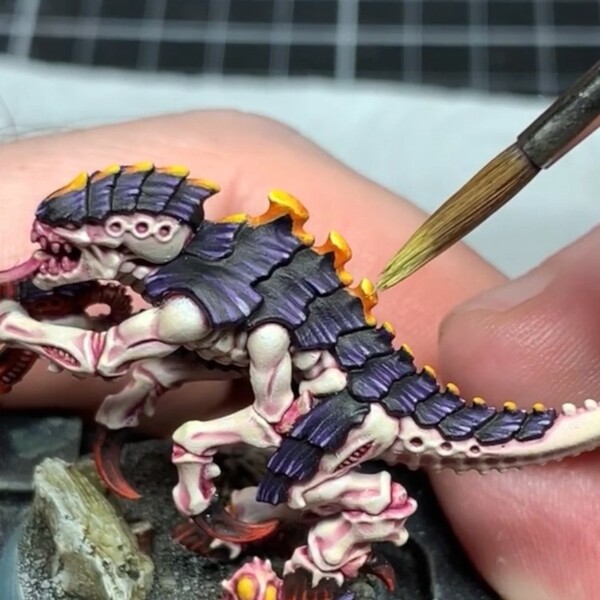 Edge highlight with Moon Dust .
Final Details
 I paint the eyes the same as I did on the Fleshborer, starting with Averland Sunset carefully across the whole eyeball.
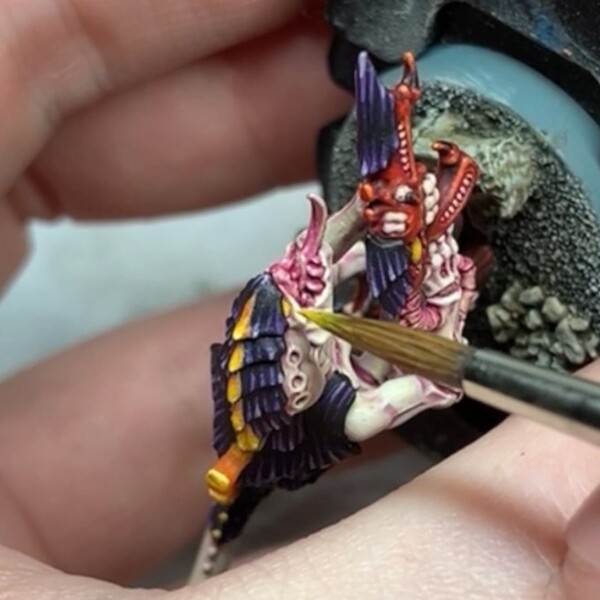 Relayer with Yriel Yellow .
If you spill into the eye socket, let it dry and flood with Druchii Violet to help hide your mistake and try again with Yriel Yellow .
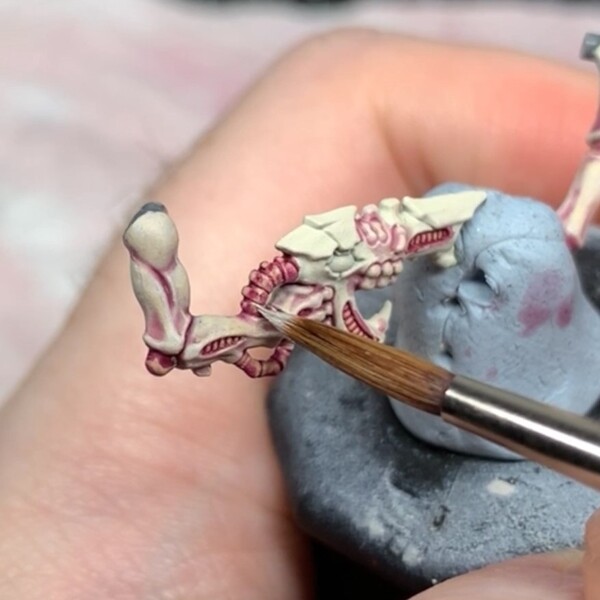
 Block in the teeth with Rakarth Flesh .
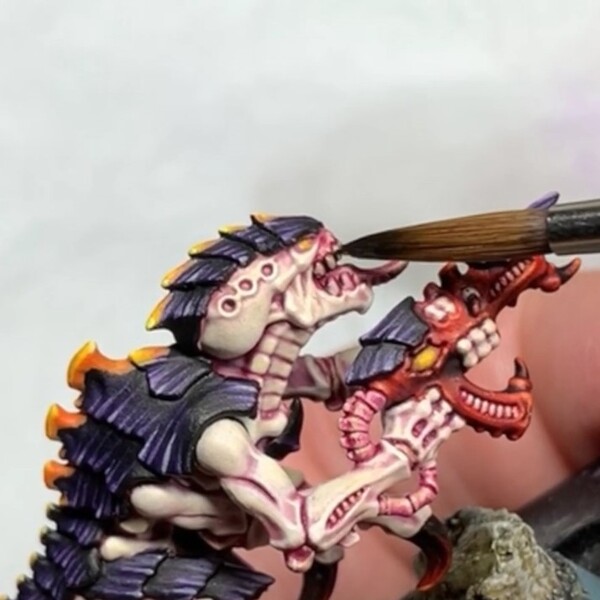 Wash completely with Agrax Earthshade , being careful about overspill onto other areas.
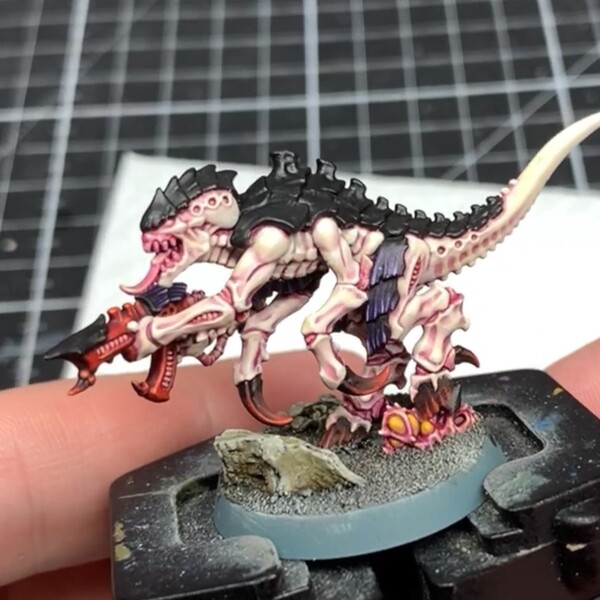
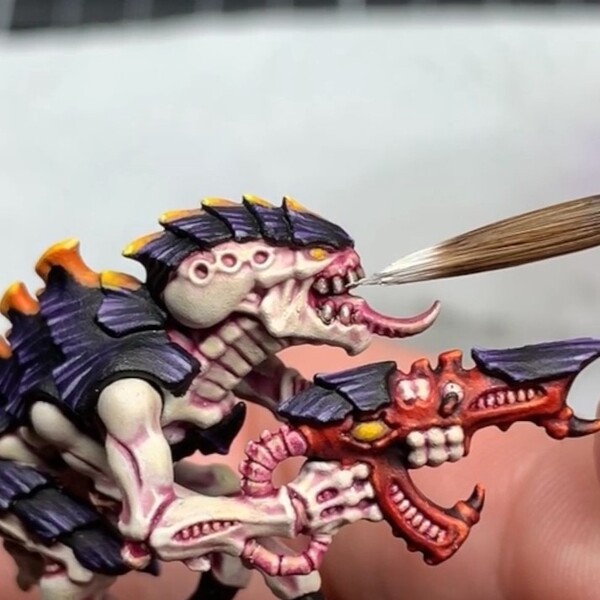 Just a quick highlight of Pallid Wych Flesh to finish.
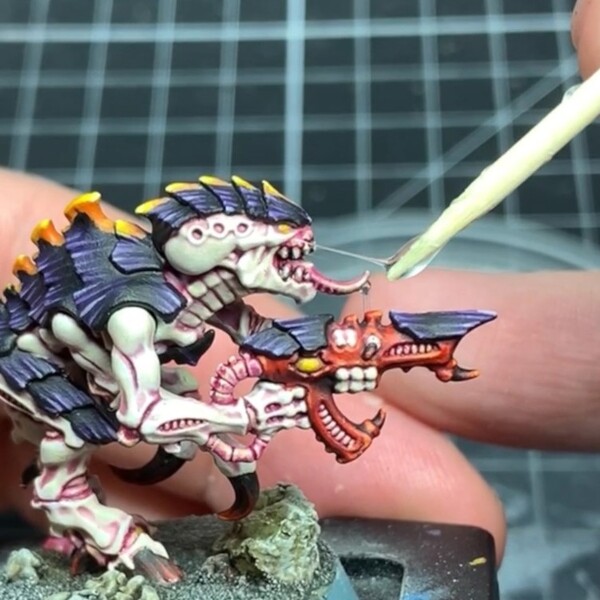 Add any special effects you want before rimming the base. I'm a fan of UHU glue for spit strings in the mouth, and on some I used some thin, clear thread and super glue for thicker globs of spit.

Adz
HowAdzPaints
I'm a casual mini painter who's fallen into the tutorial space. Documenting my progress and recipes as I go!
Citadel Painting System 24
Base 5
- Averland Sunset
- Jokaero Orange
- Khorne Red
- Naggaroth Night
- Rakarth Flesh
Shade 3
- Agrax Earthshade
- Druchii Violet
- Nuln Oil
Layer 12
- Evil Sunz Scarlet
- Fire Dragon Bright
- Flash Gitz Yellow
- Genestealer Purple
- Kislev Flesh
- Pallid Wych Flesh
- Screaming Skull
- Slaanesh Grey
- Troll Slayer Orange
- Wild Rider Red
- Xereus Purple
- Yriel Yellow
Technical 1
- Contrast Medium
Spray 1
- Wraithbone
Contrast 2
- Magos Purple
- Volupus Pink
The Army Painter Warpaints
Acrylic 1
- Moon Dust
Two Thin Coats
Shade 1
- Doom Death Black
.jpg)