- Teratic Cohort Warband Full Painting Guide
1. Preparation
The Teratic Cohort, summoned by the deathly powers of Nagash, are ancient and relentless. Their skeletal forms and cursed armor have been forged through centuries of undeath. To ensure a flawless finish, careful preparation is essential before you start applying any paint.
Model Cleaning and Assembly
Begin by removing all mold lines with a hobby knife or mold line remover. This will prevent any rough spots from marring the clean bone structure and intricate armor details later on.
For models with large or obstructive parts, such as the Kavalos Centari’s whip or Aviarch Harpies’ wings, consider sub-assembling them to make painting the finer details more manageable.
2. Priming
Choosing the right primer is crucial for your Teratic Cohort warband. Since the models feature a combination of bone, dark armor, and magical weapons, selecting a primer that fits your approach will make painting smoother and more efficient.
Priming Options:
Wraithbone Spray (Citadel):
Why Use It: Wraithbone is an ideal primer if you're focusing on a lighter base for the bone elements. It’s a warm, off-white that works perfectly for quickly applying bone tones like Morghast Bone and Ushabti Bone without needing many layers.
Best For: Painters who want a quick and easy base for pale bone tones and a primer that minimizes the number of layers needed for light colors.
Grey Seer Spray (Citadel):
Why Use It: Grey Seer is a more neutral grey that works well for balancing both light and dark elements. It helps you transition easily between the pale bone and dark armor, while also providing a good base for Contrast paints and washes.
Best For: A well-rounded primer for those looking for versatility when moving between light bones and darker armor, as it offers balanced shading and highlighting potential.
Colour Forge "Ossified Earth":
Why Use It: This is a light bone-colored primer, perfect for achieving the brightest, cleanest bone tones with minimal layering. It's a great alternative to Wraithbone but offers a more muted, warm bone base straight from the primer. You can almost immediately start shading and highlighting without needing multiple coats.
Best For: If you want the bones to stand out and require minimal layers for pale colors like Morghast Bone, this primer is perfect for an efficient and clean bone finish.
Colour Forge "Trench Brown":
Why Use It: Trench Brown is a neutral, slightly warmer brown than standard grey primers, providing a great all-round base. It’s a good middle ground between light and dark, so you can apply both bone tones and armor shades easily.
Best For: A flexible primer that works well for both light and dark areas, Trench Brown gives you versatility while still leaning toward a natural bone tone.
Colour Forge "Hyrax Brown":
Why Use It: This darker, earthy brown provides a great base for a more aged and weathered bone appearance. It allows you to create deeper shadows right from the primer stage and is perfect if you’re going for a more ancient or decayed look.
Best For: Creating a more aged, decayed look for bone, perfect for units like the Prowlers or when you want deeper shadows for bone details.
3. Basecoating
The Teratic Cohort rises from the dark plains of Shyish, their skeletal forms infused with ancient necromantic power, and their armor heavy with centuries of battle. Proper basecoating will set the stage for the layers and shading that follow.
Bone (General Skeletal Units)
Basecoat all the exposed bone with Morghast Bone. This desaturated, pale color provides the perfect base for the aged, necromantic look of the Teratic Cohort’s skeletal warriors.
Depending on your choice of primer:
If using Wraithbone or Ossified Earth: You will only need a light layer of Morghast Bone to bring out the bone tone.
If using Trench Brown: Apply a slightly thicker layer of Morghast Bone to fully transition the bone from the warm brown base.
If using Hyrax Brown: You may need an additional layer of Ushabti Bone to brighten the bones more, as the dark base will create more shadow underneath.
Darker Bone (Teratic Prowlers)
For the Teratic Prowlers, basecoat their bones with Baneblade Brown or Dryad Bark. These darker, earthier tones will give the Prowlers a more ominous and ancient appearance compared to the standard skeletal units.
The Baneblade Brown offers a slightly more muted, greyish-brown, while Dryad Bark provides a much darker, richer brown. Either basecoat works depending on how dark you want the Prowlers to appear.
Armor
The armor of the Teratic Cohort is forged from cursed metal, giving it a dark, spectral appearance that contrasts with the pale bone beneath.
Basecoat the armor with Abaddon Black. This solid black undercoat will serve as the shadows and recesses in the armor.
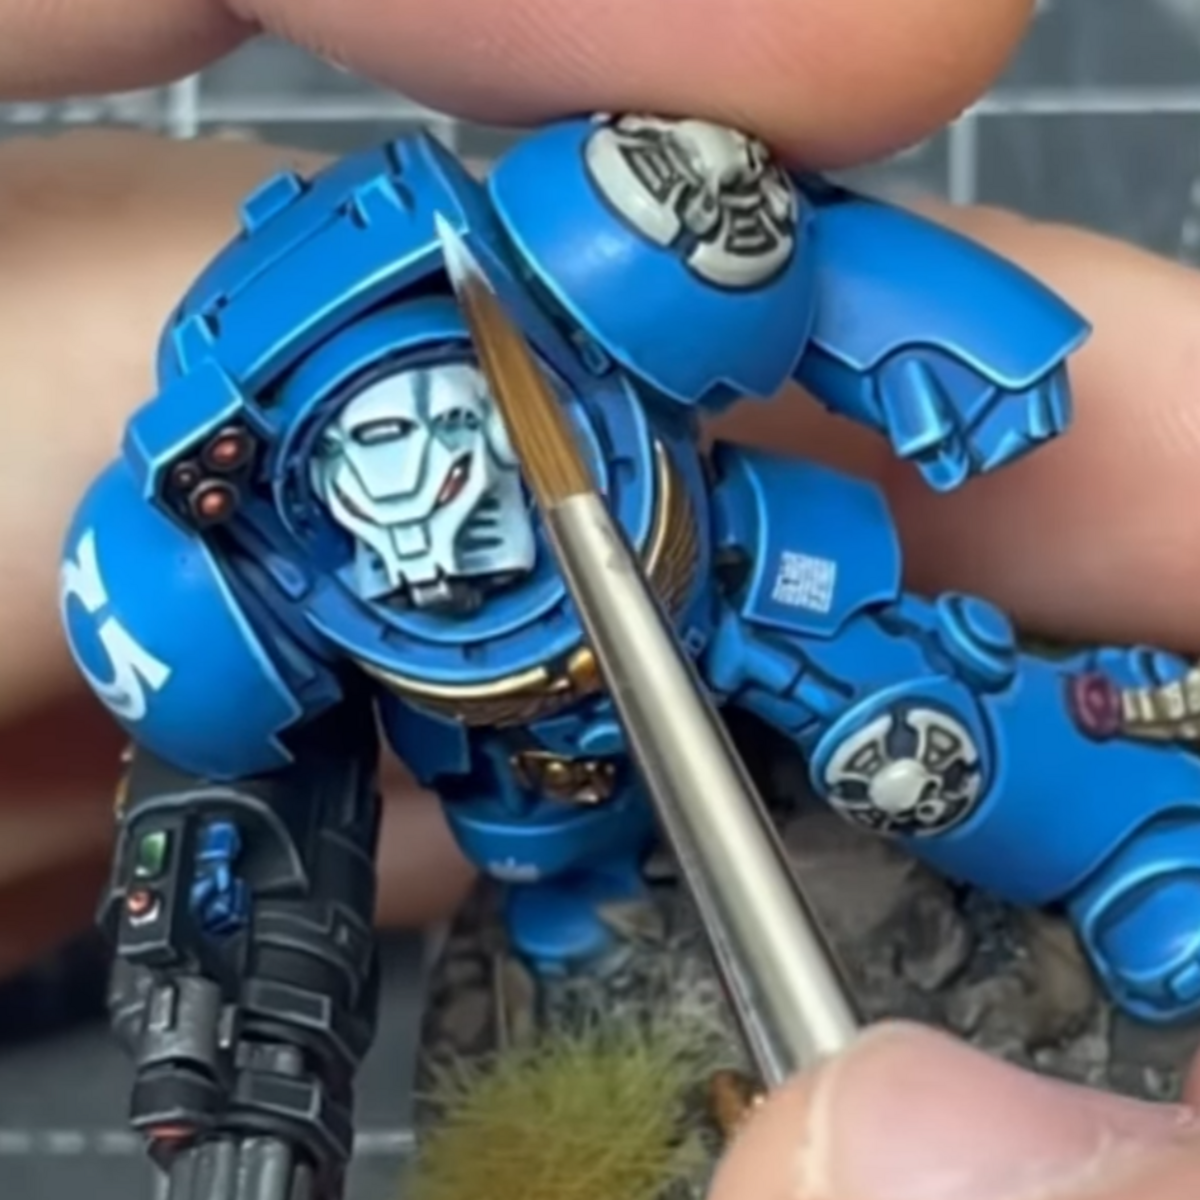
Layer with Dark Reaper over most of the raised armor plates, leaving the black visible in the deepest recesses. This cold, desaturated blue-grey color gives the armor a dark, muted tone.
Edge Highlight with Thunderhawk Blue. Focus on the edges of the armor plates, such as the shoulder pads, chest, and helmet. This subtle highlight will give the armor a spectral shine while keeping the overall dark appearance.
Final Edge Highlight with Fenrisian Grey. Apply this sparingly along the sharpest edges to give the armor a crisp finish, especially on the most prominent areas like the helmet ridges and weapon edges.
Armor Trim and Whip Handle
The armor trim and whip handle of the Kavalos Centari share the same bone-like color, contrasting against the cold blue-grey armor.
Basecoat the trim and whip handle with Pallid Wych Flesh. This pale, almost ivory color will stand out sharply against the darker armor and bones.
Wash with Agrax Earthshade to darken the recesses and create subtle shadows, giving the trim a weathered, aged look without losing the clean appearance.
Relayer with Pallid Wych Flesh on the raised areas, leaving the wash in the recesses to maintain depth.
Final Highlight with White Scar along the sharpest edges to create a clean, bright contrast. This will make the trim and whip handle pop, adding sharpness and detail.
Whip Segments
The whip segments on the Kavalos Centari are made from bone, but they appear more polished and magical than the standard bones of the skeletal warriors.
Basecoat the segments with Ushabti Bone to give them a lighter, cleaner appearance than the darker bones of the Prowlers.
Wash with Nuln Oil. This black wash will settle in the recesses between the segments, providing deep shadows and making the bone segments appear more aged and defined.
Relayer with Ushabti Bone on the raised areas to restore the brightness while maintaining the deep shadows created by the wash.
Highlight with Screaming Skull along the sharpest edges and tips of the segments, making them appear polished and magical.
Weapons
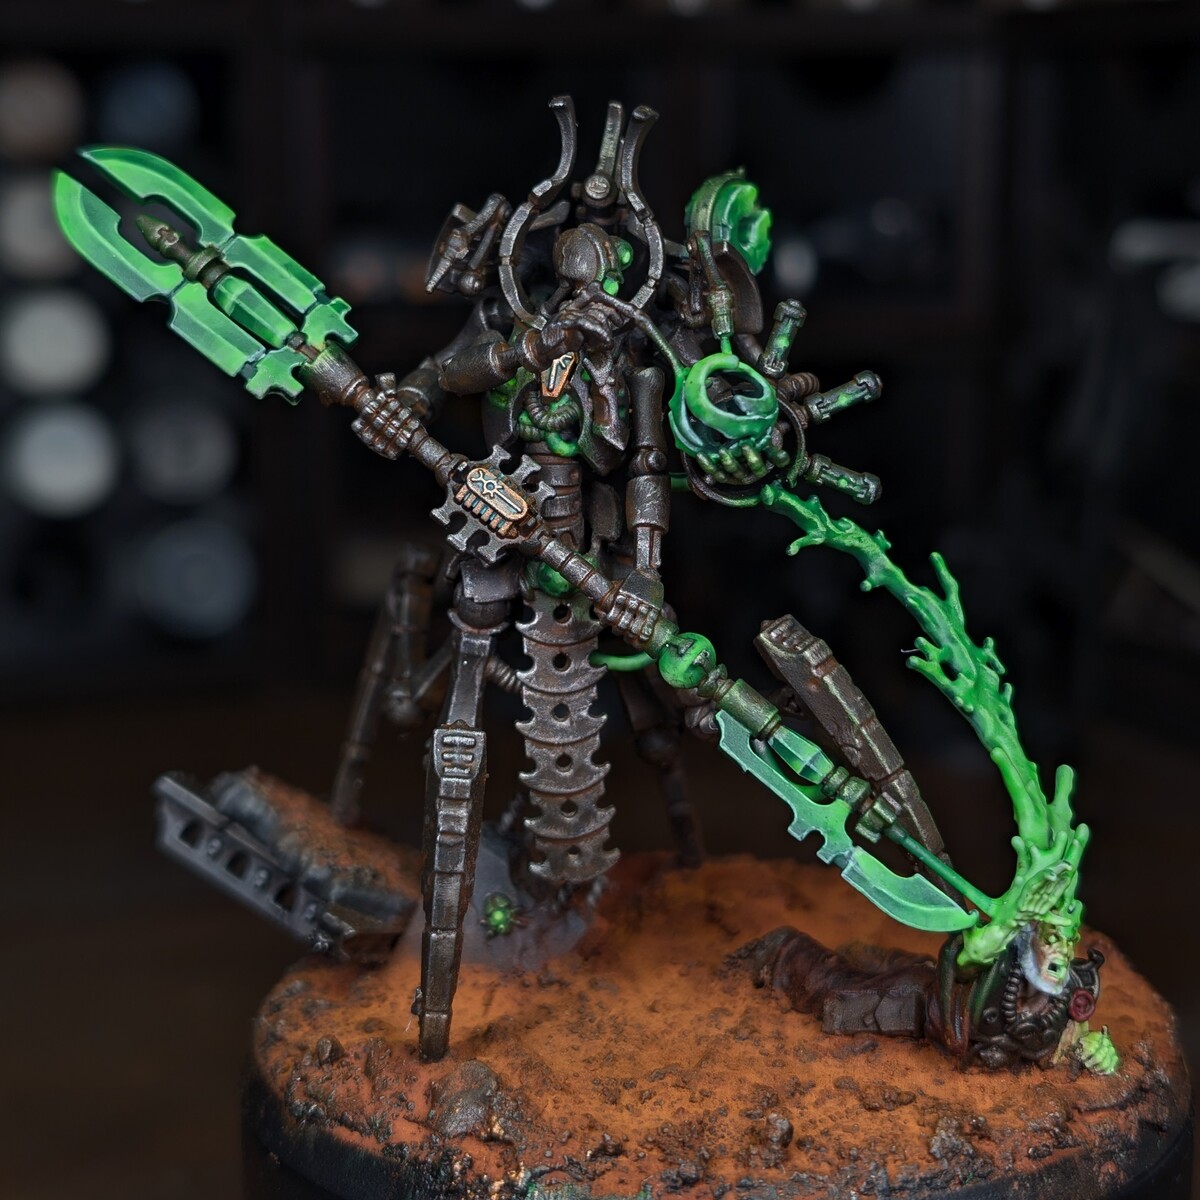
The weapons wielded by the Teratic Cohort are often enchanted, crackling with necromantic energy, rather than appearing as traditional metallic blades.
Basecoat the weapons with Incubi Darkness to give the blades a dark, spectral base near the hilt.
Layer with Kabalite Green on the raised parts of the blade, leaving Incubi Darkness in the recesses and near the hilt.
Highlight the edges of the blades with Sybarite Green, giving the enchanted weapon a vibrant glowing effect as it nears the tips and sharper edges.
Final Edge Highlight with Gauss Blaster Green along the sharpest points and edges of the weapon, creating a bright, ethereal glow.
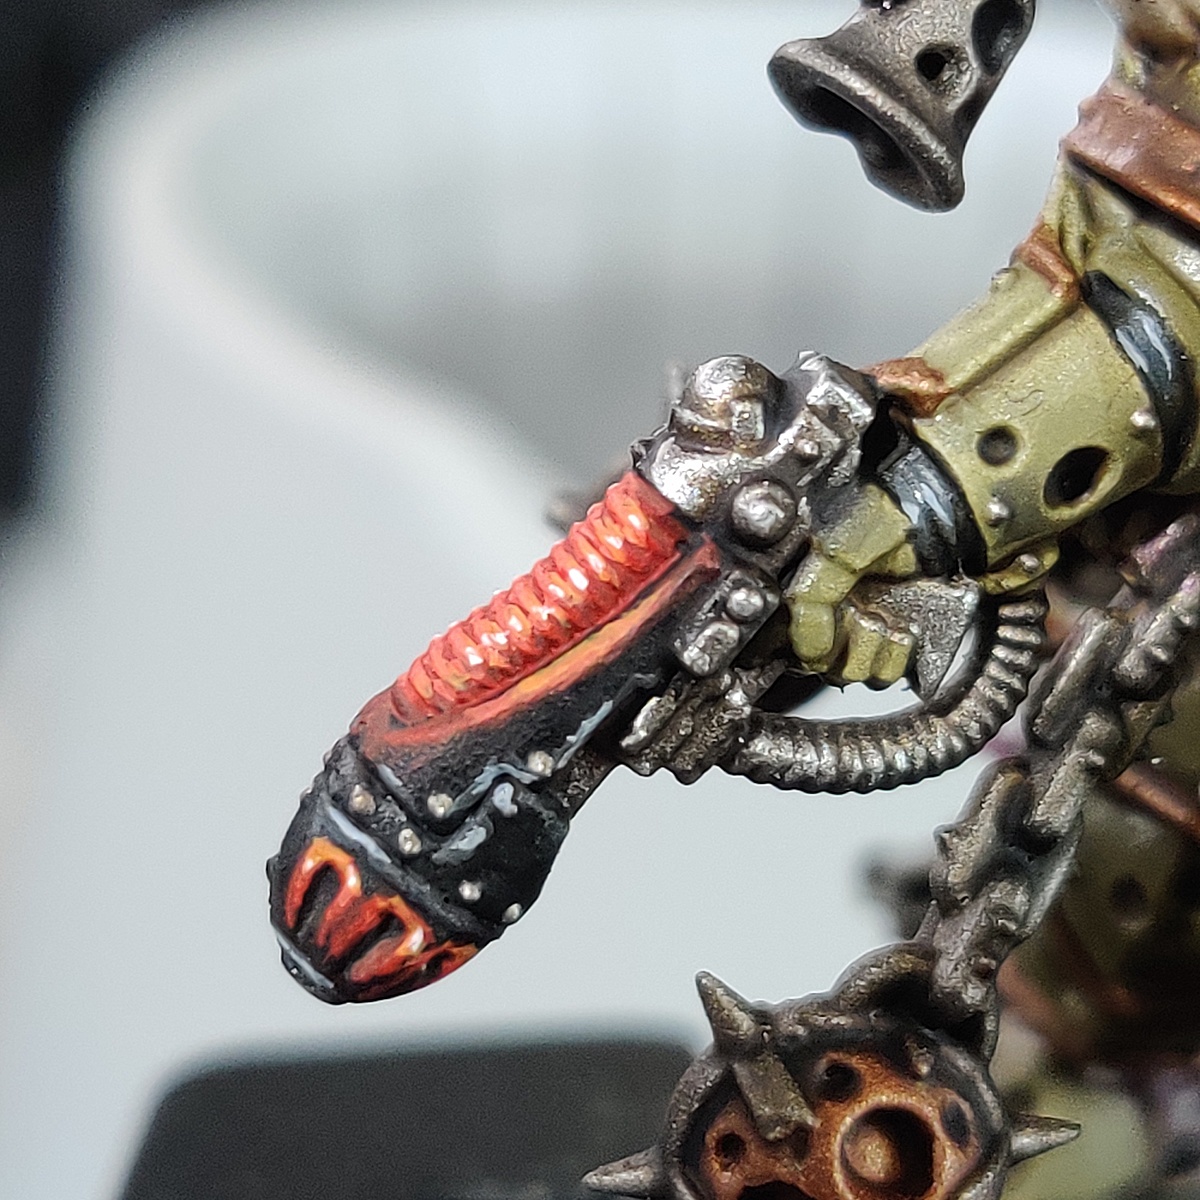
Red Wrapping on the Nadirite Bident
The red wrapping on the Nadirite Bident is weathered but still has a strong, deep tone.
Basecoat with Khorne Red mixed with a little Doombull Brown to give the wrapping a slightly muted, earthy red appearance.
Wash with Agrax Earthshade to darken the recesses and provide a worn, aged look.
Relayer (optional) with Khorne Red mixed with Doombull Brown to restore the raised areas and midtone.
Highlight the edges of the wrapping with Tuskgor Fur. This color provides a softer, more subtle highlight than brighter reds, keeping the wrapping muted.
Optional Glaze: Apply a thin glaze of Reikland Fleshshade to unify the tones and create a more cohesive, worn appearance.
4. Special Effects: Enchanted Weapons and Glowing Elements
Many of the Teratic Cohort’s weapons and armor pieces glow with necromantic energy, especially on the Kavalos Centari’s sword and whip, as well as the Dread Glaives carried by other warriors.
Enchanted Weapon Effect (Dread Glaives and Similar Weapons)
Basecoat the weapon with Incubi Darkness to create a dark, spectral base near the hilt.
Layer with Kabalite Green, focusing on the middle parts of the weapon, leaving Incubi Darkness in the recesses and near the hilt.
Highlight the edges with Sybarite Green to brighten the edges and tips of the weapon, creating a glowing effect.
Final Edge Highlight with Gauss Blaster Green to give the weapon a vibrant, magical glow, especially on the sharpest points.
Glowing Eyes
Basecoat the eyes with Corax White to create a bright foundation.
Layer with Warpstone Glow for a deep, necrotic green glow in the eye sockets.
Highlight with Moot Green, focusing on the center of the eyes to intensify the glowing effect.
Add a small dot of White Scar in the center of the eyes to create the brightest point of the glow.
5. Torn Flesh on the Aviarch Harpy Wings
The torn, fleshy wings of the Aviarch Harpies are decayed and weathered, showing the effects of centuries of undeath. To replicate this effect, we'll use darker reds and purples, creating a bruised, necrotic appearance.
Basecoat: Start with Screamer Pink for the fleshy areas. This muted red with a hint of purple will give a dark, bruised appearance.
Wash: Apply Druchii Violet to shade the wings. This purple wash will create depth in the recesses, giving the flesh a necrotic look.
Layer: Use Pink Horror on the raised, more intact areas of the wings to bring out the flesh details.
Highlight: Apply Cadian Fleshtone sparingly on the sharp ridges and stretched areas of the wings, making the thin, decayed flesh stand out.
Optional Glaze: For added depth, you can apply a thin glaze of Carroburg Crimson or Reikland Fleshshade to unify the layers and give the wings a more organic, decayed appearance.
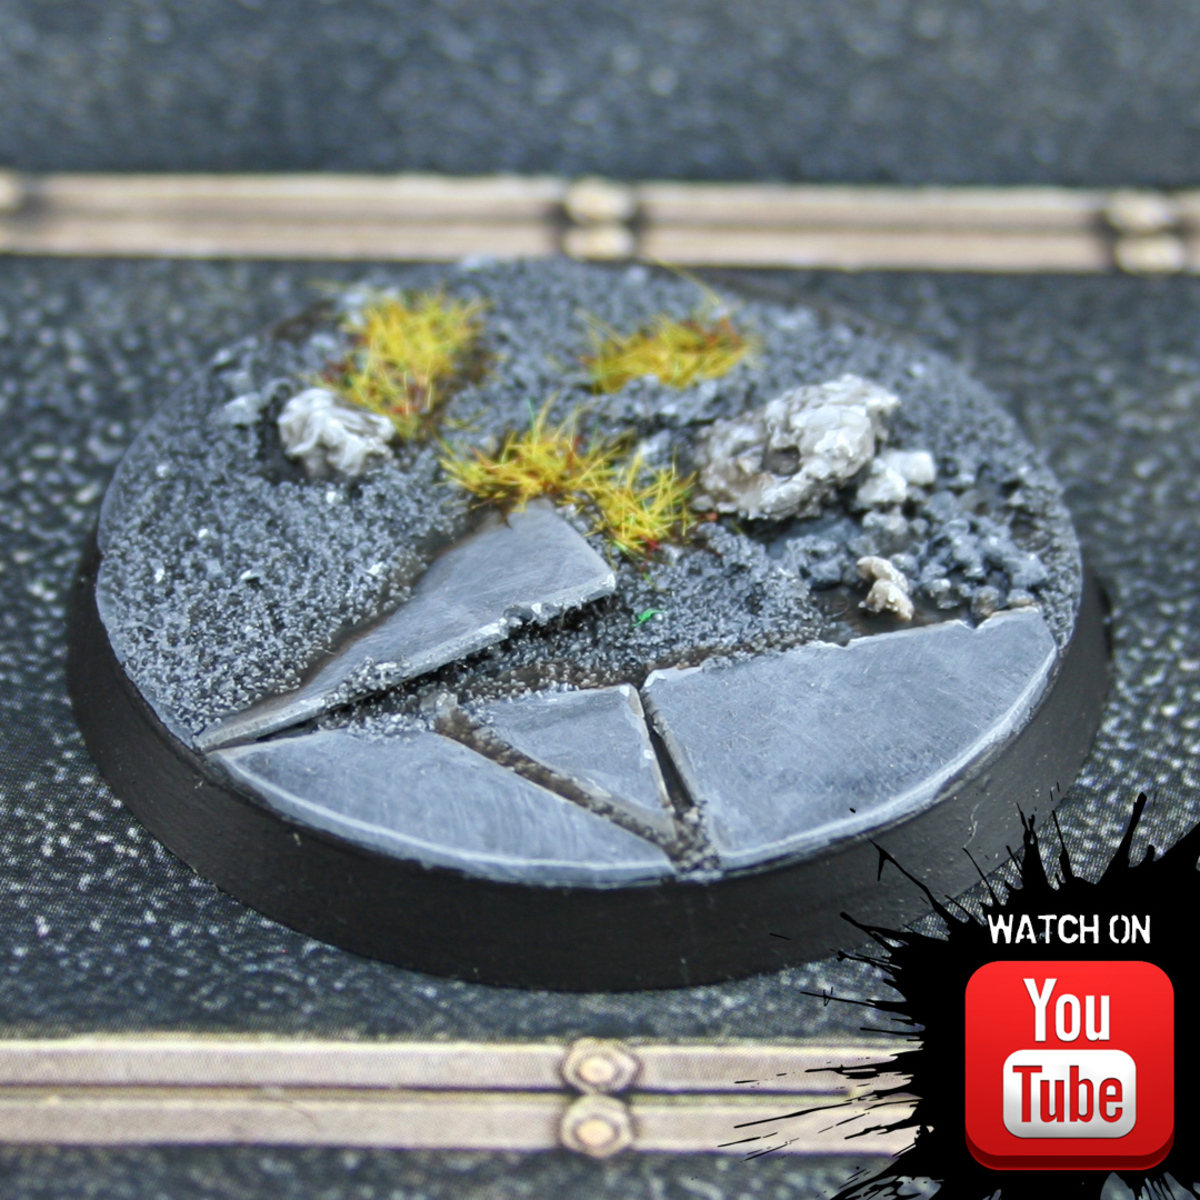
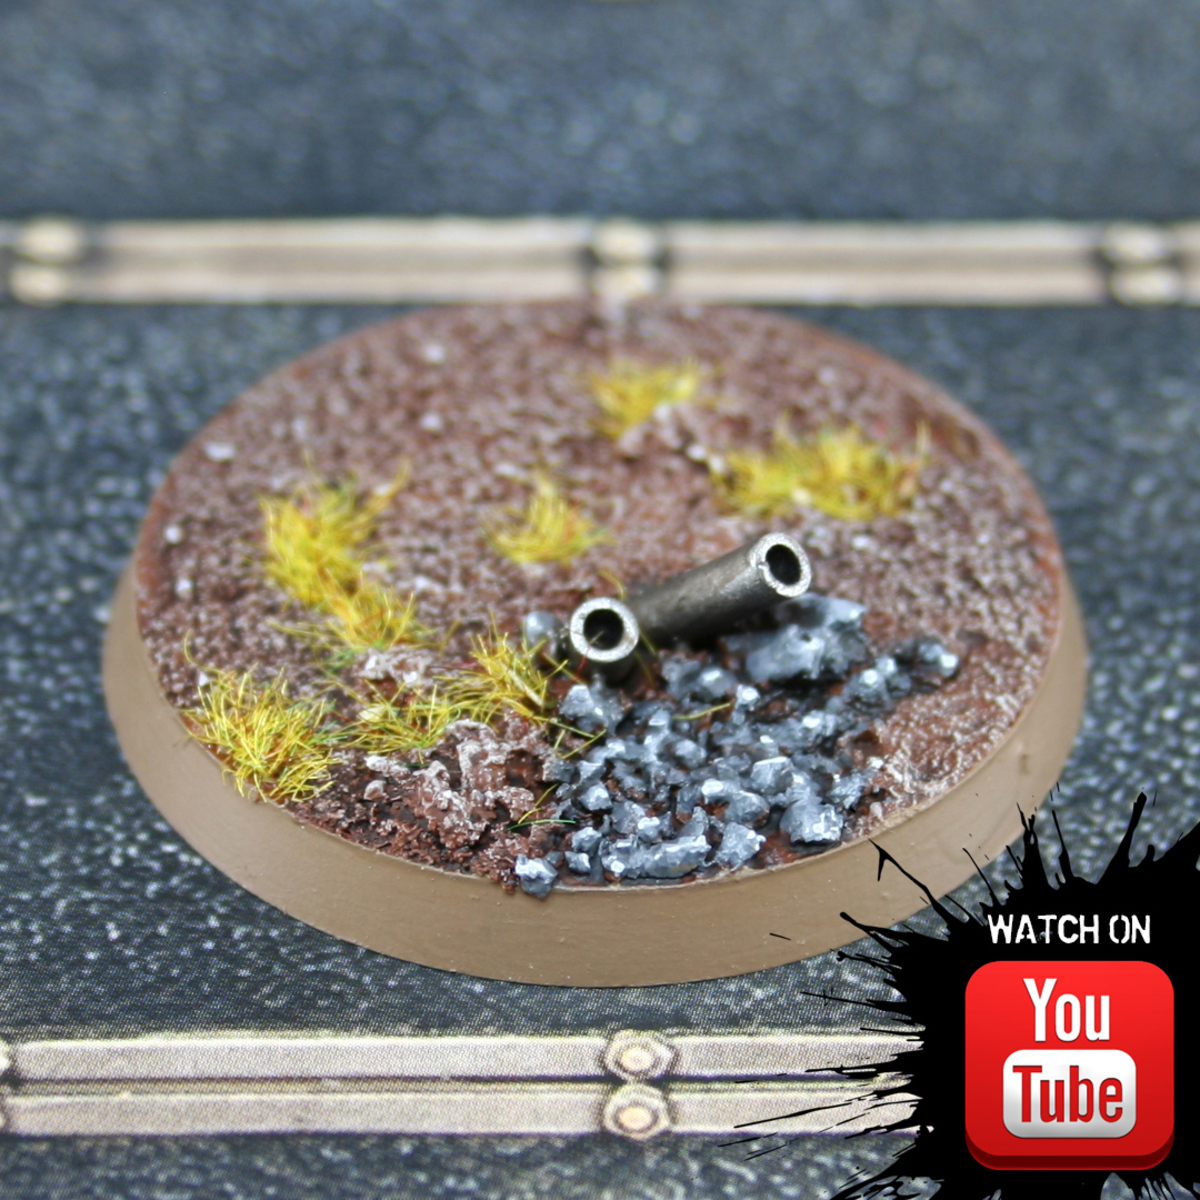
6. Basing
The Teratic Cohort walks the barren, cursed lands of Shyish. Their bases should reflect the desolation of their realm.
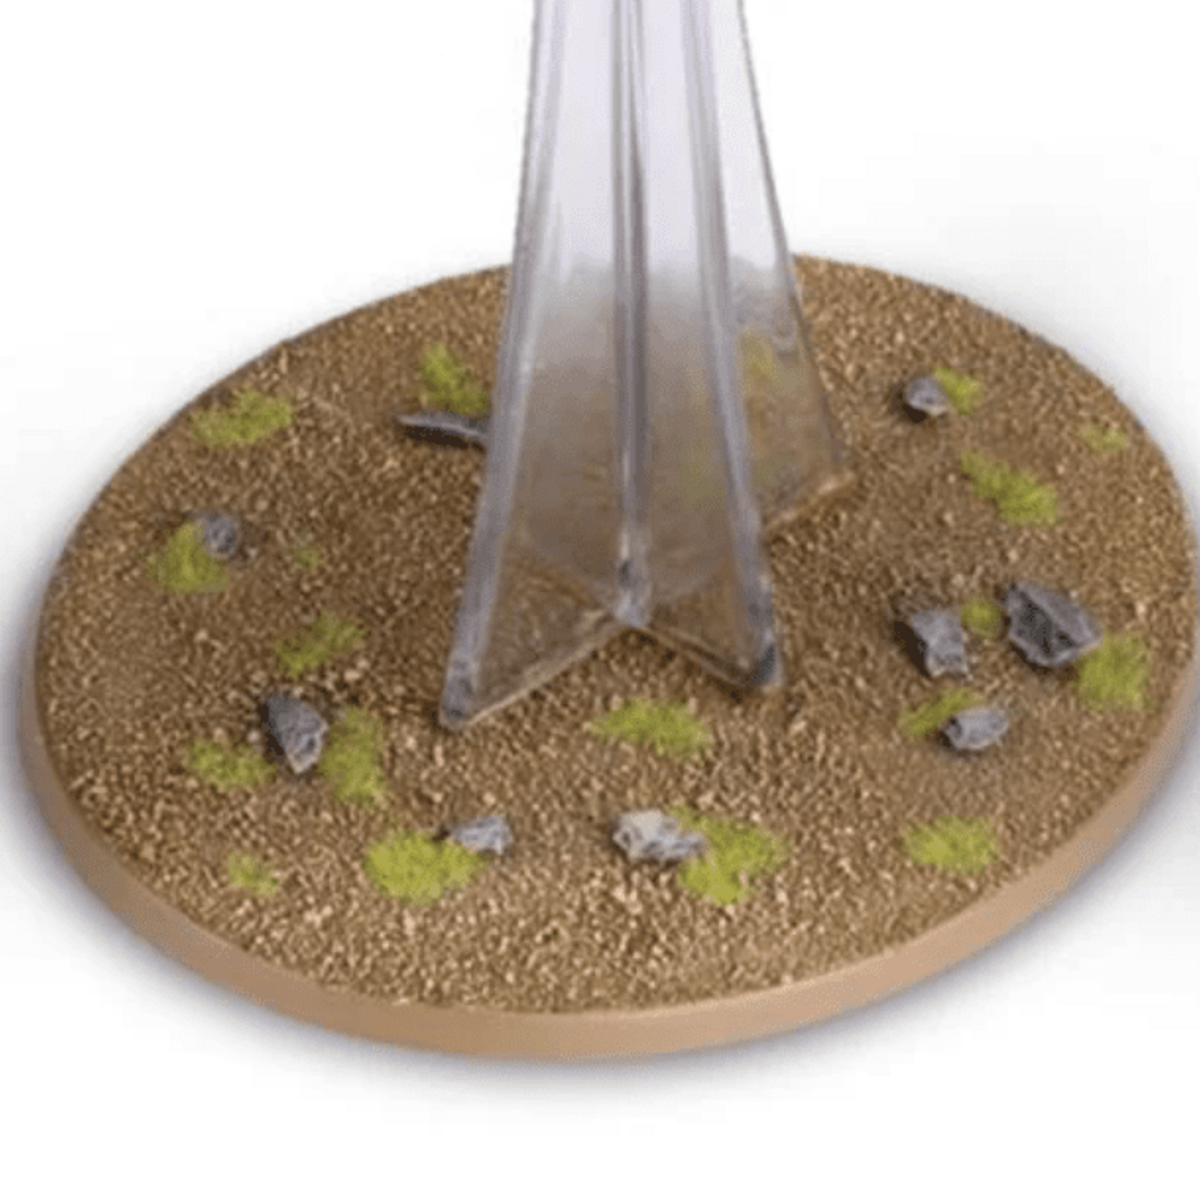
Apply Armageddon Dust texture paint to create a cracked, dry earth effect on the base.
Wash the base with Agrax Earthshade to deepen the cracks and shadows.
Drybrush with Ushabti Bone to bring out the texture and give the ground a dusty, arid look.
Add tufts of Mordheim Turf or similar dry grass for a barren wasteland effect.
This full guide provides step-by-step instructions for painting the Teratic Cohort Warband, ensuring you can achieve an immersive, necrotic look while maintaining a balance between the bone, armor, and enchanted weapons.
