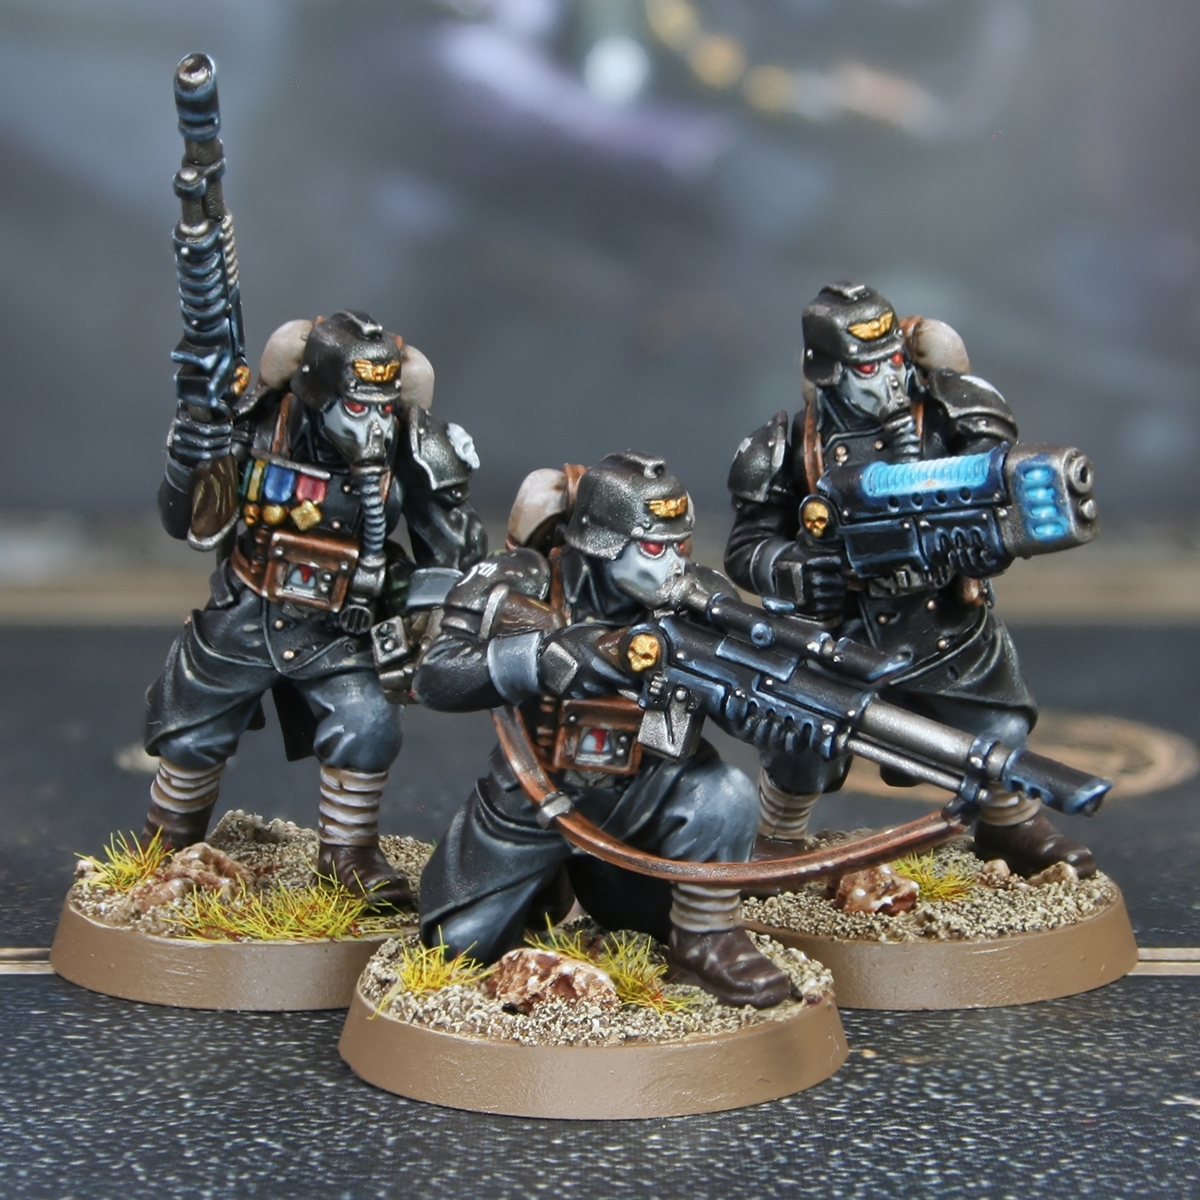
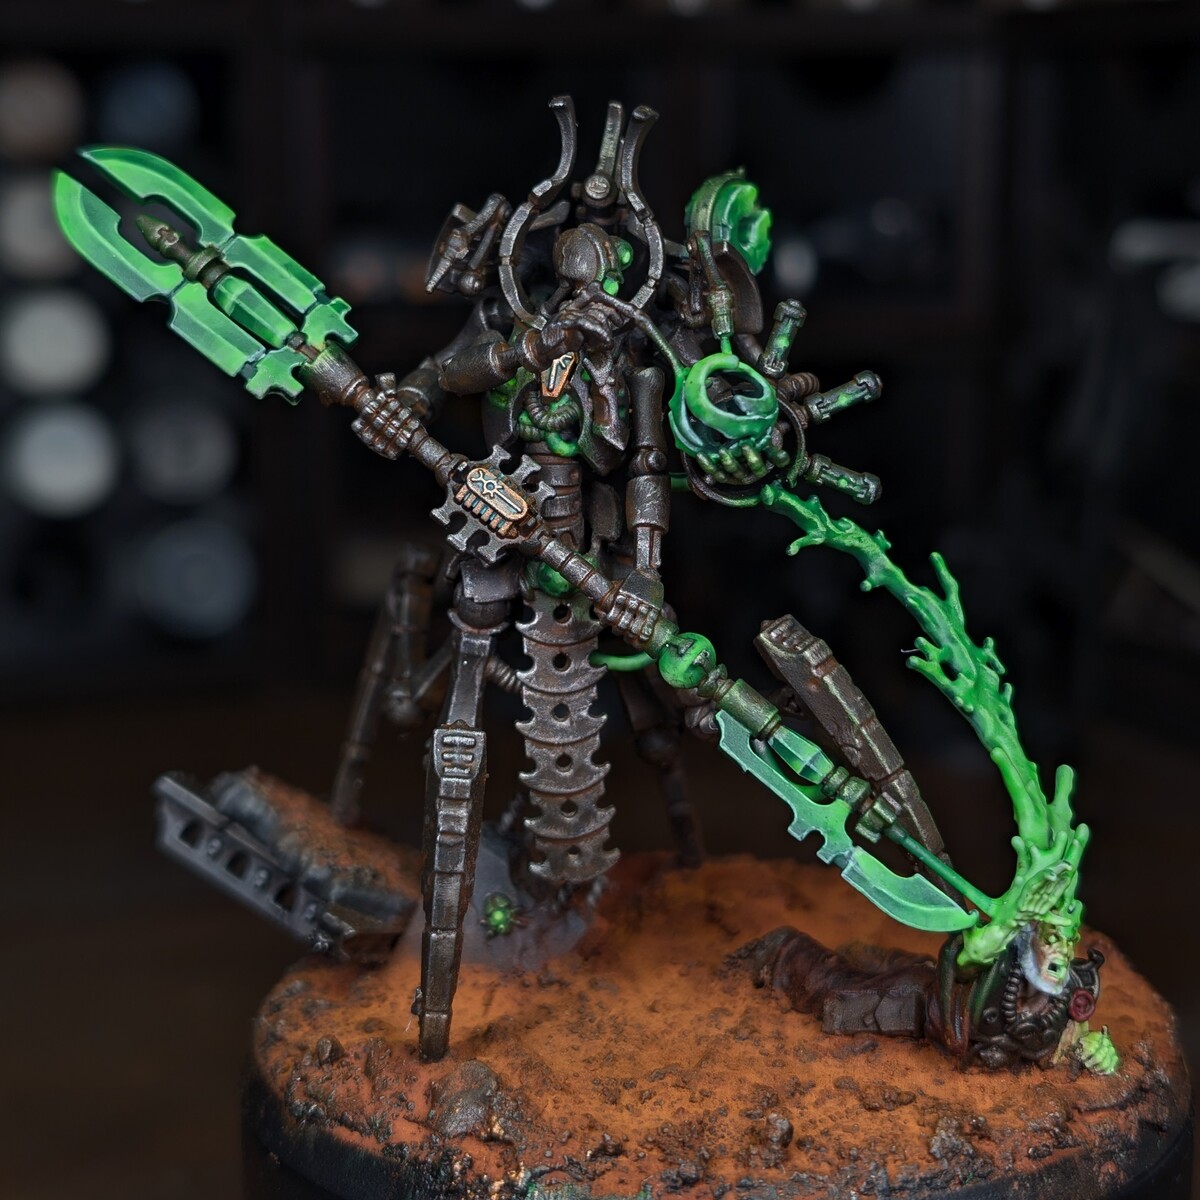
Bright Ultramarines
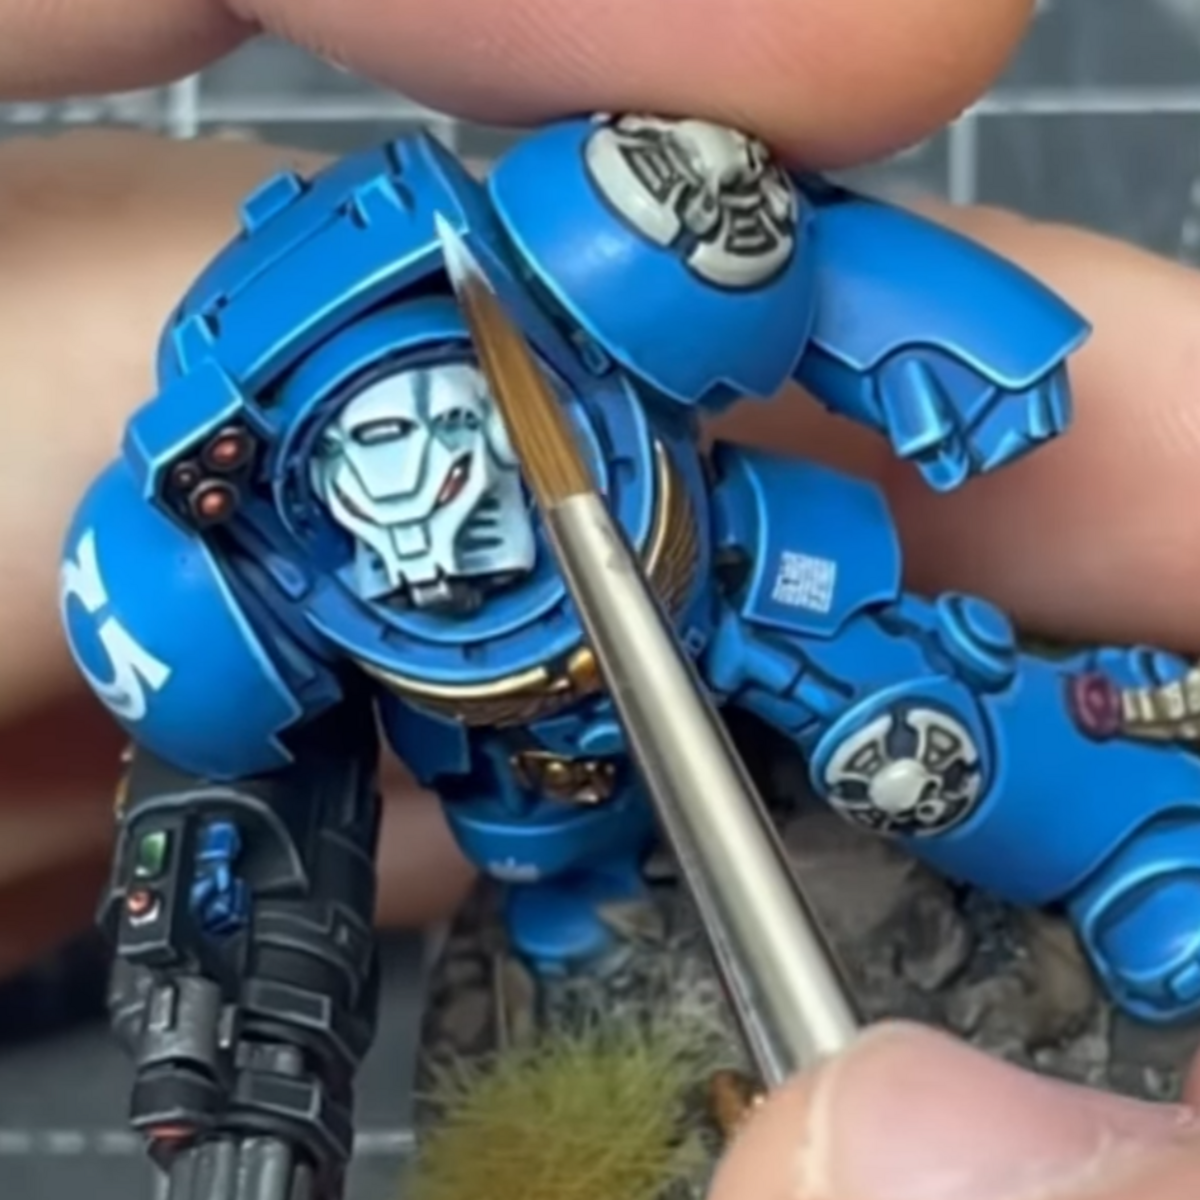
I wanted a brighter Ultramarine than the usual Macragge Blue, something with a lot of colour. These turned out really nicely, pictures to come!
Armour
- Undercoat in Macragge Blue
- Paint thin coats of Teclis Blue until the armour is completely covered.
- Recess shade using Drakenhof Nightshade
- Re-establish the base colour using Teclis Blue
- Edge highlight using Lothern Blue
- Smaller edge highlight using Blue Horror
Shoulder Pads
- Follow the armour steps for the inner panels of the shoulder pads
- For the trim, paint this using the colours of your desired company. I'm going for the 4th company, so I will use Warpstone Glow
- Edge highlight the trim using Warboss Green
- Edge highlight the corners of the trim using Gauss Blaster Green
Eyes
- Paint the eyes with Mephiston Red
- Shade with Nuln Oil
- Re-establish the base colour using Mephiston Red
- Highlight using Evil Sunz Scarlet on the inner corners
- Smaller highlight towards the front of the lens using Wild Rider Red
- Paint a tiny dot of white on the outer corner
Undersuit
- Paint the Undersuit with 2 coats of Black Templar
Aquilla
- Basecoat with Retributor Armour
- Shade with Reikland Fleshshade
- Highlight the outer 2/3rds of the feathers using Auric Armour Gold
- Highlight the very tips of the feathers using Liberator Gold
Leather
- Base coat any pouches, scabbards, etc with Rhinox Hide
- Shade with Agrax Earthshade
- Using Rhinox Hide , make some patchy passes over the leather bits. Make sure to keep some patches of the darker shaded paint
- Do some shaky, patchy, rough edge highlights using Mournfang Brown
- Inside the Mournfang Brown , paint a smaller area of Skrag Brown
- Inside that, paint a very light patch of Ushabti Bone
Purity Seals
- I've chosen to paint purity seals in the company colours
- Paint the seals using Warpstone Glow
- Paint the parchment using Zandri Dust
- Shade everything using Agrax Earthshade
- Paint the edge of the seal using Warboss Green
- Paint the upper edge of the seal using Gauss Blaster Green
- On the parchment, paint the highest points using Zandri Dust again, leaving some shaded areas in the lowest points.
- Highlight the lighter areas using Ushabti Bone
- Highlight a smaller area using Screaming Skull
Weapons
- Paint the casings of the guns using Mephiston Red
- Paint any metallic panels, barrels, etc with Leadbelcher
- Shade the casing using Berserker Bloodshade
- Shade the metal using Nuln Oil
- Highlight the red casing using Evil Sunz Scarlet and then Wild Rider Red . Dot highlight with Fire Dragon Bright
Alternative Helmets
- Sergeant: Mephiston Red & Recess shade with Berserker Bloodshade
- Veteran: White Grey & recess shade with Nuln Oil
- Veteran Sergeant: Mephiston Red with a White Grey stripe. Recess shade the red with Berserker Bloodshade
- Lieutenant: Teclis Blue with a stripe of Mephiston Red with a stripe of White Grey inside that. Recess shade the blue with Drakenhof Nightshade
- Commander: Teclis Blue with Retributor Armour on the forehead skull. Recess shade the blue with Drakenhof Nightshade
Citadel Painting System 27
Base 6
- Leadbelcher
- Mephiston Red
- Mournfang Brown
- Retributor Armour
- Rhinox Hide
- Zandri Dust
Shade 5
- Agrax Earthshade
- Berserker Bloodshade
- Drakenhof Nightshade
- Nuln Oil
- Reikland Fleshshade
Layer 14
- Auric Armour Gold
- Blue Horror
- Evil Sunz Scarlet
- Fire Dragon Bright
- Gauss Blaster Green
- Liberator Gold
- Lothern Blue
- Screaming Skull
- Skrag Brown
- Teclis Blue
- Ushabti Bone
- Warboss Green
- Warpstone Glow
- Wild Rider Red
Spray 1
- Macragge Blue
Contrast 1
- Black Templar
Vallejo Model Color
Base 1
- 70.993 White Grey
.jpg)
