Dynasty name is a WIP.
- Base your necron with Chaos Black or Matt Black .
- When that is dry, use Abaddon Black to cover any areas you may have missed.
- Begin painting armour on the chest, arms, legs, spine, and face with Leadbelcher , leaving the joins unpainted. You can also avoid certain recesses and leave them a pure black colour, such as the eyes or vents in the chest area.
- Paint the blade of the Necron weapon with Leadbelcher .
- When you're satisfied with the previous two steps, begin painting joins and segments of the legs with Boiler Black , and the Carapace on the back of the warrior. If you do not have this colour, you can mix Leadbelcher and Abaddon Black starting with a 1:1 ratio gradually adding more of your black paint until you are satisfied.
- Use Runelord Brass on the gun Heat Sink, and any exposed broken wires on the Warrior. Avoid the wire sleeves.
- Apply Corvus Black to the weapon and any Rippled Wires, and the .
- Use Agrax Earthshade on all areas covered in Leadbelcher , avoiding the blade on the gun. Apply as much as you feel is necessary, ensuring the shade/wash catches damaged segments of the armour.
Use Nuln Oil or Oblivion Black Wash for the blade. - Optional Step: Use Nuln Oil or Oblivion Black Wash for areas covered with Boiler Black .
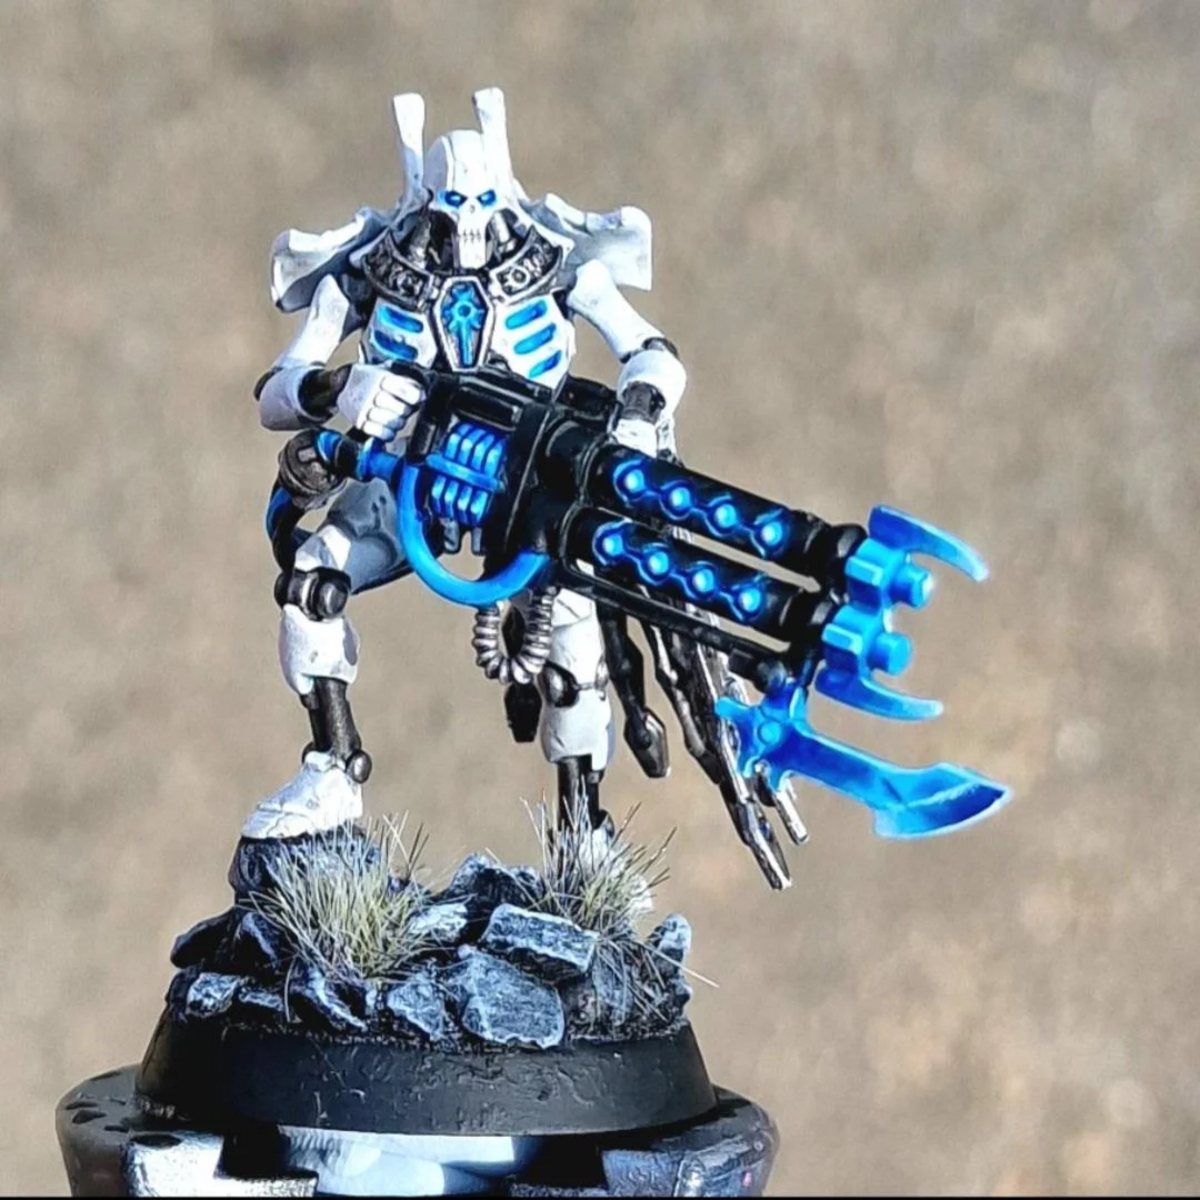
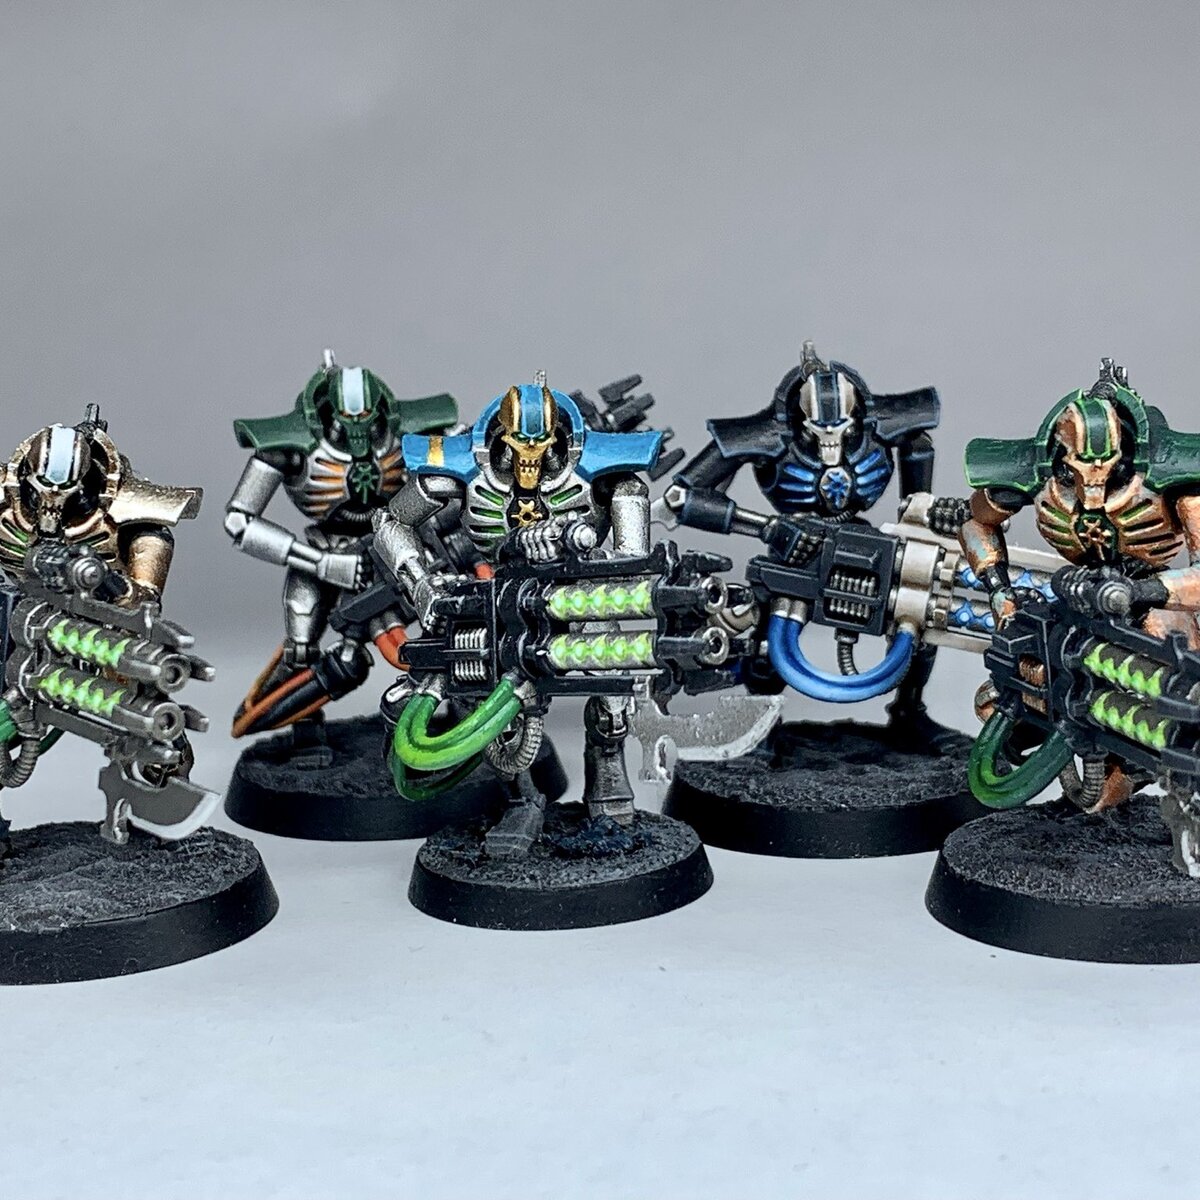
- Paint wires, gun orbs, and Necron eyes with Caliban Green . For optional OSL effects, thin the paint down with water or a chosen medium and paint an area around the light source. It's your choice how large you want to make these effects.
Note: at this stage you're not looking to completely cover the paint underneath. The further away from a light source you are, the lower the intensity of light. Your painting should reflect that. Gradually, as you build on this, the following colours should cover a smaller and smaller area with each step as you get closer to the source. Midwinter Minis and Artis Opus provide good tutorials on this and provide great examples. - Paint wires, gun orbs, and Necron eyes with Kabalite Green . For optional OSL effects, thin the paint down with water or a chosen medium and paint an area around the light source, painting within the area of the previous step, but slightly closer to the light source.
- Paint roughly half of the surface area of wires, gun orbs, and Necron eyes with Warpstone Glow , leaving the previous Kabalite Green to show in some areas. Continuing with the OSL effects, this should cover less area than the previous two steps.
At this point, I would recommend that while applying Warpstone Glow it shouldn't extend too far passed any edges of the eyes or guns. It should spill over a little, but the more vivid green could overpower your work from previous steps. - Add a small amount of Moot Green to wires, gun orbs, and eyes. This should be at the centre. Any edge highlights of surrounding items should be the thinnest and final edge highlight in those areas.
- Optional step: Add a very small dot to the eyes and orbs of the weapon.
Mix very small amounts of Moot Green and Bold Titanium White to create a light green.
OR
Use a thinned Yriel Yellow / Flash Gitz Yellow . - Edge highlight the armour and joints with Canoptek Alloy , avoiding the back Carapace.
- Thinly edge highlight the Carapace with Liberator Gold .
- Paint the small Icon on the chest with Liberator Gold .
- Edge highlight the Corvus Black areas of the model with Fenrisian Grey .
- Basing Time!
Slap some Astrogranite on the base and leave to dry. - Paint dried texture paint with Abaddon Black . Lightly drybrushing with Fenrisian Grey
- The rim of the base can be painted however you want. I have tried Caliban Green but it will take a lot of coats.

Citadel Painting System 17
Base 5
- Abaddon Black
- Caliban Green
- Corvus Black
- Leadbelcher
- Runelord Brass
Shade 2
- Agrax Earthshade
- Nuln Oil
Layer 7
- Canoptek Alloy
- Fenrisian Grey
- Kabalite Green
- Liberator Gold
- Moot Green
- Warpstone Glow
- Yriel Yellow
Texture 1
- Astrogranite
Air 1
- Flash Gitz Yellow
Spray 1
- Chaos Black
Colour Forge
Base 1
- Matt Black
Formula P3
Metallic 1
- Boiler Black
Monument Hobbies Pro Acryl
Base 1
- 001 Bold Titanium White
Two Thin Coats
Wash 1
- Oblivion Black Wash

.jpg)