
Here is how I am painting my Necron scenery to make it look like catacombs on a Tomb World. I tried to make the process pretty quick and easy to apply to all of the different bits in the box.
Black Stone
- First, I primed the scenery with Chaos Black , ensuring that I get good coverage. This will act as most of the basecoat too, so dont worry about going a little heavy.
- Go over all of the scenery again with a thin coat of Abaddon Black . This is to make sure we have a consistent colour over all of the model.
- Give all of the black portions a fairly heavy drybrush of Skavenblight Dinge .
- Drybrush the black area again with a lighter pass of Stormvermin Fur .
- Take some Stormvermin Fur and add a small amount of pure white (like Vallejo Dead White ) and add small selective highlights to points and corners. I wasnt too strict with ratios, bit I did mine about 4:1.
- Mix Stormvermin Fur and white again, this time around 1:1 and add specular highlights to points and the centre of the last stages highlights.
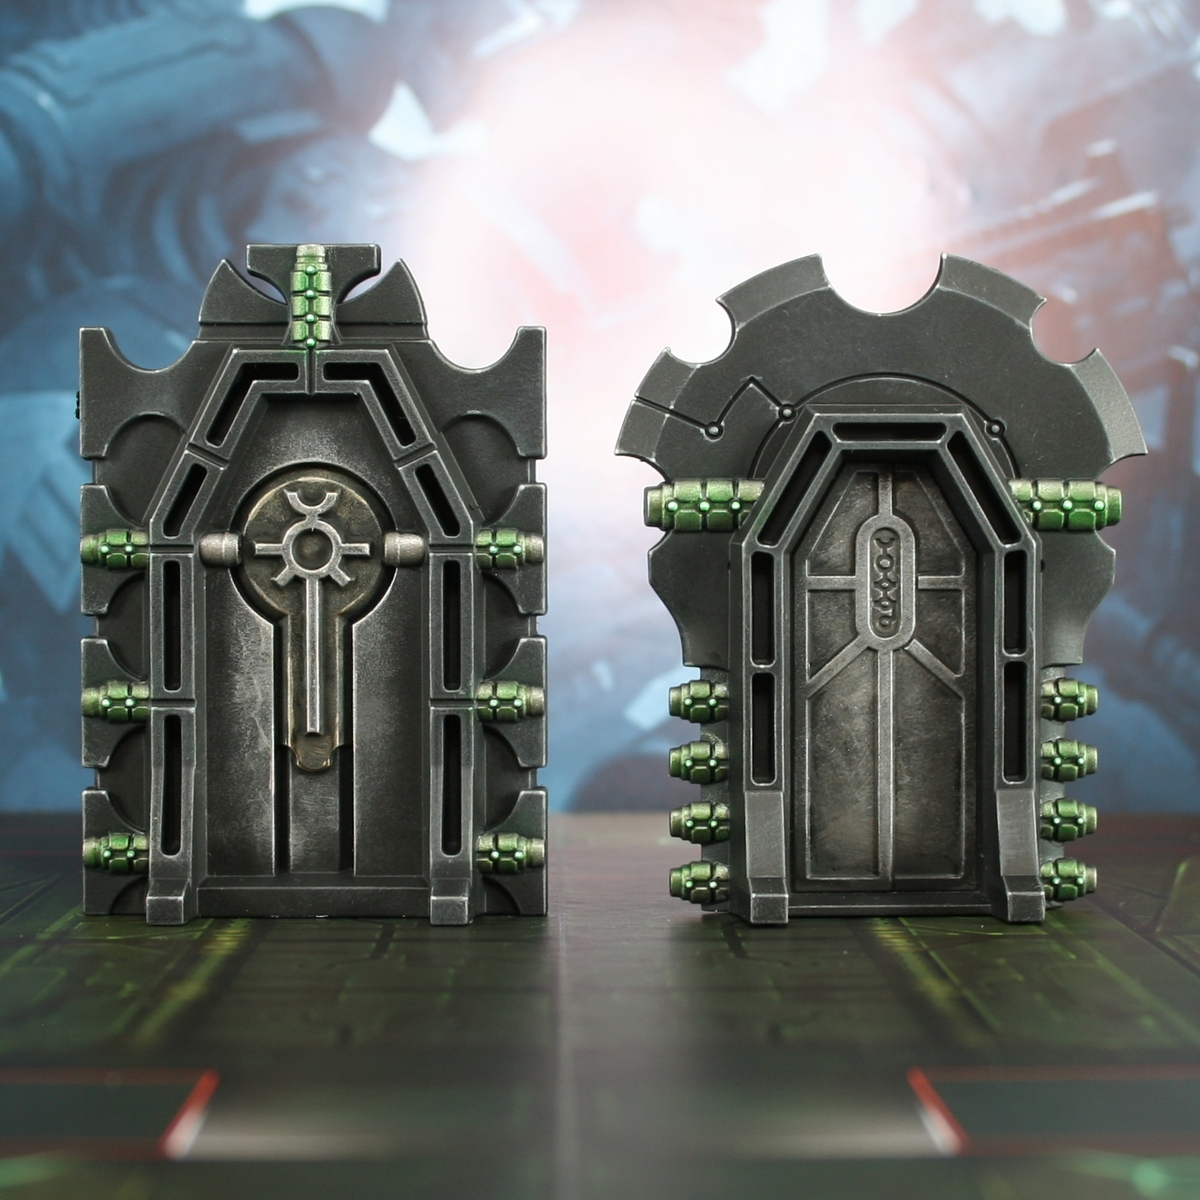
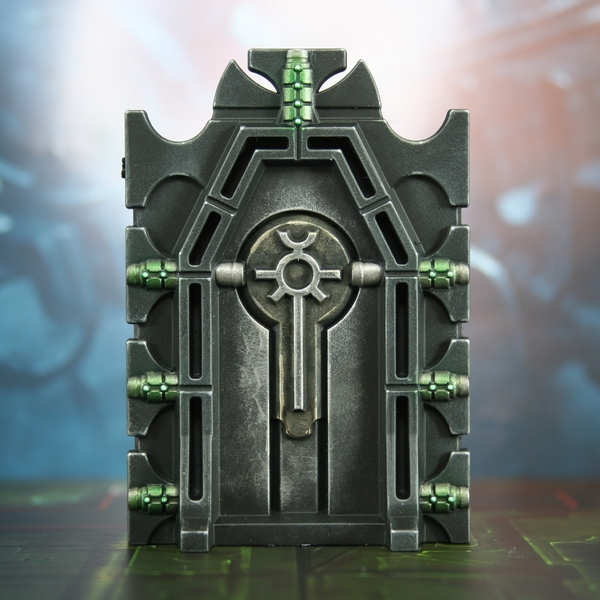 Weathered Metal (Doors)
- Drybrush Gunmetal Grey fairly heaving over the Abaddon Black basecoat from earlier, picking out all raised detail and adding texture to the flat surfaces.
- Drybrush a little lighter with Duraluminum . I stuck to corners and edges where the above drybrush took really well, to add definition.
- Now add final small highlights of a lighter metal like Chrome . I just pick out corners and very pronounced details.
- I was tempted to call the doors done, but some parts of the doors looked a little too uniform, so I glazed certain panels with Seraphim Sepia to add some visual interest.
Metal Conduits/Additional Details
- Basecoat with Leadbelcher .
- Wash with Nuln Oil .
- Drybrush lightly with Necron Compound .
Glowing Green Details
- Basecoat with a pure white (I like Vallejo Dead White ).
- Apply Warp Lightning over the white, either with an airbrush or in a thin layer.
- Apply a small highlight with Vallejo Fluorescent Green . Again, this highlight can either be added with an airbrush or picked out with a detail brush.
- If the above step called for a large highlight, feel free to bring it up to a pure white again, toward the point where the light would be emitted.

Rookie Brushes
RookieBrushes
Aspiring miniature painter and biscuit enthusiast. Here to share my hobby and help where I can.
Citadel Painting System 9
Base 2
- Abaddon Black
- Leadbelcher
Shade 2
- Nuln Oil
- Seraphim Sepia
Layer 2
- Skavenblight Dinge
- Stormvermin Fur
Dry 1
- Necron Compound
Spray 1
- Chaos Black
Contrast 1
- Warp Lightning
Vallejo Metal Color
Base 3
- 77.702 Duraluminum
- 77.707 Chrome
- 77.720 Gunmetal Grey