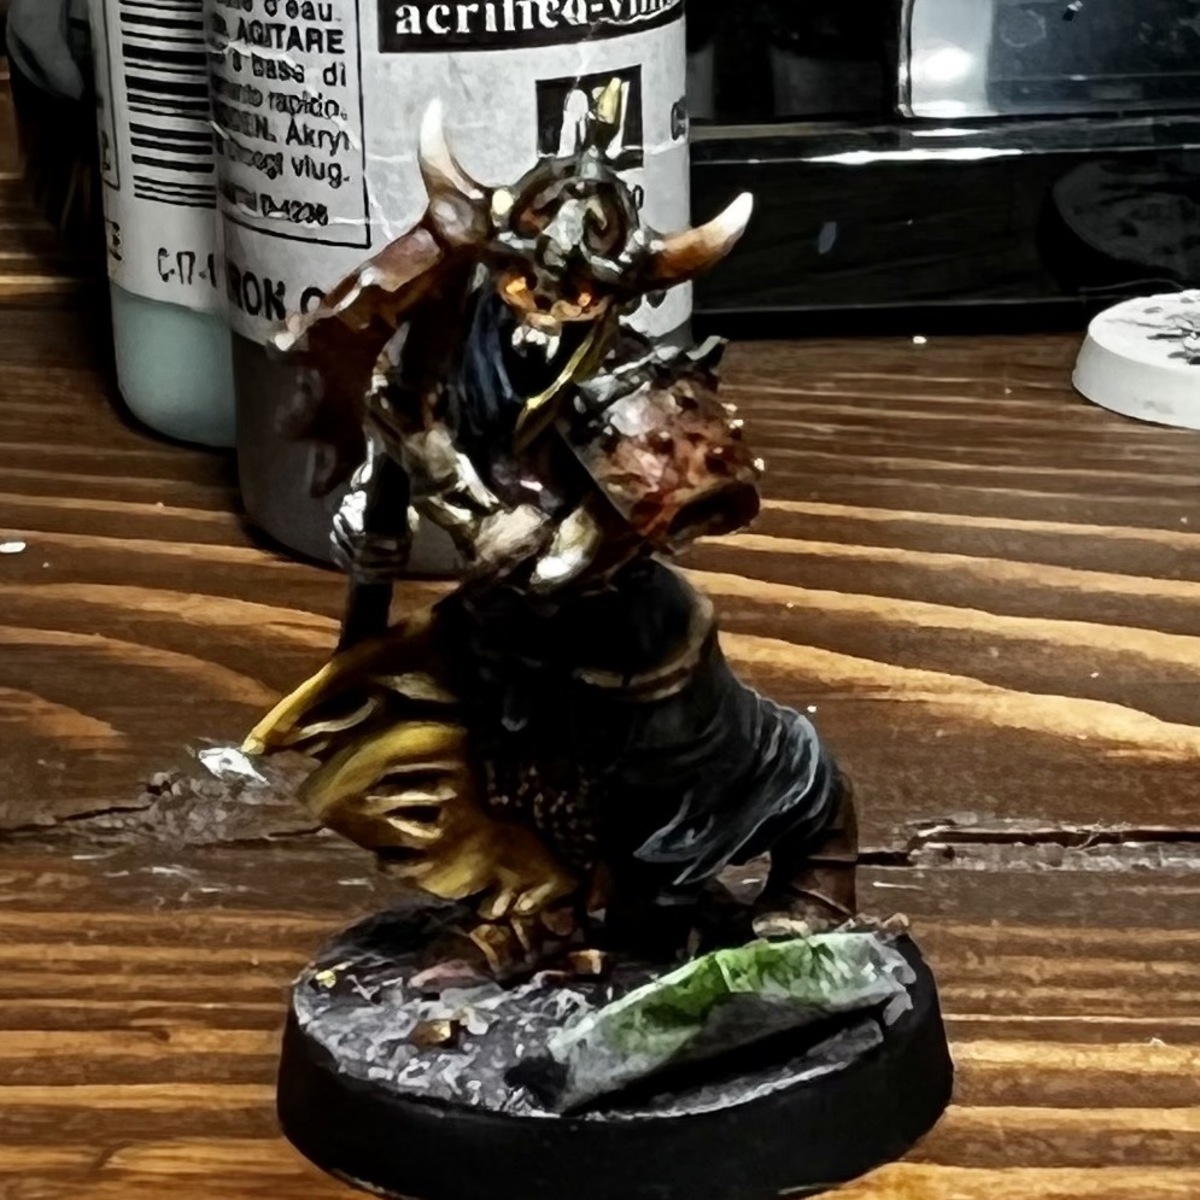
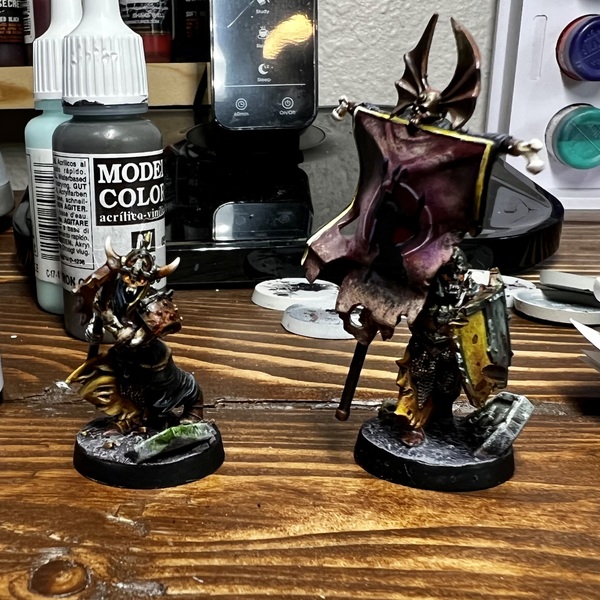
 Soulblight Grave Guard
Armor
- Base coat the armor with a darker metallic, such as Gunmetal Grey .
- In the following steps, we'll be doing a series of glazes, using the brush to push the glaze towards cracks and crevices. At various points, it may look too red or bright, but it will get dulled down in the later steps.
Using a purple like Magos Purple , glaze across the metallic armor into crevices where rust would form. - Repeat the above step using a red/orange, such as Scarlet .
- Repeat the above step using a more pure red, such as Red RLM23 .
- Repeat the above step using a more darker, browner red, such as Hull Red .
- Repeat the above step, but mix in some black into the Hull Red .
- Repeat the above step, using a drab green like Olive Brown . This will dull down some of the red tones and add some flatness to the rust.
- If desired, you can use some thinned down Dirty Down Rust across the rustier areas to really play up the rust.
- Take the original metal color and add some metallic back into edges or areas where the rust effect has been overdone.
- Once everything is dried, you can take Orange Brown and stipple it across the armor to add some obvious orange rust spots.
- You can also add obvious rust spots with either small dots of Dirty Down Rust. You can make it pop even more by adding dots of off-white to the armor, and then cover them with Dirty Down Rust.
Armor Trim
- Use Decayed Metal to the trim of the armor. Use two coats if necessary.
- Highlight the upper portions of the trim with Old Copper .
- Use Moonstone Alchemy on the edges of the trim to make it pop.
- Use Dirty Down Verdigris in recesses, corners, and other areas to add a verdigris effect. Thin it out with water to make it less pronounced.
- Use Verdigris in the middle of the Dirty Down Verdigris to add a few popping areas of verdigris. Using your brush, drag the verdigris down to streak it where gravity would pull on it.
- Using Decayed Metal and Old Copper , add some metallics back in if the verdigris weathering was overdone.
- Use Armor Wash along the edges of the trim to add definition between the armor plates and the trim.
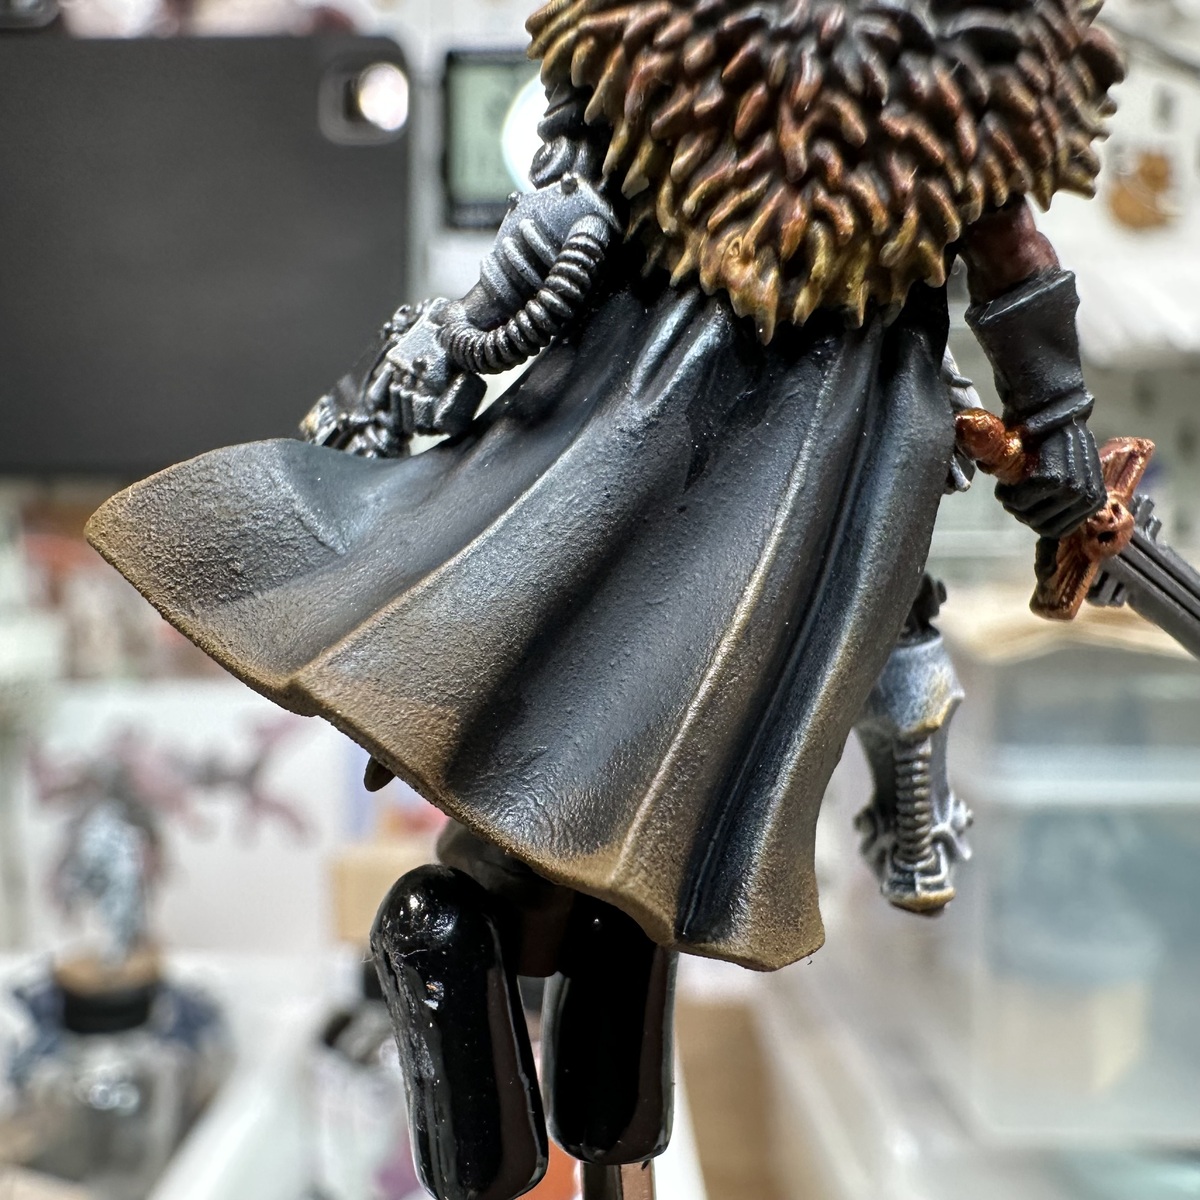
Fabric
- Use a few coats of thinned down Hull Red to base coat the fabrics until you have a darker, saturated fabric.
- Do a value sketch with successive dry brushes, mixing in more Ivory into the Hull Red each coat until you get to pure ivory. Finish with a very light dry brush of white.
- Apply Iyanden Yellow to the left half of the fabric, using your brush to move it around and ensure it doesn't pool anywhere.
- Use Yellow Ochre and Ice Yellow to push the cloak's highlights.
- Use Black Templar on the other half of the fabric.
- Dry brush with Oxford Blue to highlight the black fabric.
- Using Black , draw a thin line dividing the yellow and black portions of the fabric.
Weapons
- Using a rotary tool, take some chunks out of the weapons, drill holes, etc. Imagine the rust eating away at the weapon.
- Base coat with Sunny Skin Tone . Complete coverage isn't necessary, and some patchiness might be helpful for the later steps.
- Blotch on some Martian Ironearth or other texture/crackle paint onto parts of the weapon you want to appear extra rusty. Let all of this dry completely.
- Using thinned Dirty Down Rust, completely coat the weapon to give it a completely rusted out appearance. After this dries, you can add more coats to enhance the rust effects in some areas.
- Once it is dry, you can also add some dots of Dirty Down Rust to add some additional texture.
- Take your Gunmetal Grey and add some metallic hints to edges.
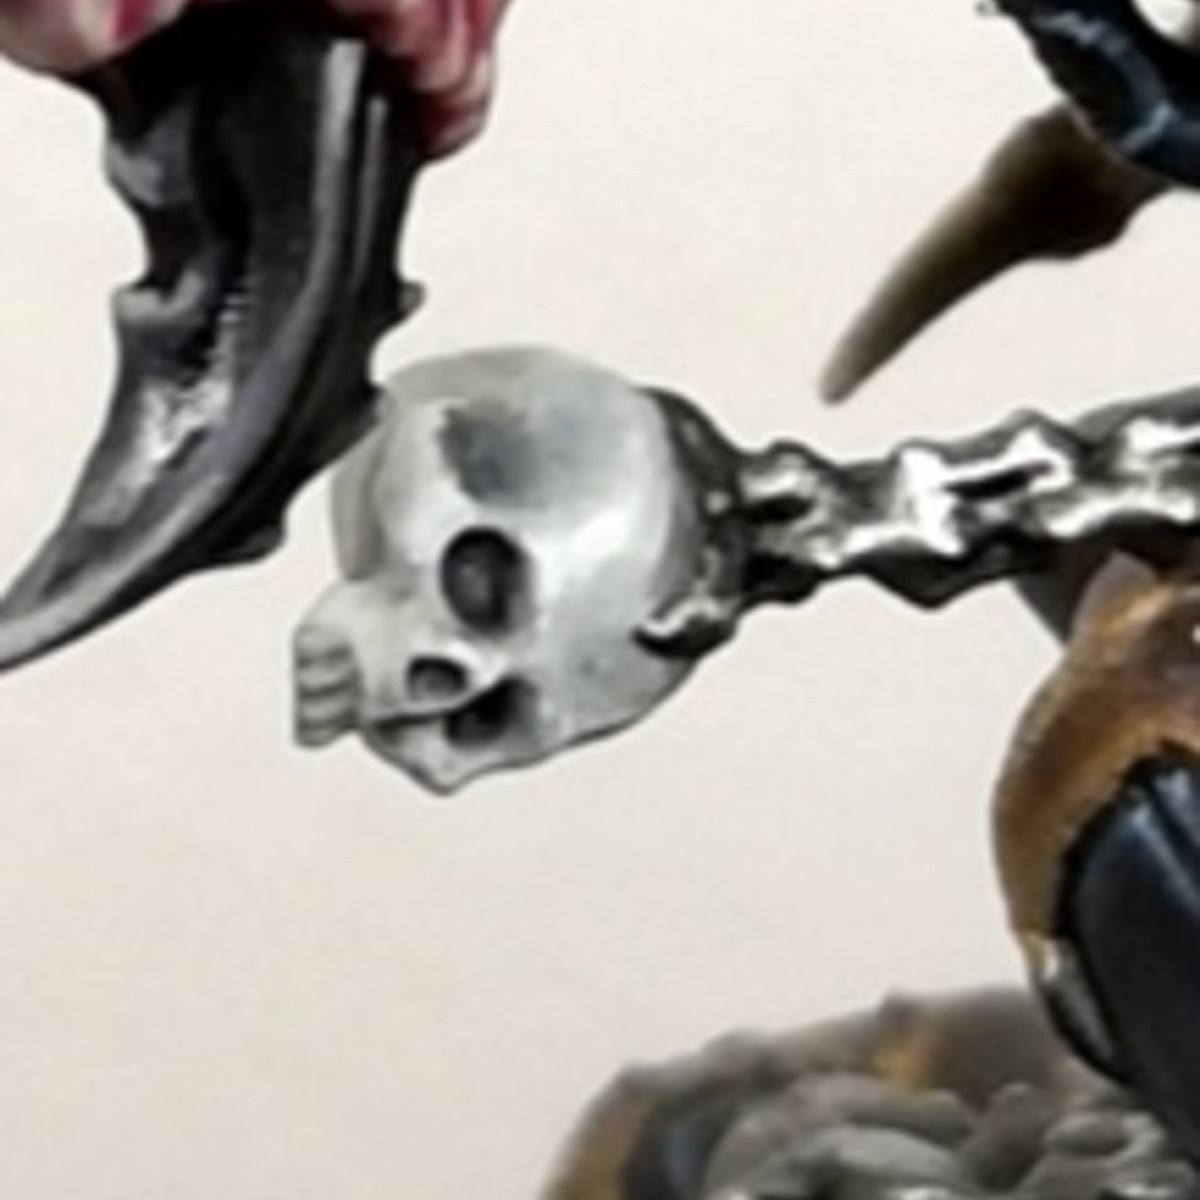
Bone
- Base coat the bone with Ivory .
- Use Olive Brown on the downward facing areas of the bone to add some shadow and differentiate the lower reaches of the bone.
- Coat the bones with Skeleton Horde .
- Use something like Armor Wash into the crevices to add a darker, blacker tone to the crevices.
- Highlight the bone back up with Ivory .
- Using Skeleton Horde as a glaze, draw it into the direction of shadows along the bones.
- Paint the eye sockets with White and then a 50/50 mix of Mars Orange and Hull Red to give the eye sockets a dark, orange/red hue.
- Add a dot of White into the middle of the eye socket.
- Cover the dot of white with Asteroid Fire, a Scale 75 orange fluorescent similar to Orange Fluorescent .
- Use a thinned Mars Orange around the edges of the eye sockets to complete the glowing eye effect. You should end with a bright, fluorescent point of orange light in the middle of the socket, a dark red/orange around the light in the socket itself, and then a brighter orange around the eye. Brightest-dark-bright.
Contrast
4
-
Black Templar
-
Iyanden Yellow
-
Magos Purple
-
Skeleton Horde
Scalecolor
2
-
SC-00
Black
-
SC-39
Mars Orange
Metal n' Alchemy
3
-
SC-87
Decayed Metal
-
SC-88
Old Copper
-
SC-94
Moonstone Alchemy
Base
10
-
70.807
Oxford Blue
-
70.817
Scarlet
-
70.845
Sunny Skin Tone
-
70.858
Ice Yellow
-
70.889
Olive Brown
-
70.913
Yellow Ochre
-
70.918
Ivory
-
70.951
White
-
70.981
Orange Brown
-
70.985
Hull Red
Fluorescent
1
-
70.733
Orange Fluorescent
Sign up to compare these recipe requirements to your own paint collection