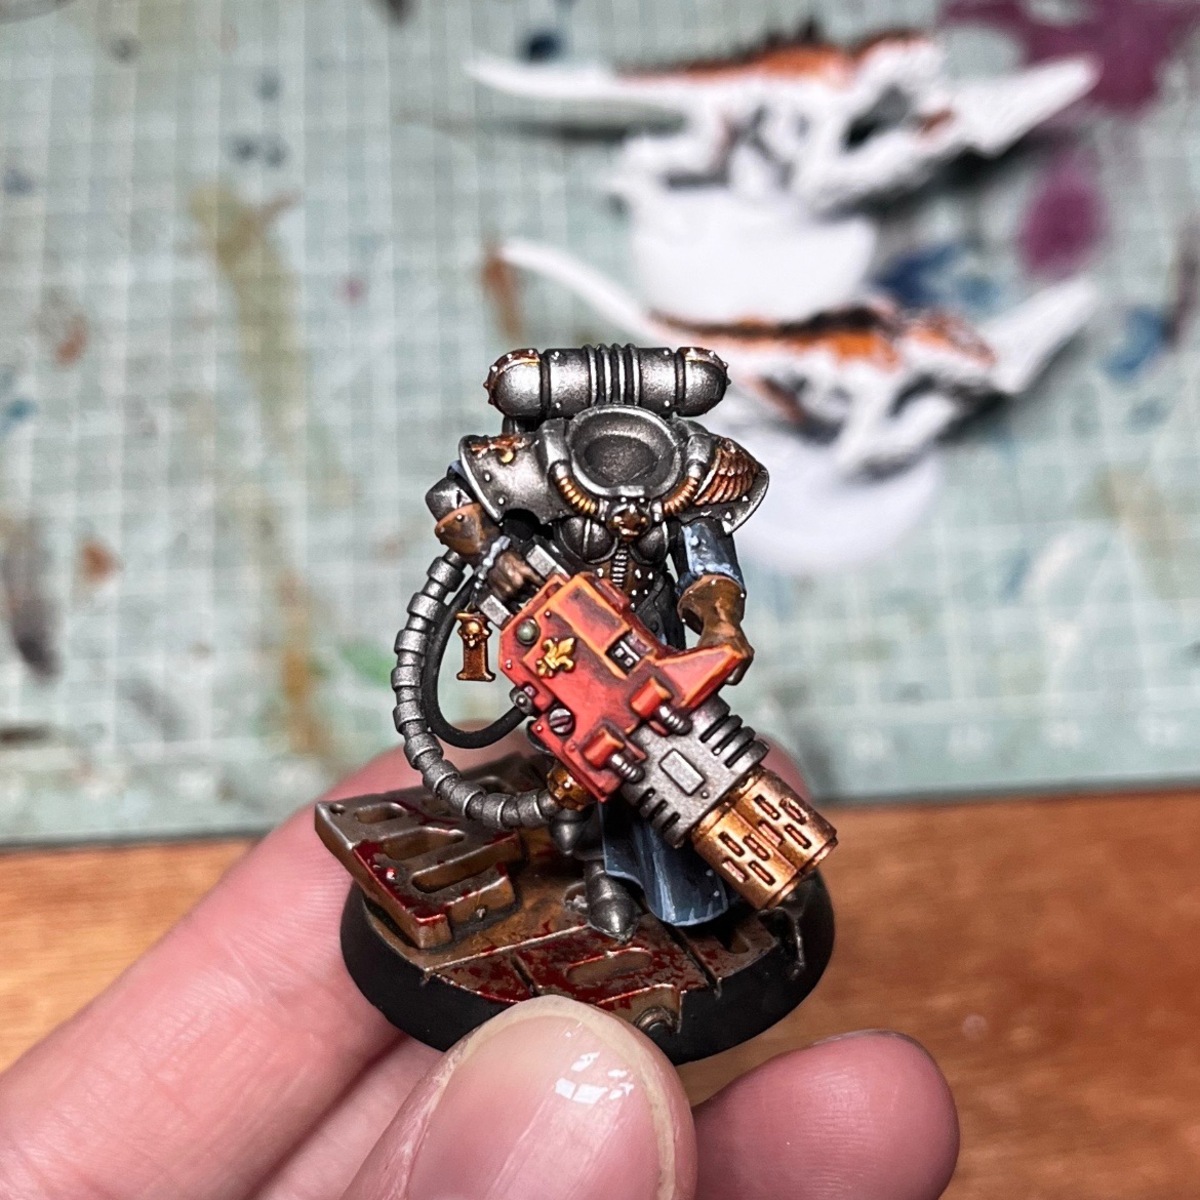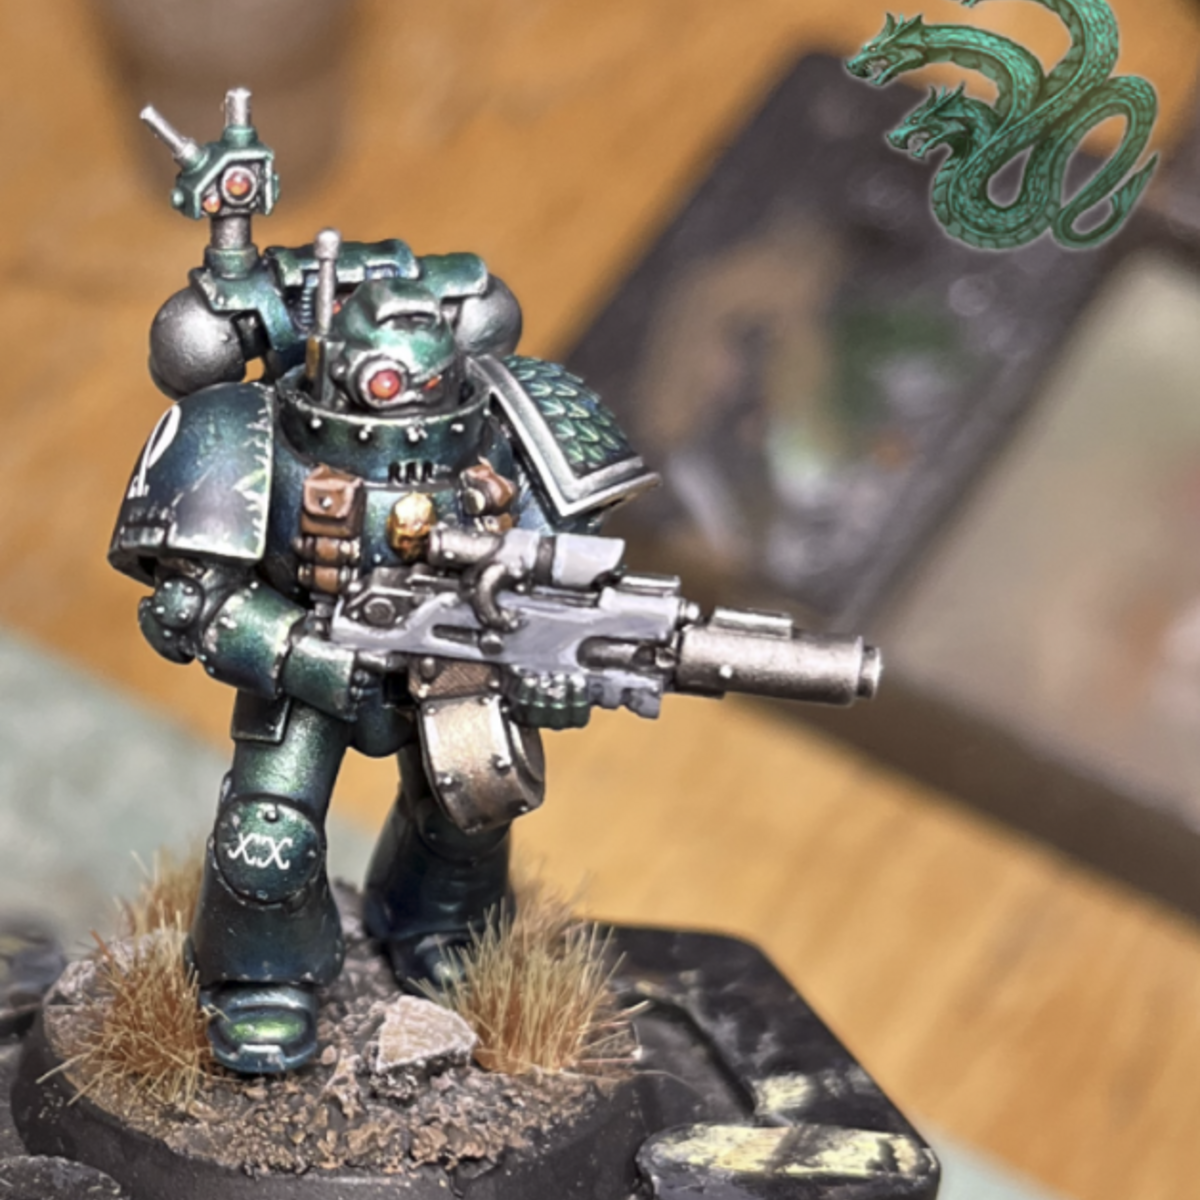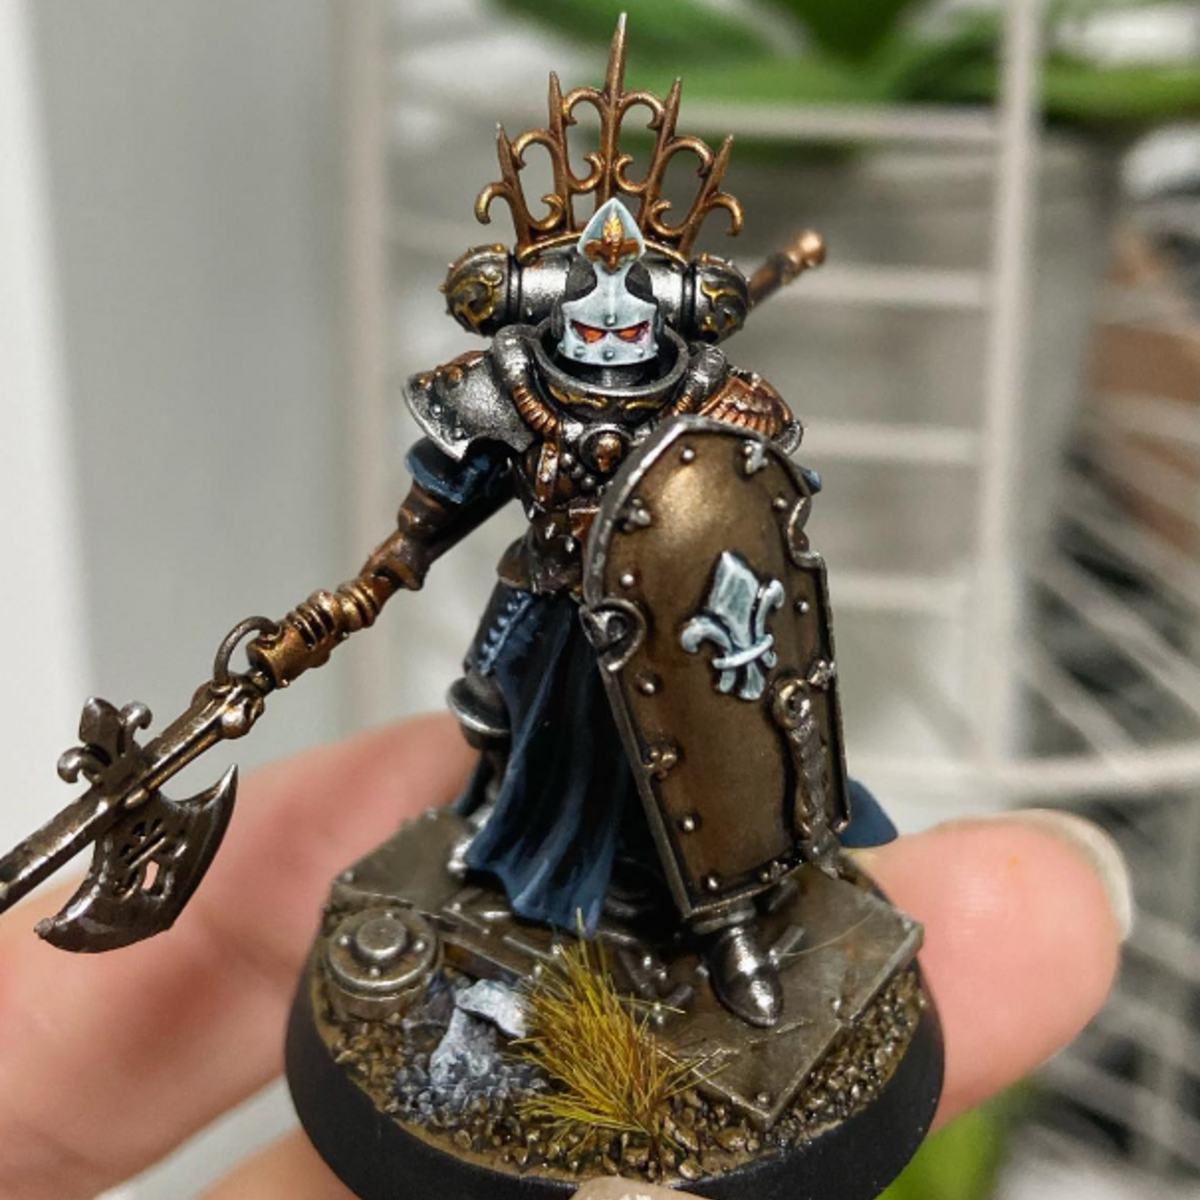
Here's my paint scheme for my custom Bloody Rose order minoris, Order of the Thorn. Particularly for the Celestian Sacrosancts.
SILVER POWER ARMOR
I've given you the option of two different methods (Steps 5 and 6), so experiment with them both and see which you prefer. Drybrushing will be quicker and easier, but layering gives you more control. If you drybrush, make sure you shake up your Runefang Steel well! Cloudy unshaken silver will ruin the effect.
- Spray Colorforge Silver or Leadbelcher
- Drybrush POWER ARMOR parts very lightly with Warplock Bronze
- Wash all over with Nuln Oil .
- Using a watered down black or Black Templar , colour the darkest parts of the shoulders and under rivets, in cracks, etc, so they're almost pure black. NOTE: If you're using method B (see below), wait until after you've drybrushed the Runefang Steel to do this.
- METHOD A - LAYERING. Mix 50/50 Leadbelcher and Runefang Steel and layer on middle of power armor to create a layered midtone. Then use pure Runefang Steel on highest parts of the power armor - where the light hits.
- METHOD B - DRYBRUSHING. This way is a quicker and easier alternative to layering. Simply drybrush on Runefang Steel , aiming mainly for edges and avoid the shadows where the Nuln oil collected. If you do it this way, you will need to do step 4 AFTER Drybrushing and not before.
- Use pure Stormhost Silver to edge highlight only the highest edges, corners and rivets. It's incredibly bright, so use with care.
Time for the SHIELDS!
- Colour the whole inner part of the shield with two thin layers of Sycorax Bronze
- Wash the Sycorax Bronze with Agrax Earthshade . Leave it to try, then wash again with a 50/50 mix of Agrax and Lahmian medium (I keep a dropper bottle mixed up at all times!).
- Basecoat the Fleur-de-lis in the middle of the shield with two layers of Ulthuan Grey then wash it with Gryph-charger Grey
- Edge highlight with any white.
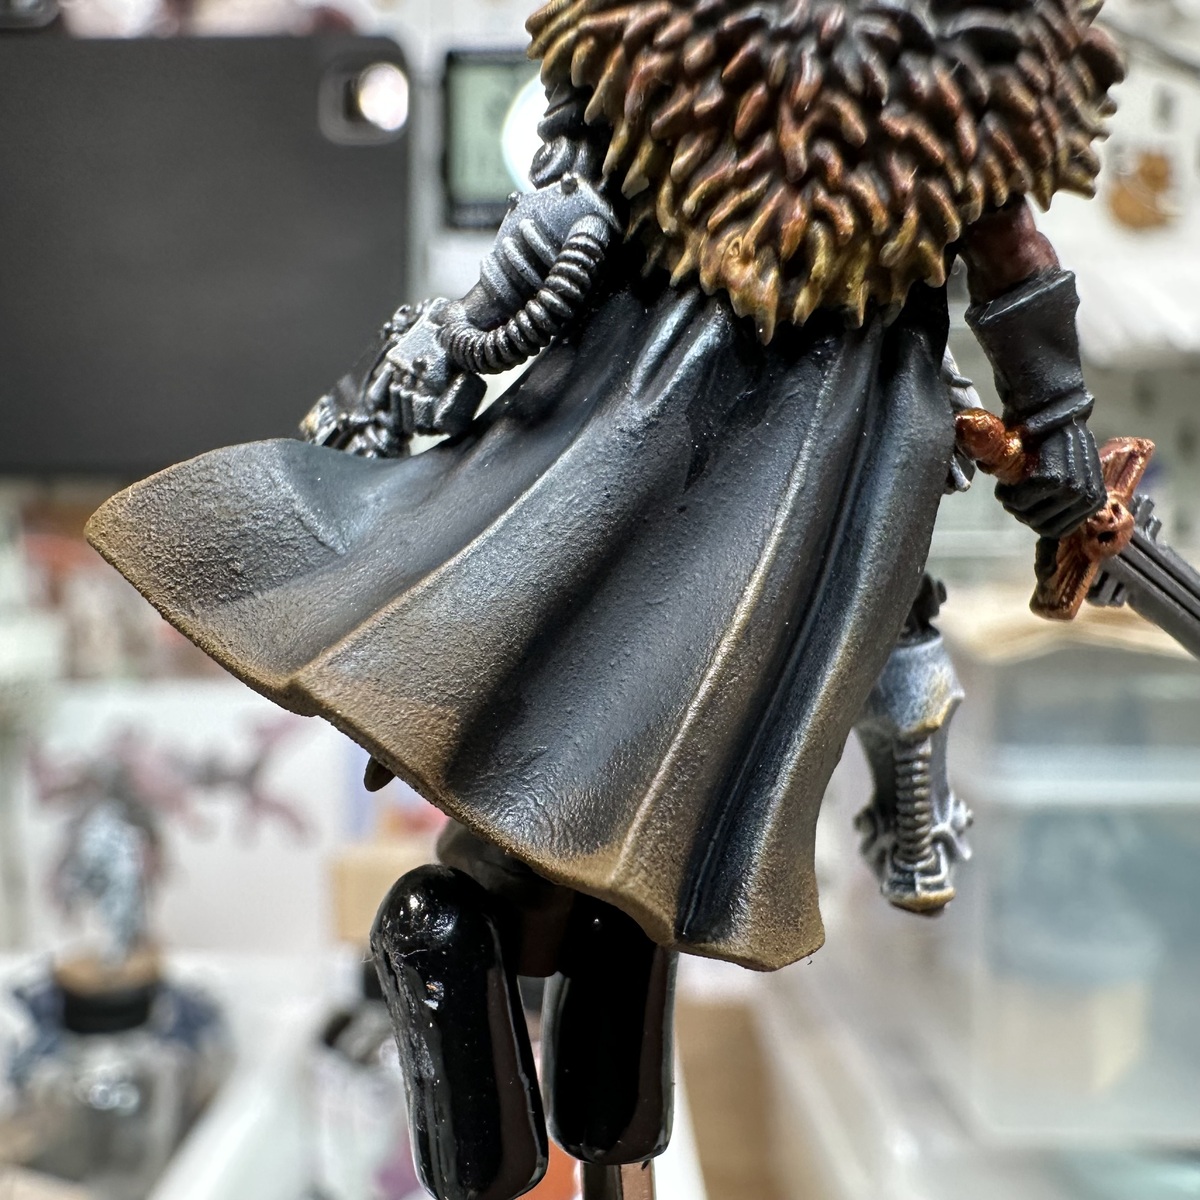
ROBES
- Basecoat matte Black
- Edge highlight Dark Reaper
- Edge highlight Thunderhawk Blue
- Edge highlight Blue Horror (also used on raised buttons)
HELMET
- Spray the helmet in white. I used Tamiya Ultra Thin White Primer.
- Use Black Templar to block out where the silver will be. If you go over any of the white visor, touch up with White - don't forget the ear-muffs!
- Paint all of the black parts Leadbelcher , then Runefang Steel towards the top, then edge highlight with Stormhost Silver
- Wash the white mask with Gryph-charger Grey
- Use watered down Khorne Red to fill up the visor eye lenses. Watering it down will allow it to run into the corners and save you effort.
- Starting from the back of the eyes and heading towards the nose, do a line of Evil Sunz Scarlet across the whole lens. Then starting from the nose and towards the back, do another line of Wild Rider Red .
- To finish the lens, this is the hardest part.... do a really thin line of Fire Dragon Bright along the bottom of the lens, as straight and pronounced as you can. As you can see from the pic, I haven't got the hang of this yet.
Citadel Painting System 18
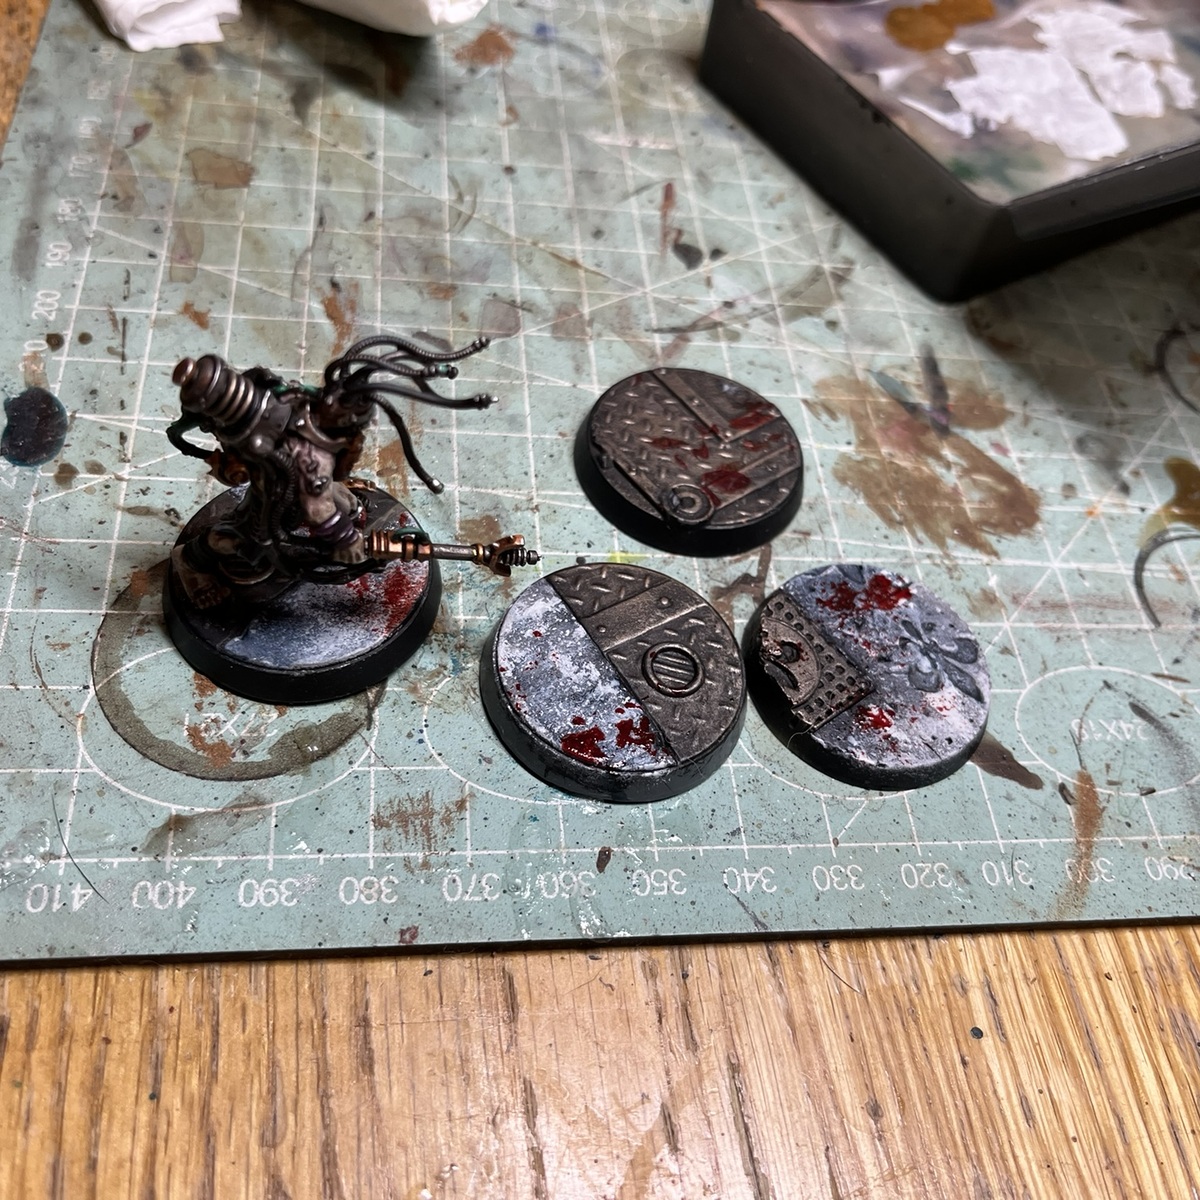
Base 3
- Khorne Red
- Leadbelcher
- Warplock Bronze
Shade 2
- Agrax Earthshade
- Nuln Oil
Layer 9
- Blue Horror
- Dark Reaper
- Evil Sunz Scarlet
- Fire Dragon Bright
- Runefang Steel
- Stormhost Silver
- Sycorax Bronze
- Thunderhawk Blue
- Wild Rider Red
Air 1
- Ulthuan Grey
Spray 1
- Leadbelcher
Contrast 2
- Black Templar
- Gryph-charger Grey
Vallejo Model Color
Base 2
- 70.950 Black
- 70.951 White