Dark Angels Greenwing
Preparation
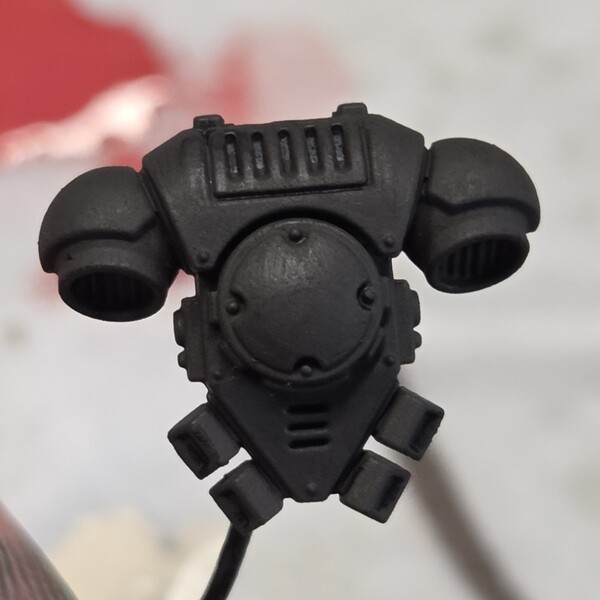
- Prime Black with Chaos Black
 Cover with Grim Brown
Focus on the recesses, 100% coverage of the flats is not required. The purpose of this layer is give some saturation to the deepest shadows, but it will be like 95% covered in the next step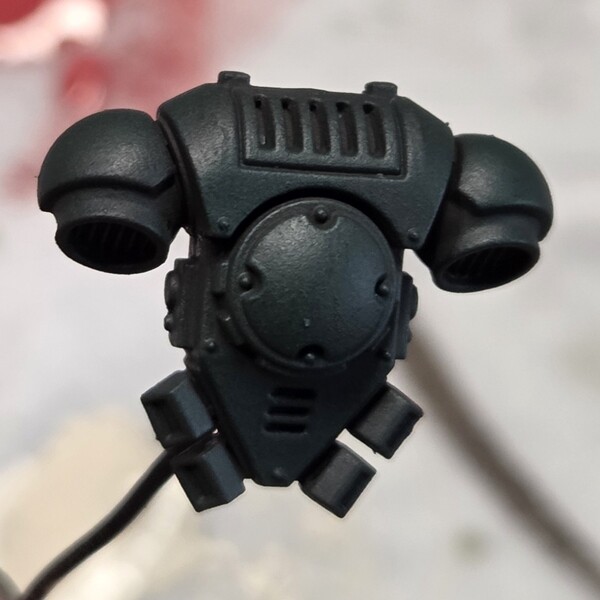 Fine sponge Caliban Green all over.
Just mash it in. Don't try to get into recesses but also don't bother if you did. Achieve good coverage without worrying about volumetric light. Experiment with different sponge pressure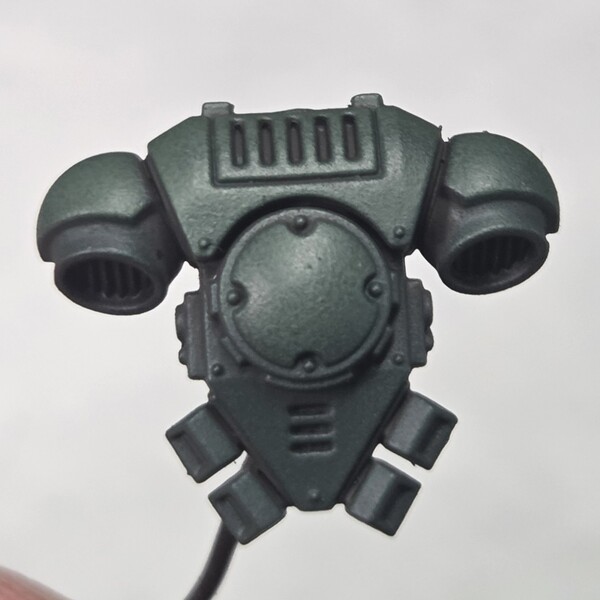 Fine sponge Waaagh! Flesh
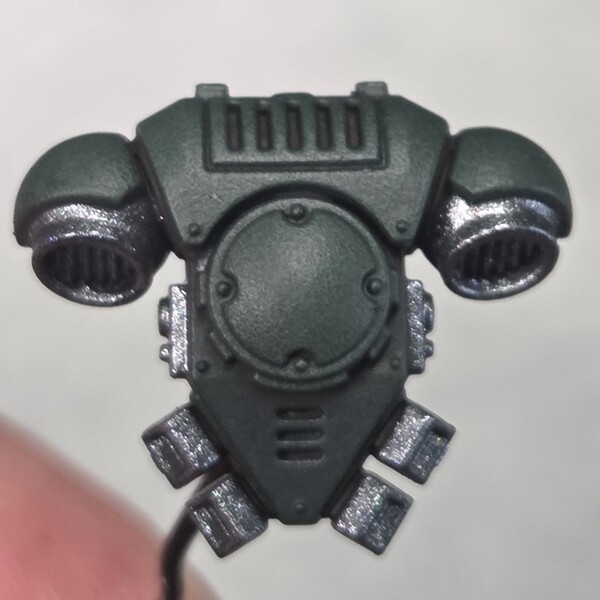
Only touch places on the top and outside of the model where light will hit. Create a start for the volumetric light- Optional: correct surfaces with another sponge layer of Caliban Green if you ended up sponging more than you intended to with Waaagh Flesh
Other materials: Metals
 Cover everything that needs to metal with Gunmetal Grey
In my case, bunch of details on backpack, part of metal which are not red and all exposed armor contacts. One coat is usually enough, maybe two for bigger surfaces
Other materials: Weapon
- Base the weapon with Khorne Red
- Sponge highlight with Evil Eye Red using fine sponge and focusing on edges
Other materials: Aquilla
- Base with Dust Bowl ensuring good coverage
- Chunky highlight with Temple Stone
- Dot highlight with Wraithbone
Other materials: Leather
- Base with Grim Brown again, ensuring good coverage
- Highlight with Boot Strap Brown as you see fit to create leather cracks, worn and highlight the edges. For bigger objects, rough sponge can be used.
Other materials: Bodyglove
- Put a layer of Black Legion on bodysuite
Assembly
- Cover the whole miniature in Nuln Oil and assemble miniature
Final touches
Some or all of these can be skipped or altered, at this point the base color sheme is complete
- Fine sponge Waaagh! Flesh again selectively on lighter parts of the mini. The previous layer is a bit darker due to Nuln Oil. Focus on the light!
- Fine sponge Gunship Green on the lightest parts of the mini to push contrast even further. Focus on the light!
- Selectively and very sparingly highlight the armor with Faded Green
- Refresh highlights on the weapon with Evil Eye Red
- Refresh highlights on metals with Gunmetal Grey
- Dot highlight with Wild Rider Red
Weathering and Chipping
Finale
- Cover everytihng in Ultra Matte Varnish
AK Interactive
Varnish 1
- AK183 Ultra Matte Varnish
AK Interactive 3rd Generation Acrylics
Standard 3
- AK11112 Grim Brown
- AK11135 Faded Green
- AK11150 Gunship Green
Citadel Painting System 8
Base 4
- Caliban Green
- Khorne Red
- Waaagh! Flesh
- Wraithbone
Shade 1
- Nuln Oil
Layer 1
- Wild Rider Red
Spray 1
- Chaos Black
Contrast 1
- Black Legion
Vallejo Model Color
Metallic 1
- 70.863 Gunmetal Grey