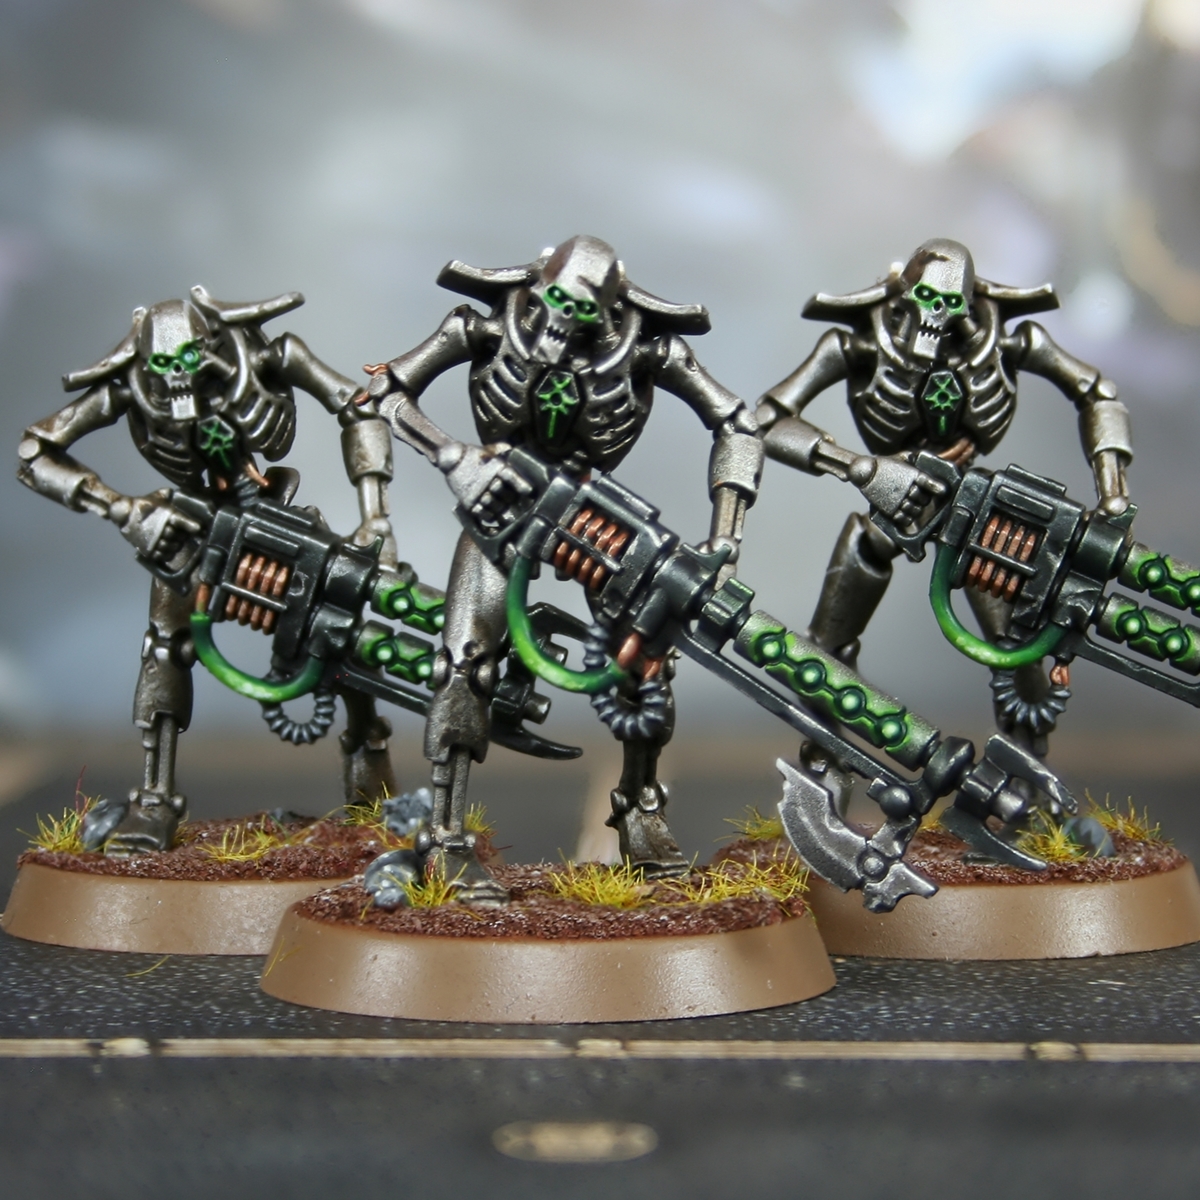

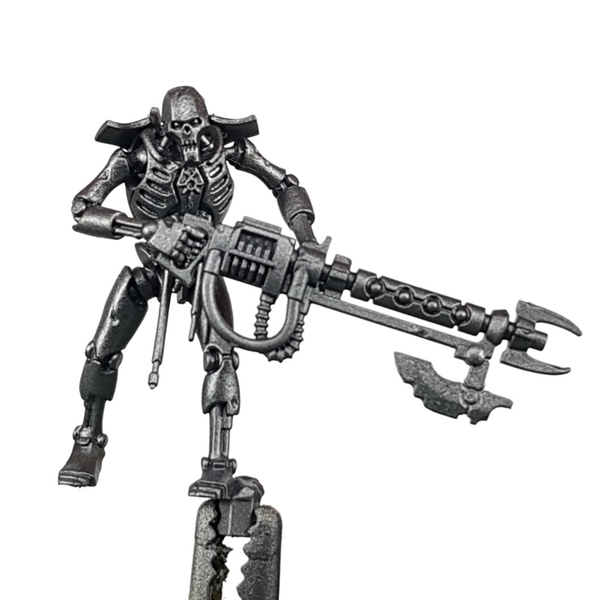
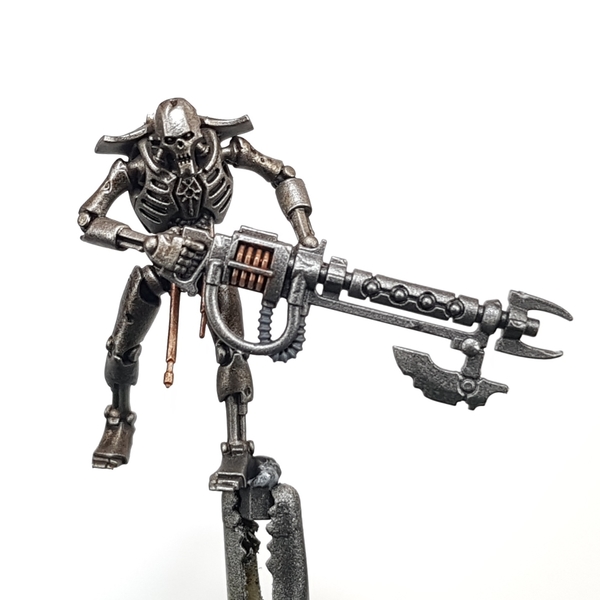
 Basecoat the model with Gunmetal Grey .
 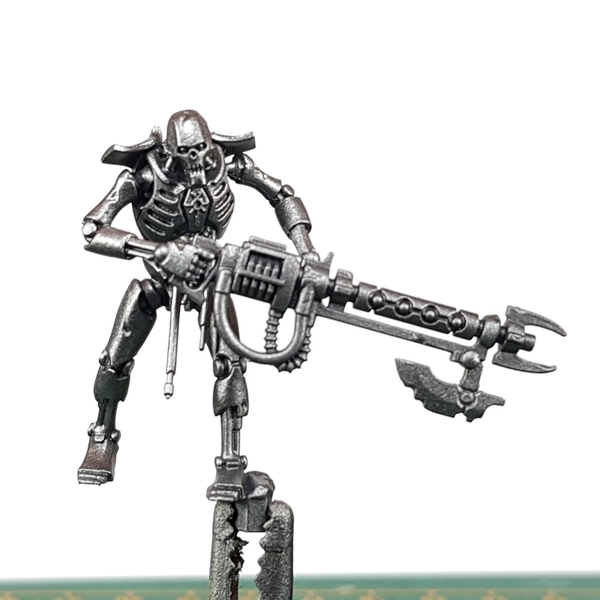 With an airbrush, spray an all over zenethal highlight of Duraluminum downwards at a 45 degree angle.
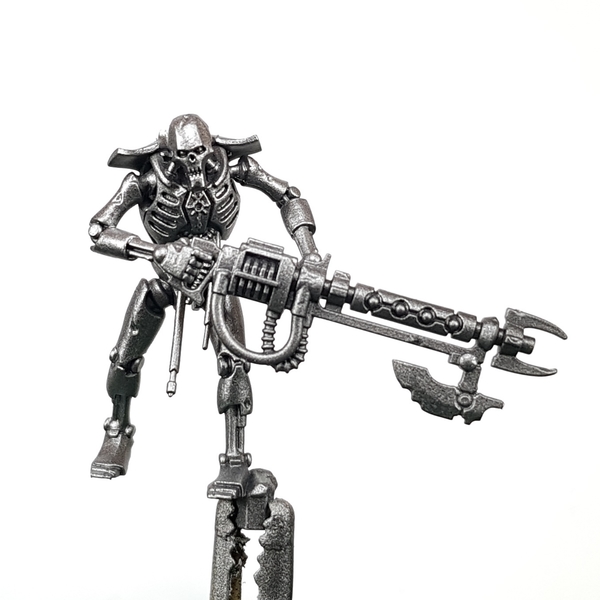 Spray White Aluminum almost straight downward, from the top of the model. Be selective only catching the very top, face and shoulders.
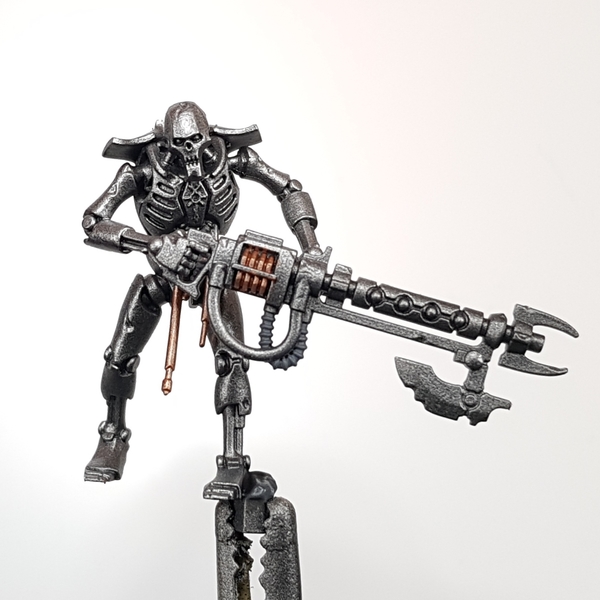 Paint dangling expose wires and weapon coils with Copper I also painted the exposed ridged tubing with Mechanicus Standard Grey .
- Now we do an oil wash on all of the Necron and the weapon coil. I poured out the amount odorless Artists' White Spirits I felt I needed for the wash and added paint to it, until I was happy with the consistency. I used 3 parts Ivory Black, with 1.5 parts Burnt Sienna and 1 part Cobalt Violet Hue, all from the Winton range of oil paints.
 After giving the oil paint 15 or so minutes to settle, wipe paint from the exposed areas and avoid recesses. I like to use makeup sponges. For these boys, I would recommend the ones on sticks to maintain as much control as possible.
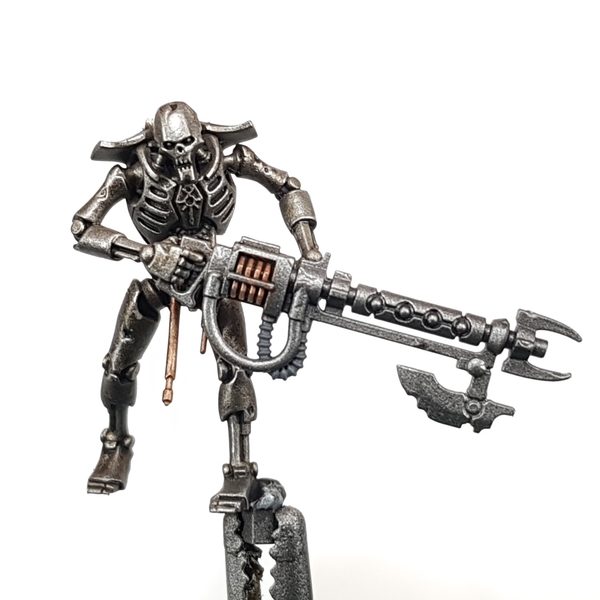 Selectively highlight exposed edges and places where the light would hit with White Aluminum .
- Wash ridged tubes and any weapon blades with Nuln Oil .
- Paint the weapon casing and chest symbol with Black Templar .
- Highlight corners and damaged areas with fine, selective highlights of Duraluminum . At this stage it is a good idea to edge highlight any silver areas and blades on the weapon too.
- Add specular highlights of White Aluminum to relevant parts of the weapon. Stick within the areas highlighted in the last stage, sticking to points and corners.
- Add small highlights to coils and copper wires with Copper and White Aluminum mixed 1:1.
- Highlight all of the tubing ridges with Dawnstone
- Add smaller highlights to the tubing with Administratum Grey .
Green Details
- Basecoat eyes, round tubing and the orbs with Caliban Green . I would also recommend adding a little more water and running it into the recess around/connected to the orbs.
- Add a little glow around the eyes and orbs with Warp Lightning . I thinned it and put it through an airbrush, but you could glaze with a brush.
- Mix the Caliban Green with equal parts Warpstone Glow . Use this mix to glaze most of the tubing pulling pigment towards the centre. Also go over the orbs with it.
- With pure Warpstone Glow , go over the eyes, glaze even less of the tubes and cover most of the orbs.
- Mix the Warpstone Glow 1:1 with Moot Green and glaze an even smaller area of the tubing and orbs. Moving towards the centre on both. I would also recommend adding small amounts under the eyes to enhance glow and edge highlighting around the orbs.
- Take some pure Moot Green , glazing smaller on the tubes and covering only a small area on the orbs. Adding specular highlights to the edge highlighting around the orbs.
- Mix some pure white (like Dead White ) in with the Moot Green and add a few dots around the central point, the smaller the better. This is to make the transition look smoother and make the orb look lighter.
- Finally, finish the orbs off with a dot of pure white in the centre.

Rookie Brushes
RookieBrushes
Aspiring miniature painter and biscuit enthusiast. Here to share my hobby and help where I can.
Citadel Painting System 9
Base 2
- Caliban Green
- Mechanicus Standard Grey
Shade 1
- Nuln Oil
Layer 4
- Administratum Grey
- Dawnstone
- Moot Green
- Warpstone Glow
Contrast 2
- Black Templar
- Warp Lightning
Vallejo Game Color
Base 1
- 72.001 Dead White
Vallejo Metal Color
Base 4
- 77.702 Duraluminum
- 77.706 White Aluminum
- 77.710 Copper
- 77.720 Gunmetal Grey