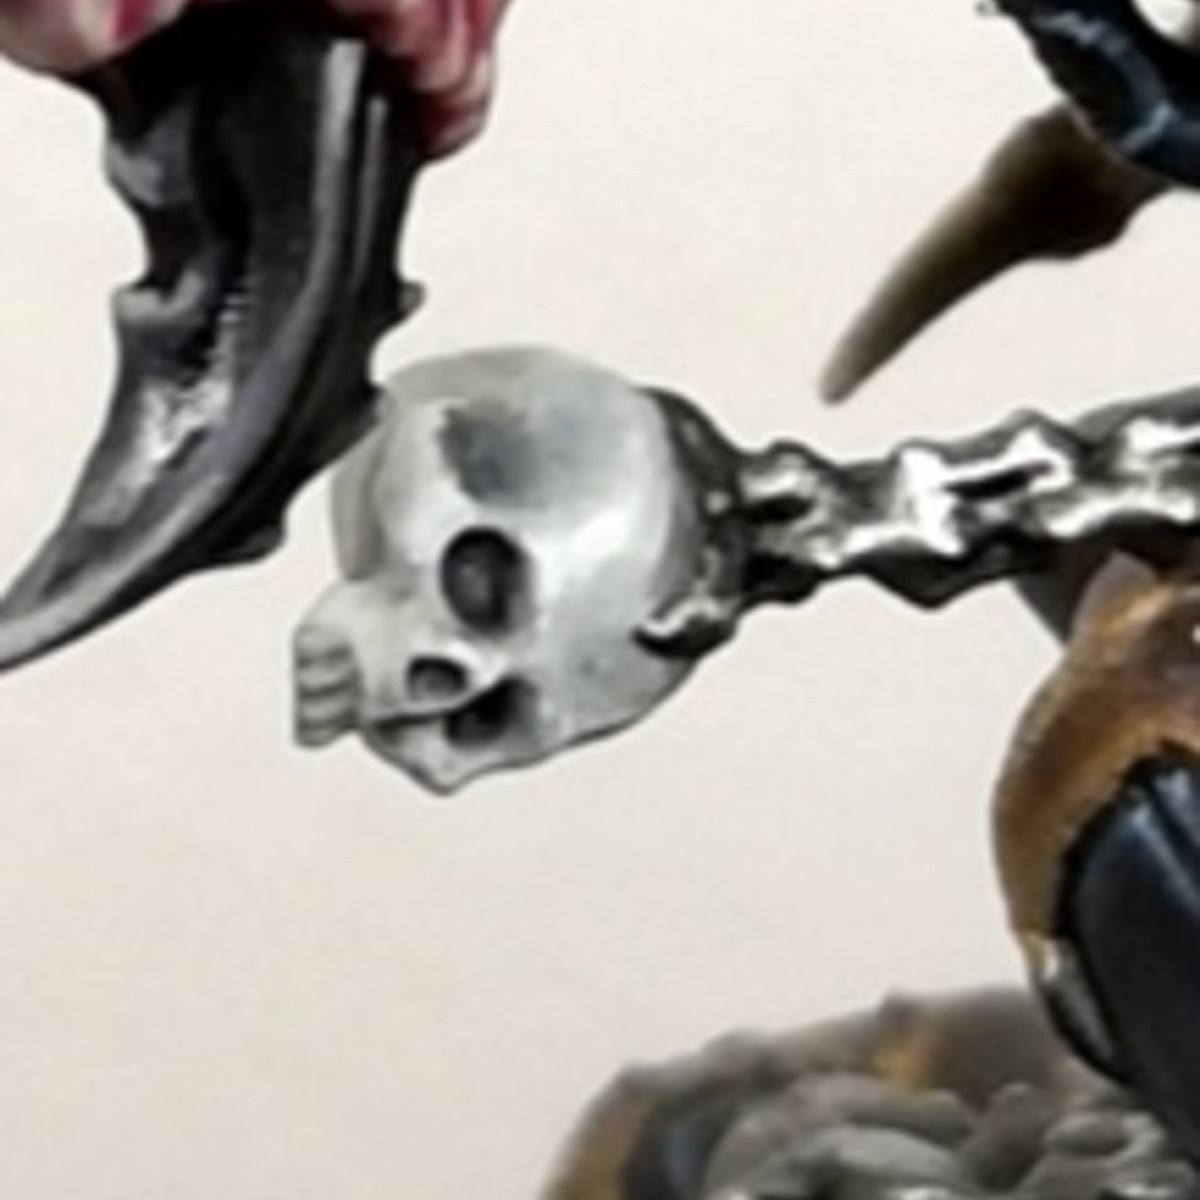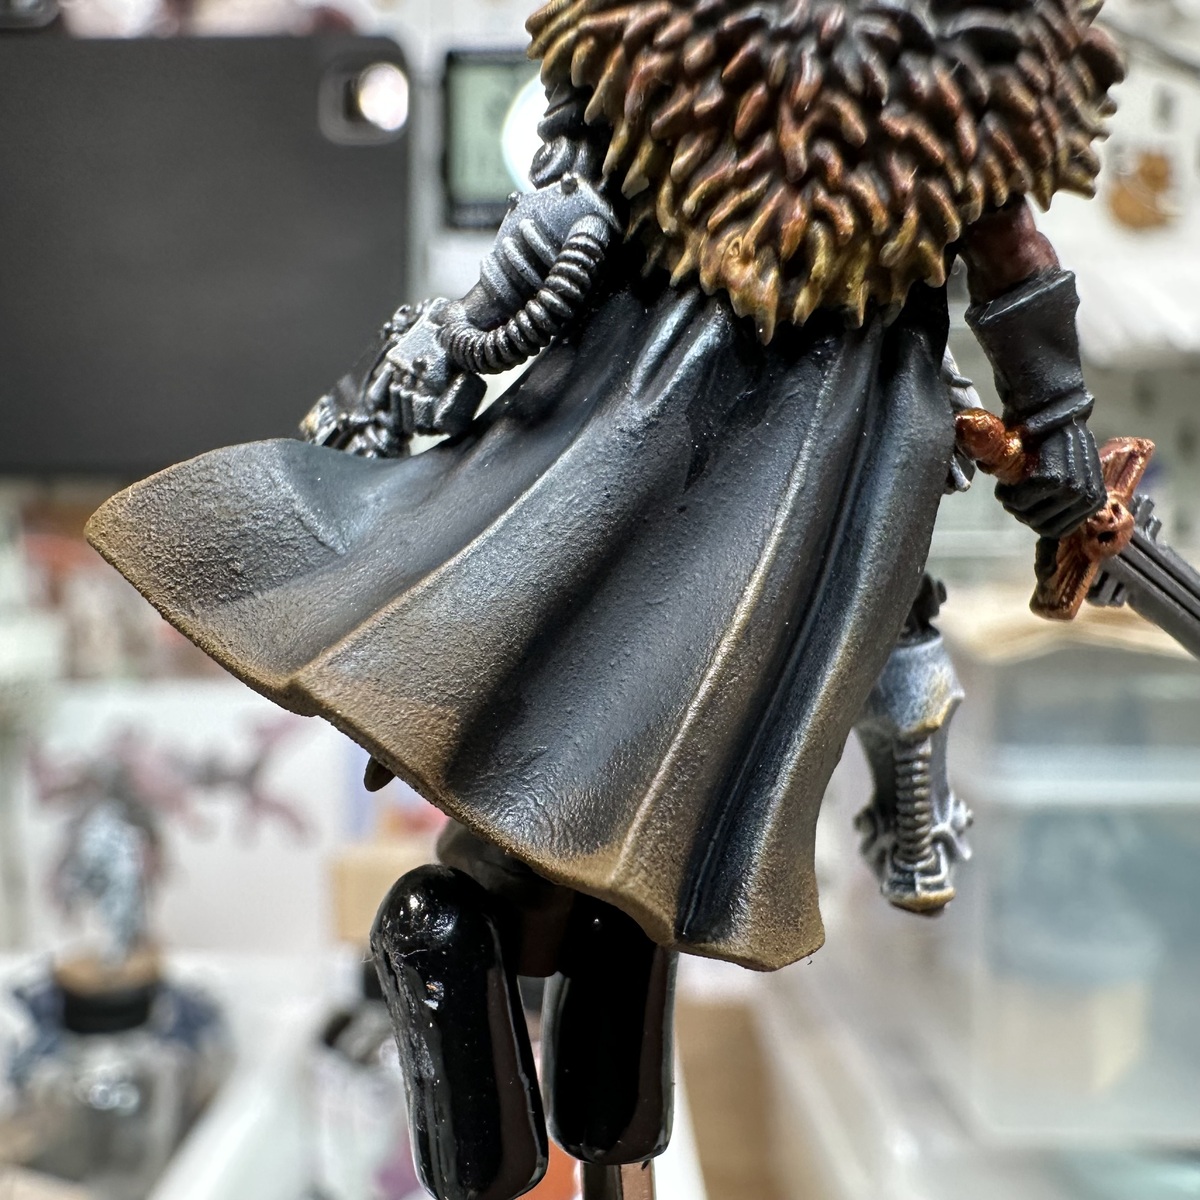
.png)
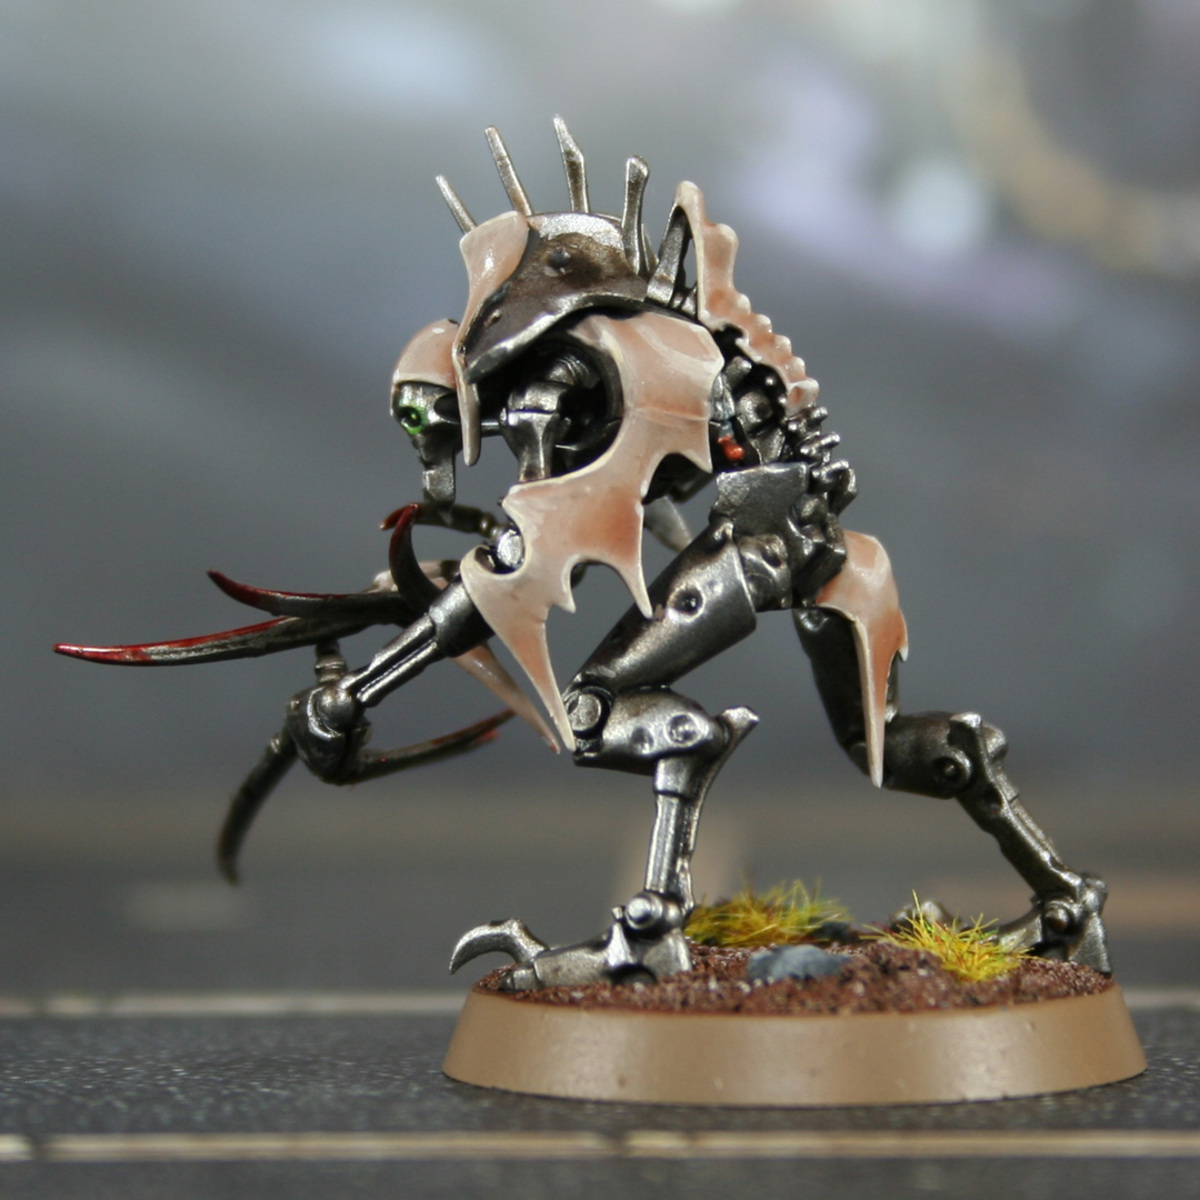
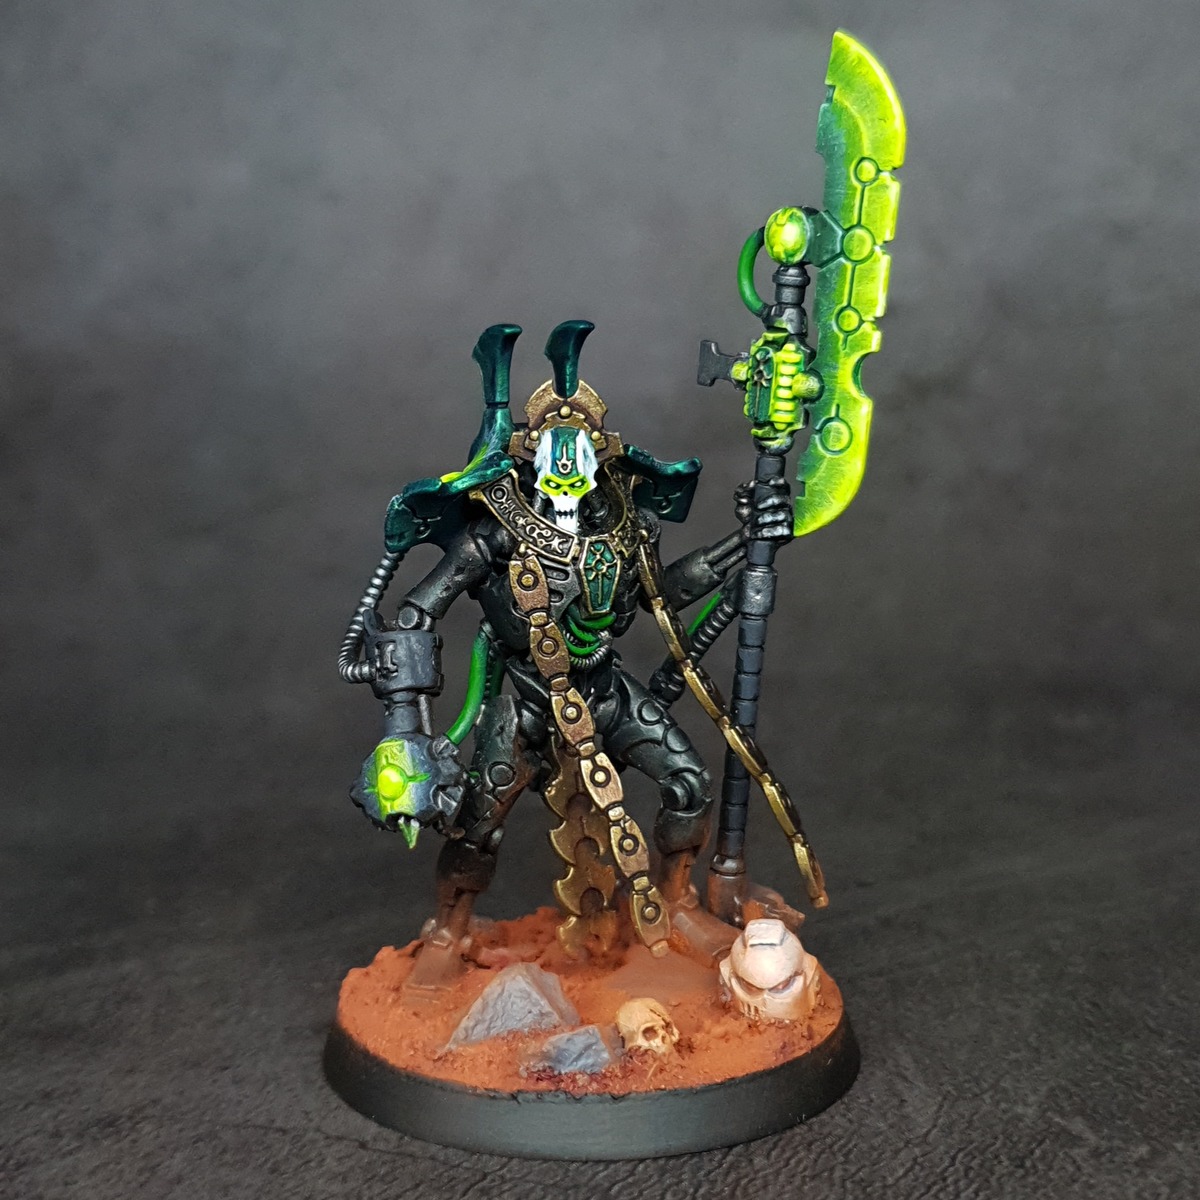
My version of Necrons from the Tsarakura Dynasty
I plan on updating this to a full tutorial with images at each step once I've painted up a fresh mini and taken photos
Preparation
As this method uses a fair bit of drybrushing it's important to remove all sprue marks and mould lines as best you can. I like to apply my basing material first and then prime the mini black. I use Matt Black spray paint from Halfords.
Metallic black body
- Basecoat with Black
- Apply a heavy drybrush/overbrush with Runelord Brass
- Apply a zenithal drybrush with Canoptek Alloy focusing on the edges and areas that would be in the light
- Apply 2 coats of Black Templar thinned roughly 1:1 with Contrast Medium . It's important to let the first coat dry before applying the second
Metallic green details
- Basecoat with Retributor Armour
- Drybrush of Auric Armour Gold
- Apply 1 coat of Akhelian Green . Aim to get this on as smooth as possible. Once it's down try not to work it too much to prevent tide marks and remove the brush from the model at the edges or recesses to prevent pooling on flat areas
Gold details
- Basecoat with Necro Gold
- Fill recesses with Magos Purple and glaze this on flat areas to create a gradient
- Highlight with Peridot Alchemy
White face
- Basecoat with White Grey
- Apply a wash of Coelia Greenshade thinned roughly 1:1 with Lahmian Medium . Focus this towards the temple area and underneath the 'cheekbones'
- Layer with Offwhite
- Highlight with White . Apply a ring around the eyes ready for the OSL effect.
Weapon casings
- Basecoat with Black
- Apply a chunky highlight with Eclipse Grey
Silver metallics
- Basecoat with Black Metal
- Apply a wash with Basilicanum Grey
- Drybrush with Black Metal
Green cables
- Basecoat with Caliban Green
- Layer with Warpstone Glow aiming to create a gradient between the two
- Layer further with Warpstone Glow mixed with Tesseract Glow again aiming to create a gradient
Green OSL on eyes and guns
- Basecoat with White
- Drybrush surrounding area with White
- Fill recesses with Warp Lightning
- Touch up areas with White if required, such as pupils and the centre of orbs
- Layer Tesseract Glow over the eyes and orbs
- Glaze Tesseract Glow over the surrounding areas that were drybrushed with White
- Dot with Lemon Yellow as an extreme highlight in the brightest spot
Green energy blades
- First paint the blade following the silver metallic steps
- Drybrush the edge of the blade with White . Keep the brush strokes in one direction, from the edge of the blade in over, and try to follow the shape of the blade. Aim to have this come 3/4 in from the edge. This will create a cool looking texture as if the blade is crackling with energy
- Wash the whole blade with Warp Lightning
- Drybrush again with White the same as before but over a smaller areas, focussing more towards the edge of the blade and leaving some of the previous step showing
- Layer over this area with Tesseract Glow . It's okay to have some of this go over the area of Warp Lightning too to have the transition blend together
- Edge highlight the blade edge with White and glaze Tesseract Glow so that it appears the brightest part
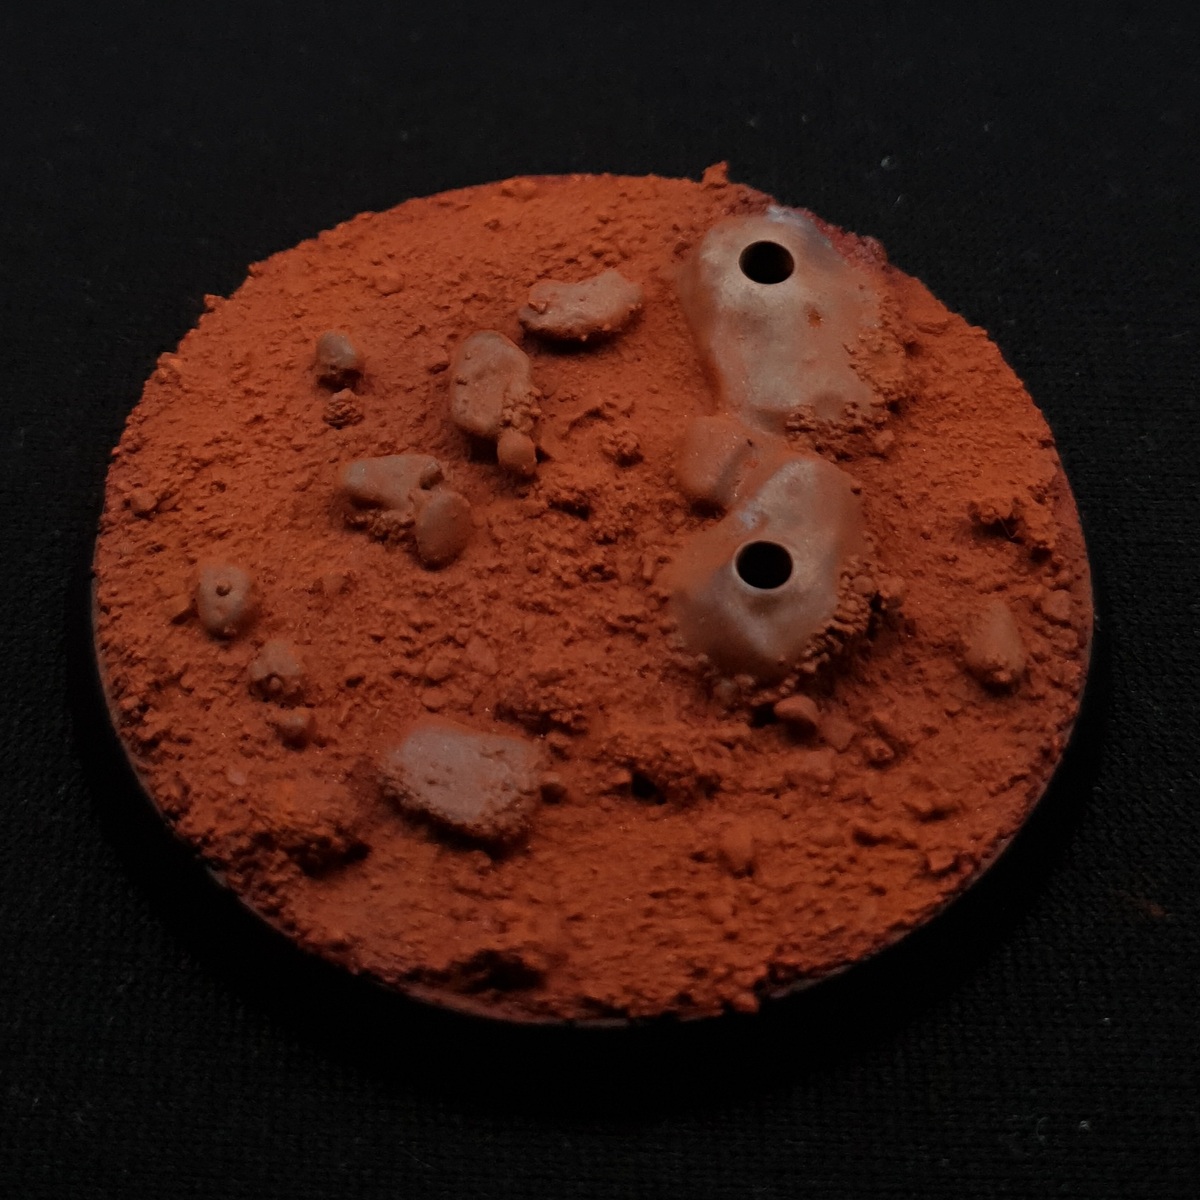
Basing
Base however you like. I chose a red planet themed base to contrast with the green which I think worked nicely. The tutorial for that is also on paintpad :)
.png)
Stephen
lallsta_paints
AK Interactive 3rd Generation Acrylics 4
Standard 3
- AK11002 Offwhite
- AK11003 White Grey
- AK11047 Lemon Yellow
Intense 1
- AK11001 White
Citadel Painting System 15
Base 3
- Caliban Green
- Retributor Armour
- Runelord Brass
Shade 1
- Coelia Greenshade
Layer 3
- Auric Armour Gold
- Canoptek Alloy
- Warpstone Glow
Technical 3
- Contrast Medium
- Lahmian Medium
- Tesseract Glow
Contrast 5
- Akhelian Green
- Basilicanum Grey
- Black Templar
- Magos Purple
- Warp Lightning
Scale75 Scalecolor 4
Scalecolor 1
- SC-16 Eclipse Grey
Metal n' Alchemy 3
- SC-63 Black Metal
- SC-71 Necro Gold
- SC-78 Peridot Alchemy
Vallejo Model Color
Base 1
- 70.950 Black