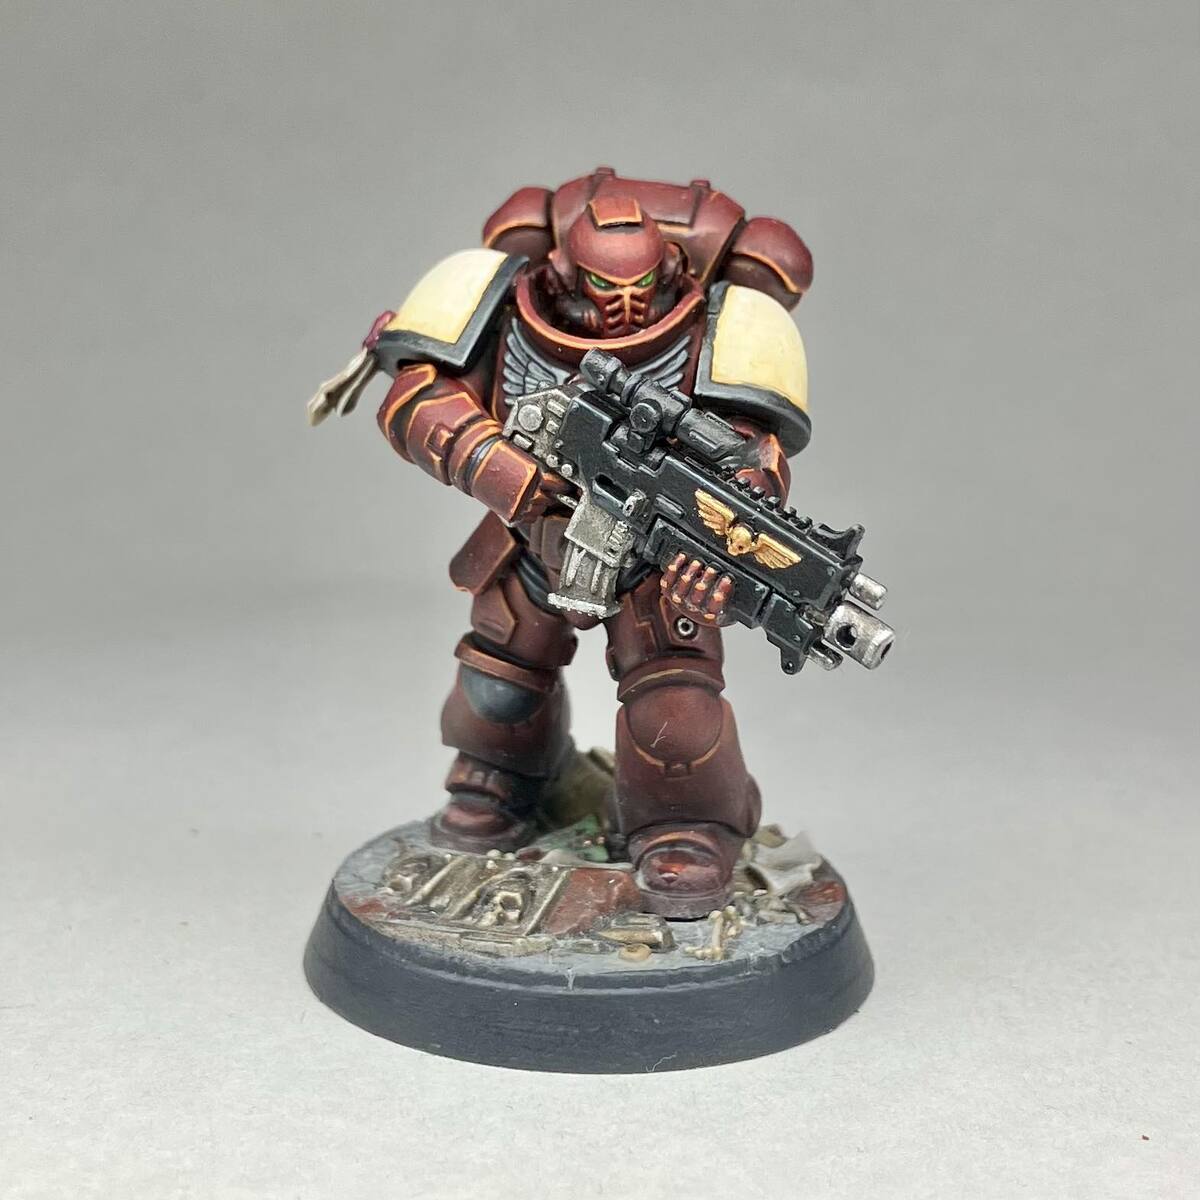

A general overview for how I paint my Blood Ravens. WIP.
Dark Red Armour
- Base with a 1:1 mix of Khorne Red and Rhinox Hide
- Wash entirely with Nuln Oil
- Glaze back up the transition with Khorne Red
- Edge highlight all the hard edges with Troll Slayer Orange . Glaze in softer highlights to round areas, like the knee pad.
- Point highlight the hardest edges with Fire Dragon Bright
Cream
- Base the cream sections with Zandri Dust
- Introduce several very thin layers of Screaming Skull to get an opaque relayer over the base. You want to do thin layers to try and keep the finish as smooth as possible, and paints like Screaming Skull can be chunky and leave brush strokes if applied to thickly.
- Highlight in the same way with Pallid Wych Flesh , just covering less area. A drybrush would be fine at this stage too, I just prefer the pain of glazing!
- Wash around the outer edges with a couple thin layers Seraphim Sepia . If you're comfortable with feathering one unthinned coat would be good, but I've had success with some thinned layers too.
Black
- Base the black sections with Corvus Black
- Highlight with Eshin Grey
- Another smaller highlight with Dawnstone
- For characters and HQs, an extra point highlight of Administratum Grey
Leather
- Base the leather sections with Skavenblight Dinge
- Wash back with Nuln Oil
- Relayer back up with Skavenblight Dinge
- Edge highlight and scratch up with Stormvermin Fur
- Final highlight and scratch up with Karak Stone
Silver
- Base the silver metals with Iron Hands Steel :
- Wash back with Nuln Oil
- Relayer with Ironbreaker
- Edge highlight with Stormhost Silver
Eye Lenses
- Carefully base the eye lenses with Warpstone Glow . Bring your brush in from the side of the head rather than face-on for more control.
- Wash the lens with Nuln Oil
- Add a semicircle of Moot Green towards the back of the lens
- Smaller highlight over the last step with Yriel Yellow
- Add a dot of White over the last step, as well as the opposite corner
Optional: Coat the lenses with Ardcoat
Gold
- Base gold sections with Retributor Armour
- Wash with Agrax Earthshade
- Relayer with Auric Armour Gold
- Highlight with a 60:40 mix of Liberator Gold and Stormhost Silver . Personally not a fan of going straight to silver for highlights, so cut it with a bright gold.
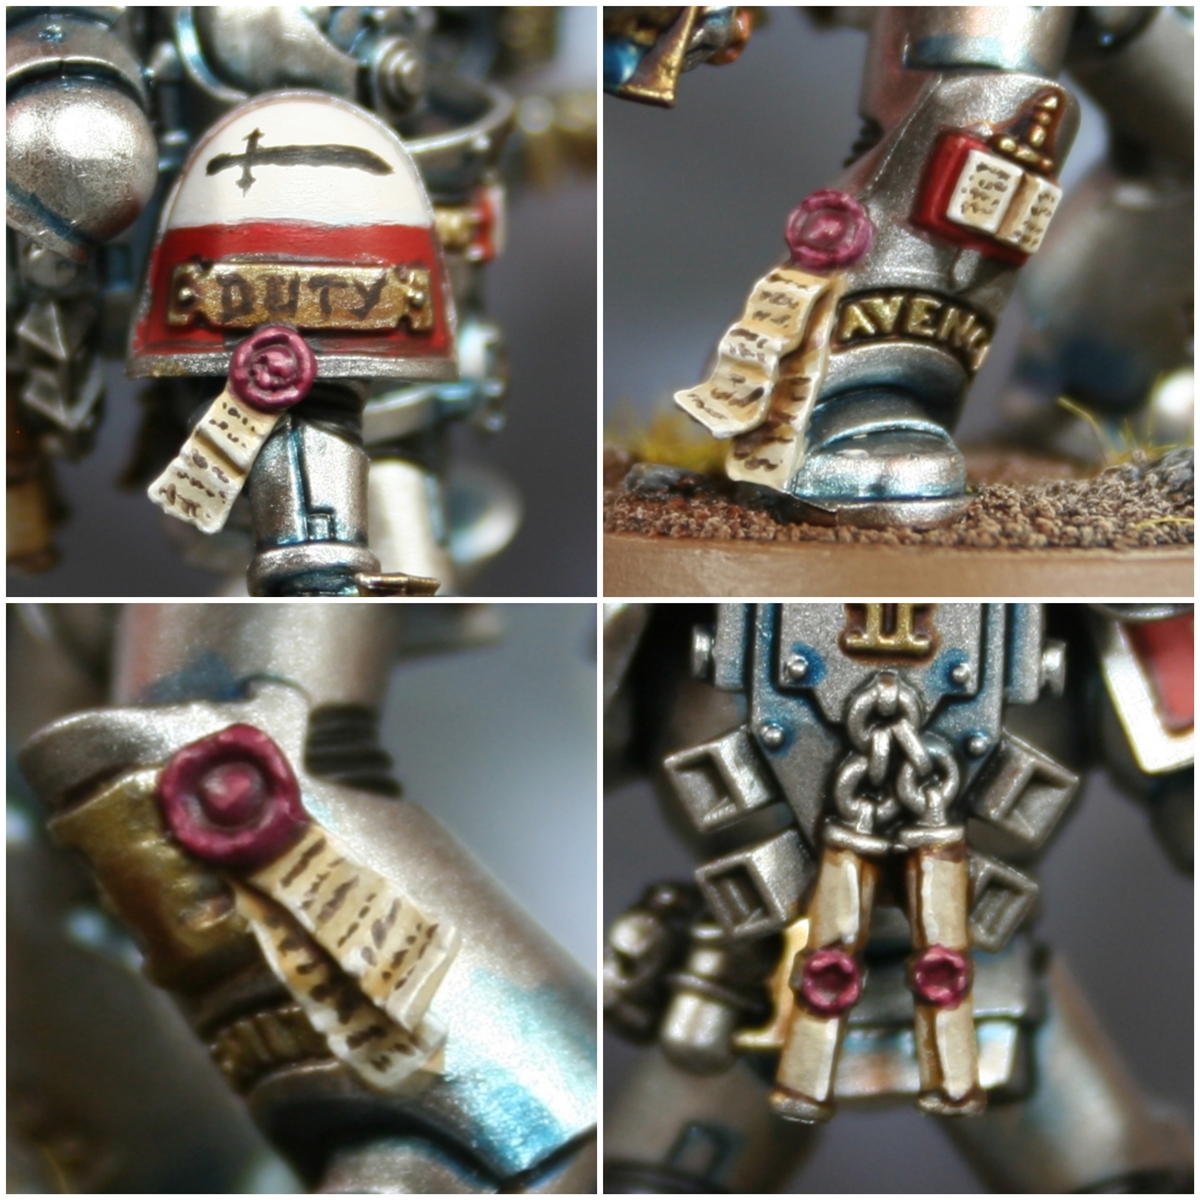
Purity Seals
- Base the parchment with Rakarth Flesh and the wax with Screamer Pink
- Wash both back with Agrax Earthshade
- Relayer the parchment with Rakarth Flesh and the wax with Pink Horror
- Highlight the parchment with Pallid Wych Flesh and the wax with Emperor's Children
- Optional: Scribble in some tiny text to the parchment with Rhinox Hide
Rank denotations
Just a note that these are my personal denotations, not official. We never got any outside of cream helmets for Sergeants, so made my own using Ultramarines as a starting point.
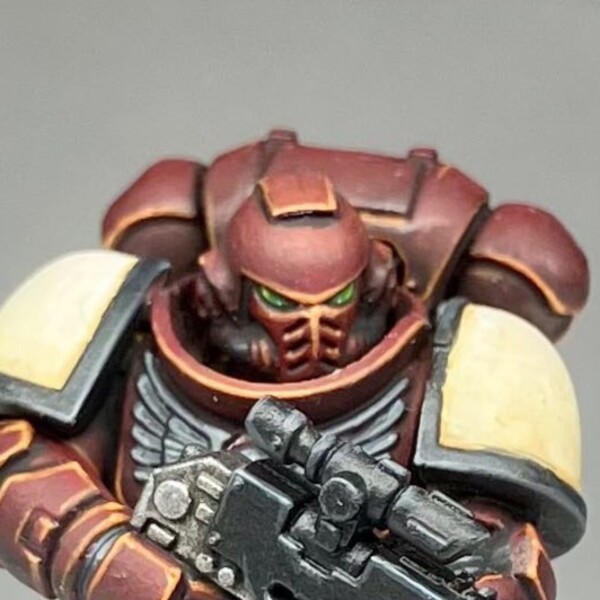 Battle Brother - Dark red helmets, black aquila
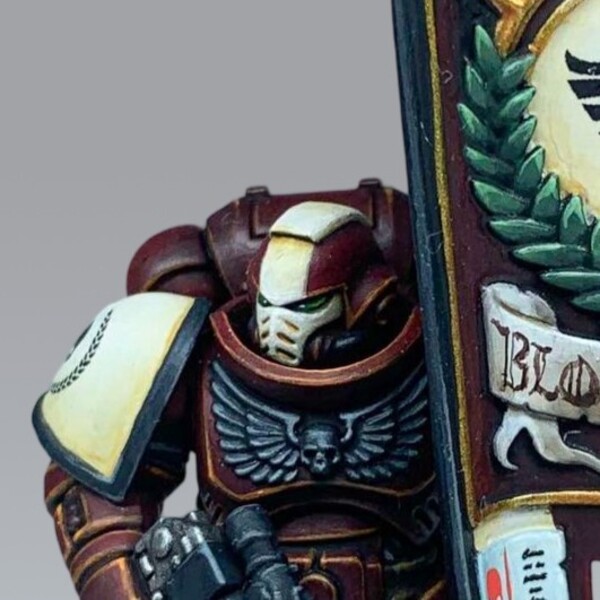 Ancients - Dark red helmets with cream face and stripe, black aquila
 Sergeants - Cream helmets, black aquila
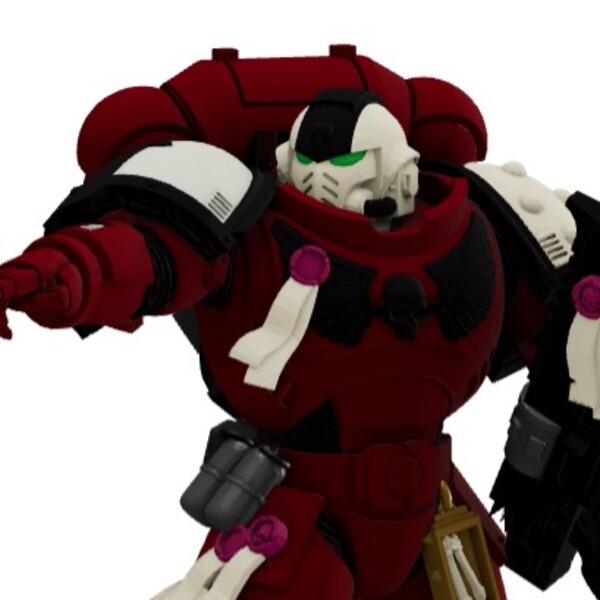 Veteran Sergeants - Cream helmet with black stripe, black aquila
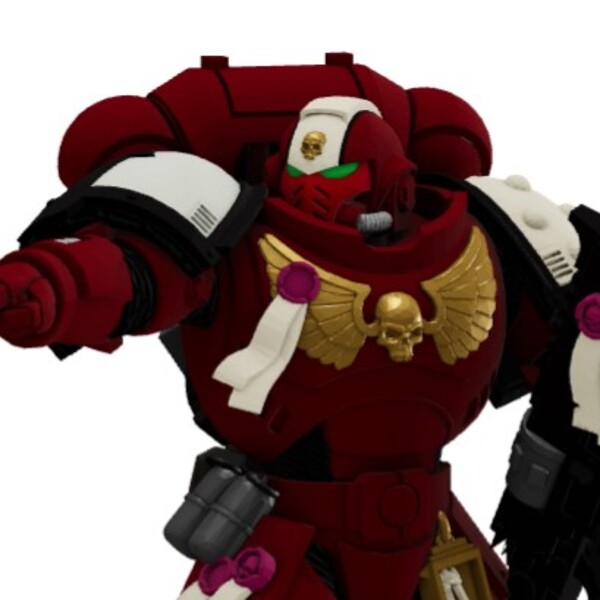 Lieutenants - Dark red helmets with cream stripe and black stroke, gold aquila
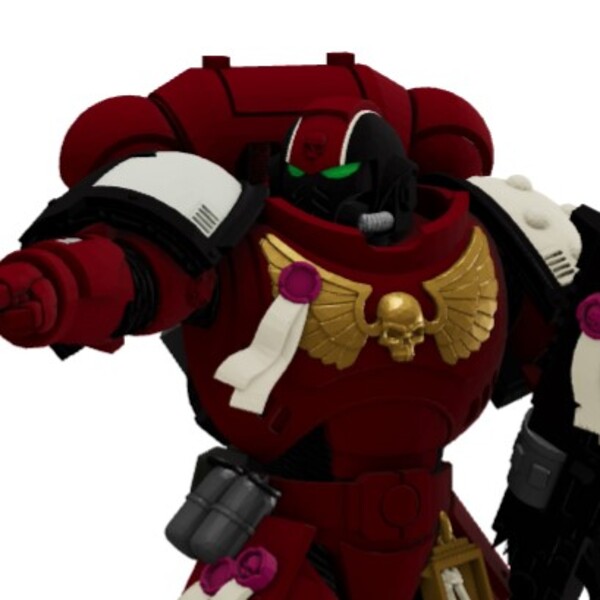 Captains - Black helmets with dark red stripe and cream stroke, gold aquila
I also use the coloured knee pad to denote their Company, using the standard Ultramarine colours. The one in the picture is a 5th Company Battle Brother, but I'd do 1st Company with a white knee, 2nd Company with a yellow knee etc.

Adz
HowAdzPaints
I'm a casual mini painter who's fallen into the tutorial space. Documenting my progress and recipes as I go!
Citadel Painting System 31
Base 8
- Corvus Black
- Iron Hands Steel
- Khorne Red
- Rakarth Flesh
- Retributor Armour
- Rhinox Hide
- Screamer Pink
- Zandri Dust
Shade 3
- Agrax Earthshade
- Nuln Oil
- Seraphim Sepia
Layer 19
- Administratum Grey
- Auric Armour Gold
- Dawnstone
- Emperor's Children
- Eshin Grey
- Fire Dragon Bright
- Ironbreaker
- Karak Stone
- Liberator Gold
- Moot Green
- Pallid Wych Flesh
- Pink Horror
- Screaming Skull
- Skavenblight Dinge
- Stormhost Silver
- Stormvermin Fur
- Troll Slayer Orange
- Warpstone Glow
- Yriel Yellow
Technical 1
- Ardcoat
Daler-Rowney
FW Acrylic Ink 1
- White
.jpg)