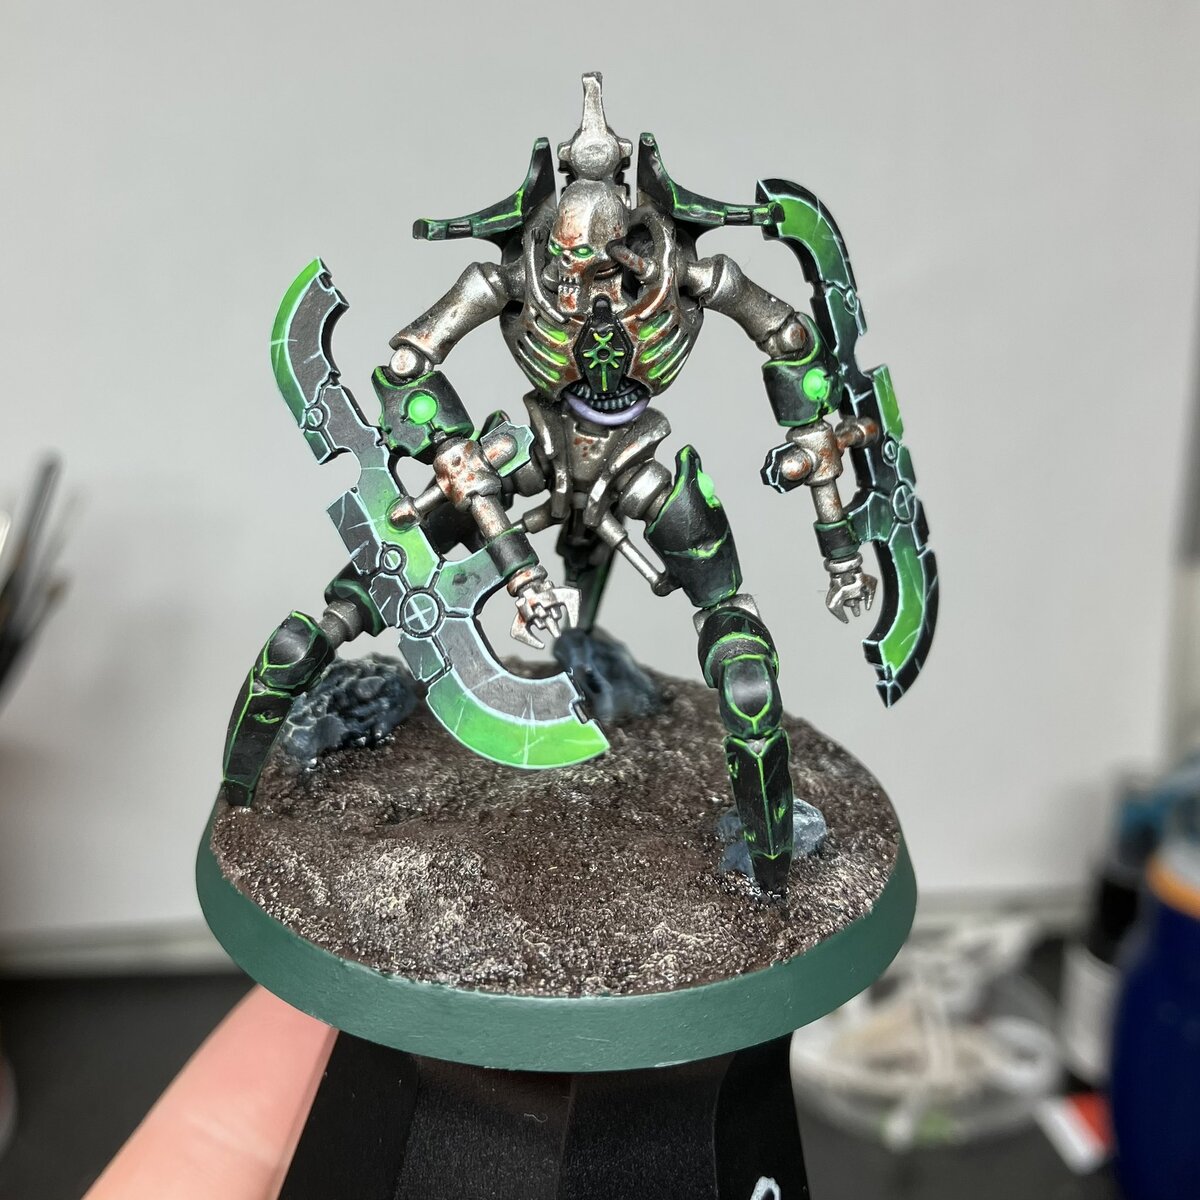

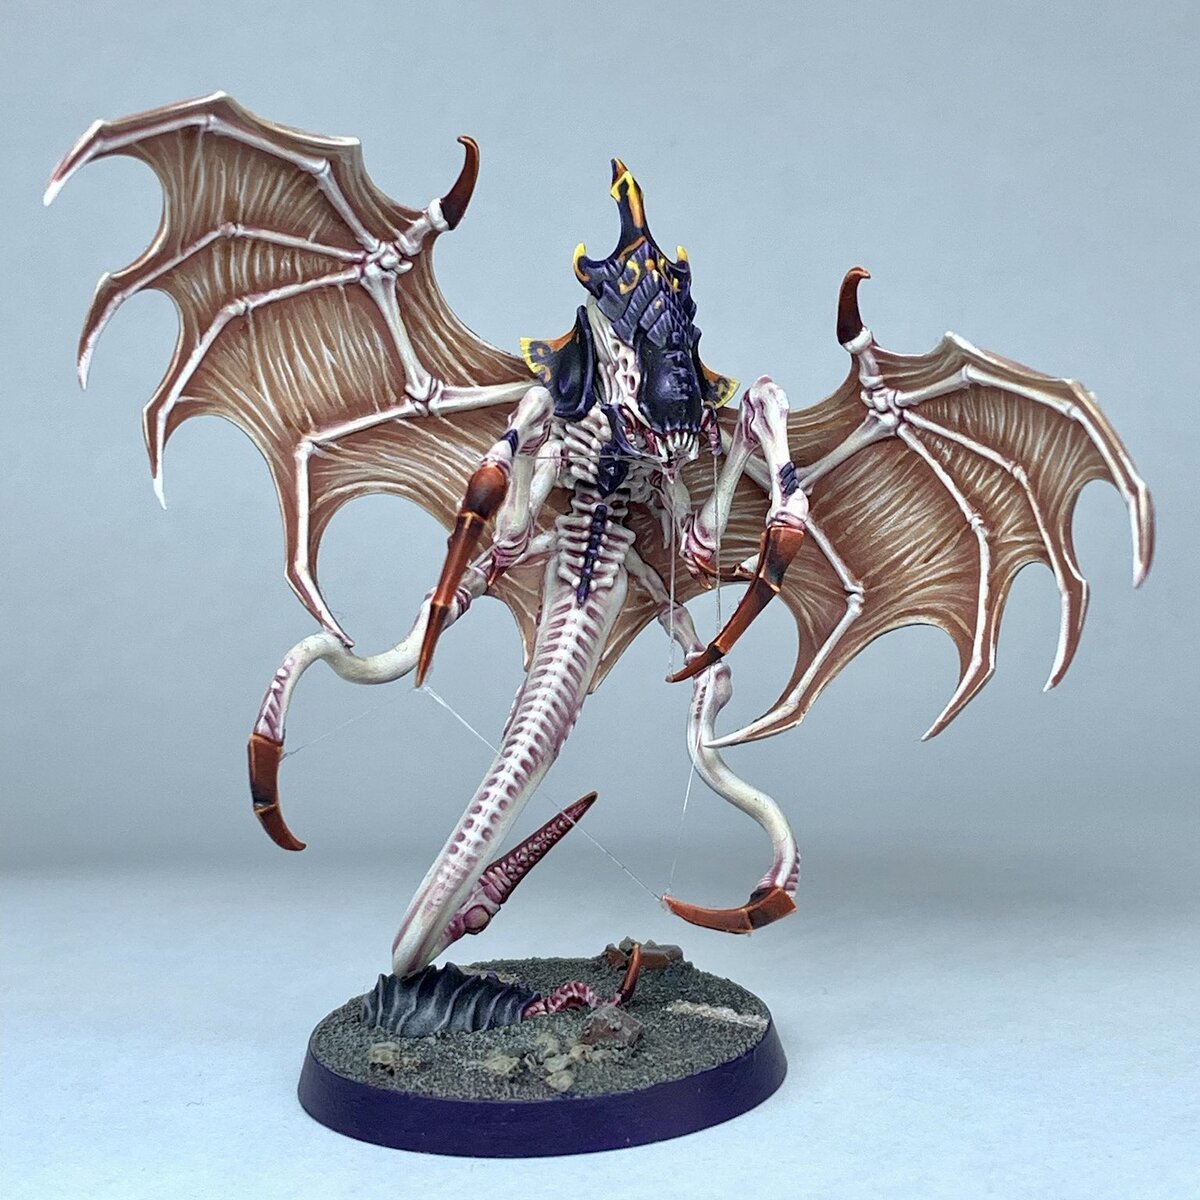
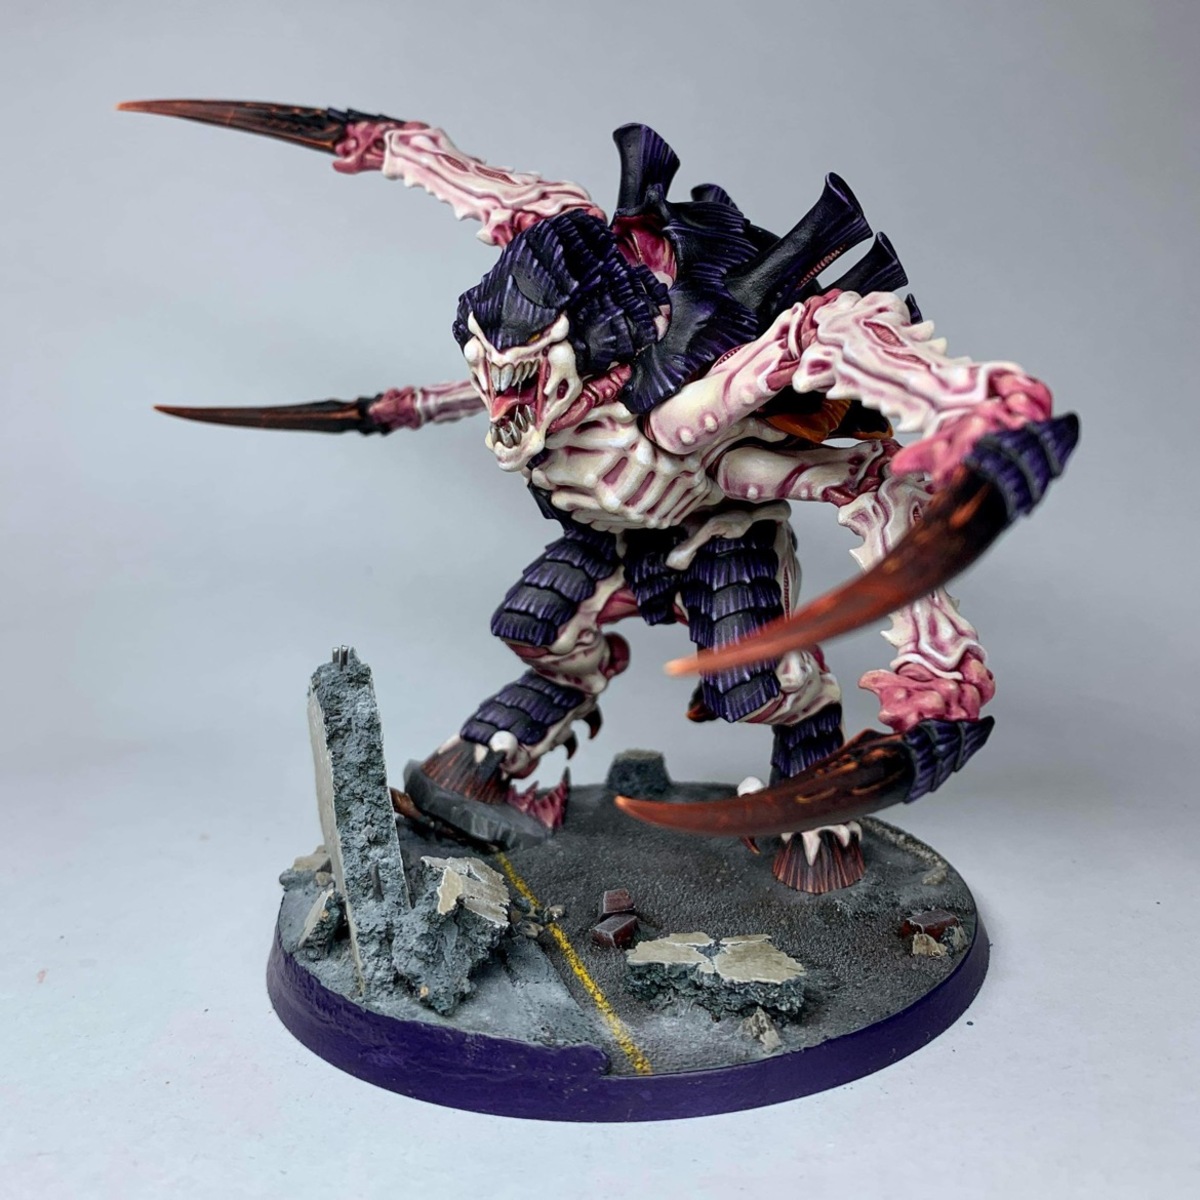
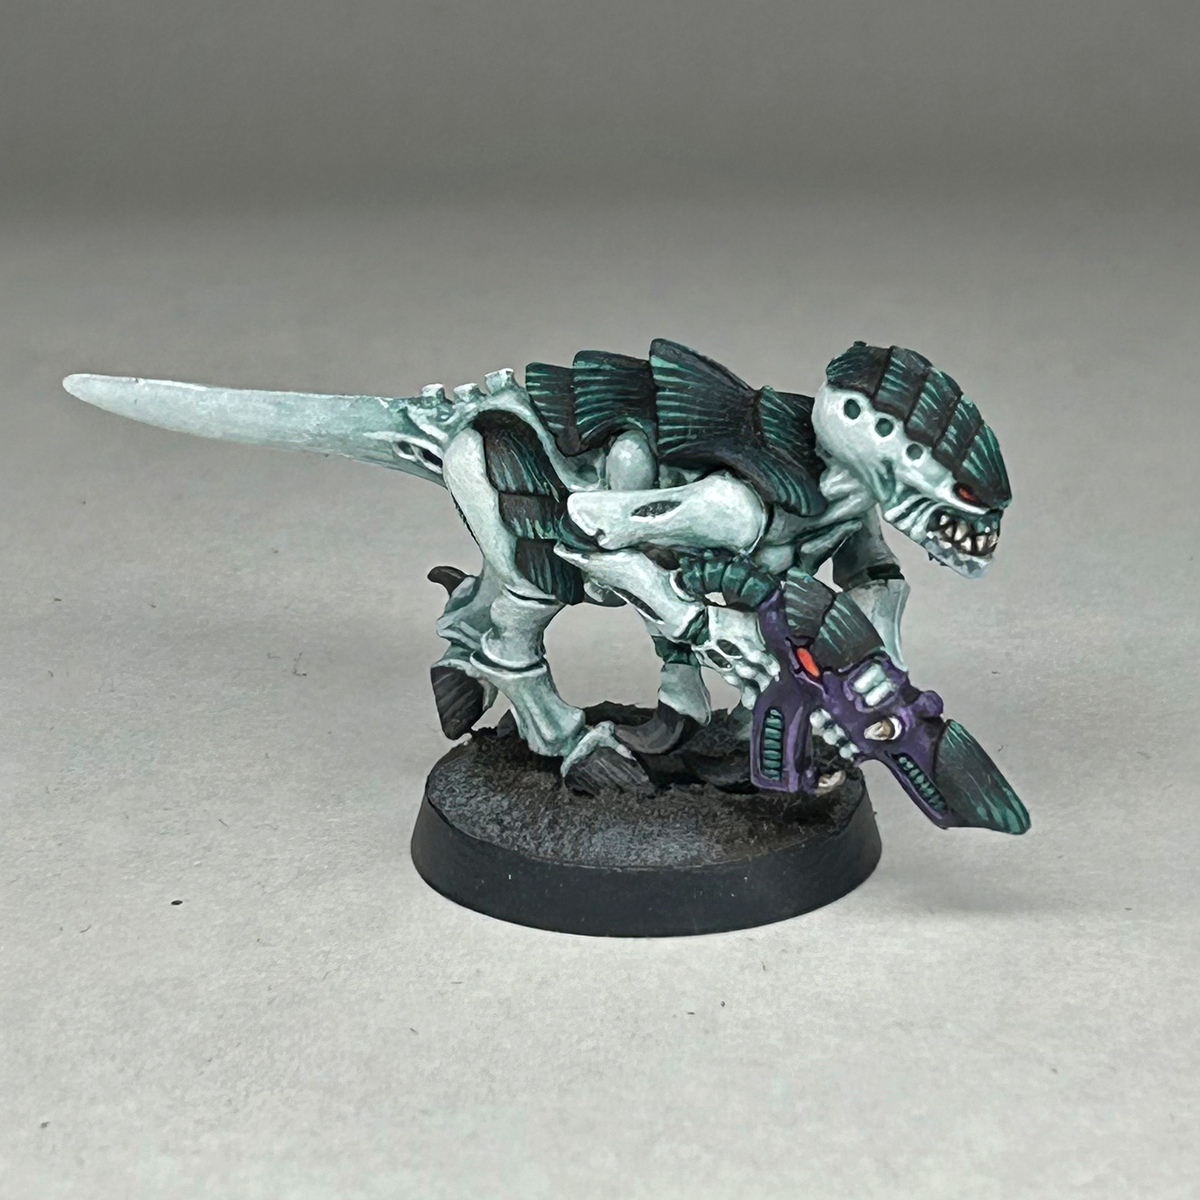
Showing how I painted my Sautekh Skorpekh Destroyers as a supplement to my video tutorial.
Silvers
- Start from a base layer of Leadbelcher , either spray can or brush on (I used a spray can for mine)
- Wash all over the silver with Agrax Earthshade . Try and concentrate the wash towards the lower sections of each section to get a grimy look.
- Drybrush towards the upper parts of each section with Necron Compound . Use a light drybrush and build up the colour as needed.
- Edge highlight the silver with Stormhost Silver .
- If needed, bring back Agrax Earthshade and work back some more grime onto each section.
- Bring in Dried Blood . Water the paint down well and use a mix of stippling and spattering off of an old toothbrush to spatter 'blood' over the minis face, chest and under each arm.
Dark green
- Base the dark green sections with Doom Death Black with a couple thin layers.
- Next use Caliban Green to both edge highlight and glaze towards the bottom of each section with.
- Edge highlight with Warpstone Glow . At this point you can also draw in some cracks across panels you think are plain.
- Point highlight with Moot Green , including any drawn cracks you put on in the last step.
Cables
- I based the black cables in the chest with Corax White , washed with Gryph-charger Grey , then Black Templar . The ridges were highlighted with Thunderhawk Blue and Fenrisian Grey .
- The purple cables were based with Daemonette Hide and washed with Nuln Oil . I relayered with Daemonette Hide , and highlighted with Warpfiend Grey and Slaanesh Grey .
Blades and bright greens
- Base the blades in Doom Death Black using a couple thin layers.
- Water down Caliban Green to a glaze and draw in a gradient in a NMM pattern - I alternated either end of the blades and right in the middle of the flat of the blade, the opposite on the other side, and then flipping all of that on the other blade.
- Water down Warpstone Glow and repeat the same process, covering less then you did with Caliban Green to let some of the underlying colour show through. I also ran this wholly into the spaces on the ribs (Drawing the paint towards the cartouche in the middle) and into the eye sockets.
- Mix Warpstone Glow and Moot Green 50:50, water it down to a glaze, and add a smaller glaze on top of the pure Warpstone Glow on the blades. Mixing the colours here helps to smooth out the gradient, as Moot Green can be a little difficult to glaze with as is.
- I mixed a brush tip of Moot Green into a drop of Lahmian Medium , watered this down for glazing, and applied the final glaze to the brightest parts of the blade. I also added this to where I wanted the rib glow to be brightest - right behind the cartouche - and fully layered the eyes.
- I carefully edge highlighted all of the edges on the blades with Gauss Blaster Green . Use the side of the brush for around the outside of the blades, and nearer the tip for the other details. If you angle the tip into the recess you can easily clean the mess with a quick pin shade of black, rather than having to clean up the gradients on the blade. I also apply nicks across the hard edges and dot the eyes with this colour.
- In a slight change to differentiate between the two green, I used Yriel Yellow to highlight the tips of the symbol on the cartouche.

Adz
HowAdzPaints
I'm a casual mini painter who's fallen into the tutorial space. Documenting my progress and recipes as I go!
Citadel Painting System 19
Base 3
- Caliban Green
- Corax White
- Daemonette Hide
Shade 2
- Agrax Earthshade
- Nuln Oil
Layer 9
- Fenrisian Grey
- Gauss Blaster Green
- Moot Green
- Slaanesh Grey
- Stormhost Silver
- Thunderhawk Blue
- Warpfiend Grey
- Warpstone Glow
- Yriel Yellow
Dry 1
- Necron Compound
Technical 1
- Lahmian Medium
Spray 1
- Leadbelcher
Contrast 2
- Black Templar
- Gryph-charger Grey
Two Thin Coats
Shade 1
- Doom Death Black
Vallejo Game Color
Special effect 1
- 72.133 Dried Blood
.jpg)

.jpg)