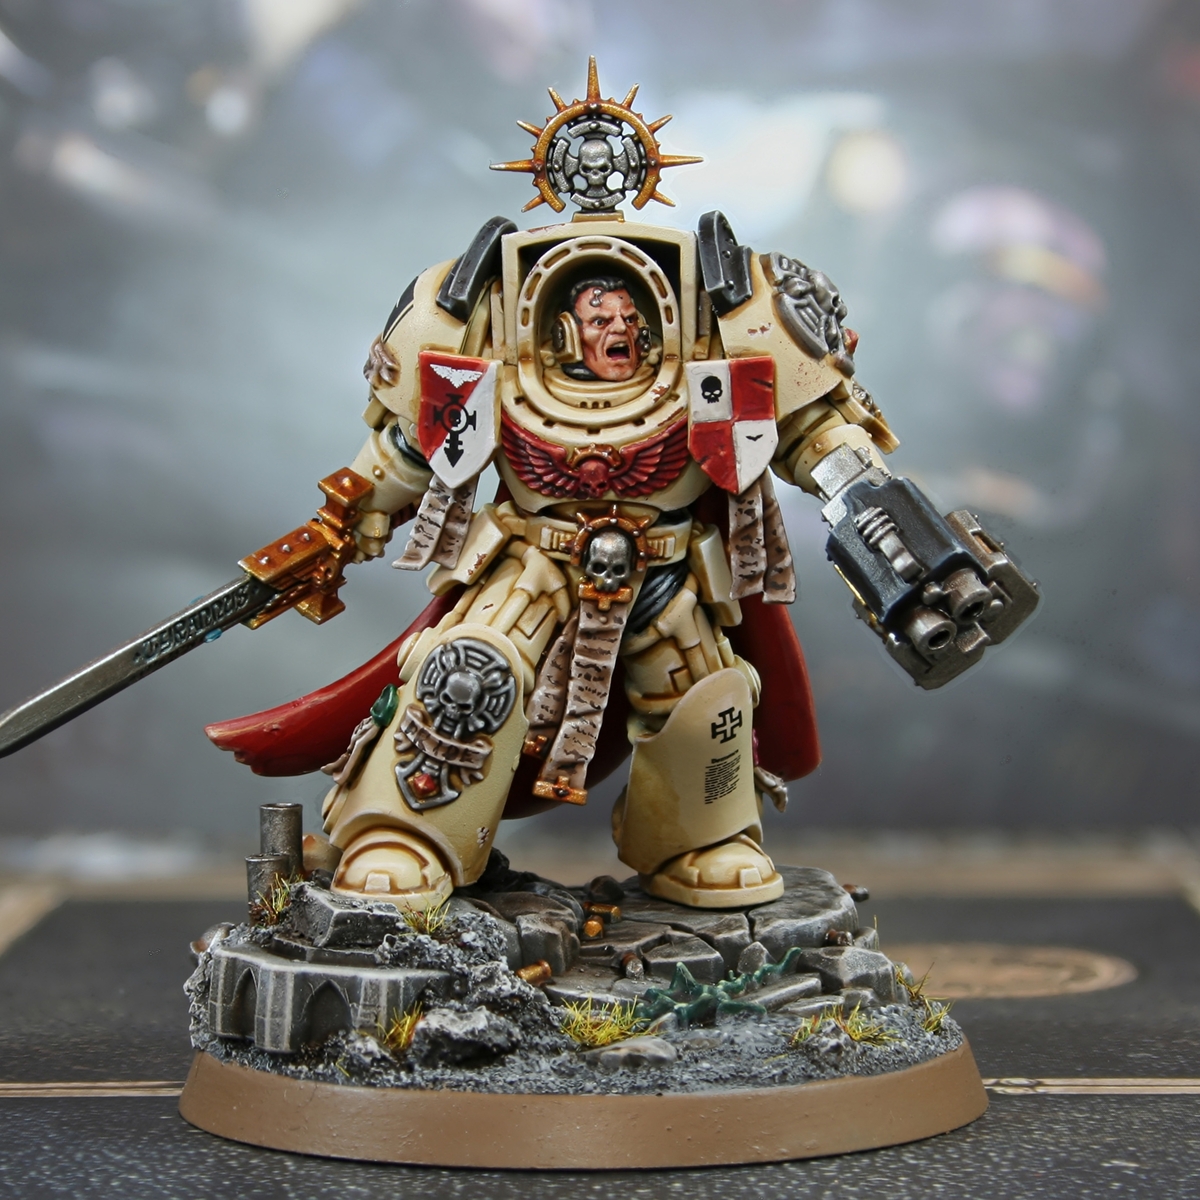
Tome Keepers Captain in Terminator Armour

Bone Power Armour
- I would recommend priming with Wraithbone or any other light and slightly warm colour. This will make getting a nice tone to the armour easier.
- Basecoat armour with Ushabti Bone .
- Either zenethal highlight with thinned Screaming Skull from a downward 45 degree angle or glaze/drybrush in where the light would hit.
- Shade recesses with Skeleton Horde thinned with Contrast Medium 1:1. Don't be too neat, the contrast should pull towards the recess and give something like a transition. Glazes with this mix are a nice way of getting extra shadow too. Now is also a good time to paint the under-suit/tubing and eye lenses too.
- Now shade recesses again, this time being careful, and using Agrax Earthshade . I used is straight out of the pot, but you could mix in a little contrast if you wanted to make life a little easier. I tend to be a bit more selective at this stage, only going for the deepest recesses.
- Add a chunky highlight of Screaming Skull to all edges.
- Edge highlight everything again with fine lines of Pallid Wych Flesh .
- Selectively edge highlight the most exposed curved edges and corners where highlights meet with a pure white of your choice, like White Scar .
Optional: Battle Damage
- Add small patches of Mournfang Brown using dots with a fine brush. Try to stick to edges and corners where damage would occur, mostly towards the front of the Space Marine.
- Underline the damage from the last step with fine lines of Pallid Wych Flesh .
Dark Grey Undersuit
- Basecoat the tubing with Dawnstone .
- Wash the tubing with Black Templar .
- Edge highlight most of the raised tubing with Dawnstone .
- Highlight a smaller portion of the tubing with Administratum Grey .
- Add specular highlights of Ulthuan Grey to the centre of the previous highlights.
Black Armour Trim
- Basecoat with Abaddon Black .
- Edge highlight everything with Eshin Grey .
- Edge highlight most of the edges again with Dawnstone .
- Selectively edge highlight curved edges and corners with Administratum Grey .
- Add dot highlights of White Scar to points corners and more exposed edges that were highlighted in the last step.
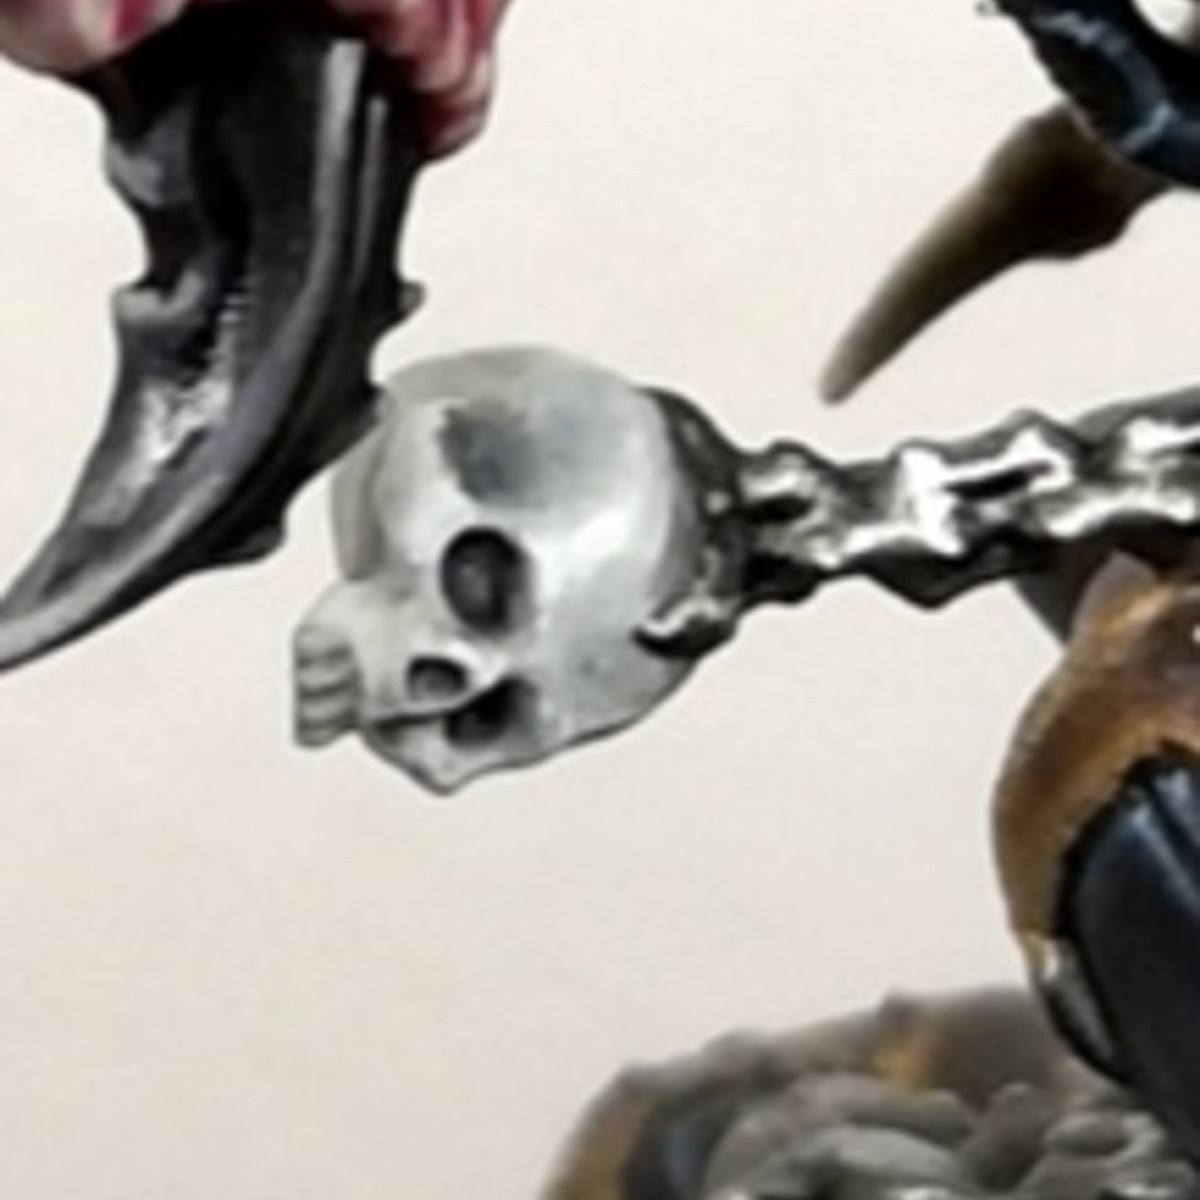
Crux Terminatus
- Basecoat with Dawnstone .
- Soft Shade with a mix of Dawnstone and Rhinox Hide . Thin it with at least the same amoundt of Lahmian Medium , to make the shading as easy as possible.
- In areas that need extra definition, mix Rhinox Hide and Abaddon Black 1:1 and selectively shade.
- Start to highlight ridges with glazes of Administratum Grey .
- Add some White to your Administratum Grey and apply thin edge highlights.
- Finish with a few small dots of pure White where needed.
Red Gems
- Basecoat with Mephiston Red .
- Edge highlight with Troll Slayer Orange .
- Mix some Dorn Yellow into your Troll Slayer Orange and selectively edge highlight towards the point.
- Finish with a dot of Dorn Yellow on the point.
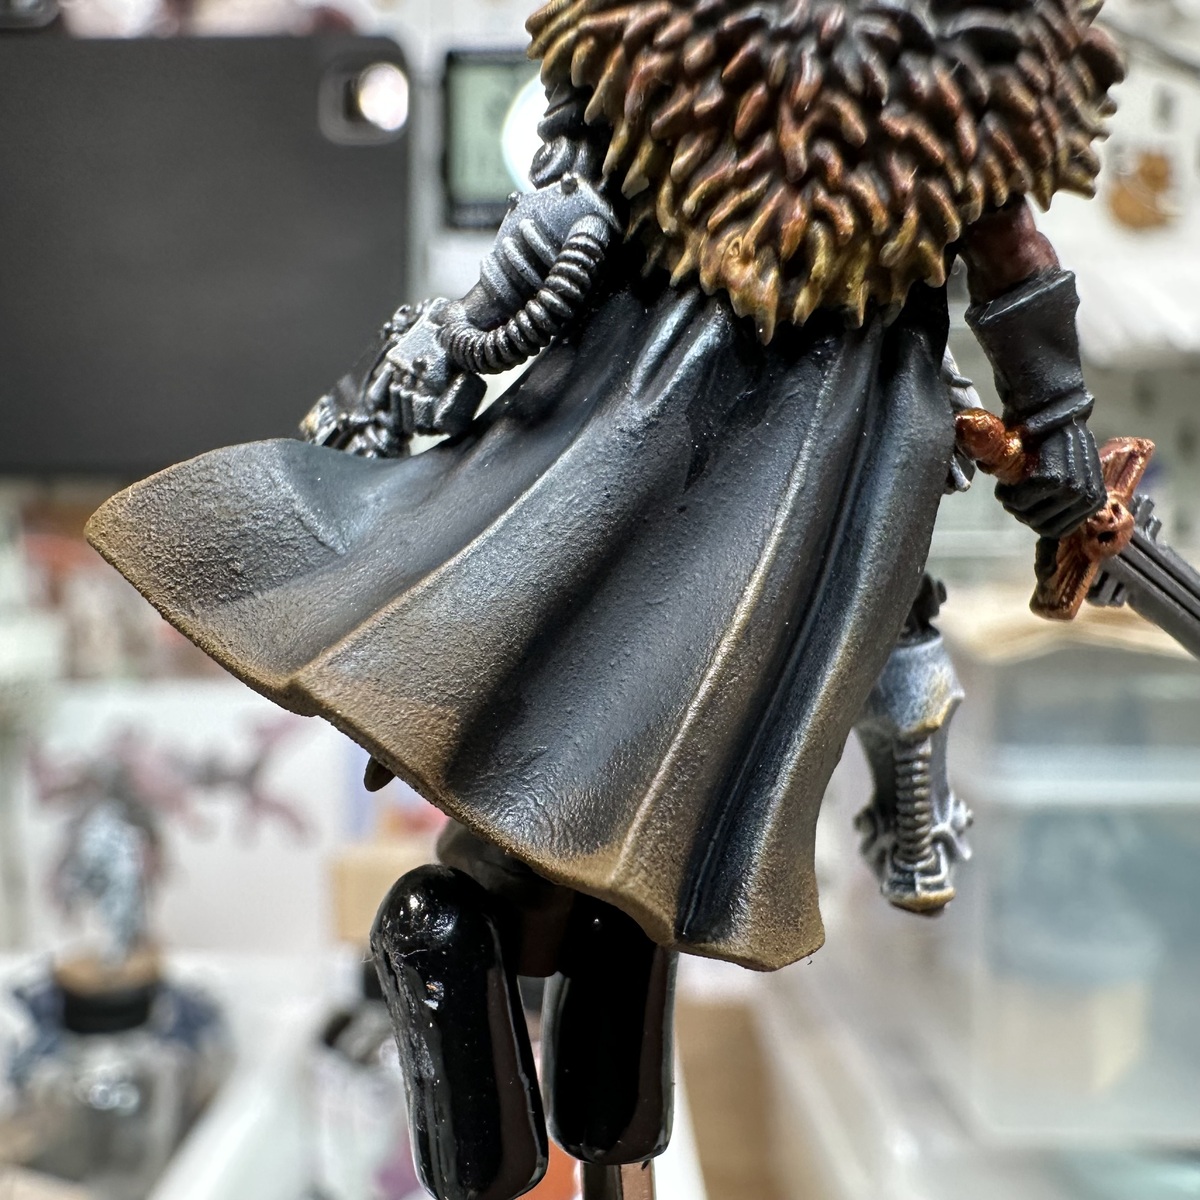
Red Cape
- Basecoat with Mephiston Red .
- Glaze shading into the folds with Khorne Red . Make this shading quite general, pullung the pigment towards the folds.
- Mix your Khorne Red 1:1 with Abaddon Black , and dhade the deepest recesses with a thin mix.
- Add glazes and edge highlight raises portions of cloth with Evil Sunz Scarlet .
- Apply smaller highlights in the same way, with Squig Orange .
- Selectively hihglight with Ungor Flesh .
- Mix some Wraithbone into your Ungor Flesh and add very small/specular highlights to harsh corners or more extreme folds.
Dark Red Chest Device
- Basecoat with Khorne Red .
- Mix an equal amount of Incubi Darkness into your Khorne Red , thin it quite a lot and wash the device, trying to pull pigment into details.
- Add some Black to the mix and repeat for the very deepest points. You can always tidy up your basecoat in points, if you are unhappy.
- Add general highlights with Wazdakka Red .
- Selectively highlight raised details with Squig Orange .
- Finally, mix some Pallid Wych Flesh into your Squig Orange and add specular highlights to points/corners.
Steel
- Basecoat with Leadbelcher .
- Wash with Nuln Oil .
- Edge highlight with Ironbreaker .
- Add fine highlights with small amounts of Vallejo Model Air Silver RLM01 Metallic .
Black Weapon Casing
- Basecoat with Abaddon Black .
- Edge highlight everything with a thick line of Dark Reaper .
- Highlight everything again, this time with a thin line of Thunderhawk Blue . This colour is a good place to put in some scratches too.
- With Fenrisian Grey , selectively highlight upward facing edges, corners and prominent edges. Stick primarily to edges where the light would hit and always drag your brush towards the brightest point. If you added scratches previously, reinforce them with a smaller, thinner line underneath.
- Finally, edge add small highlights to the centre of the previous highlights and corners with Blue Horror . Try to make them very small, dots if at all possible.
Gold Details
- Basecoat with Retributor Armour .
- Glaze shading in, using Gore-grunta Fur .
- If you need to darken the shading, mix some Rhinox Hide into it and do another (more selective) pass.
- Highlight raised details with Liberator Gold .
- Finish with selective highlights of Silver RLM01 Metallic .
Parchment and Text
- Basecoat the paper with Rakarth Flesh .
- Wash with Agrax Earthshade . Try not to let is pool in unsightly places.
- Reestablish the Rakarth Flesh in places where light would hit.
- Add a chunky highlights with Rakarth Flesh and Pallid Wych Flesh mixed 1:1.
- Add fine highlights of pure Pallid Wych Flesh .Add some white to the previous mix and pop spot highlights this on corners/points.
For the text, mix Abaddon Black and Rhinox Hide 1:1 then paint in the text with a very fine brush. I find the best way is to randomly paint in dots and dashes in lines, moving my hand along slowly. Do a secondary pass refining for the best results.
Purple Wax
- Basecoat with Screamer Pink .
- Wash detail with Nuln Oil .
- Highlight raised details with Pink Horror . Highlight using dots and dabs to make it look irregular and let the colours below show.
- With a 1:1 mix of Screamer Pink and Ushabti Bone , add smaller highlights, covering even less area.
- If you are feeling brave, add small specular highlight of pure Ushabti Bone within the previous highlights.
Green Wax
- Basecoat with Caliban Green .
- Highlight raised details with Warpstone Glow . Highlight using dots and dabs to make it look irregular and let the colours below show.
- With a 1:1 mix of Warpstone Glow and Ushabti Bone , add smaller highlights, covering even less area.
- If you are feeling brave, add small specular highlight of pure Ushabti Bone within the previous highlights.

Rookie Brushes
RookieBrushes
Aspiring miniature painter and biscuit enthusiast. Here to share my hobby and help where I can.
Citadel Painting System 42
Base 12
- Abaddon Black
- Caliban Green
- Incubi Darkness
- Khorne Red
- Leadbelcher
- Mephiston Red
- Mournfang Brown
- Rakarth Flesh
- Retributor Armour
- Rhinox Hide
- Screamer Pink
- Wraithbone
Shade 2
- Agrax Earthshade
- Nuln Oil
Layer 22
- Administratum Grey
- Blue Horror
- Dark Reaper
- Dawnstone
- Dorn Yellow
- Eshin Grey
- Evil Sunz Scarlet
- Fenrisian Grey
- Ironbreaker
- Liberator Gold
- Pallid Wych Flesh
- Pink Horror
- Screaming Skull
- Squig Orange
- Thunderhawk Blue
- Troll Slayer Orange
- Ulthuan Grey
- Ungor Flesh
- Ushabti Bone
- Warpstone Glow
- Wazdakka Red
- White Scar
Technical 2
- Contrast Medium
- Lahmian Medium
Spray 1
- Wraithbone
Contrast 3
- Black Templar
- Gore-grunta Fur
- Skeleton Horde
Vallejo Model Air
Base 1
- 71.063 Silver RLM01 Metallic
Vallejo Model Color
Base 2
- 70.950 Black
- 70.951 White