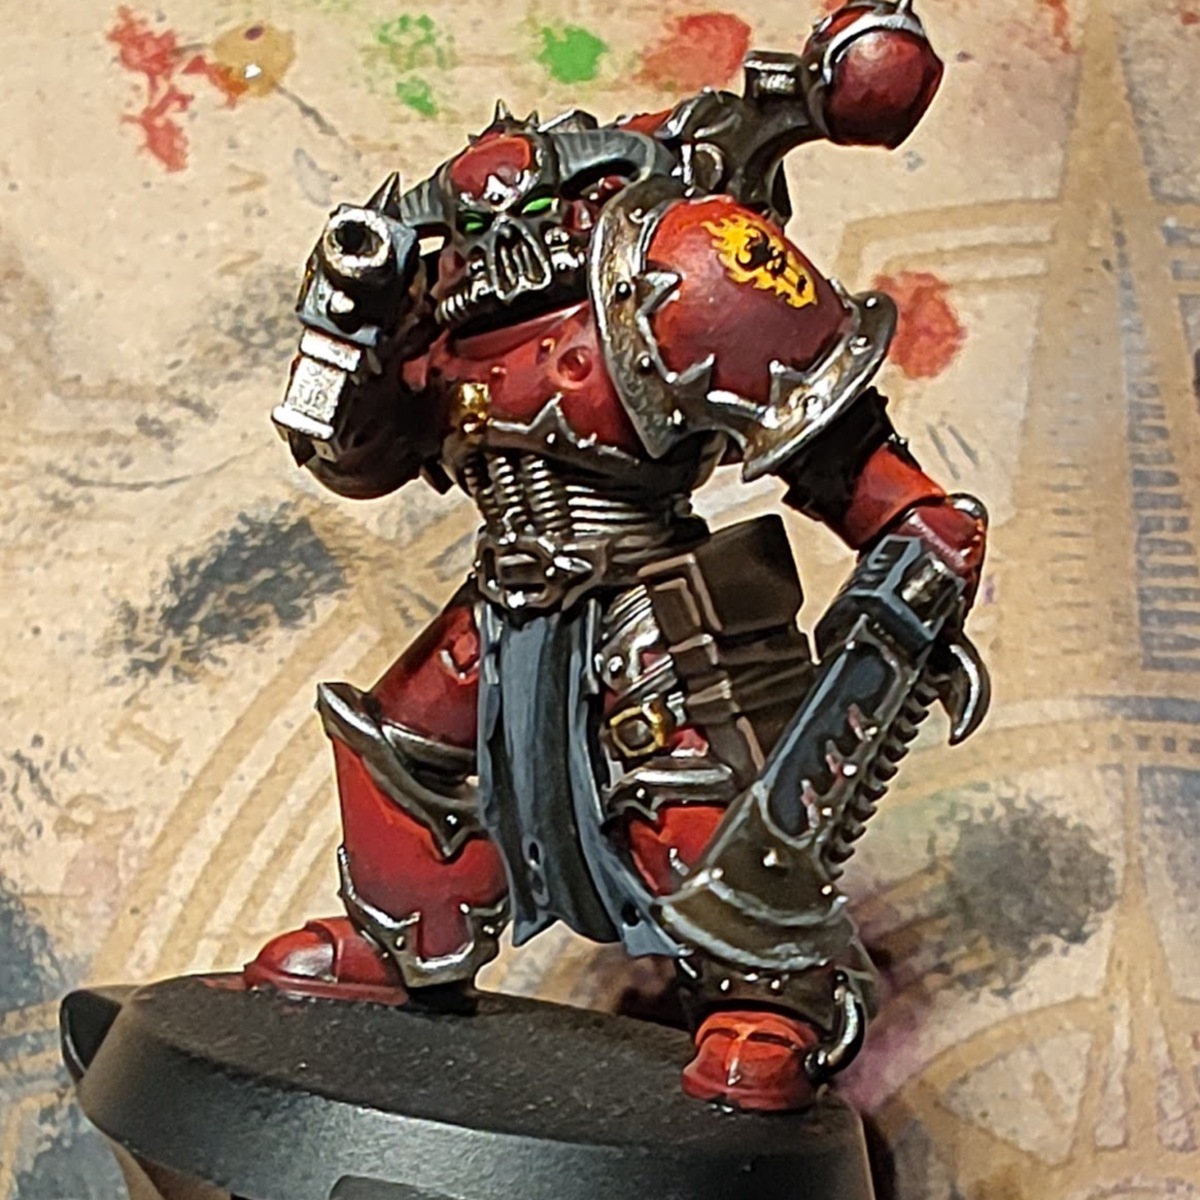
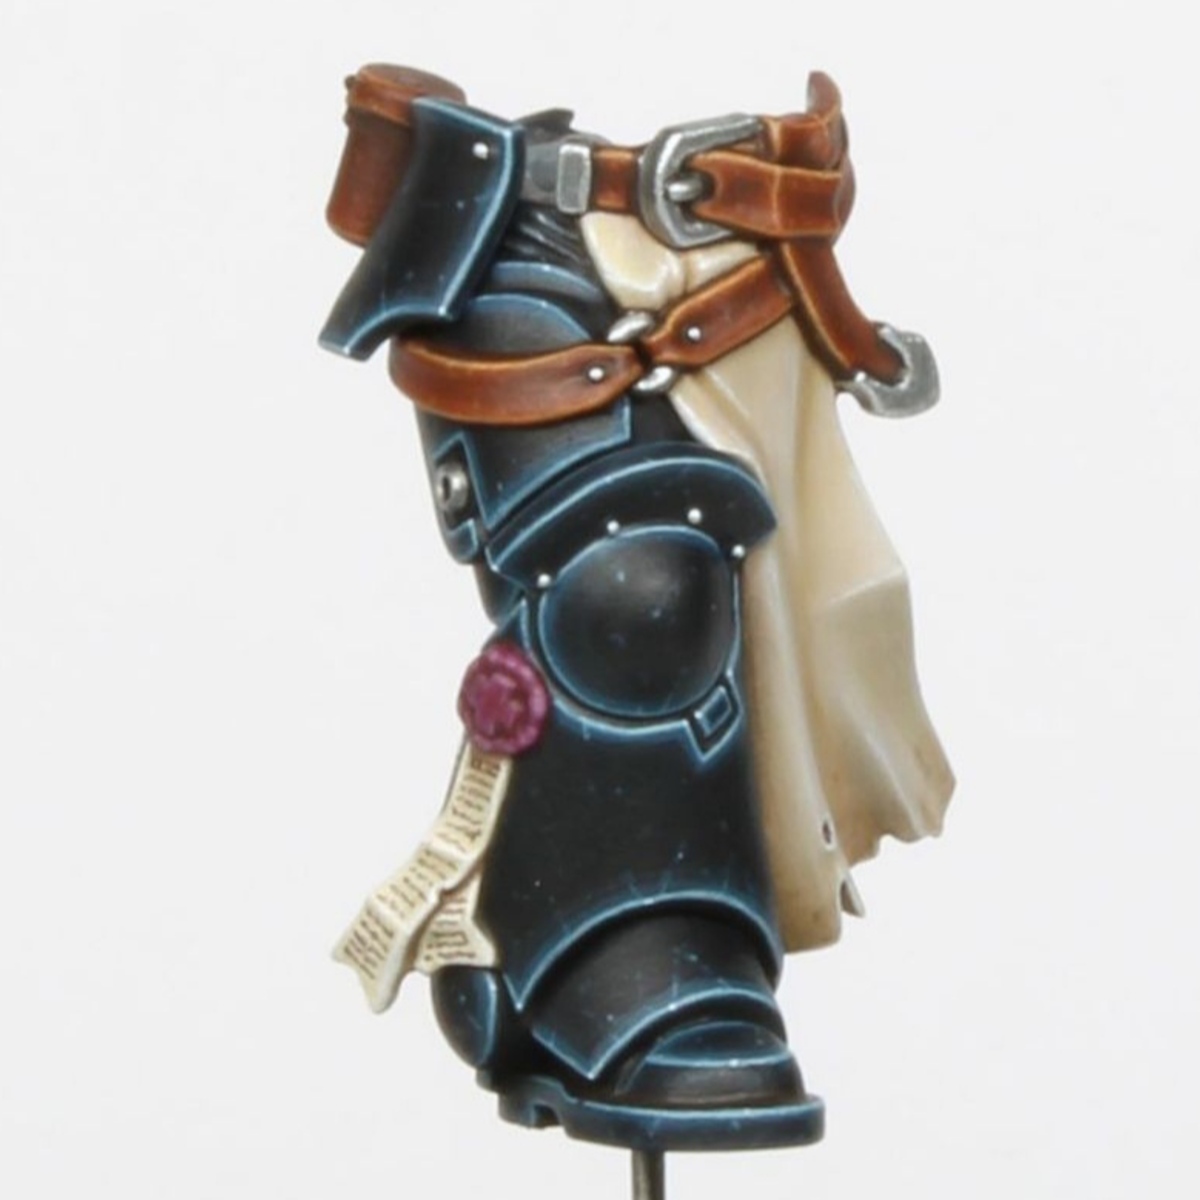
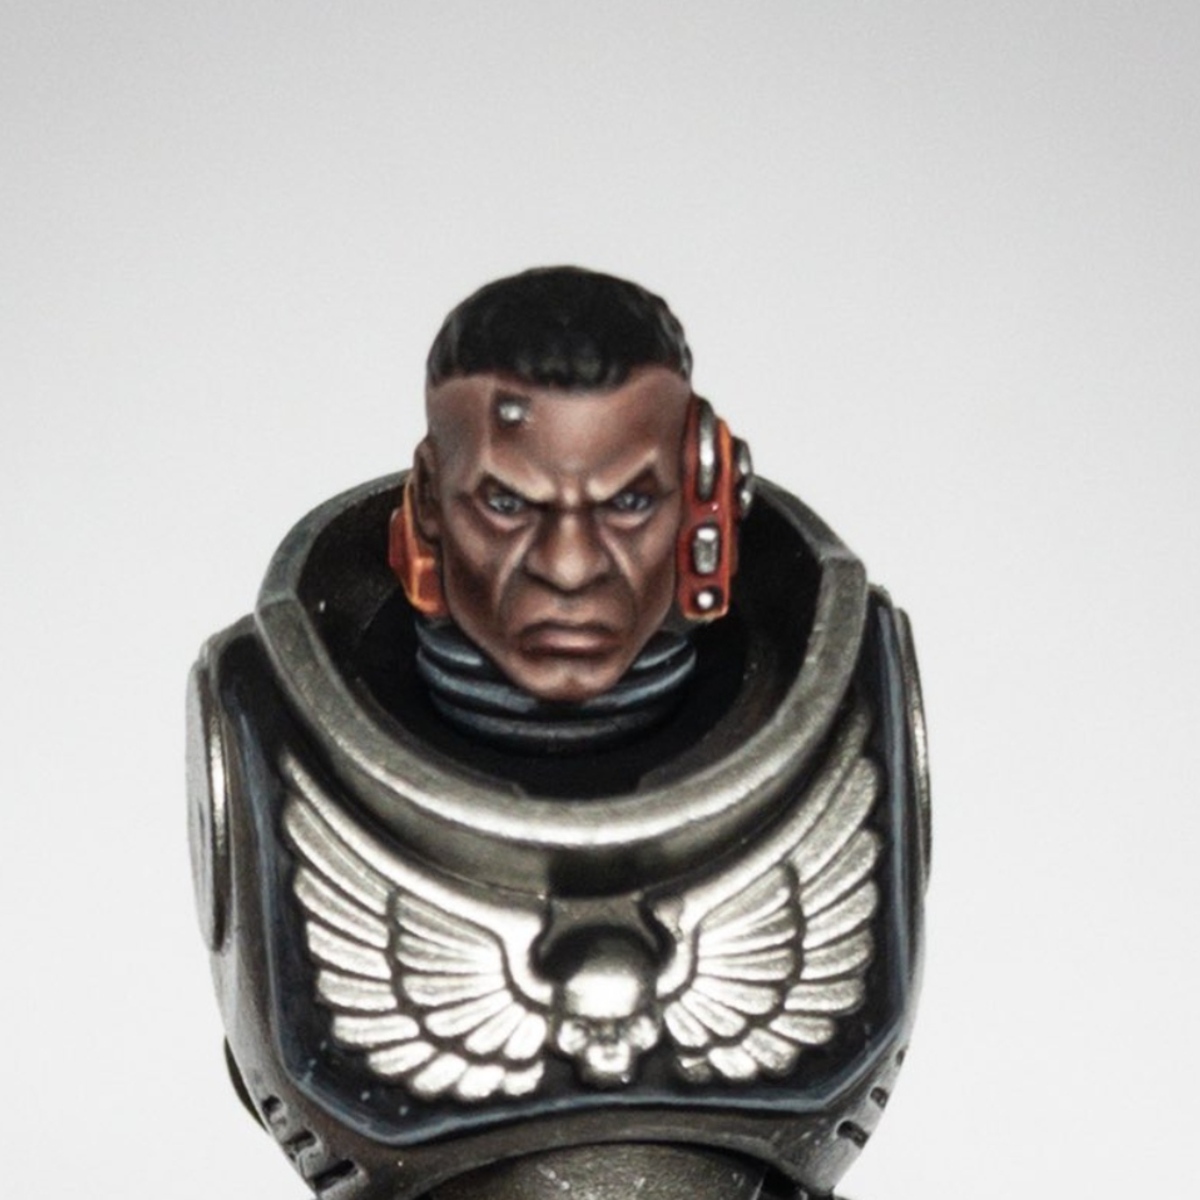
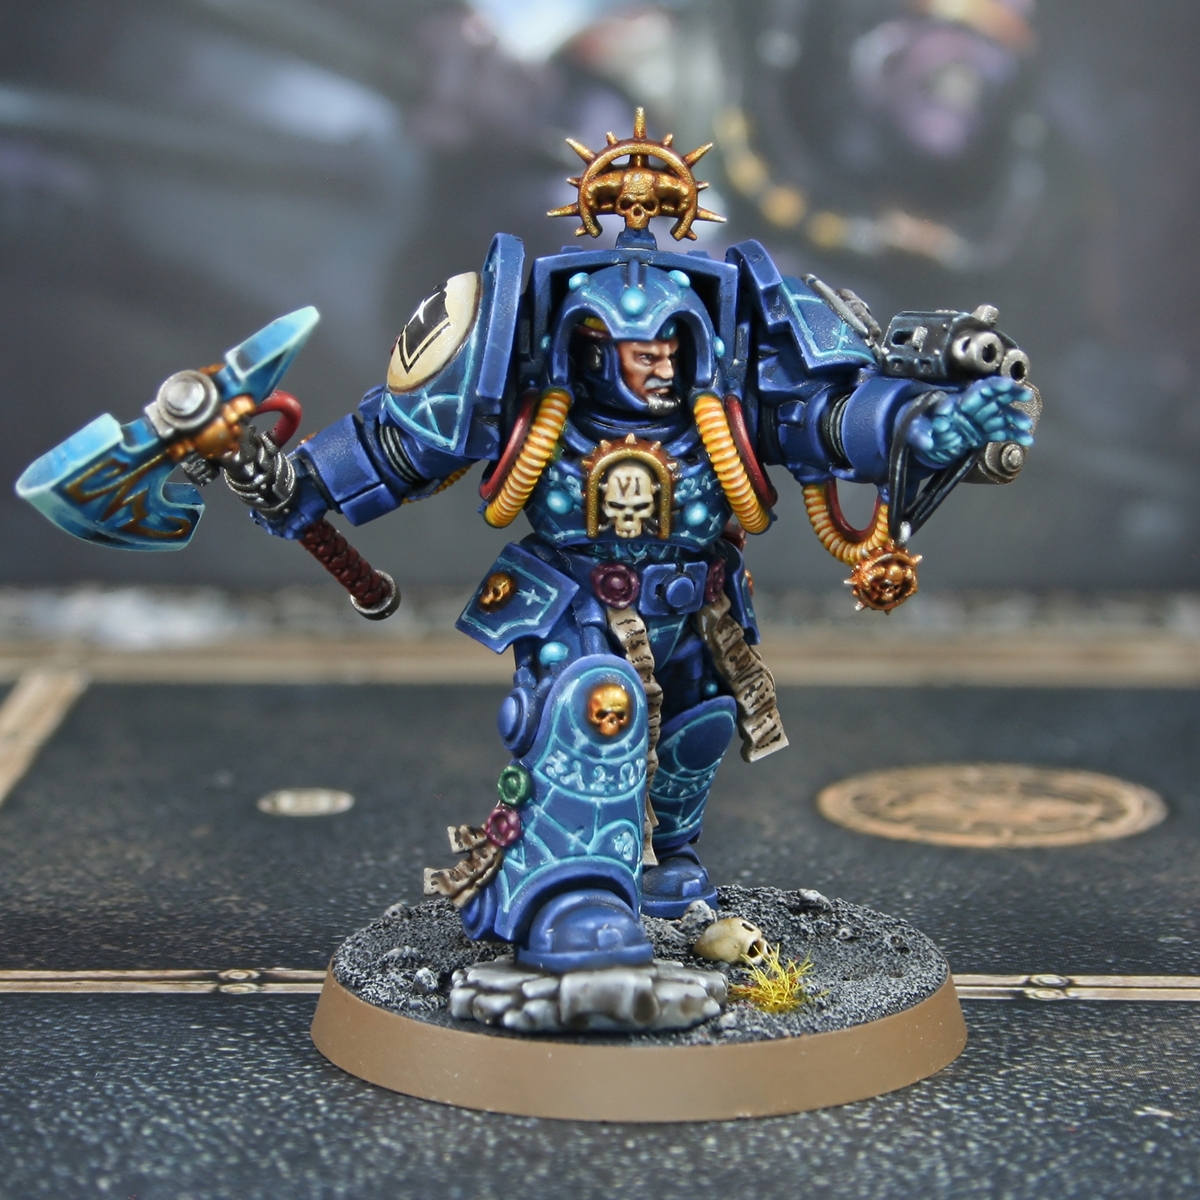
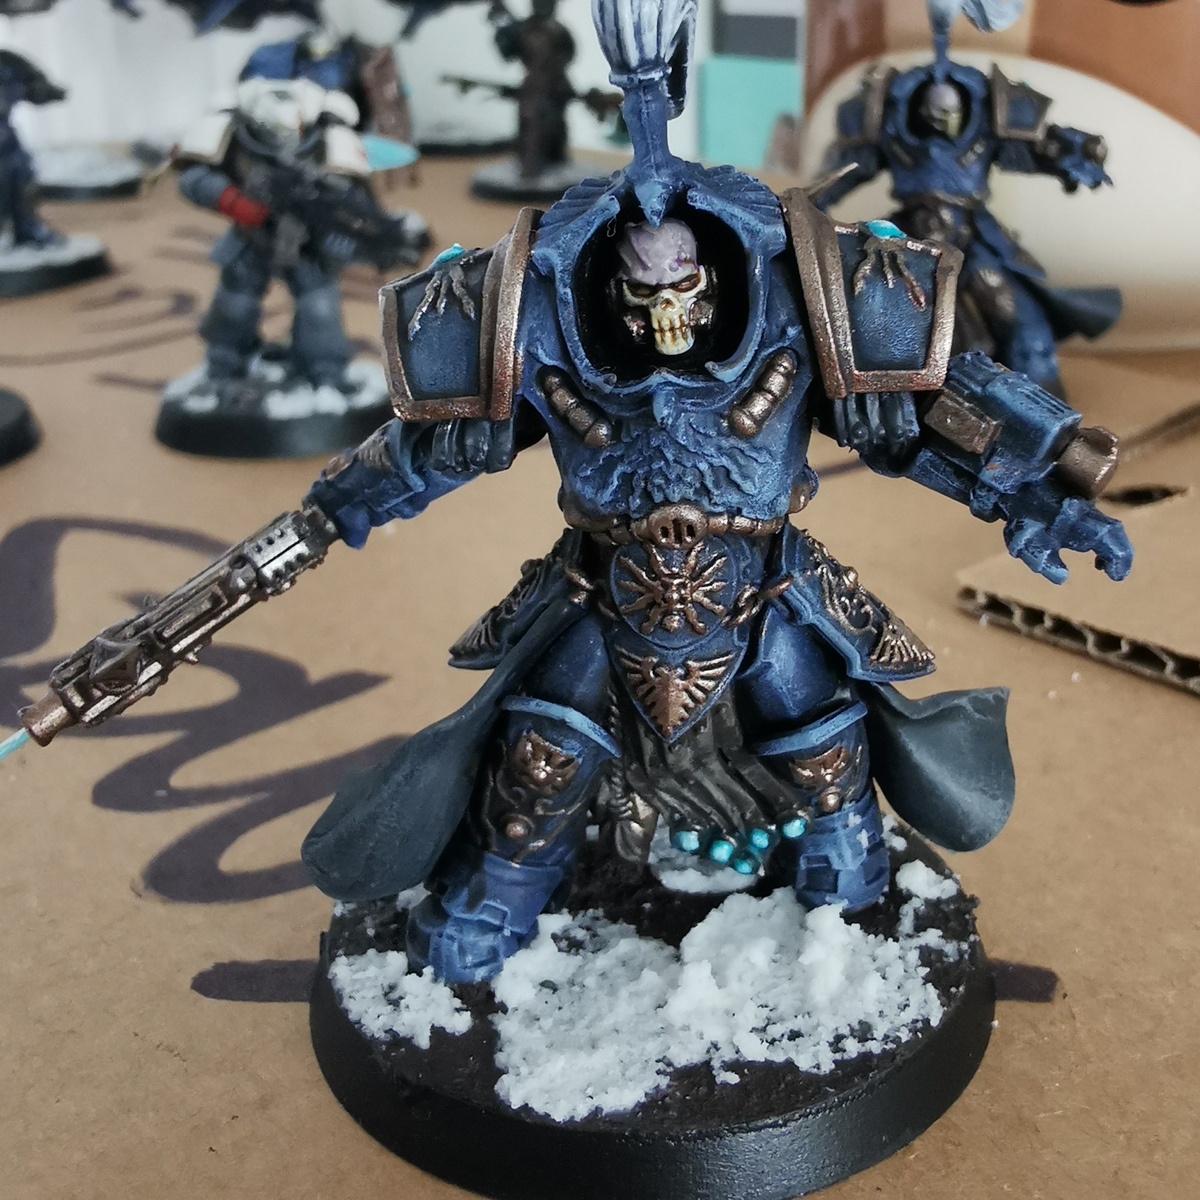
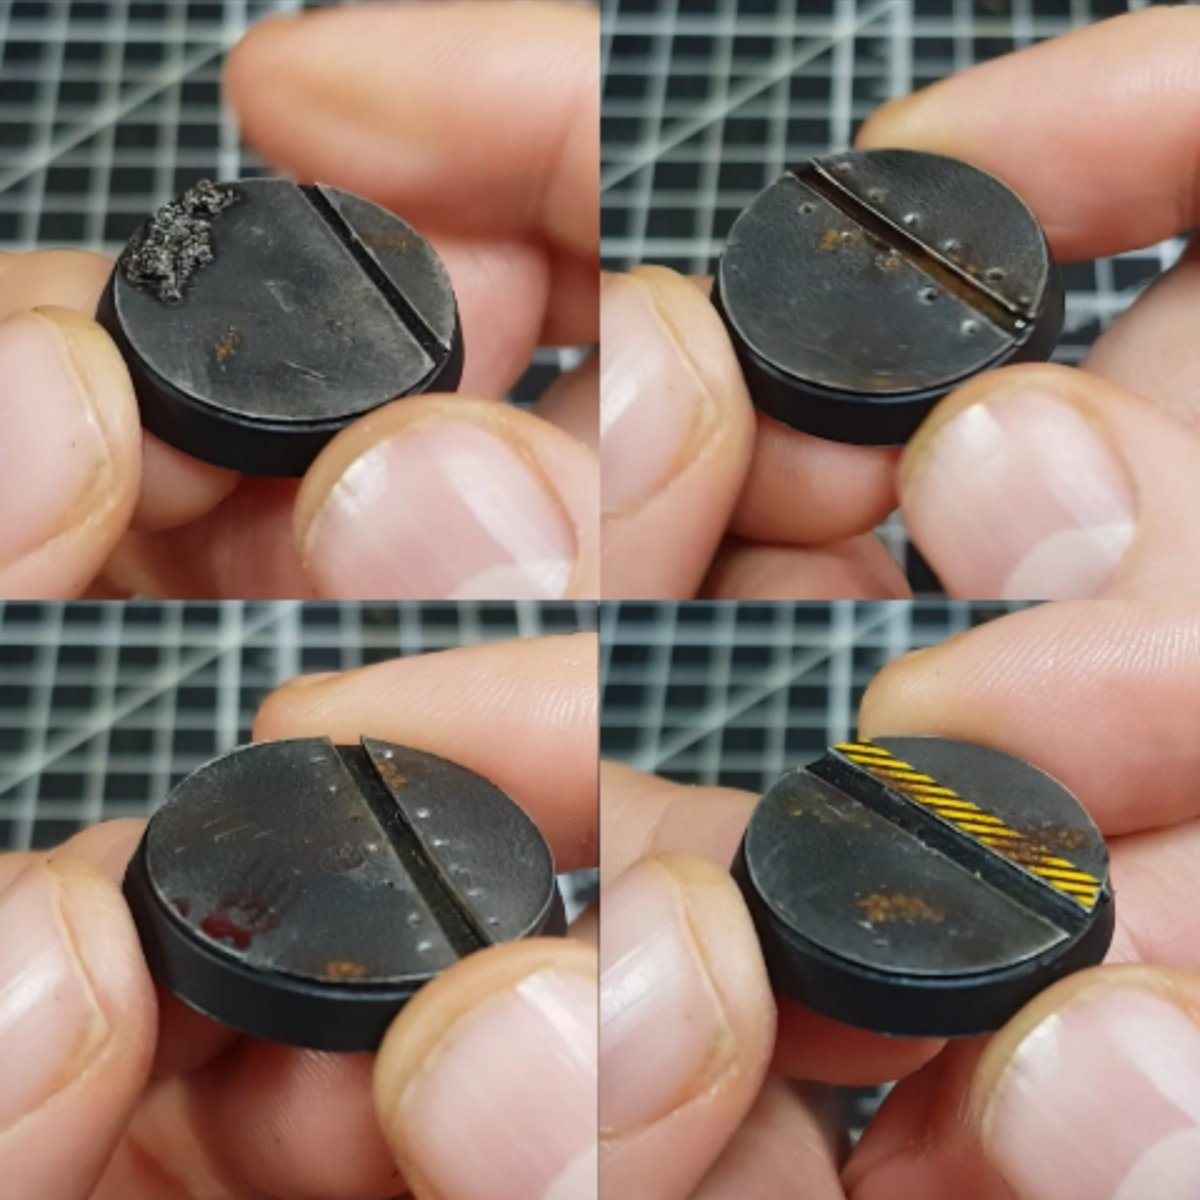
Death Guard Pallid Hand Plague Marines
Base Armor
Base and layers: Wraithbone Screaming Skull Castellan Green Leadbelcher Balthasar Gold Corvus Black Dryad Bark Kislev Flesh
Shades and contrasts: Agrax Earthshade Guilliman Flesh Magos Purple Contrast Medium Carroburg Crimson
Highlights: Loren Forest Flayed One Flesh Sycorax Bronze Stormhost Silver Eshin Grey Gorthor Brown White
- Follow Duncan's awesome tutorial (https://www.youtube.com/watch?v=ImGHTaS3wNw)
- Additionally wash all white armor with 50% Seraphim Sepia and Contrast Medium mix to darken it down
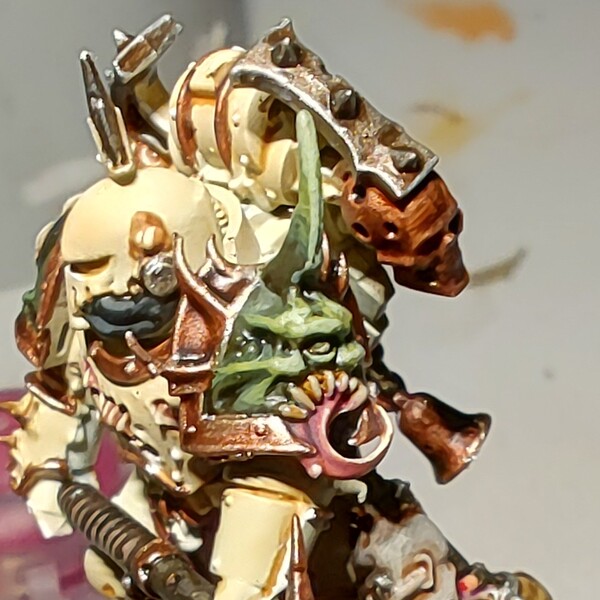 Daemon shoulder pads
- Base with Castellan Green
- Shade with Agrax Earthshade
- Broad highlight with Loren Forest
- Closer to face, highlight with Elysian Green
- Point highlight with Nurgling Green in center of face
Bile or slime drops
- Base with Warpstone Glow
- Shade with Coelia Greenshade
- Broad highlight with Moot Green
- Highlight points with Flash Gitz Yellow
- Coat with Ardcoat
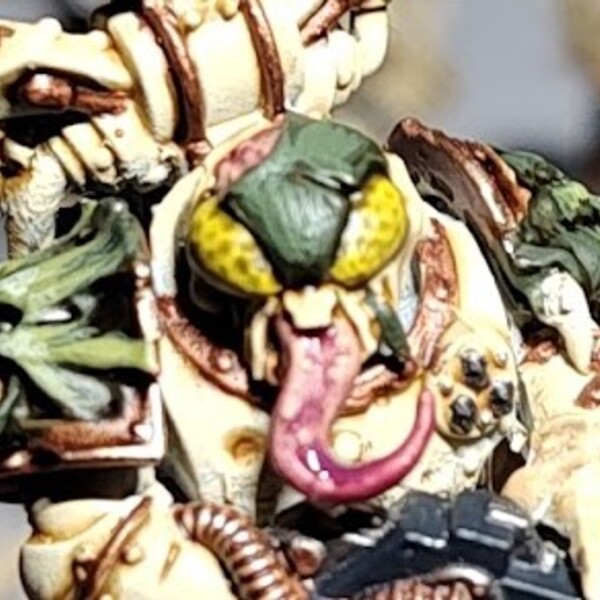 Insect eyes
- Layer with Flash Gitz Yellow
- Shade with Athonian Camoshade
- Repeat shade with Athonian Camoshade
Skulls
- Base with Zandri Dust
- Wash with Agrax Earthshade
- Highlight with Ushabti Bone
- Further highlight facial features with Screaming Skull
Shrink heads
Based on B&B (https://brushandboltgun.com/2017/10/18/death-guard-painting-techniques-part-2/)
- Base skin with Rakarth Flesh , wounds with Mephiston Red , boils with Averland Sunset
- Wash skin and boils with Seraphim Sepia , wounds with Carroburg Crimson
- Brighten up skin with Rakarth Flesh
- Paint the sewed up pieces Corvus Black or Leadbelcher
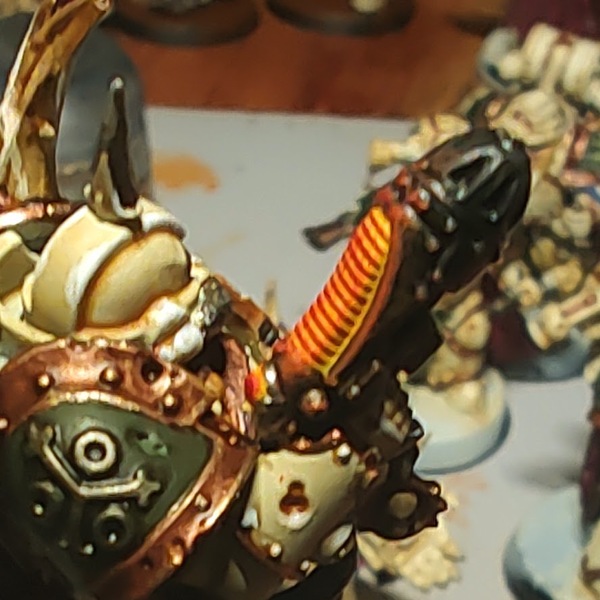 Plasma glow
There are two approaches to building a plasma gradient: i) from light to dark and ii) from dark to light. I chose i) as it conveys the idea of the coil cooling the more it is exposed to cold air. For this purpose, we start with a bright yellow close to the casing and center of the coil and work our way to darker colors to the middle/top of the coil.
- Base plasma coil with Yriel Yellow
- Dry brush larger oval area with Fire Dragon Bright
- Dry brush slightly smaller oval area with Troll Slayer Orange
- Over-dry brush with Troll Slayer Orange onto the casing for a small OSL effect.
- Dry brush even smaller oval area with Mephiston Red
Cloth and capes
- Base with Screamer Pink
- Wash with Basilicanum Grey
- Highlight with Screamer Pink
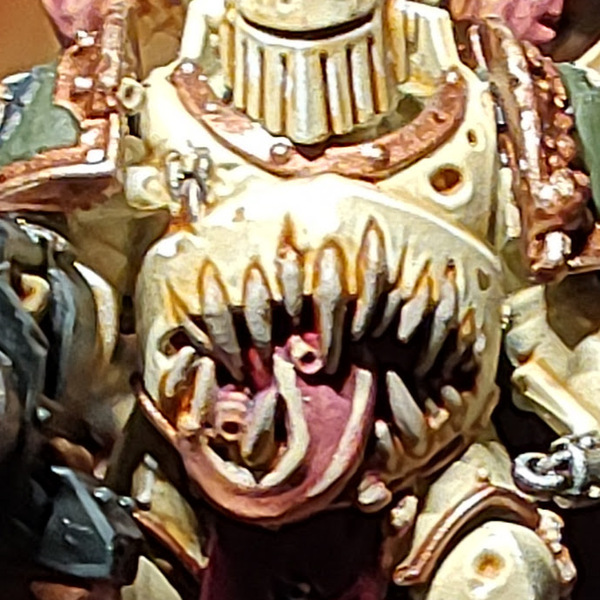 Daemon mouths
- Based on a great tutorial from B&B (https://brushandboltgun.com/2017/10/15/death-guard-painting-techniques/)
- Paint flesh as above with Kislev Flesh , inside of mouths with Mephiston Red
- Wash flesh with 50% Guilliman Flesh Contrast Medium mix, wash mouth with Druchii Violet
- Layer teeth with Rakarth Flesh
- Wash teeth with Seraphim Sepia 2x, (one layer all over, the second to darken the base of the tooth)
- Broad highlight of teeth with Rakarth Flesh
- Treat tongues like tentacles above (see Base Armor) and fade from Guilliman Flesh to Magos Purple mix to the tip of the tongues.
Fly wings
- Layer with Lothern Blue
- Edge highlight top of wing with Baharroth Blue :
- Edge highlight bottom of wing with Teclis Blue
Smoke
- Base with Celestra Grey , wash with Nihilakh Oxide
- Heavy drybrush with Ulthuan Grey , then manually strengthen some of the ridges. Highlight sharpest edges and tips with White
Basing
Marsian/red planet desert builds a good contrast against the models base colors and the brown elements tie the mini together. The steps below are based off of another great tutorial from Duncan (https://www.youtube.com/watch?v=O8hFQjwiUmQ).
- Glue rocks onto base
- Layer with Doombull Brown
- Thinner initial layer with Martian Ironearth , then thicker layers where earth needs to break with thickest blobs of paint randomly on the base. Leave out rocks.
- Wash with Reikland Fleshshade
- Dry brush ground with Tuskgor Fur
- Dry brush rocks and sharp objects with Karak Stone
- Add grass and painted skulls (see above)
Horns
- Base with Zandri Dust
- Wash completely with Seraphim Sepia
- Glaze outer 50% with Agrax Earthshade
- Additionally, glaze outer 25% with Agrax Earthshade again
Citadel Painting System 50
Base 11
- Averland Sunset
- Balthasar Gold
- Castellan Green
- Celestra Grey
- Corvus Black
- Dryad Bark
- Leadbelcher
- Mephiston Red
- Rakarth Flesh
- Screamer Pink
- Zandri Dust
Shade 7
- Agrax Earthshade
- Athonian Camoshade
- Carroburg Crimson
- Coelia Greenshade
- Druchii Violet
- Reikland Fleshshade
- Seraphim Sepia
Layer 24
- Baharroth Blue
- Doombull Brown
- Elysian Green
- Eshin Grey
- Fire Dragon Bright
- Flash Gitz Yellow
- Flayed One Flesh
- Gorthor Brown
- Karak Stone
- Kislev Flesh
- Loren Forest
- Lothern Blue
- Moot Green
- Nurgling Green
- Screaming Skull
- Stormhost Silver
- Sycorax Bronze
- Teclis Blue
- Troll Slayer Orange
- Tuskgor Fur
- Ulthuan Grey
- Ushabti Bone
- Warpstone Glow
- Yriel Yellow
Technical 3
- Ardcoat
- Contrast Medium
- Nihilakh Oxide
Texture 1
- Martian Ironearth
Spray 1
- Wraithbone
Contrast 3
- Basilicanum Grey
- Guilliman Flesh
- Magos Purple
Vallejo Model Color
Base 1
- 70.951 White

