Thousand Sons
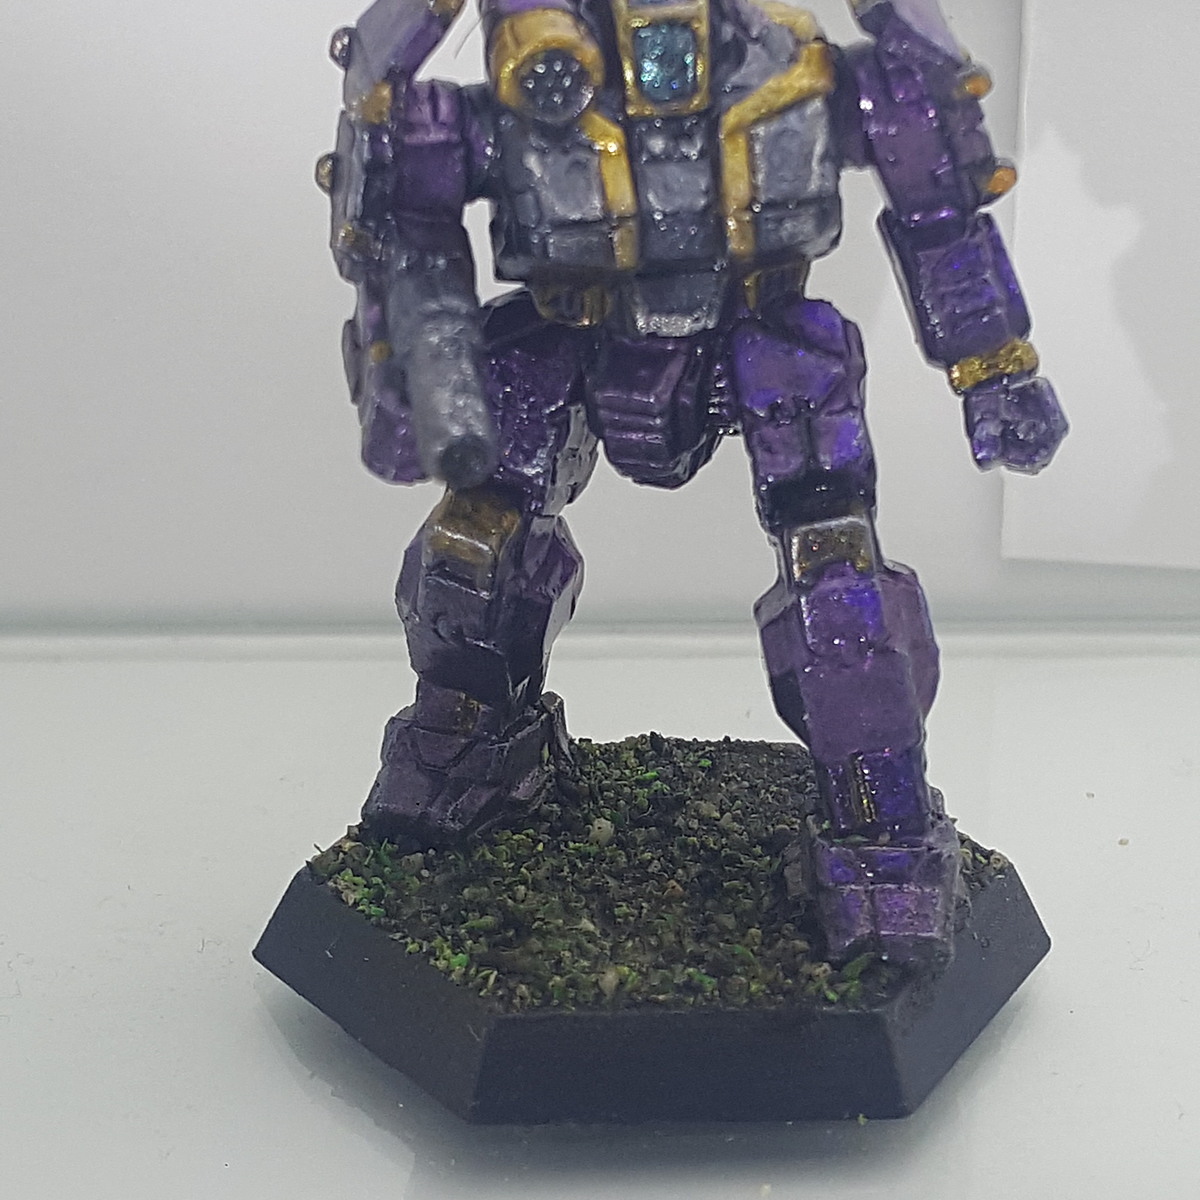
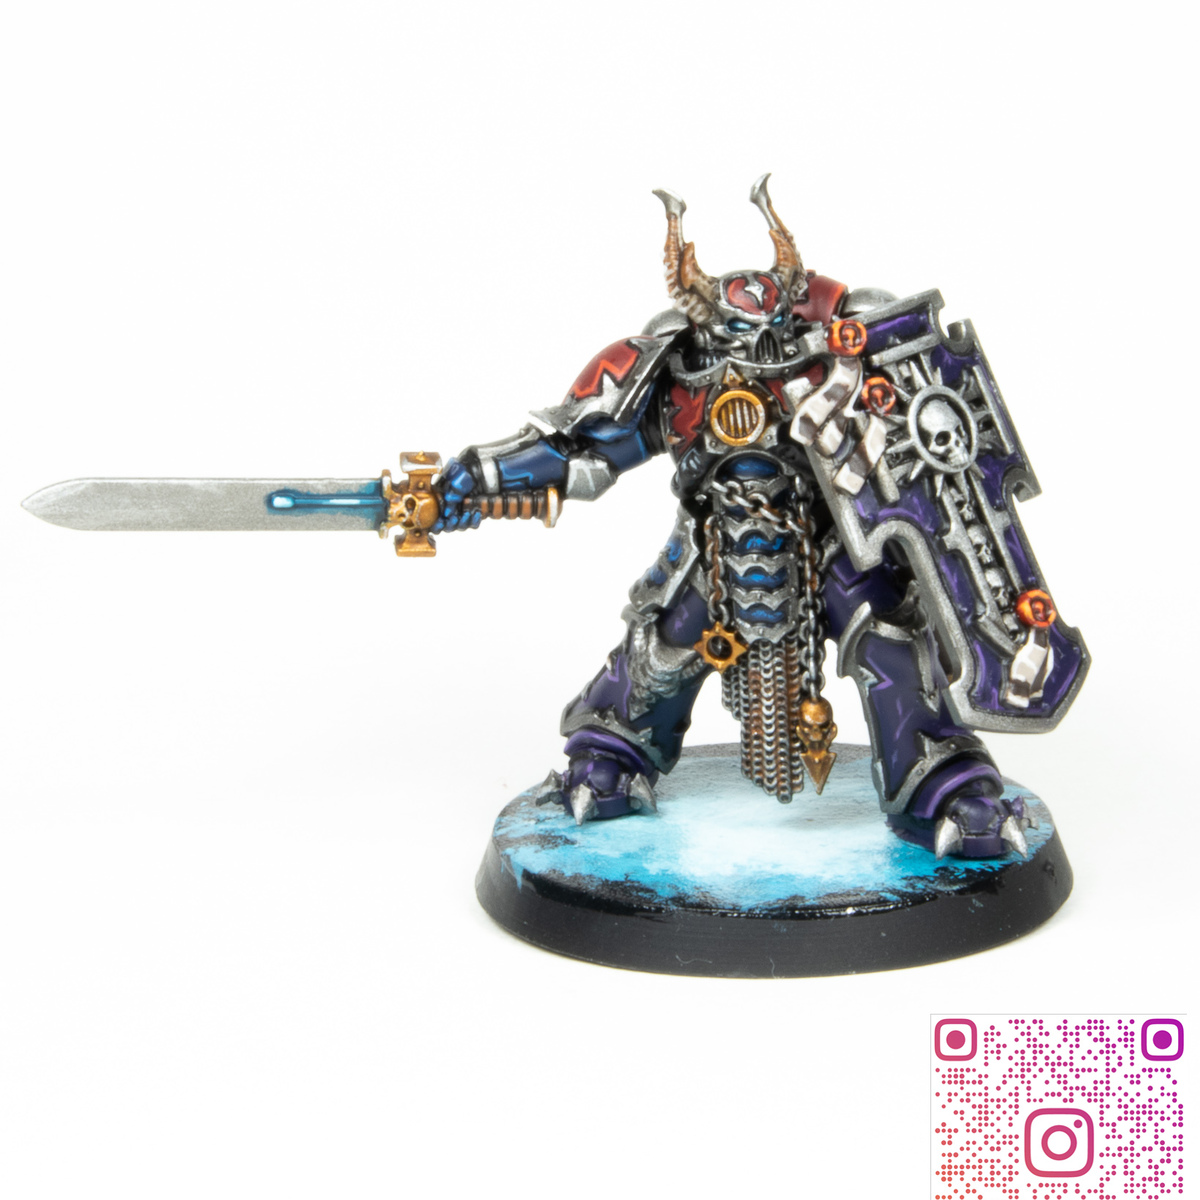
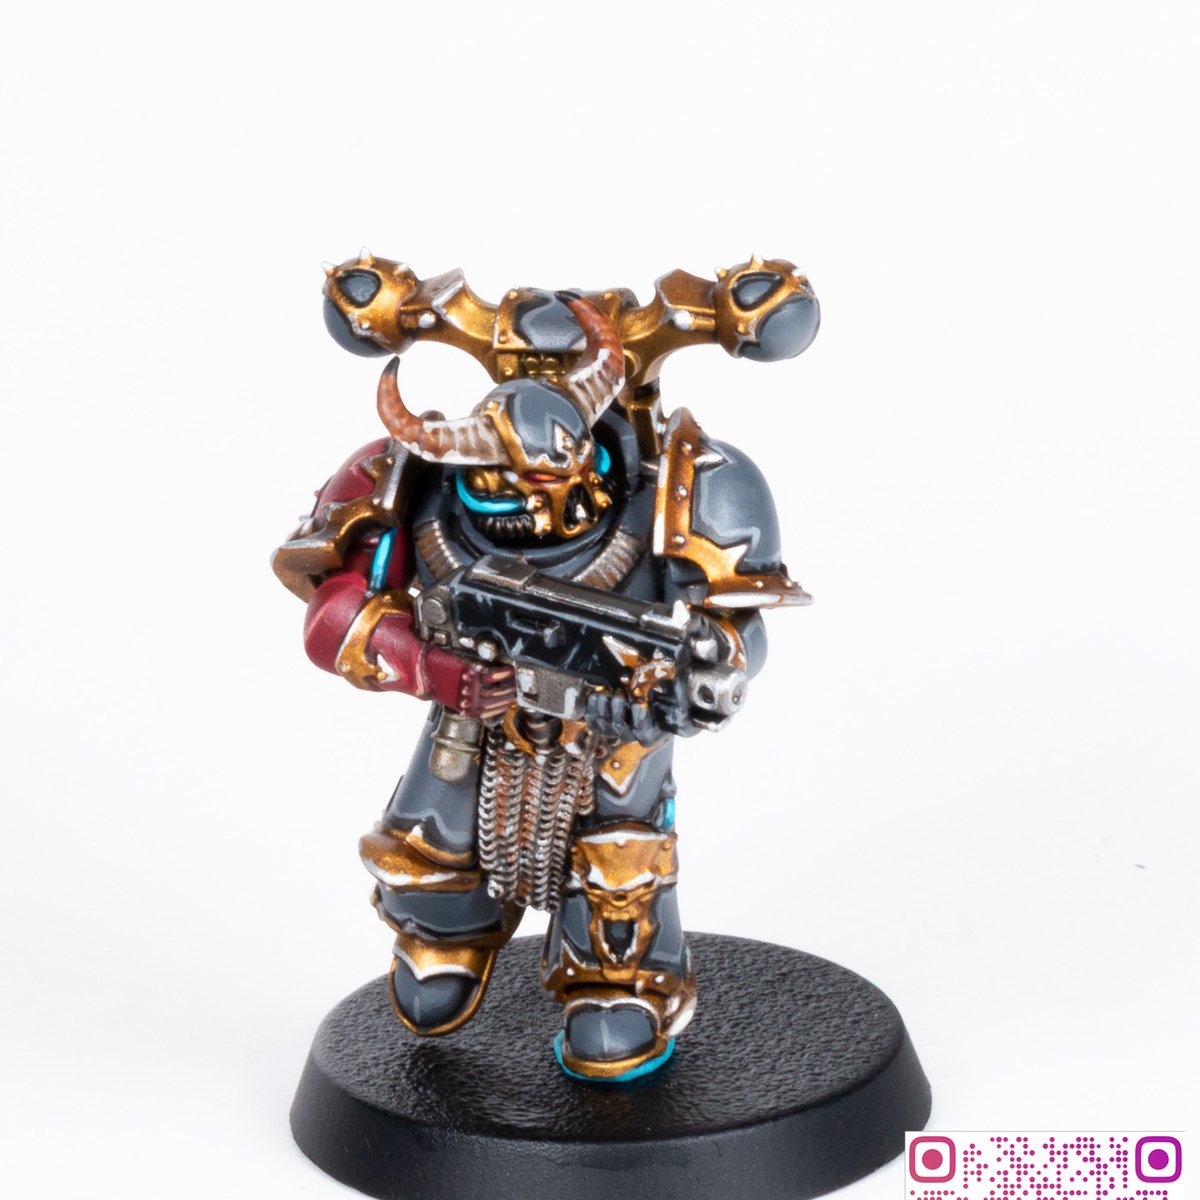
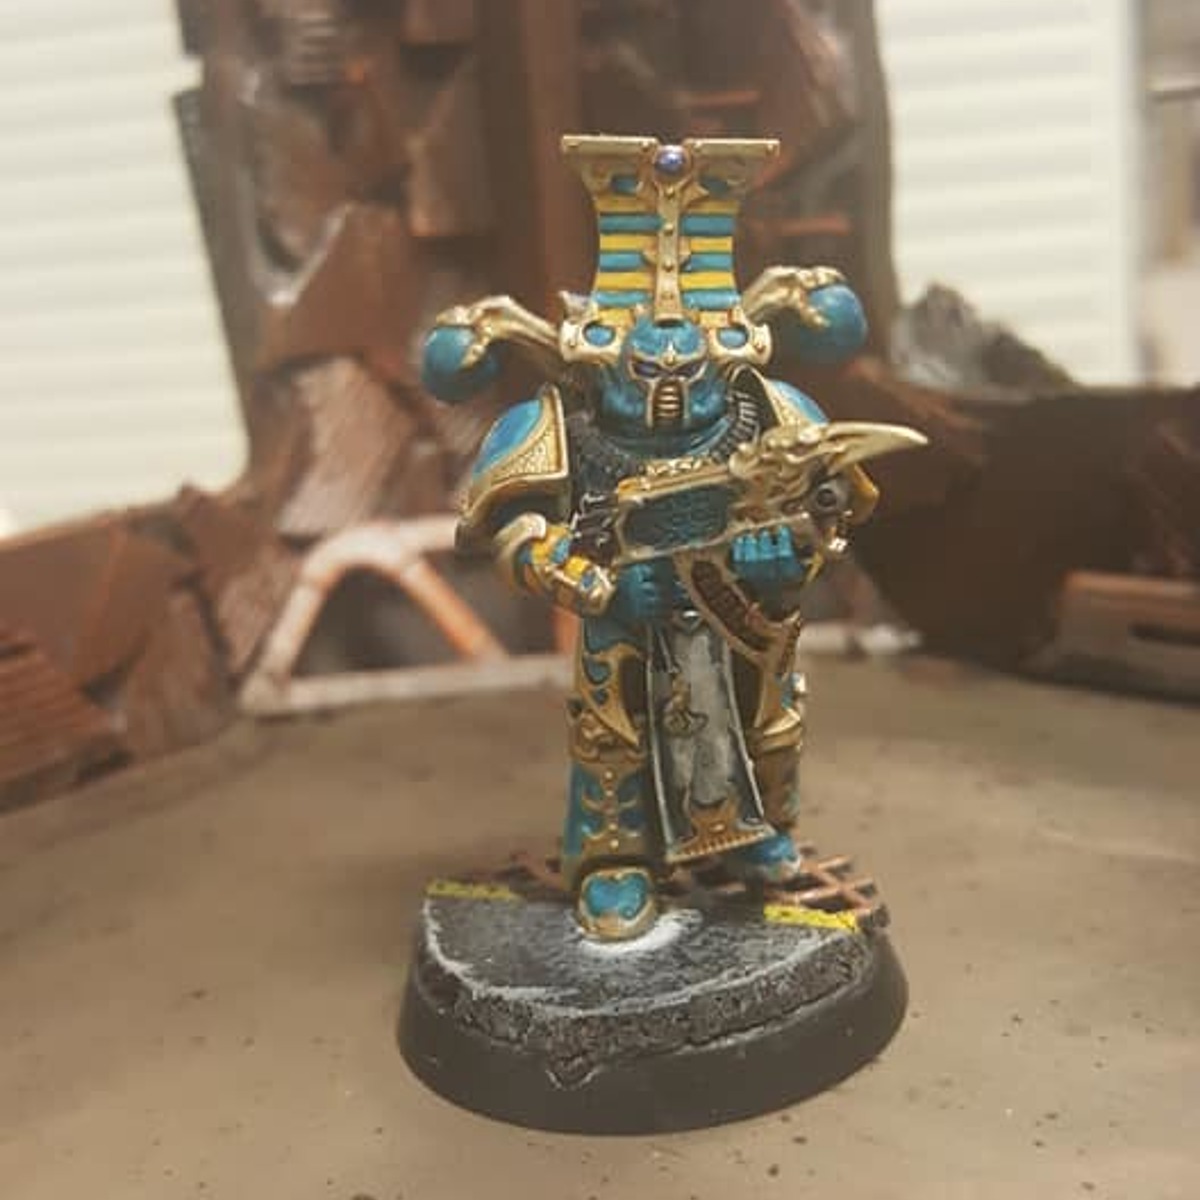
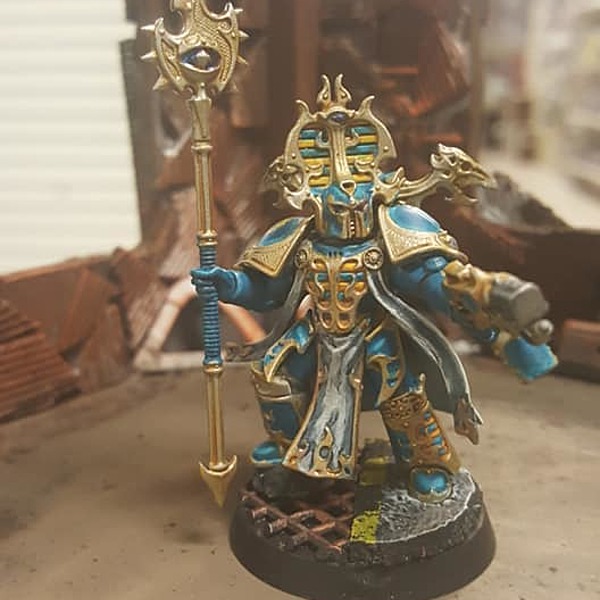
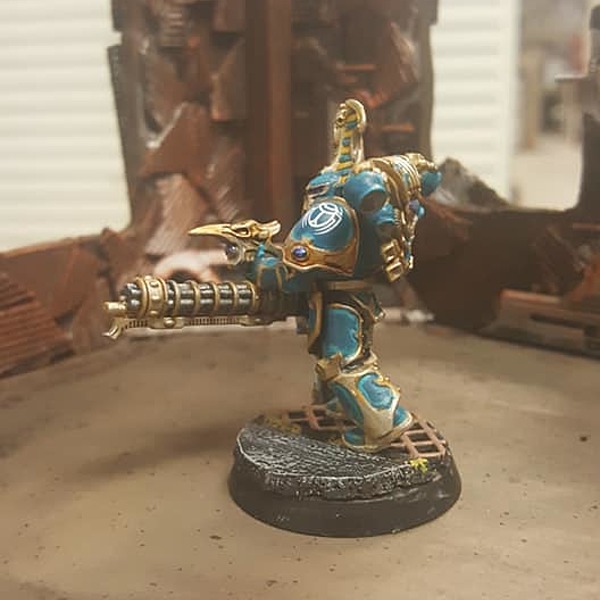
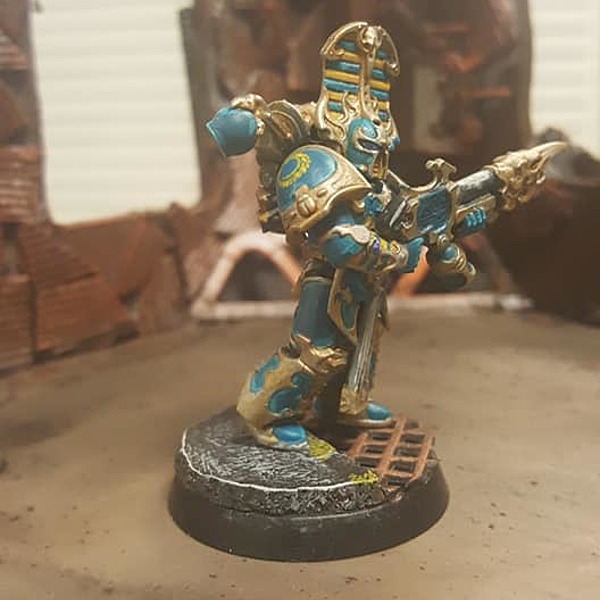
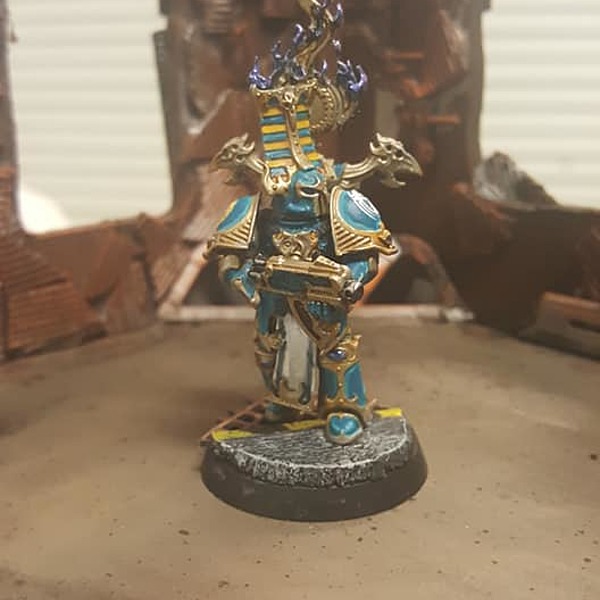
How I painted my Rubric Marines for kill team. I did not take in progress pics, so I shall include what pics I do have of the completed minis throughout the Recipe. I hope it helps/inspires anyone looking to paint Thousand Sons marines.
 Primer
Priming color should have no appreciable affect on the final color scheme, happened to have been primed on sprue with a brownish grey automotive primer.
 Base, Highlight, Shade for Yellow and Gold
Large portions of the model are either of these colors, I used a strong yellow undercoat with a translucent silver and a sepia shade to create the gold effect. Painting all the parts that would remain yellow or gold before applying other colors would allow for the shading via a sepia wash at the same time, without having to worry about accidentally tinting any of the blue in the final color scheme
- Base yellow and gold with Averland Sunset The example was actually painted with Iyanden Darksun, from the old GW foundation paints range. Averland Sunset is the usual color match for this paint.
- Initial highlight with Yriel Yellow over parts remaining yellow.
- a translucent layer of Runefang Steel : over the parts that will will become gold. This silver is a layer paint, and designed to not be completely opaque, a single lawyer of it over the yellow should result in a "shiny" yellow.
- Edge highlight gold with Stormhost Silver . Focusing especially on any parts that will be turned "up" or more accurately towards your light source.
- "All Over" wash with Seraphim Sepia over both Yellow and gold. This should turn the "shiny yellow" into a goldish hue while providing a smooth shading gradient to both the gold and yellow.
 Base, Edge Highlight for Blue
This step is rather difficult as it relies on precisely applying the paint on panels that are next to parts of the model that are more or less how we want them to be. The base coat particularly needs great care as the high opacity paint will be very difficult to either remove cleanly (by quickly rubbing it off with ones' finger or dabbing at the area with moist paper towel). The layer paint should be easier to deal with, but patience and good brush control practice pays great dividends here.
- Base coat(s) for the blue armor with Thousand Sons Blue
- Edge Highlight armor panels with Ahriman Blue
The armor panels are not washed in this paint scheme, I wanted a very saturated blue for the armor. On the sharper curves one the armor, such as the toe of the boot, the edge highlight was feathered out to create a gradient, otherwise it is in fact relatively flat. However, I don't think this is a problem
 Base, Shade, and Highlight, for Grey/White
I struggled with this portion. The method listed here is for completeness and as an example. I used an entirely too dark shade wash, and tried a variety of shades of off white to highlight up with. Listed will be what I remember working the "best" but I encourage you to try a different recipe for white cloth than what I used.
- Base coat with Heavy Bluegrey
- Shade with Drakenhof Nightshade again, this was too dark for what I had in mind at the time.
- highlighting back up with Ulthuan Grey
- Extreme highlights with Dead White
 Base, Shade, and Highlight for steel/silver metal
For the metallic items on the miniature that I wanted to contrast with the gold I used a silvery/steely color. Mostly for the barrels of guns. The result was meant to be a very "cold" metallic effect, the contrast with the warmer yellows and the very saturated blues.
- base coat with Leadbelcher
- strong highlight with Runefang Steel
- Shade with Drakenhof Nightshade focusing more on the recesses.
- highlight back up with Runefang Steel if necessary due to over application of shade wash.
Base, and Highlights for black
There are are few elements on the miniature that are not of a material previously painted. For example the harness going over the chest plate, and the armor joints. A base of black and a highlight of grey doesn't attract the eyes and is a quickly done.
- Base coat with Heavy Charcoal
- a careful dry brush or quick edge highlight with Administratum Grey
Clean Up
At this stage there may be some paint where it shouldn't be, so I usually go back and tidy up anything that is glaringly obvious. For the most part this is using one or more layers of paint previously used to cover an errant line or brush stroke. This is usually too subtle for me personally to bother re tinting with a wash or shade. However, in the case of the gold metallics in this paint scheme, there is no obvious "last layer" shade. However, Sycorax Bronze is a near enough to be subtle cover over mistakes.
Optional/Other
There are a couple of elements of the miniature that are not detailed here, particularly the eyes/visor, gems, which were painted with color shift paint, and were done in a color I would not advise others use as it does not contrast enough here. The casing on some of the guns also was experimented with, but i would not suggest repeating my process with it, however for the curious and for the sake of completeness those steps will be included here.
Eyes/Gems/Magic
- a base layer of gloss black
- 1 or two layers of Blue Raspberry
Gun Casing
- base Thousand Sons Blue
- Wash Drakenhof Nightshade
- Drybrush Ahriman Blue
Citadel Painting System 12
Base 3
- Averland Sunset
- Leadbelcher
- Thousand Sons Blue
Shade 2
- Drakenhof Nightshade
- Seraphim Sepia
Layer 7
- Administratum Grey
- Ahriman Blue
- Runefang Steel
- Stormhost Silver
- Sycorax Bronze
- Ulthuan Grey
- Yriel Yellow
Turbo Dork
Turboshift 1
- Blue Raspberry
Vallejo Game Color 3
Base 1
- 72.001 Dead White
Extra opaque 2
- 72.144 Heavy Bluegrey
- 72.155 Heavy Charcoal