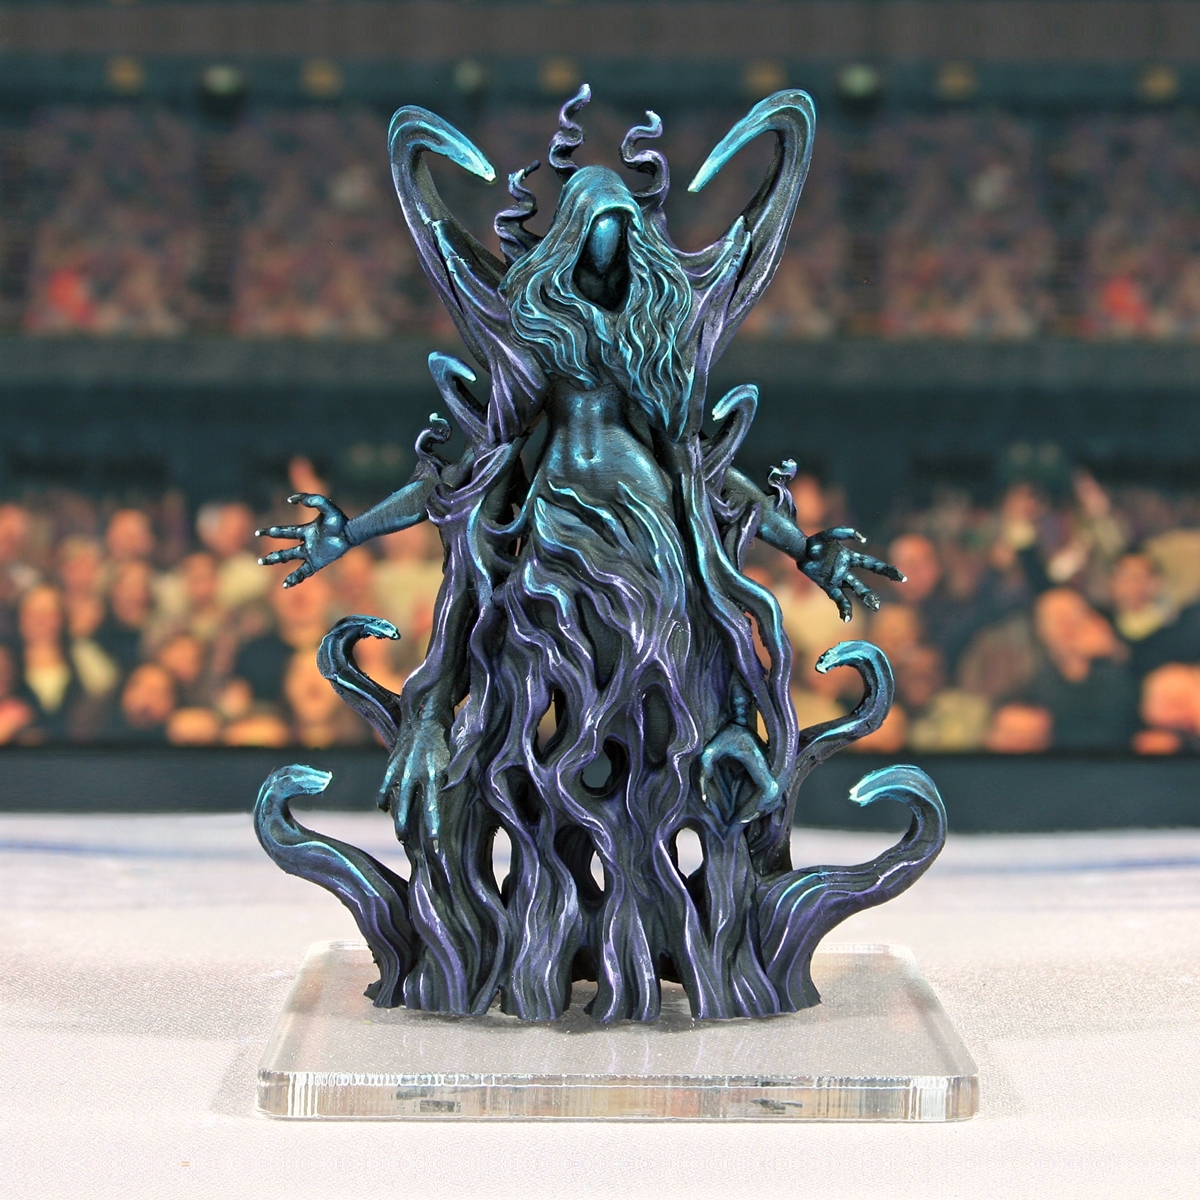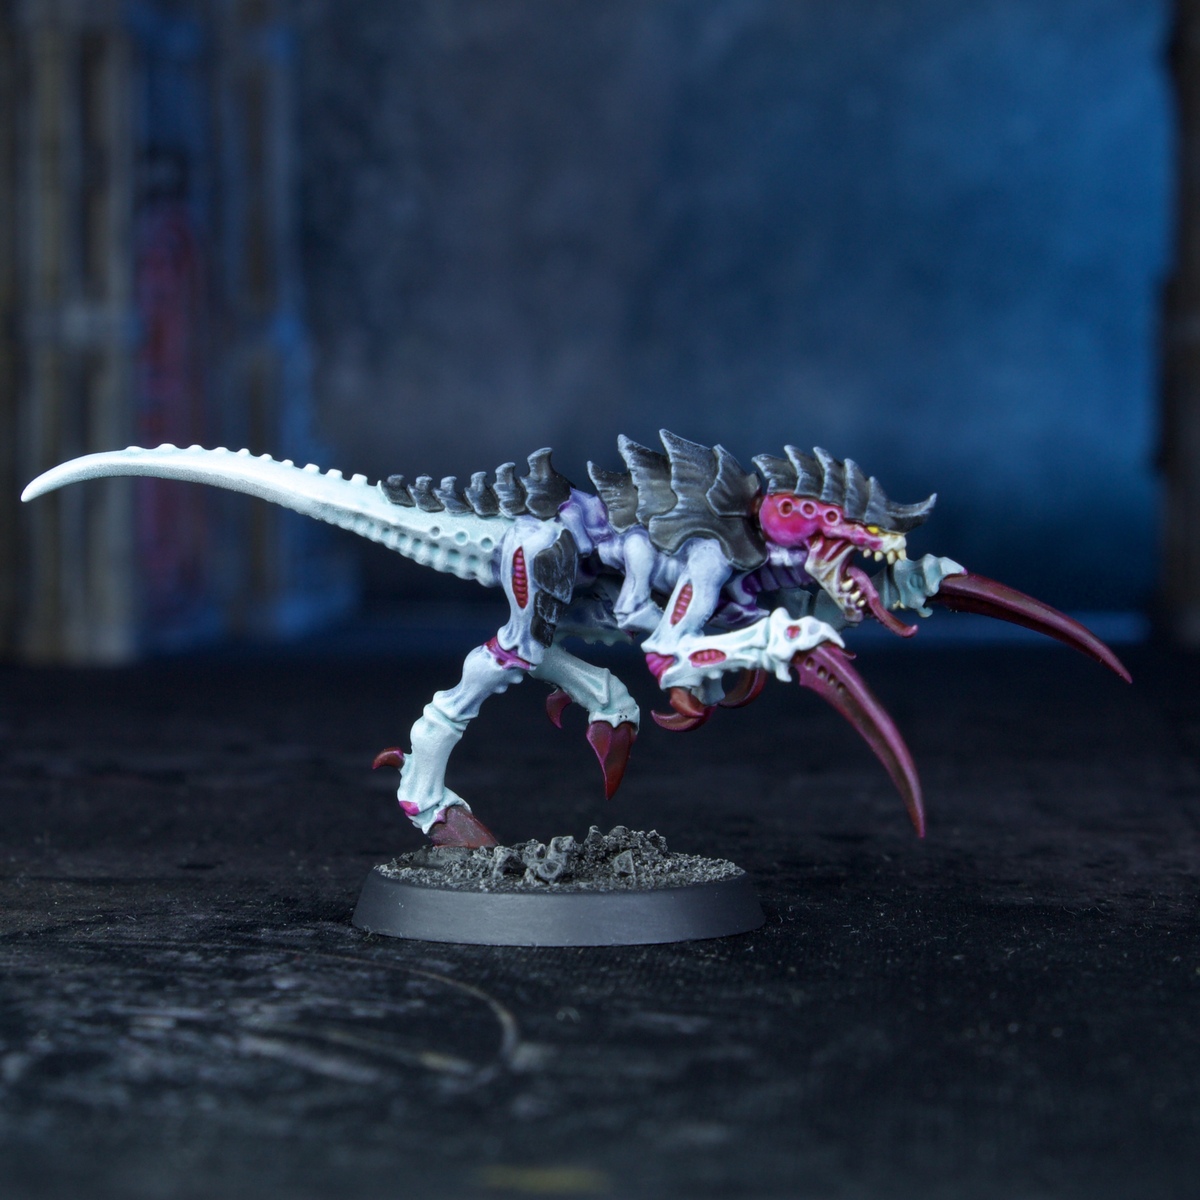

With Kill Team Typhon coming up, I wanted to get some nids painted and get a nice and fast Typhon scheme going before the box hits. This focus is on speed, and trying not to go nuts with the number of paints used. I also try to go for the brighter version of Typhon as seen in the more recent GW box art, not the version where the top of the limbs is almost as dark as the carapace.
Prime in Grey Seer
Body
- Over the Grey Seer primer, do an overall heavy drybrush of the body with Ulthuan Grey
- Do a 1:1 mix of Briar Queen Chill and Contrast Medium and cover the entire body except for the head
- Do a 1:1:2 mix of Briar Queen Chill , Leviadon Blue , and Contrast Medium , put this on the top half of the limbs, make sure to drag the paint towards the carapace to create the darker (and most blue) parts there.
- Shade the exoskeleton on the "stomach", the throat, and the lower jaw with Druchii Violet
- To get some brightness and highlights back, do an overall drybrush of the body with Ulthuan Grey again
- Focusing on the lower parts of the limbs, and the head, do a light drybrush of White Scar to really push the contrast
Carapace
My recommendation here would be to not use a soft round drybrush, but rather a short and harder one, like e.g. Citadel's medium drybrush.
- Cover all the carapace with any black, I use Black Templar
- Drybrush Dark Reaper , do this "against the grain" in order to put the highlights more towards the edges
- Drybrush Fenrisian Grey as the step above, just less. Rather than having very little paint on the drybrush, try to have a little more, and rather get all the job done in one stroke (per edge), so that there will be some "texture" to the finish.
Head & joints
The model will be very ugly until this magenta step, this will tie things together and make the scheme come alive.
- Put Contrast Medium over the entire head, in order for us to create a nice transition with the magenta in the next step
- Do a 1:1:1 mix of Volupus Pink , Doomfire Magenta , and Contrast Medium , add this to the head, while the contrast medium from the step above is still wet, use that to drag the magenta mix towards the back parts of the head, we want the head to still be white by the mouth, and very magenta at the back of the head. After adding the magenta, you can use a clean wet brush to feather the blend.
- Put the magenta mix from the previous step in all the joints of the body, try to be as neat as possible.
- Pick out the teeth with Screaming Skull
- Wash the head around the mouth with Seraphim Sepia to bring some warmth to the face.
- Paint the eyes with Flash Gitz Yellow
Claws
- Cover all claws with Basilicanum Grey
- Cover all claws with our magenta mix from above
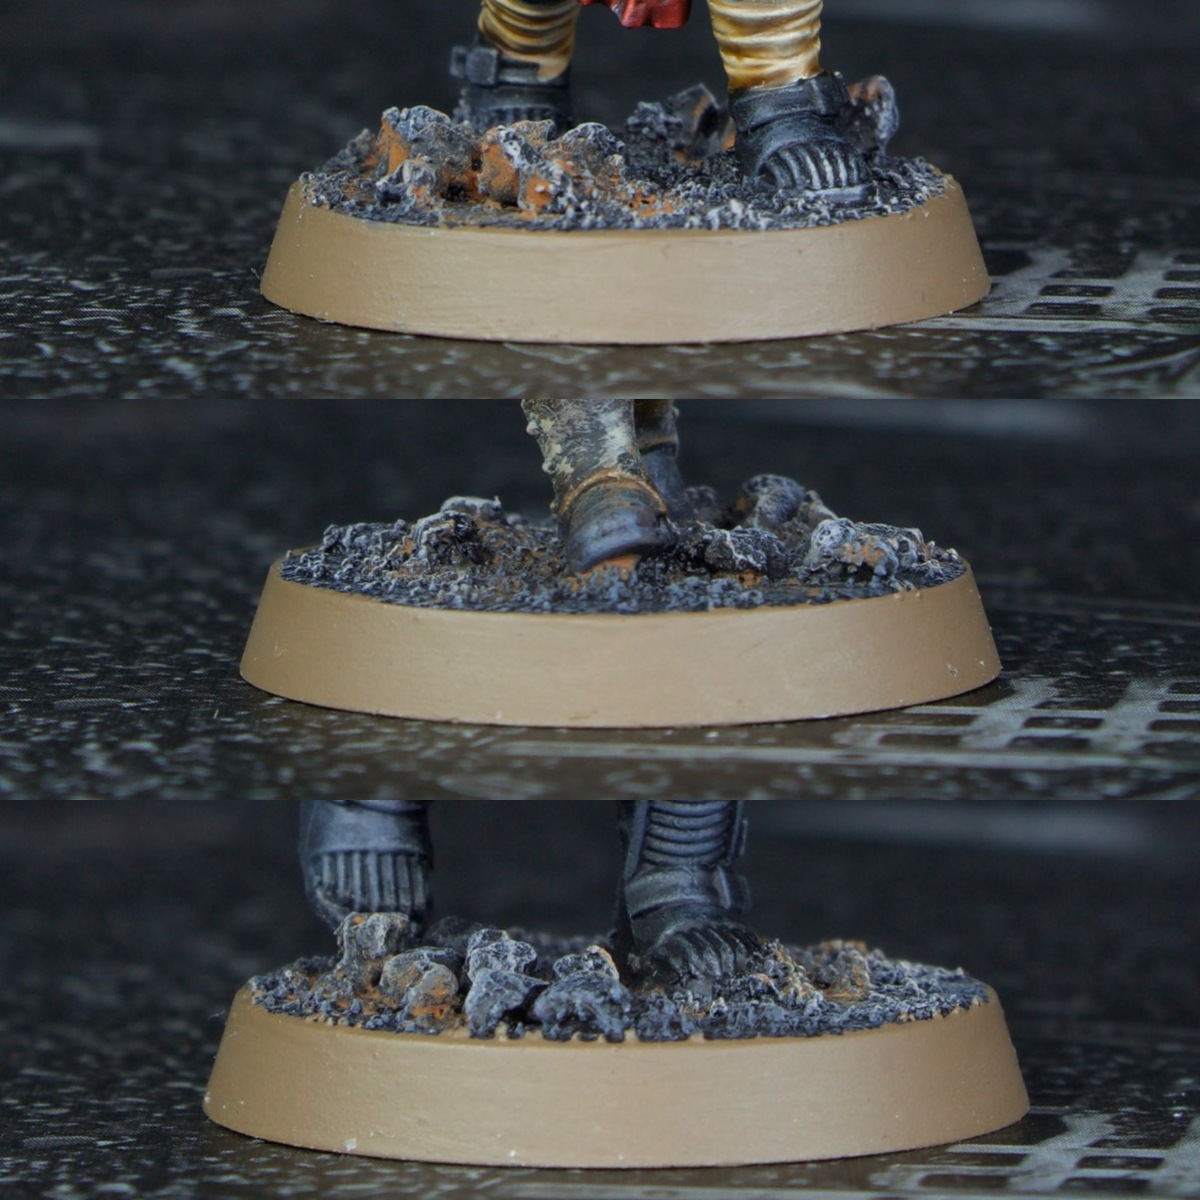
Bonus: Basing
- Base with Abaddon Black
- Drybrush Stormvermin Fur
- Light drybrush Rakarth Flesh
- Rim: Corvus Black
Genestealer Cult Dale
genestealercultdale
Citadel Painting System 20
Base 3
- Abaddon Black
- Corvus Black
- Rakarth Flesh
Shade 2
- Druchii Violet
- Seraphim Sepia
Layer 7
- Dark Reaper
- Fenrisian Grey
- Flash Gitz Yellow
- Screaming Skull
- Stormvermin Fur
- Ulthuan Grey
- White Scar
Technical 1
- Contrast Medium
Spray 1
- Grey Seer
Contrast 6
- Basilicanum Grey
- Black Templar
- Briar Queen Chill
- Doomfire Magenta
- Leviadon Blue
- Volupus Pink
.jpg)