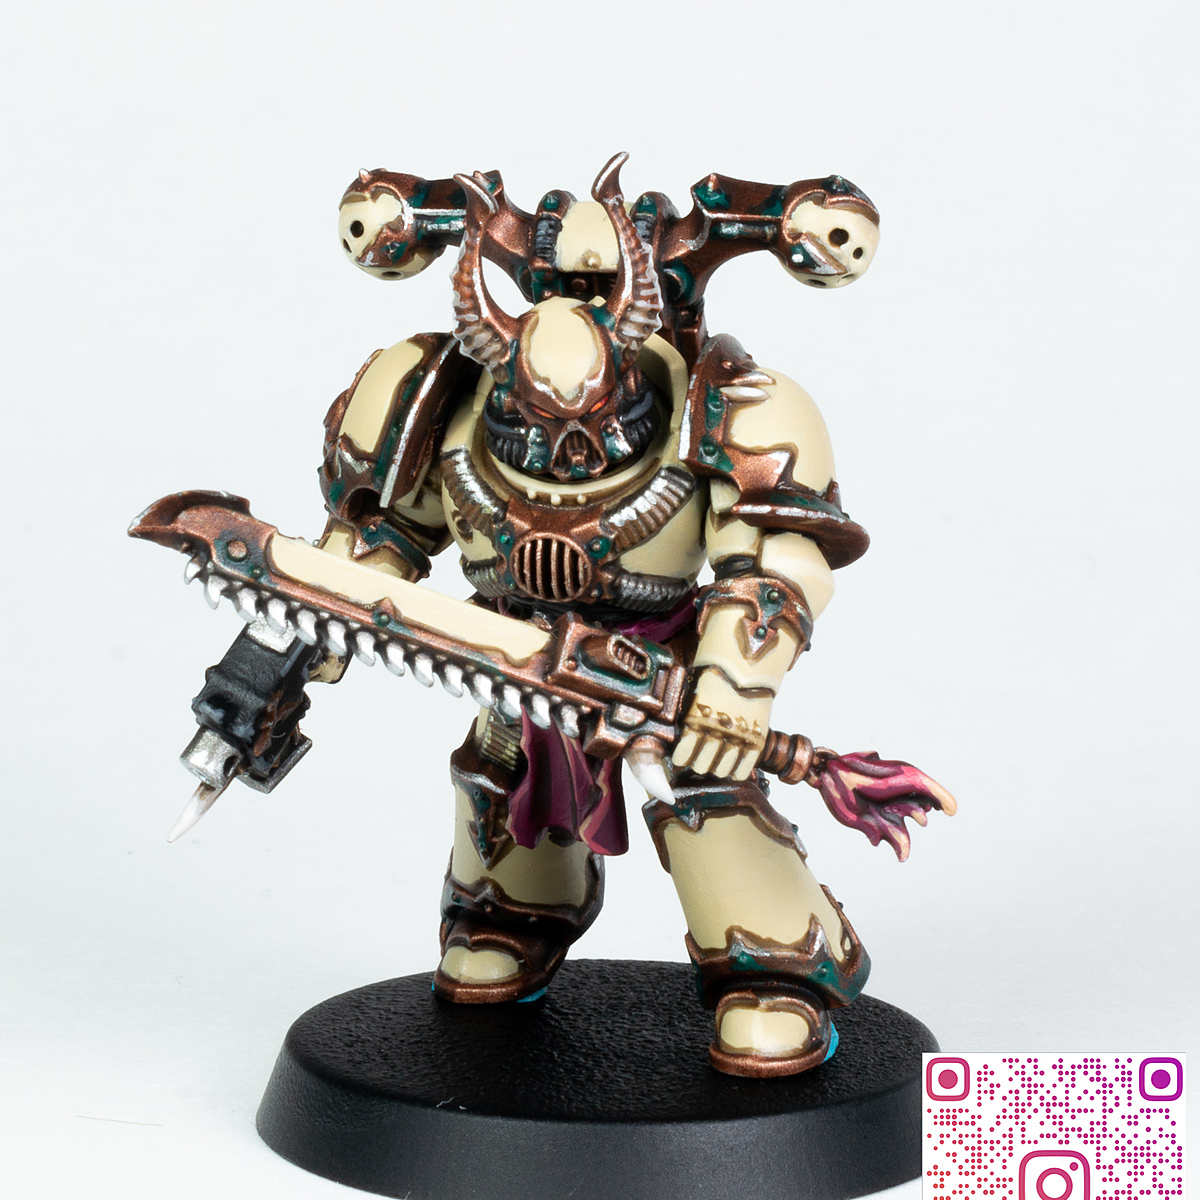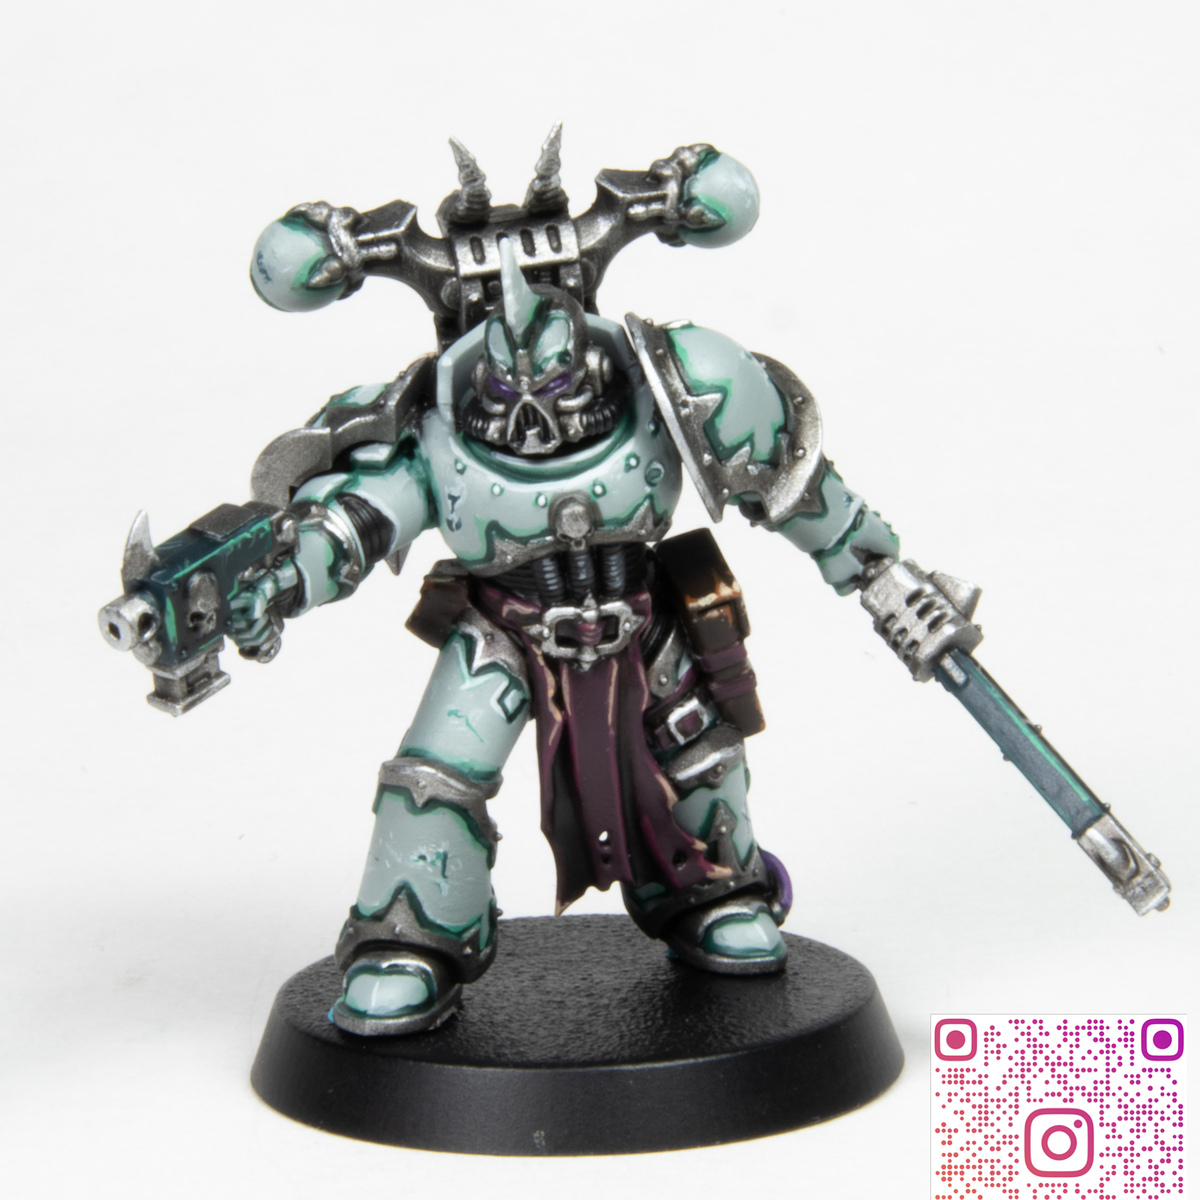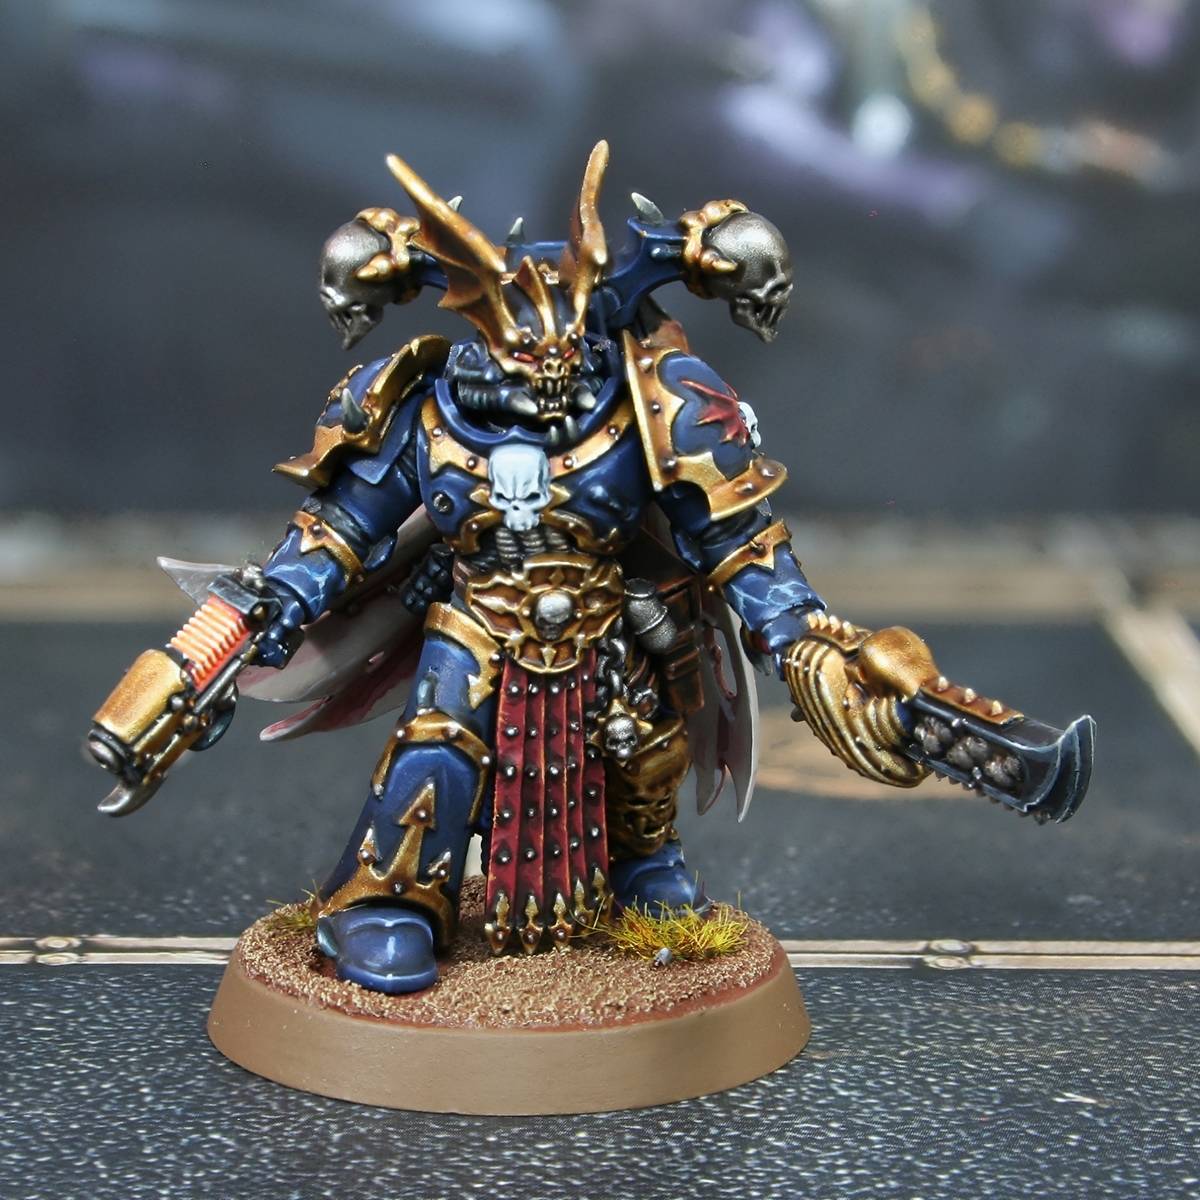

Based on Sezrion's work on the 40k Homebrew site.
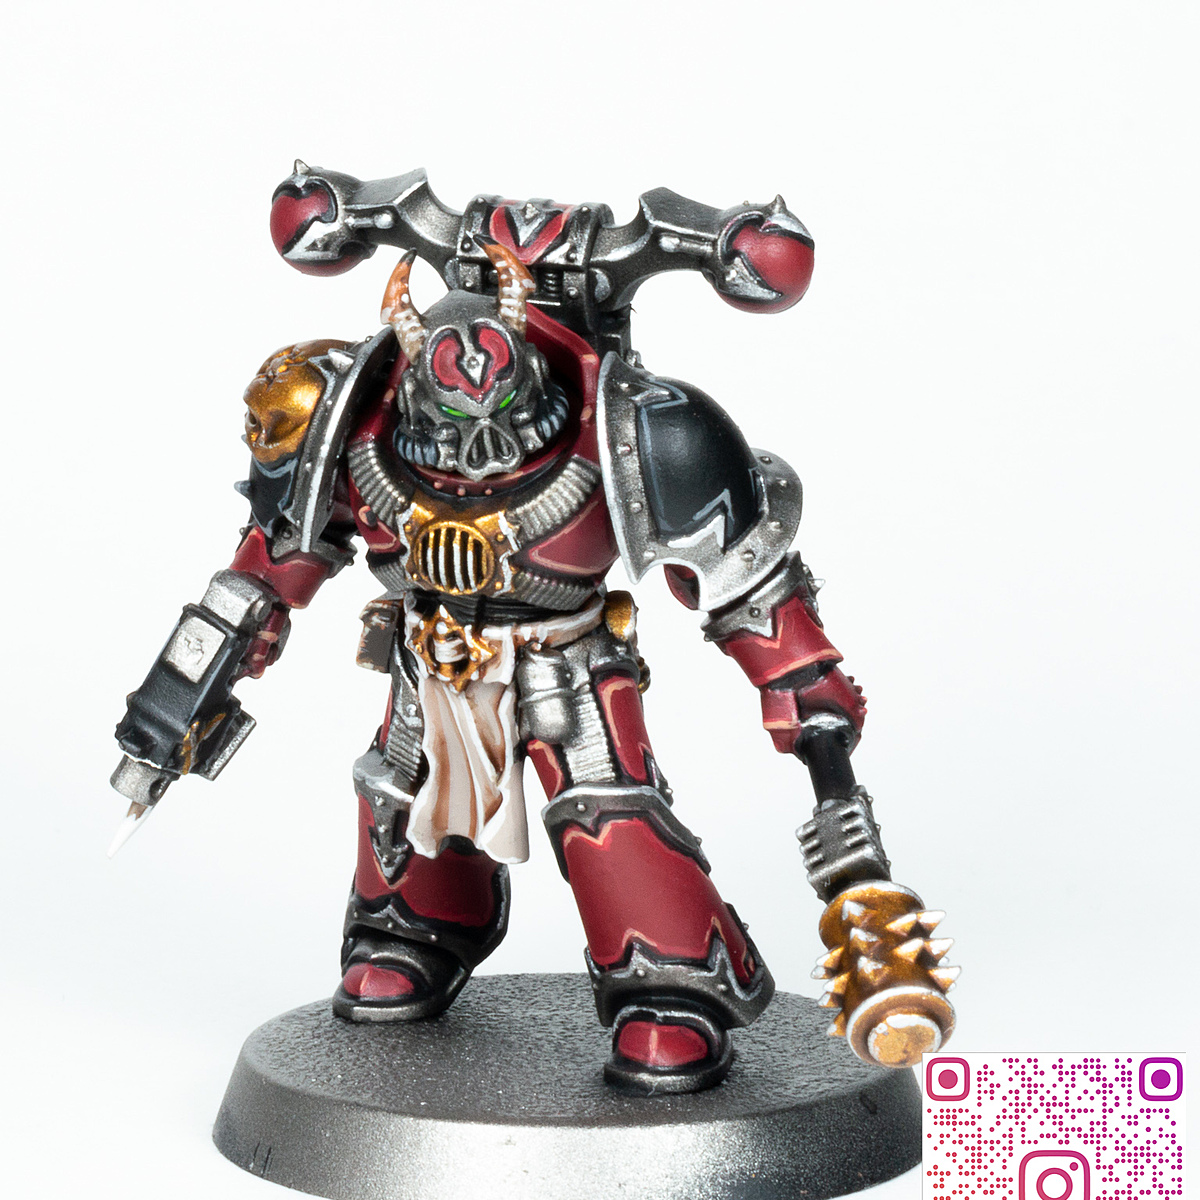
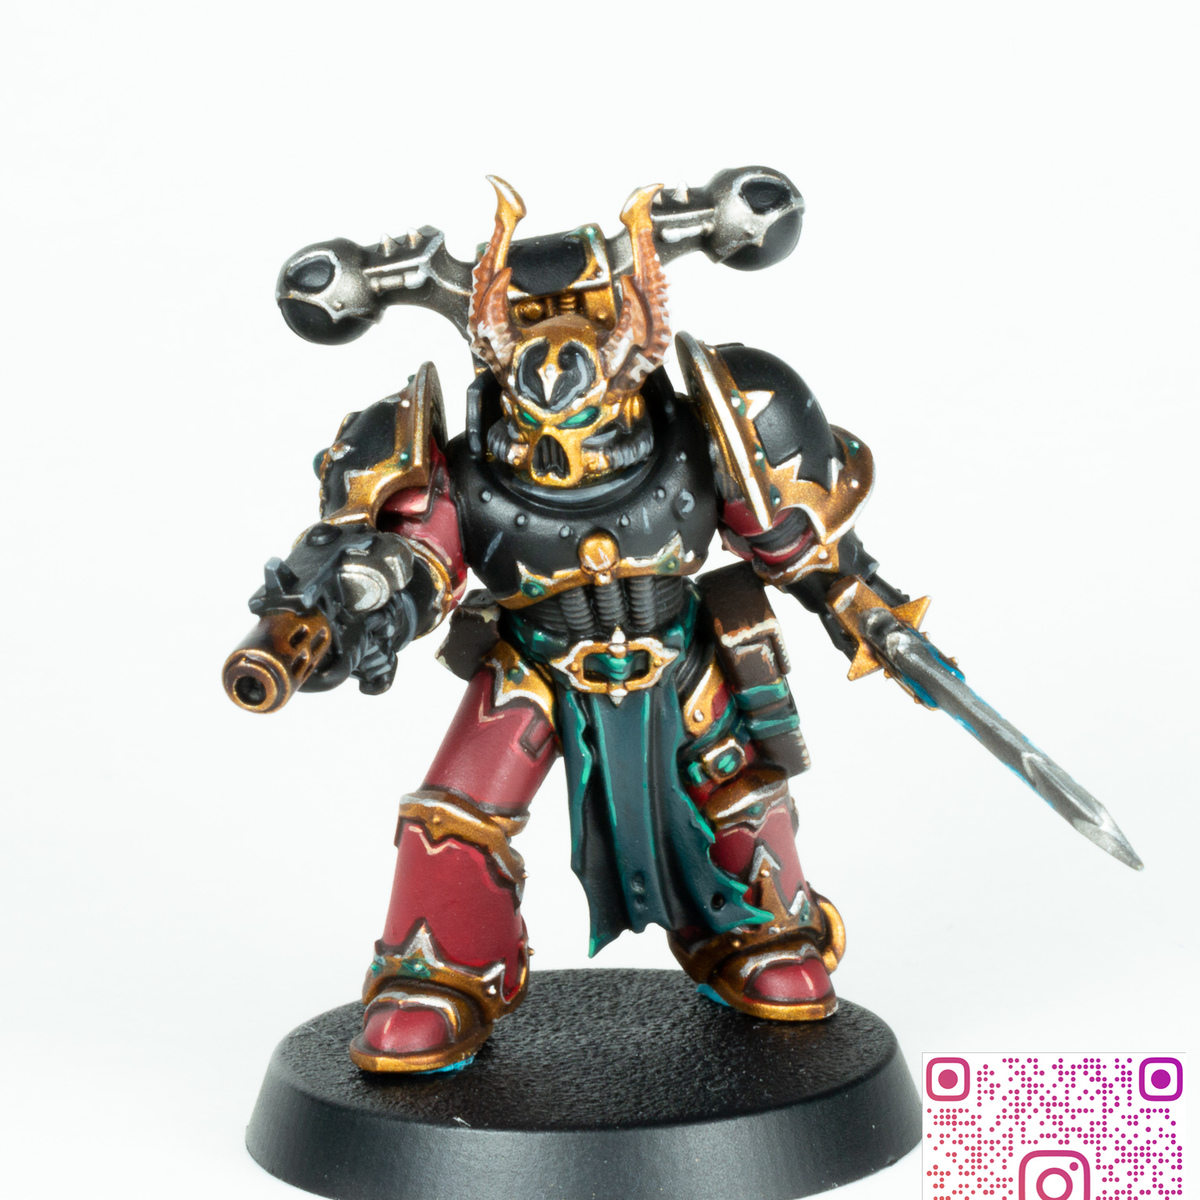
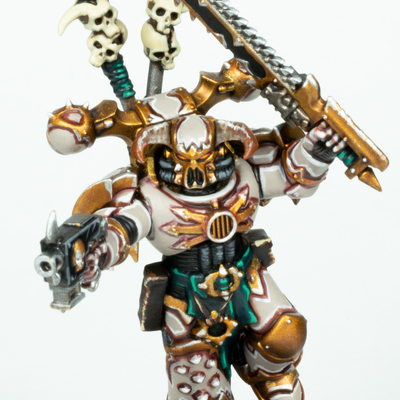
The main colours are red, black, and corroded brass.
General Information:
My general method is to lay down all the base colours for the model, then do all the shading in the recesses before moving on to the highlights.
I don't own an airbrush, so the recipe will mainly consist of brush on paints.
Priming:
I find the metallic sprays from GW tend to be a little on the transparent side, so an initial undercoat of grey helps.
- Prime the model lightly with Mechanicus Standard Grey
- Prime over that with Retributor Armour
Brass (Armour Trim):
I generally start with the armour trim so that any time I get paint on another piece its easy to cover later.
- Drybrush lightly over the model with Retributor Armour to even out the colour
- Shade the recesses and around any rivets with Agrax Earthshade
- Add small amounts of thinned Incubi Darkness around rivets
- Highlight fine points and sharp edges with Stormhost Silver
Red (Armour Panels - Arms, Legs):
- Base with Khorne Red
- Shade the recesses with Agrax Earthshade
- Highlight the edges and along the inside of the armour trim with Evil Sunz Scarlet
- Add fine points of Kislev Flesh
Black (Armour Panels - Hands, Chest, Shoulder Pads, Backpack):
- Base with Abaddon Black
- Highlight the edges with Eshin Grey
- Highlight fine points with Dawnstone
Green (Details - Cloth, Wraps, Eyes):
- Base with Incubi Darkness
- Shade the recesses with Nuln Oil
- Highlight the edges with Kabalite Green
- Highlight fine points with Sybarite Green
Grey (Details - Armour Ribbing):
- Base with Mechanicus Standard Grey
- Shade the recesses with Nuln Oil
- Highlight the edges with Dawnstone
Brown (Details - Leather Pouches):
- Base with Rhinox Hide
- Shade the recesses with Agrax Earthshade
- Roughly highlight the edges with Skrag Brown
- Add a fine highlight of Ushabti Bone
Silver (Details - Weapons, Backpack Arms):
For grenades, replace Nuln Oil with Athonian Camoshade
- Base with Leadbelcher
- Shade the recesses with Nuln Oil
- Highlight fine points and sharp edges with Stormhost Silver
Blue (Details - Power Weapon Effect)
- Make a long, jagged line using Sotek Green
- Shade around the power unit using Drakenhof Nightshade
- Layer the middle with Temple Guard Blue
- Add a fine line of Baharroth Blue
- Add points of White Scar
James
Ninth.Bright
Amateur tabletop painter of Warhammer 40k and Age of Sigmar miniatures.
Citadel Painting System 26
Base 7
- Abaddon Black
- Incubi Darkness
- Khorne Red
- Leadbelcher
- Mechanicus Standard Grey
- Retributor Armour
- Rhinox Hide
Shade 4
- Agrax Earthshade
- Athonian Camoshade
- Drakenhof Nightshade
- Nuln Oil
Layer 13
- Baharroth Blue
- Dawnstone
- Eshin Grey
- Evil Sunz Scarlet
- Kabalite Green
- Kislev Flesh
- Skrag Brown
- Sotek Green
- Stormhost Silver
- Sybarite Green
- Temple Guard Blue
- Ushabti Bone
- White Scar
Spray 2
- Mechanicus Standard Grey
- Retributor Armour