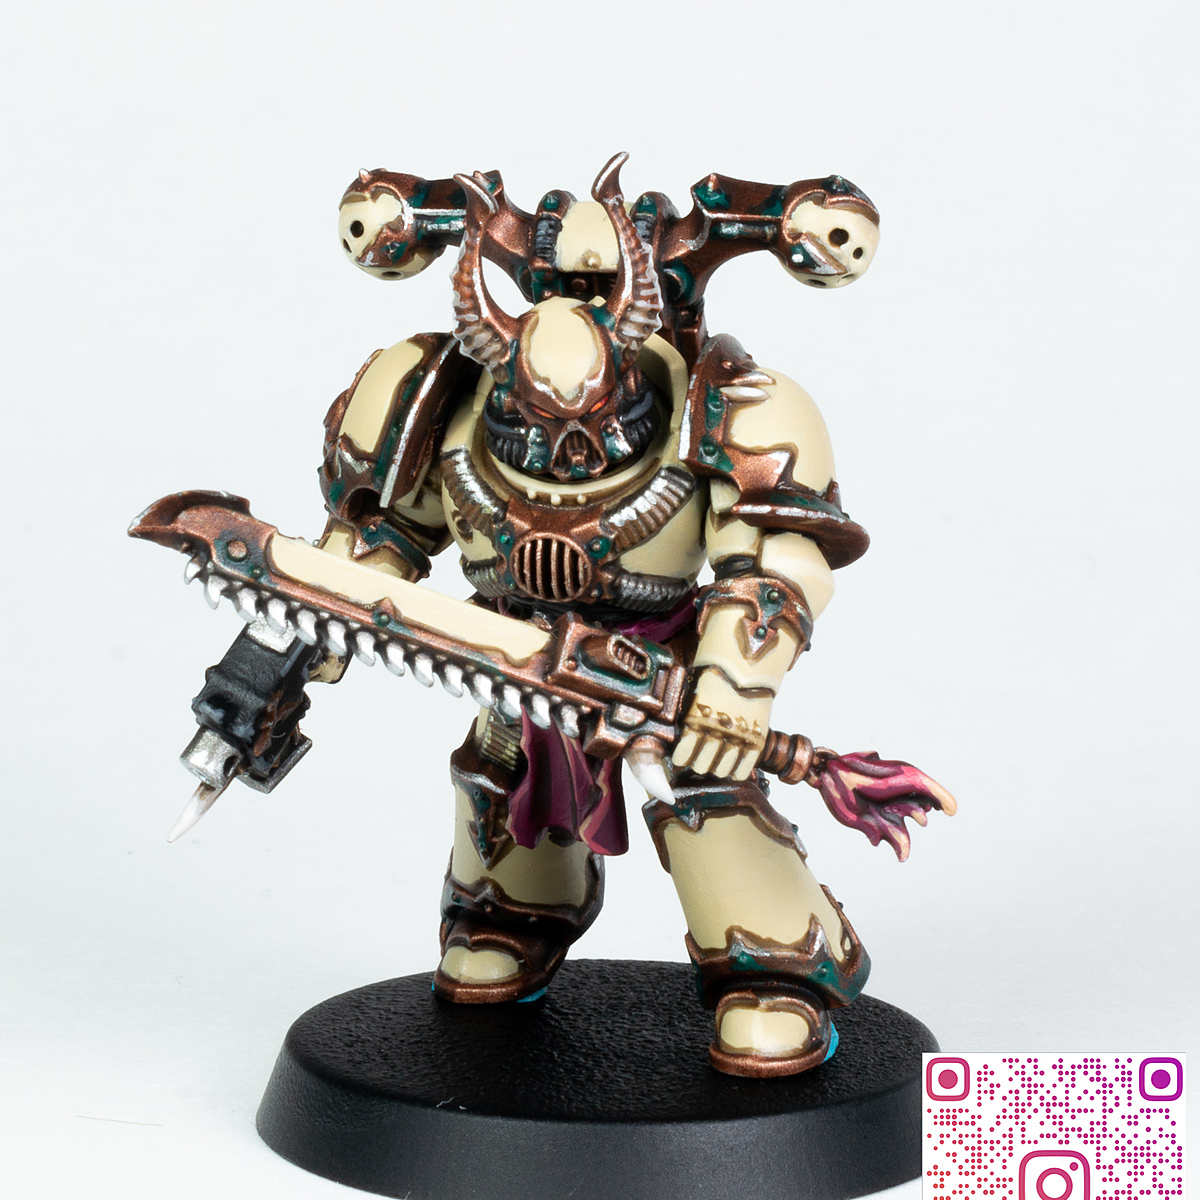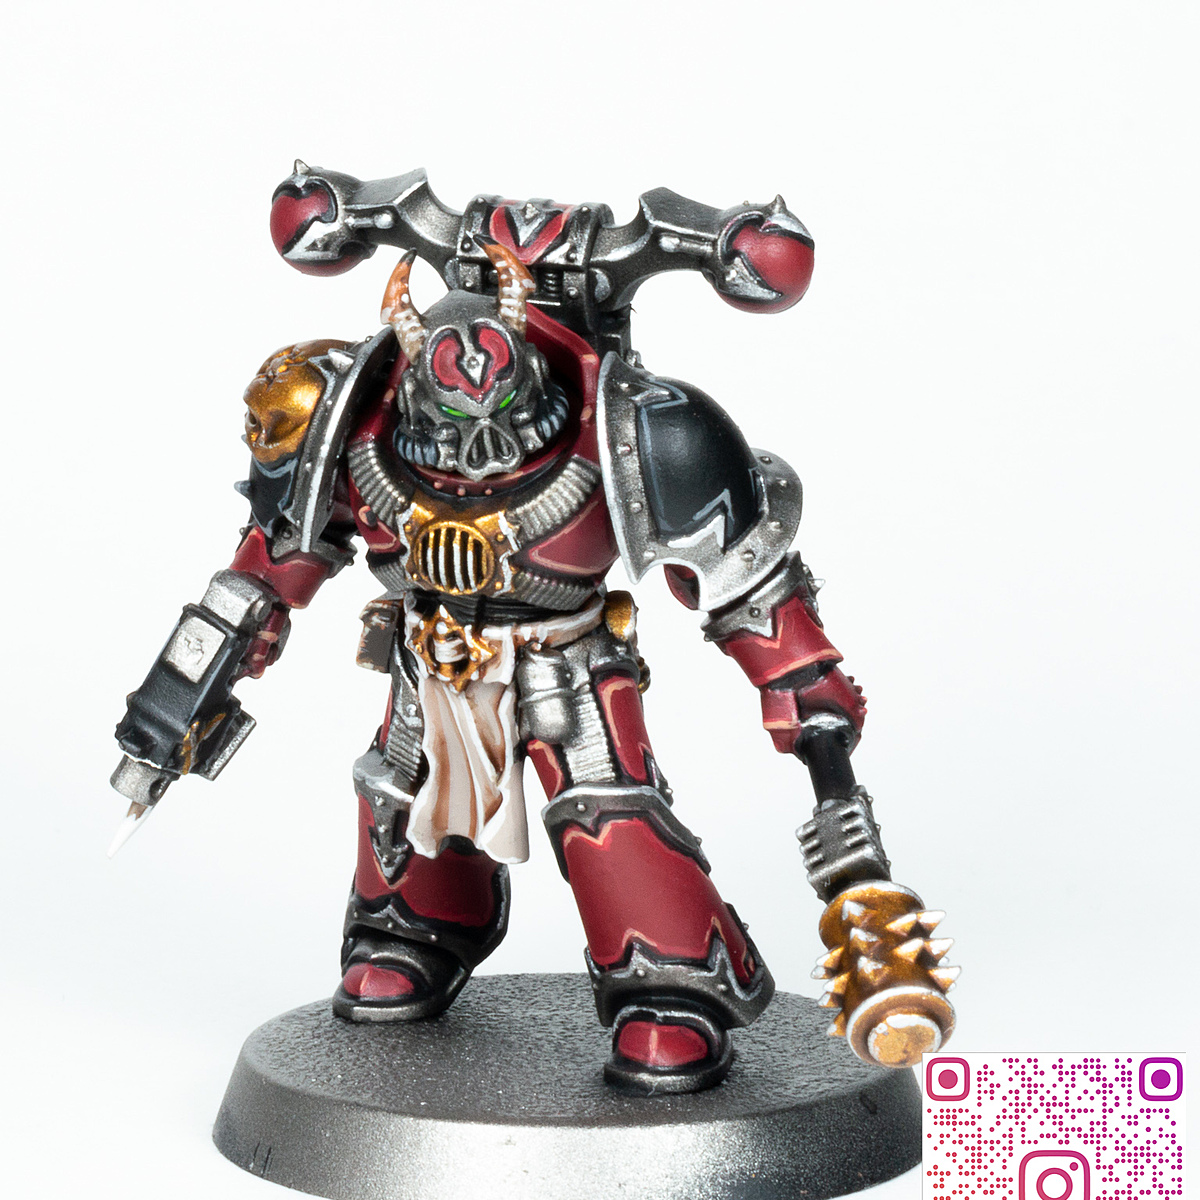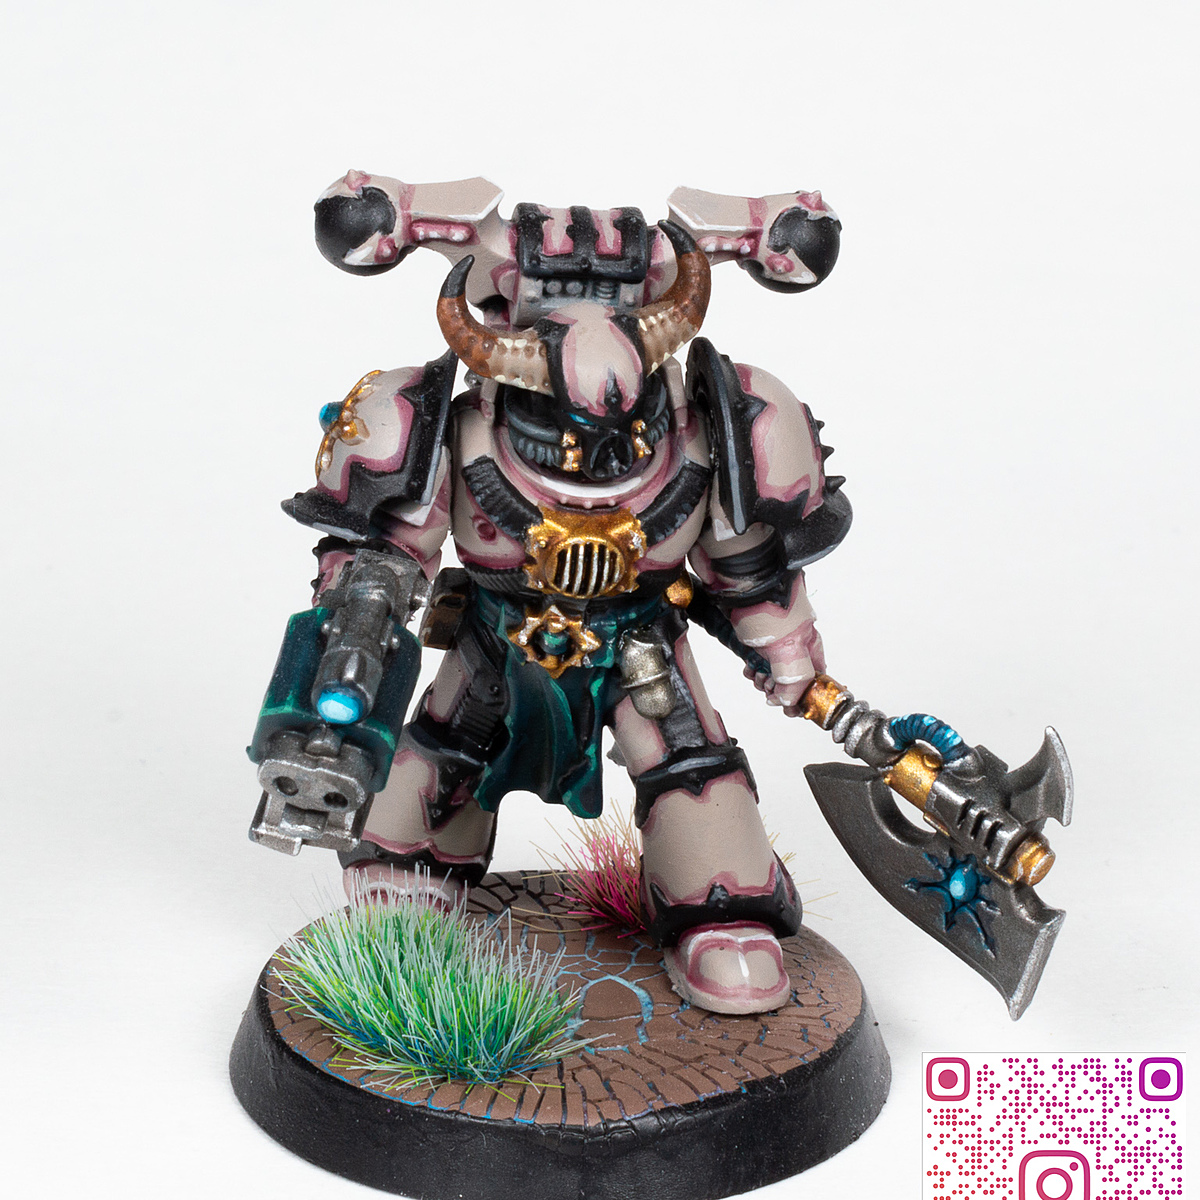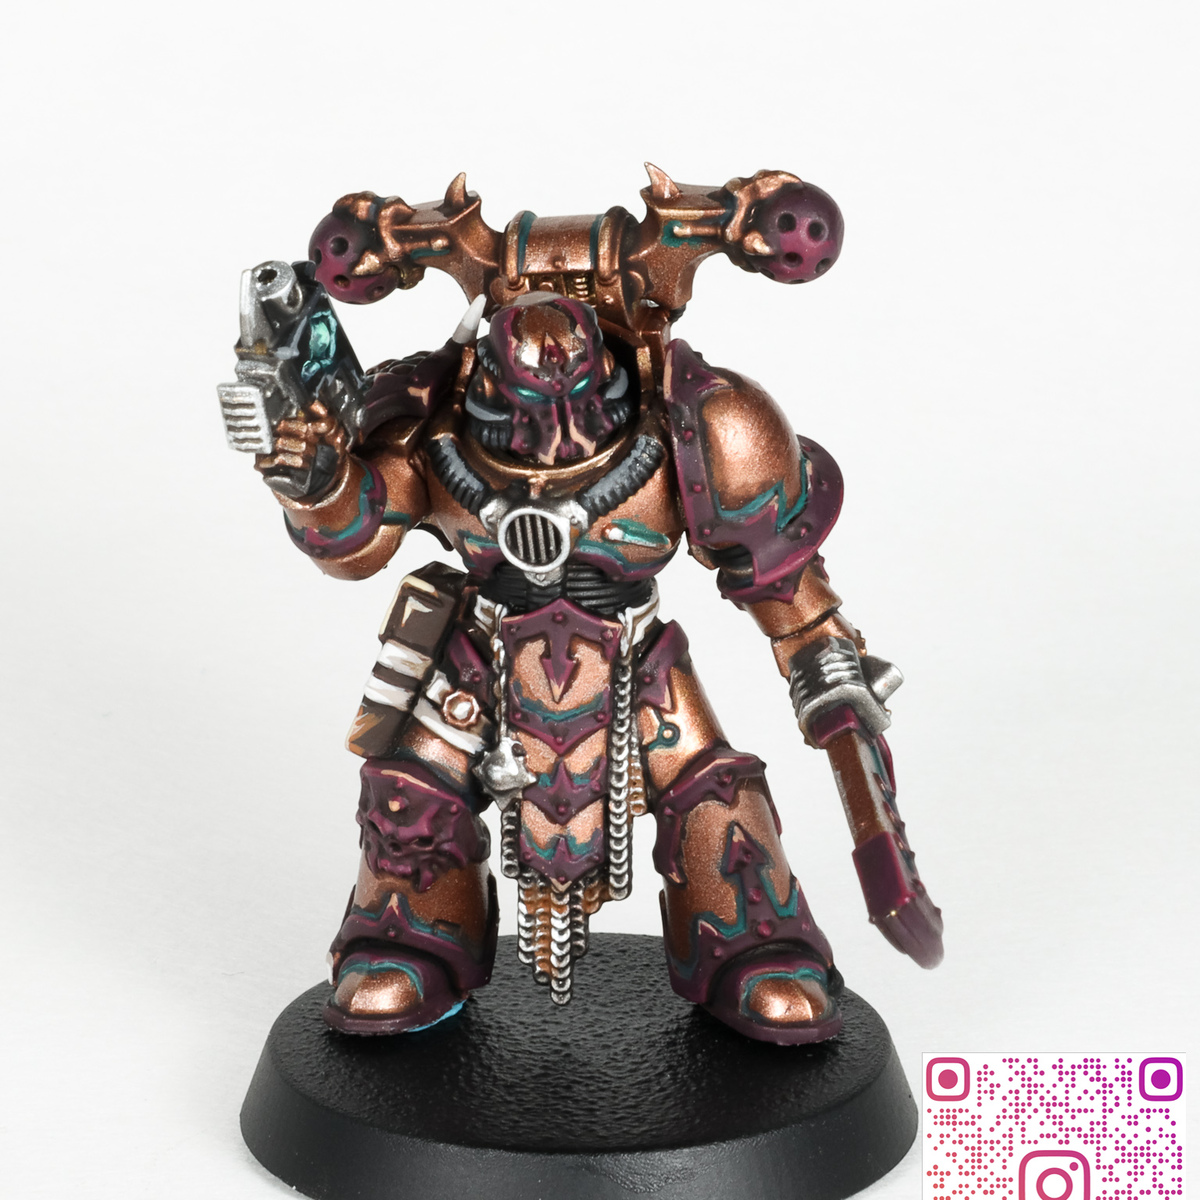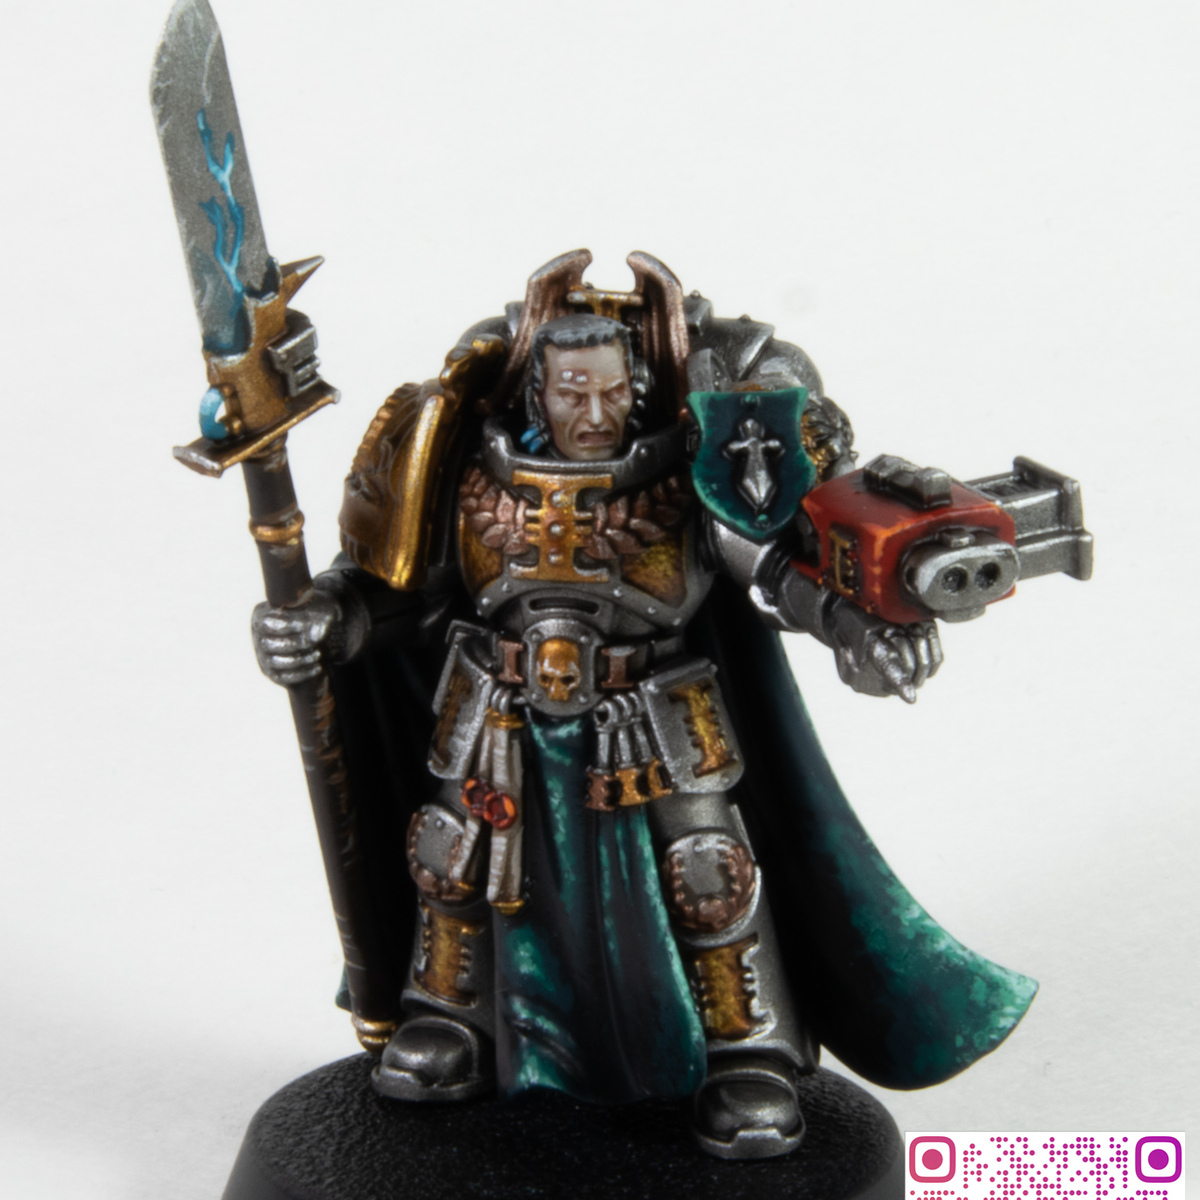

This is my take on a scheme for the Agents of the Inquisition.
The main colours are silver, gold, and bronze with green and red elements.
General Information:
My general method is to lay down all the base colours for the model, then do all the shading in the recesses before moving on to the highlights.
I don't own an airbrush, so the recipe will mainly consist of brush on paints.
Priming:
I find the metallic sprays from GW tend to be a little on the transparent side, so an initial undercoat helps.
- Prime the model lightly with Chaos Black
- Prime over that with Leadbelcher
Silver (Armour):
- Drybrush over the model with Leadbelcher to even out the coverage
- Shade the recesses with Nuln Oil
- Drybrush upper facing surfaces with Ironbreaker
- Lightly drybrush upper facing parts with Stormhost Silver
- Highlight the edges with Stormhost Silver
Gold (Armour Details - Shoulder pads, Inset details):
- Base with Retributor Armour
- Shade the recesses with Agrax Earthshade
- Add Seraphim Sepia into the lowest lying recesses
- Add a slight highlight to the middle with small amounts of Auric Armour Gold
- Highlight fine edges with Stormhost Silver
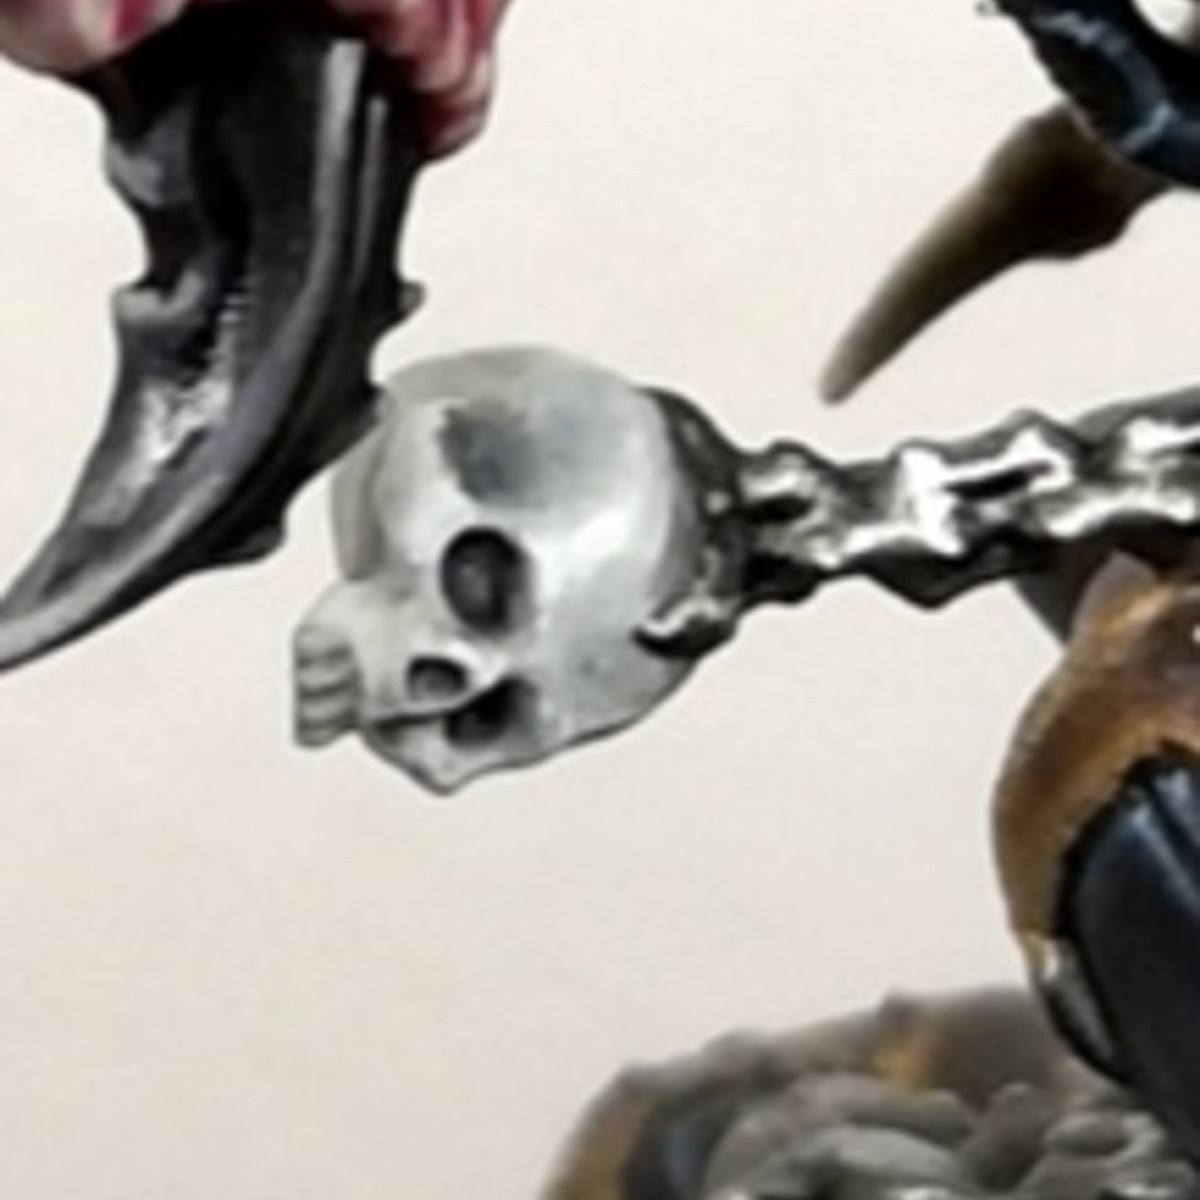
Bronze (Armour Details - Keys, Skulls, Assorted Details):
- Base with Balthasar Gold
- Shade the recesses with Agrax Earthshade
- Add a highlight using a 1:1 mix of Balthasar Gold and Canoptek Alloy
Green (Details - Cloth):
- Base with Incubi Darkness
- Shade the recesses with Nuln Oil
- Re-apply the Incubi Darkness on the upper facing portions of the fabric
- Speckle on thin amounts of Kabalite Green into the middle of the Incubi Darkness and along the edges
- Inside that, speckle Sybarite Green leaving some of the other colours showing
- Add a final highlight by speckling Sybarite Green mixed 1:1 with White Scar
Brown (Details - Leather pouches, Weapon grips):
- Base with Rhinox Hide
- Shade over with Agrax Earthshade
- Roughly highlight the middle with lines of Skrag Brown
- Add a fine highlight of Ushabti Bone over areas of Skrag Brown
Red (Details - Gun casings, Purity seals):
- Base with Mephiston Red
- Shade the recesses with Agrax Earthshade
- Highlight the edges with Wild Rider Red
- Add a fine highlight of Fire Dragon Bright
Blue (Details - Power cables):
- Base with Sotek Green
- Shade the recesses with Nuln Oil
- Highlight the middle with Temple Guard Blue
- Add a fine highlight of Baharroth Blue
Beige (Details - Paper):
- Base with Rakarth Flesh
- Shade over with Agrax Earthshade
- Roughly highlight the edges with Rakarth Flesh
- Highlight the edges with rough lines of Pallid Wych Flesh
Unhealthy Skin:
- Base with Rakarth Flesh
- Apply a thinned wash of Guilliman Flesh mixed with Lahmian Medium all over
- Layer with Rakarth Flesh
- Apply a small amount of thinned Volupus Pink around any metal pieces
- Glaze a small amount of Athonian Camoshade on the lower portions of the face.
- Highlight fine edges with Pallid Wych Flesh
James
Ninth.Bright
Amateur tabletop painter of Warhammer 40k and Age of Sigmar miniatures.
Citadel Painting System 31
Base 7
- Balthasar Gold
- Incubi Darkness
- Leadbelcher
- Mephiston Red
- Rakarth Flesh
- Retributor Armour
- Rhinox Hide
Shade 4
- Agrax Earthshade
- Athonian Camoshade
- Nuln Oil
- Seraphim Sepia
Layer 15
- Auric Armour Gold
- Baharroth Blue
- Canoptek Alloy
- Fire Dragon Bright
- Ironbreaker
- Kabalite Green
- Pallid Wych Flesh
- Skrag Brown
- Sotek Green
- Stormhost Silver
- Sybarite Green
- Temple Guard Blue
- Ushabti Bone
- White Scar
- Wild Rider Red
Technical 1
- Lahmian Medium
Spray 2
- Chaos Black
- Leadbelcher
Contrast 2
- Guilliman Flesh
- Volupus Pink