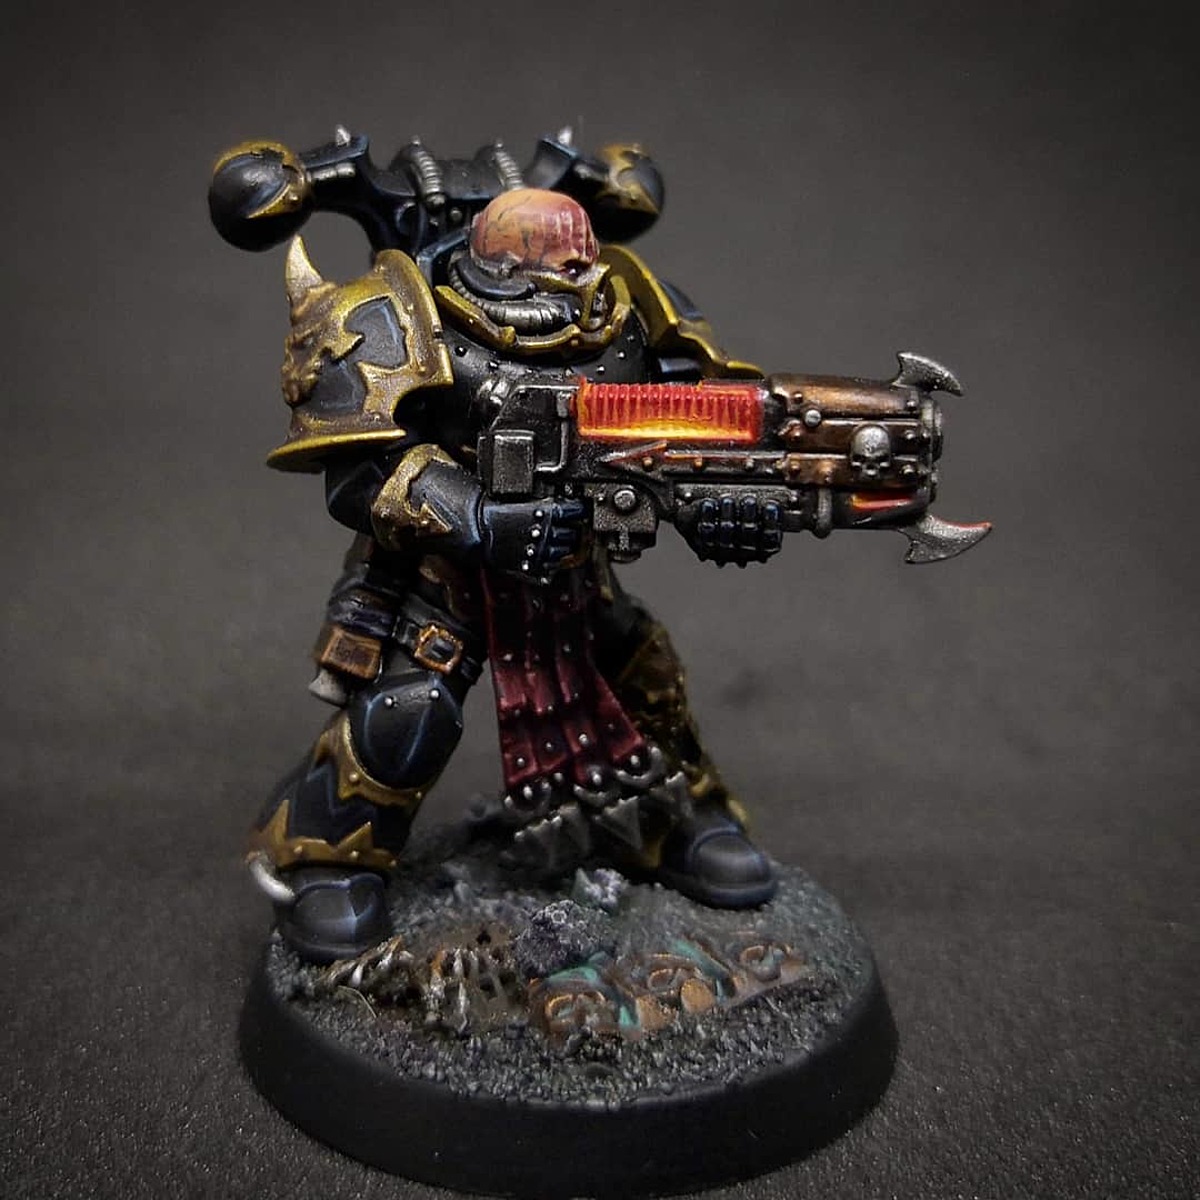
Based on the Duncan Rhodes Painting Academy tutorial (https://youtu.be/auhN2uKBV5g?si=-0uzWV0X6GFZhBqB) with slight changes due to missing paints.
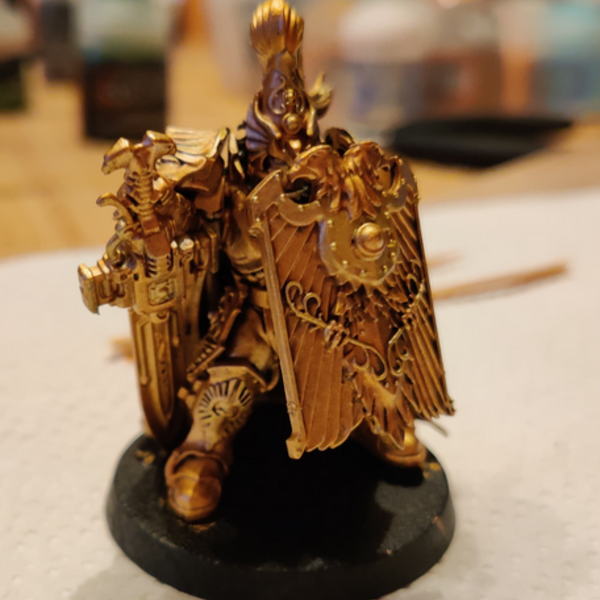 Gold armour
- Base-coat entire model in Chaos Black .
- Cover entire model in Retributor Armour , this will probably take 3 or maybe 4 coats due to the black basecoat.
- Add a wash / shade to everything that will stay gold (most armour, some weapon details), using Agrax Earthshade . Leave for about 30-45 minutes.
- Return to Retributor Armour and add it to all armour panels and larger gold areas, avoiding the darker areas where the shade settled.
- Add a second tone to the model on all the decorative gold areas using Liberator Gold , avoiding the recesses.
Other base-coats
- Base-coat the black details such as armour joints or parts of the weapon using Abaddon Black
- Base-coat the silver details using Runefang Steel . This is for the faceplate beneath the eyes, cables, the vents on the jumppack and the internal structure of the weapon.
- Use Mephiston Red to base-coat the plume and, if applicable, the cloak.
- Use Mournfang Brown to base-coat the leather parts, such as a potential handle on the weapon, or the leather fingerless gloves.
- Give all the new base-coats (everything since the gold) a wash with Nuln Oil .
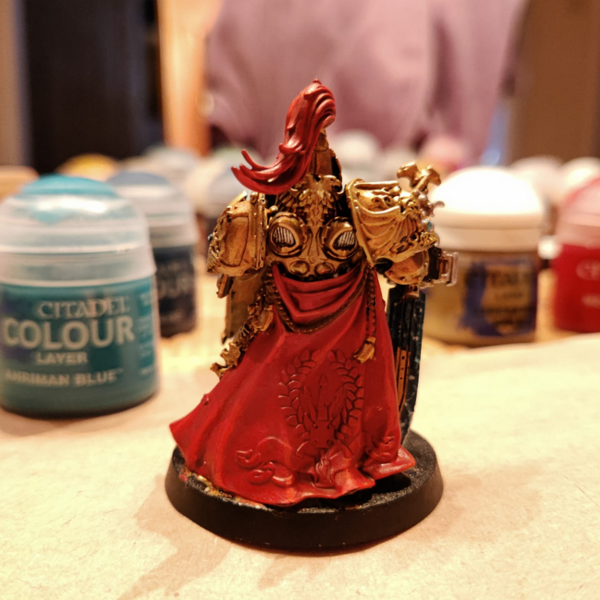 (Edge-)Highlighting
- Add another layer of Mephiston Red to the cloak and plume, avoiding the darker areas, to reintroduce the original colour. Try to only catch the raised area of the plume.
- Reintroduce the Runefang Steel just beneath the eyes of the faceplate to get back the shine.
- Edge-highlight the gold armour using Liberator Gold . Thin down the paint to the point where it runs off the brush nicely and make sure not to have too much paint on the brush.
- Edge-highlight the silver and decorative gold, as well as the black areas using Stormhost Silver .
- Use Evil Sunz Scarlet to highlight the most raised parts of the plume and add Wild Rider Red as final highlight colour on the prominent edges at the top and bottom of the plume.
- Using the same tactics and colours, highlight the upper parts and real edges of the cloak, if applicable.
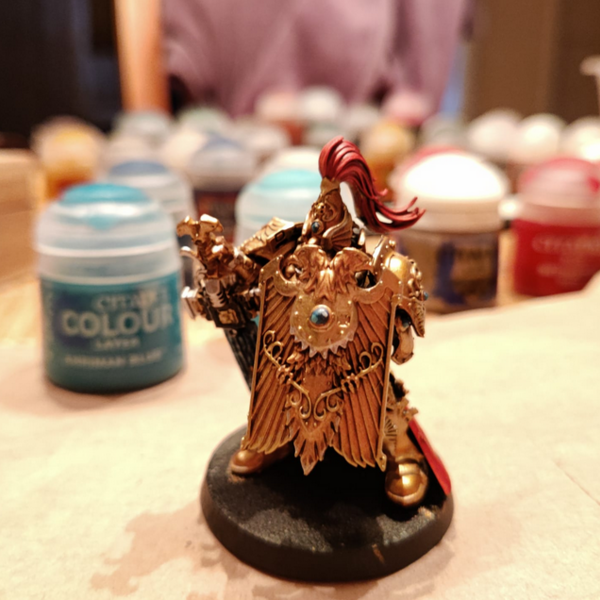 Details
- Add a bit of Mephiston Red to the eyes, and if needed, give them a glow using Evil Sunz Scarlet .
- For the various gems on the model, base-coat the entire thing with Kantor Blue . Add just a crescent shape of Ahriman Blue and a small dot of Baharroth Blue to the lower left side of the gem. Finally, add a tiny dot of Corax White to the top right of the gem to give it the appearance of reflected light.
Power-weapon
- Base-coat the entire blade area with Kantor Blue .
- With a small brush, add a layer/band of Ahriman Blue to most of the blade, letting show just some of the Kantor Blue.
- Edge-highlight the outside of the blade using Baharroth Blue (including the backside and possible little notches on the blade), as well as possible other bands where the previous two colours meet.
- Give the entire blade of the weapon a wash using Nuln Oil in a few sweeping motions.
- Re-introduce the Baharroth Blue edge-highlights. Add some Corax White as edge highlight on the sharpest edge of the blade.
- Using the smallest available brush, very little pressure, and with very little paint on the brush, add random crisscross lines of lightning bolts on the blade with more Baharroth Blue . Move back to Corax White to add very small dots of white on any point where the different lightning bolts intersect.
Citadel Painting System 16
Base 6
- Abaddon Black
- Corax White
- Kantor Blue
- Mephiston Red
- Mournfang Brown
- Retributor Armour
Shade 2
- Agrax Earthshade
- Nuln Oil
Layer 7
- Ahriman Blue
- Baharroth Blue
- Evil Sunz Scarlet
- Liberator Gold
- Runefang Steel
- Stormhost Silver
- Wild Rider Red
Spray 1
- Chaos Black


