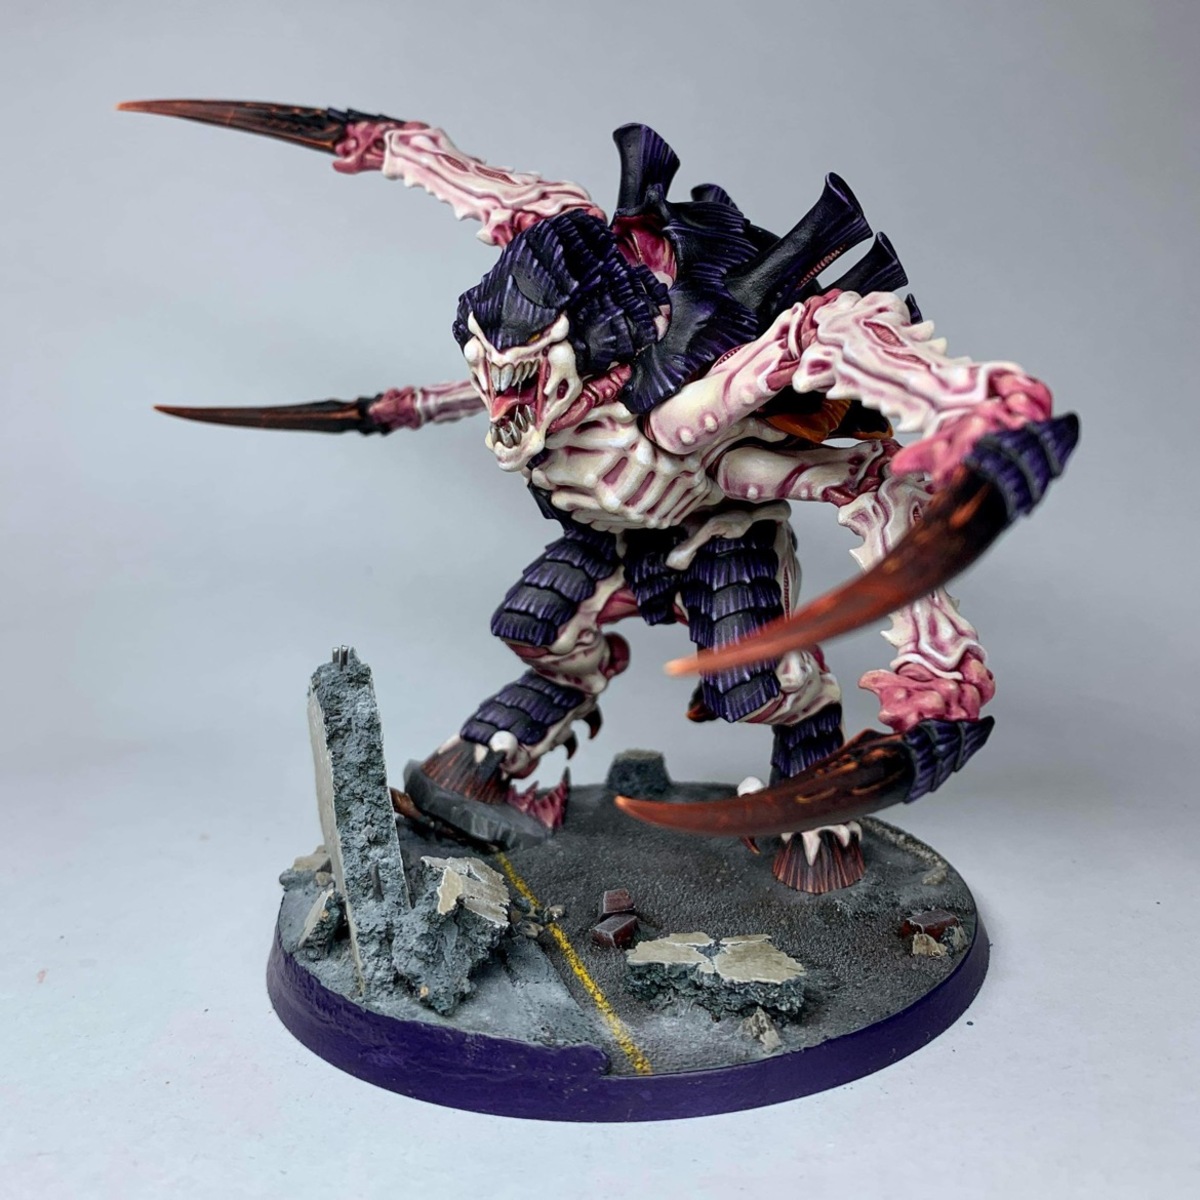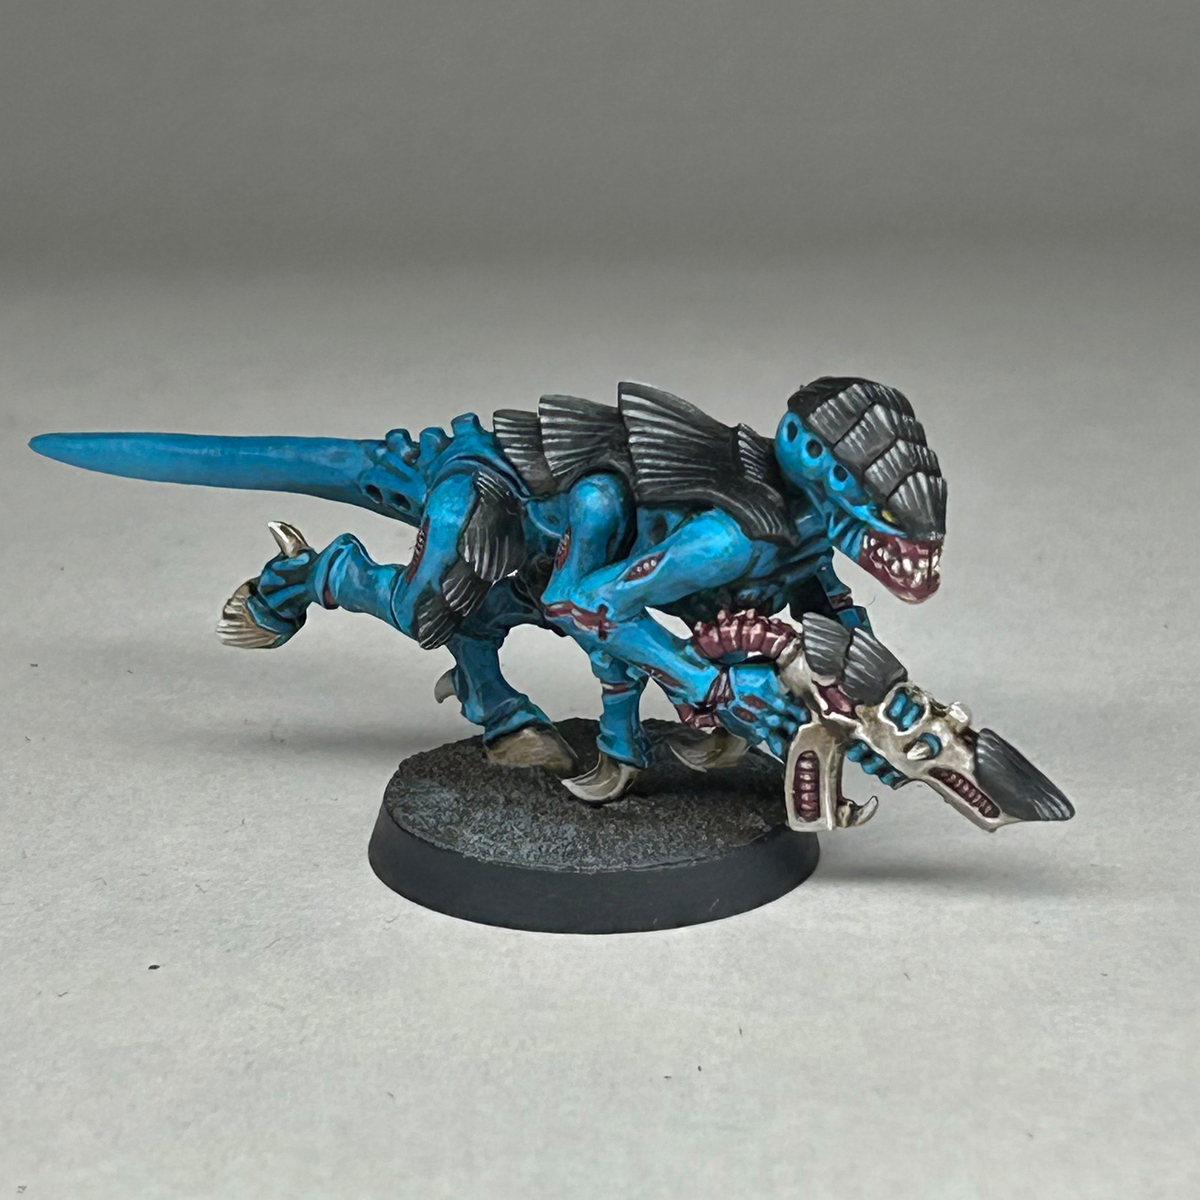

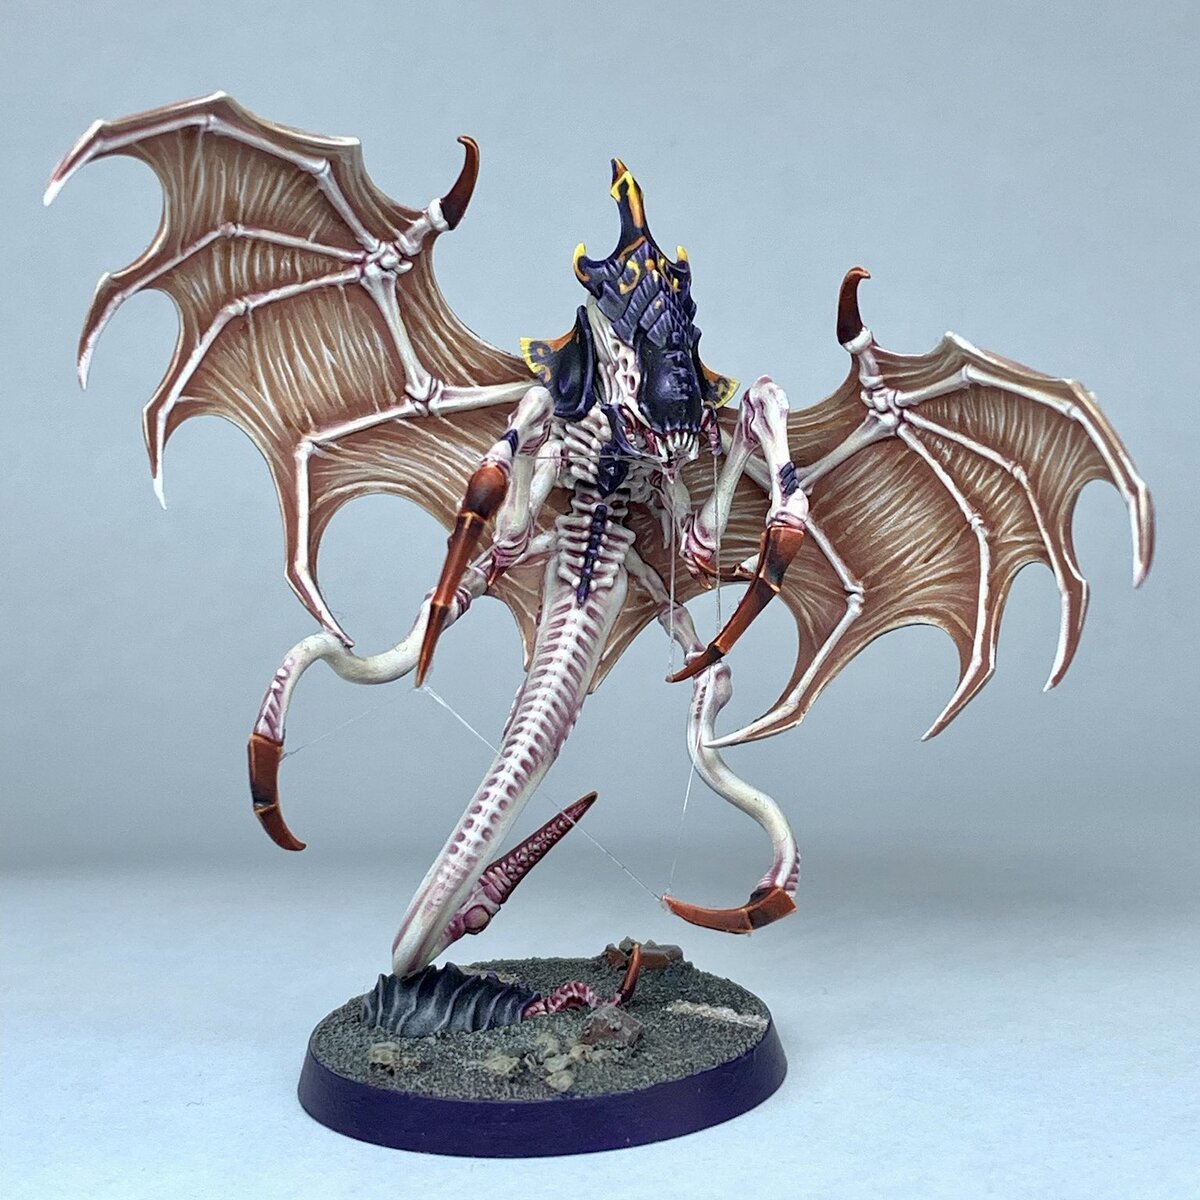
How I painted the Ouraboris colour scheme, part of a larger video on painting a variety of Tyranid Hive Fleets.
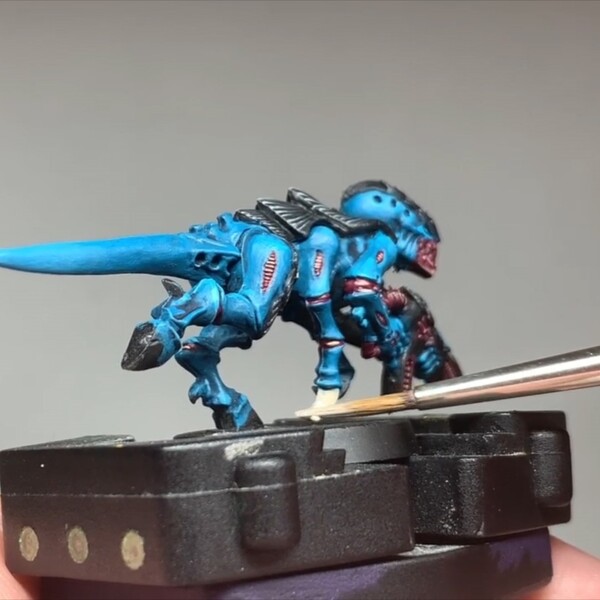
Skin
 Start with a black primer, I used a cheap spray primer for mine.
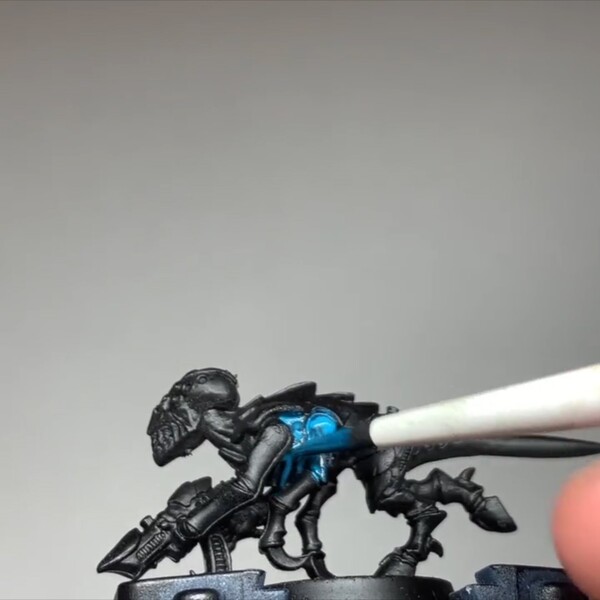 Cover the whole skin with a layer of Ahriman Blue
 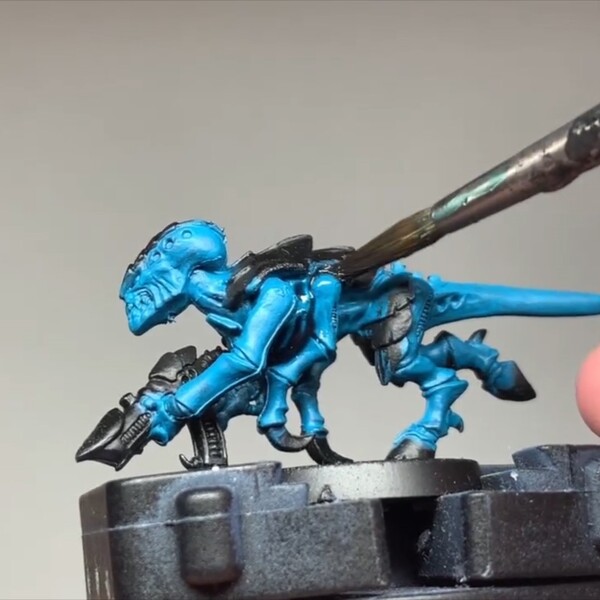 Wash back over with Drakenhof Nightshade . My wash is old formula and needed the edge taking off with Medium, but the newer stuff might not.
 Pass over all of the skin with thinned Ahriman Blue , relayering the skin but leaving some of that wash in the recesses
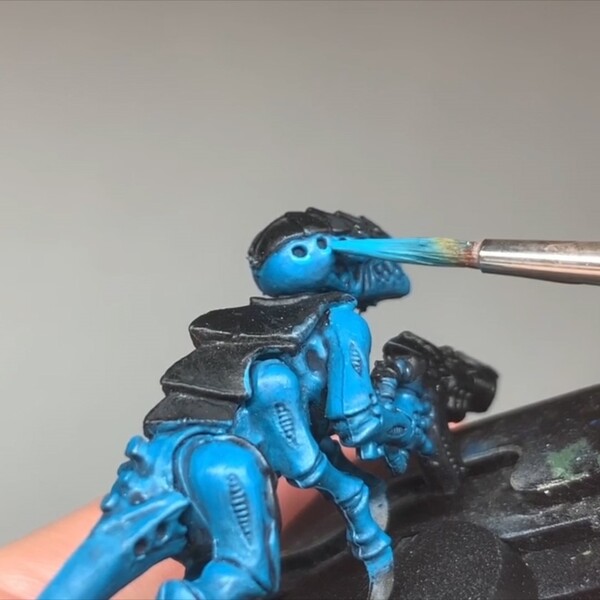 Highlight up with Temple Guard Blue . In the video I used Ahriman Blue and Baharroth Blue mixed evenly, but Temple Guard Blue's about the same.
Note: For characters, you might want to add a dot highlight of Baharroth Blue for extra punch
Inner Flesh
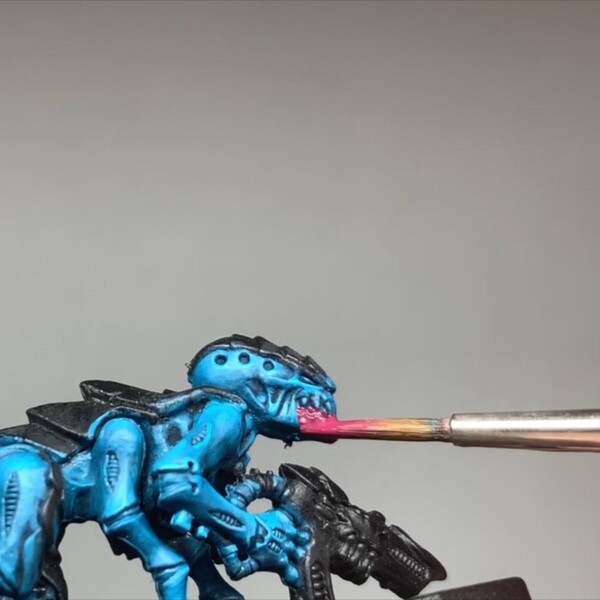 Carefully pass over all the splits in the skin and joints with Screamer Pink . If you overspill, cut back over with your previous blues as necessary. Might get quite messy, but stick with it!
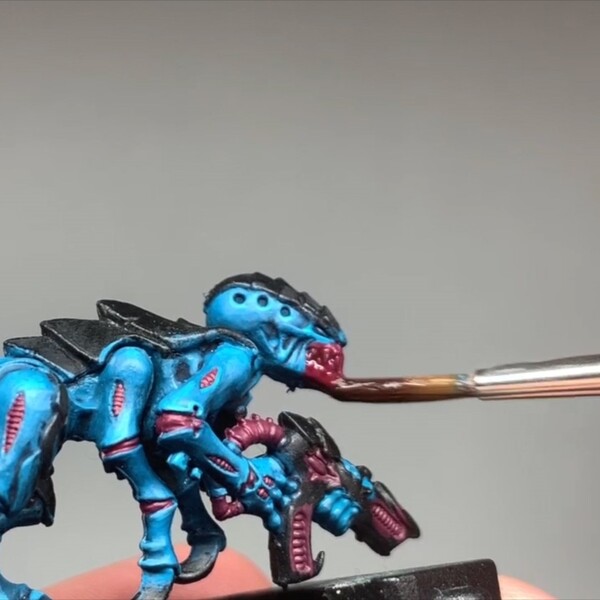 Wash all those areas with Carroburg Crimson .
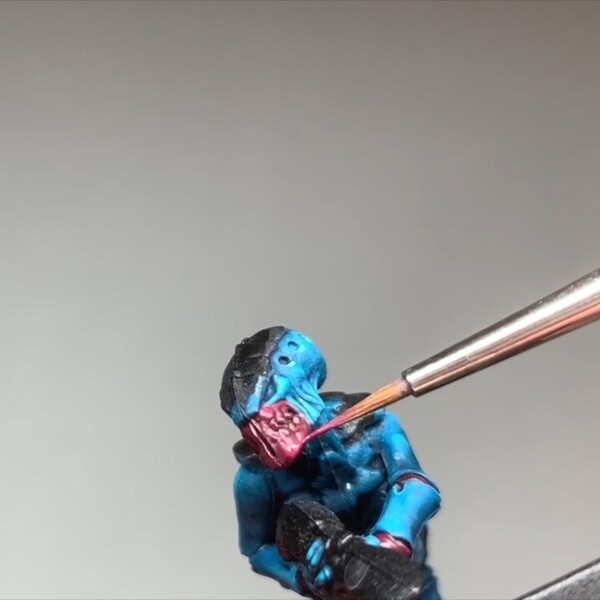 Relayer any ridges in those splits with Screamer Pink and a thin brush.
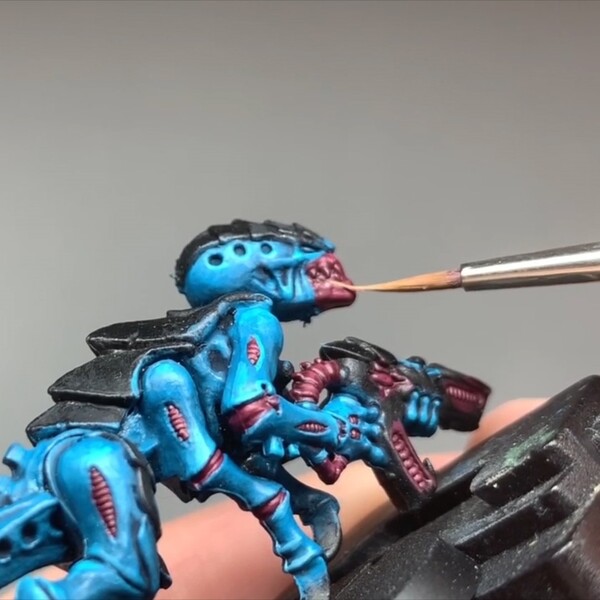 Add a dot highlights of Kislev Flesh for some sheen.
Carapace
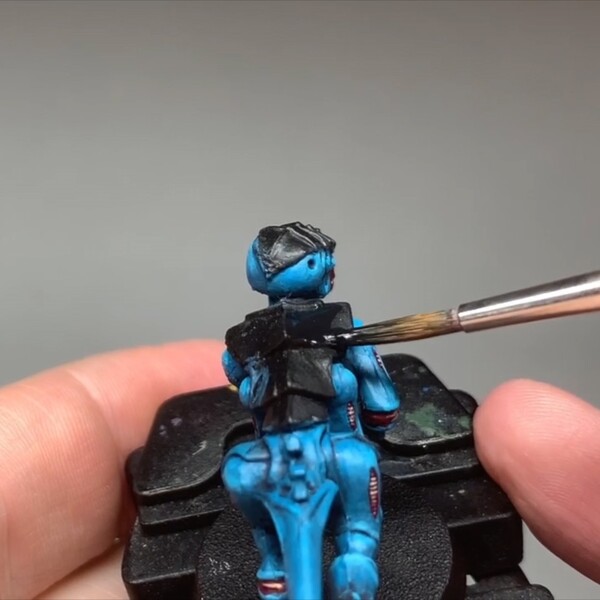 Block in all of the carapace with black, I used Matt Black
 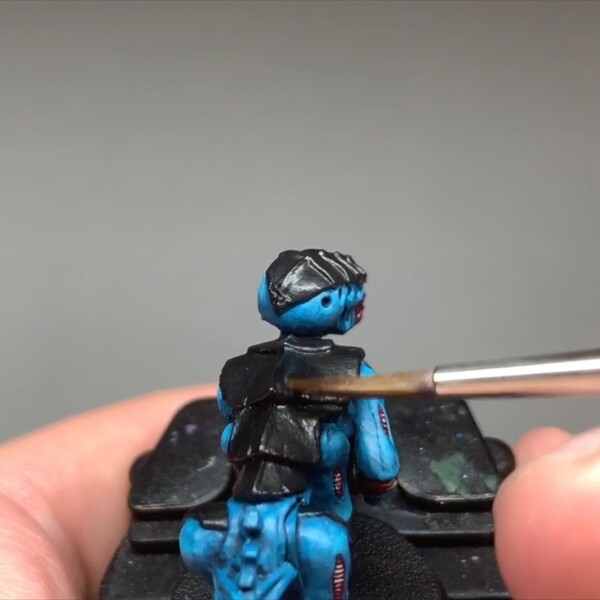 Glaze toward the back of each plate with Skavenblight Dinge . If you're not confident with glazing, you can either drybrush or relayer entirely with Skavenblight Dinge if you'd prefer, the idea is to get a hint of colour under the patterns
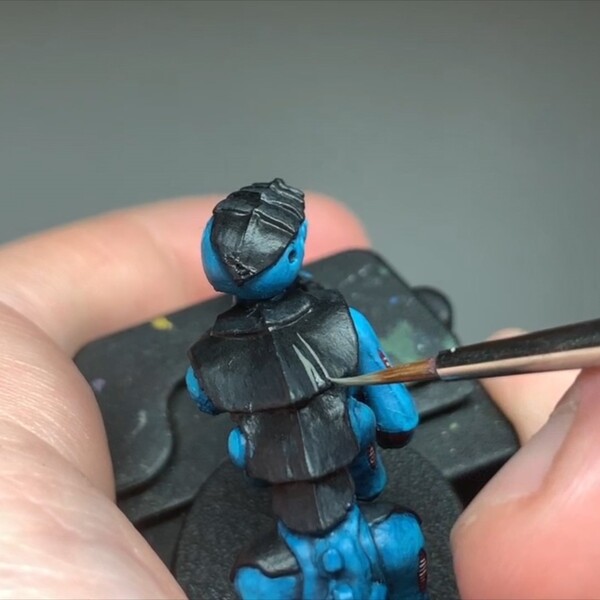 Carefully draw on striation lines with Stormvermin Fur . I pick a spot and draw the lines toward myself when doing this, evenly spacing where I can but not worrying if they're not - It's meant to be biological, and biology is rarely perfect!
 Add a second line highlight with Administratum Grey on the striations
Note: For characters and monsters, a point highlight of White right at the edge of the plate where the striations meet will add a bit more punch
Weapons, Claws and Hooves
 Relayer the whole weapon, claws and hooves with Rakarth Flesh , being careful about overspill (Painting with the gun off the mini is -very- advised)
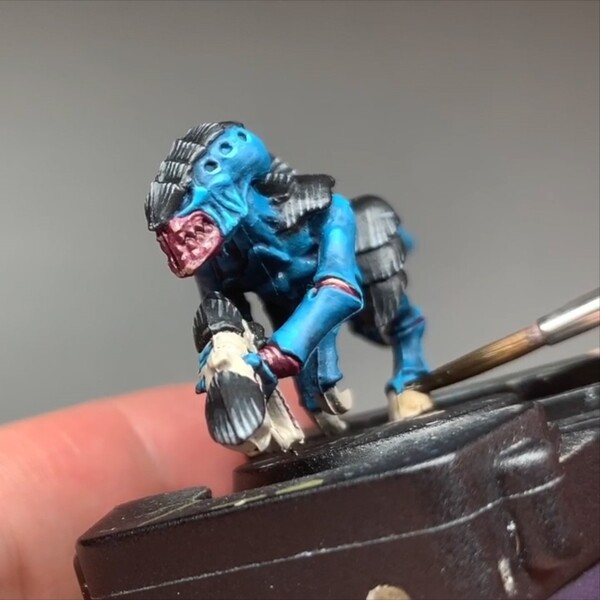 Wash back with Agrax Earthshade
 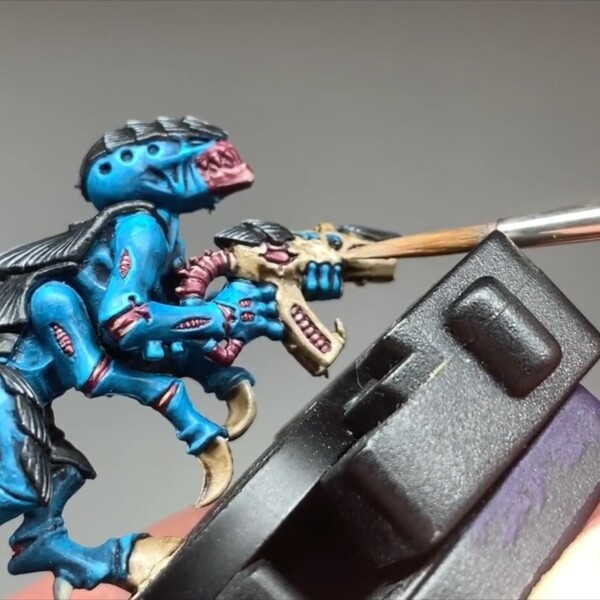 Pass over the weapon with a relayer and choice edge highlight of Rakarth Flesh . I did this as a glaze on the hooves and claws.
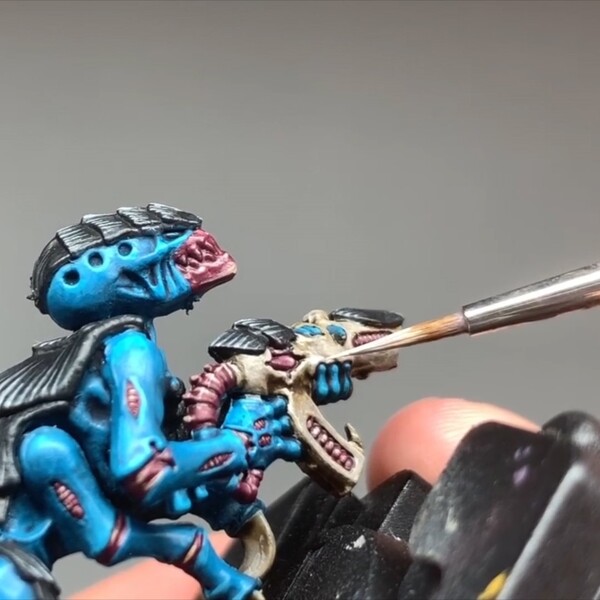 Edge highlight with Pallid Wych Flesh .
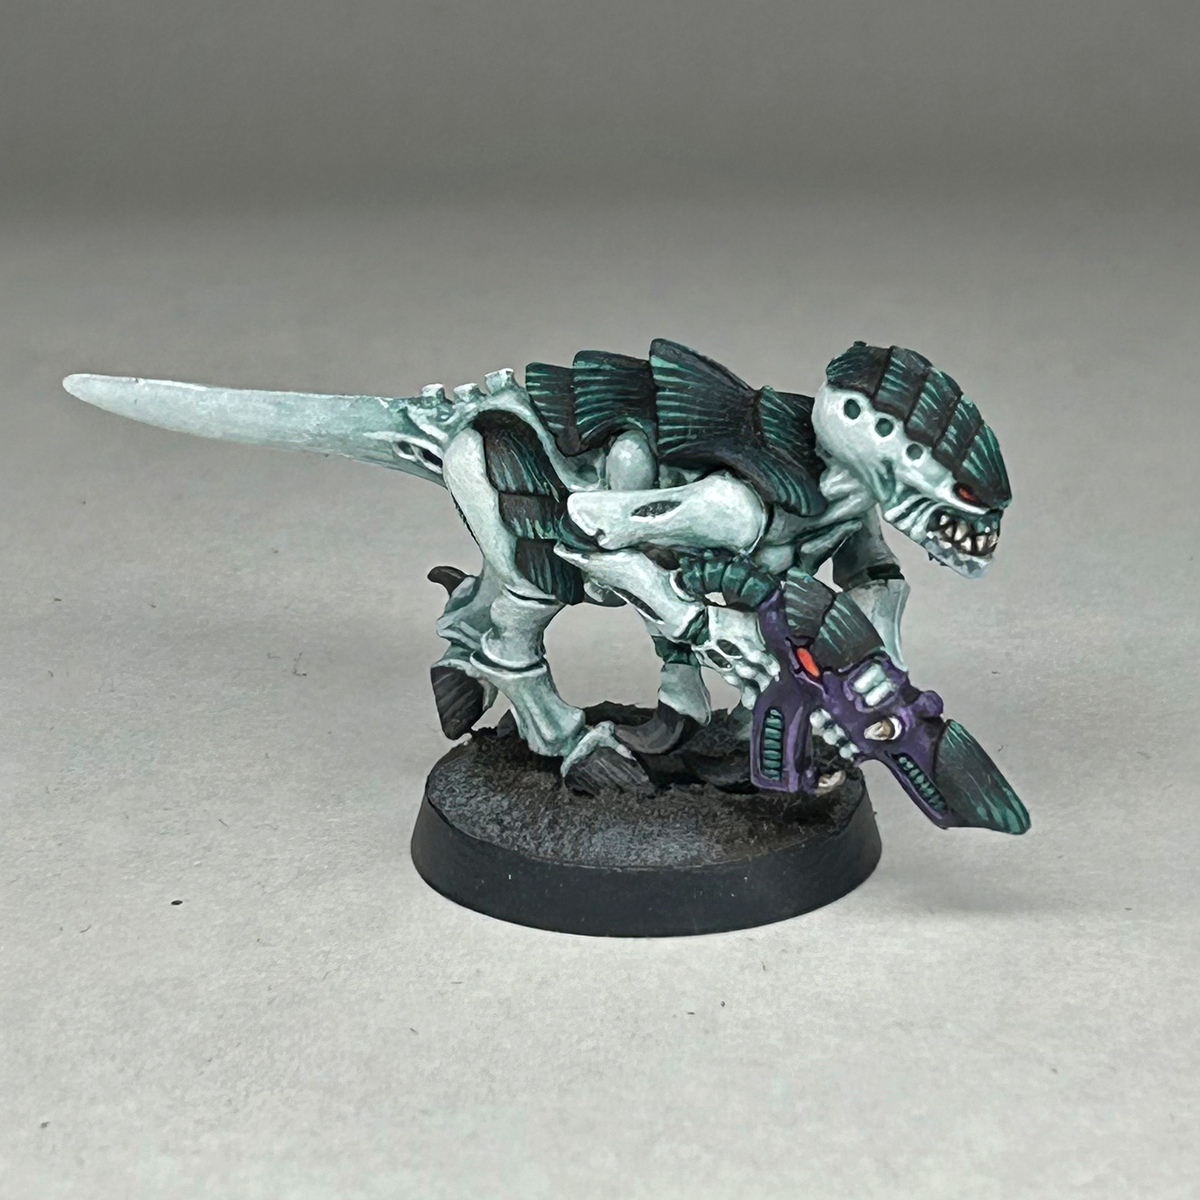
Eyes and Teeth
Note: As this goes along side a video tutorial on a wider range of Hive Fleets, I'm using pictures of 'Gants that aren't Behemoth. Colours are all the same though!
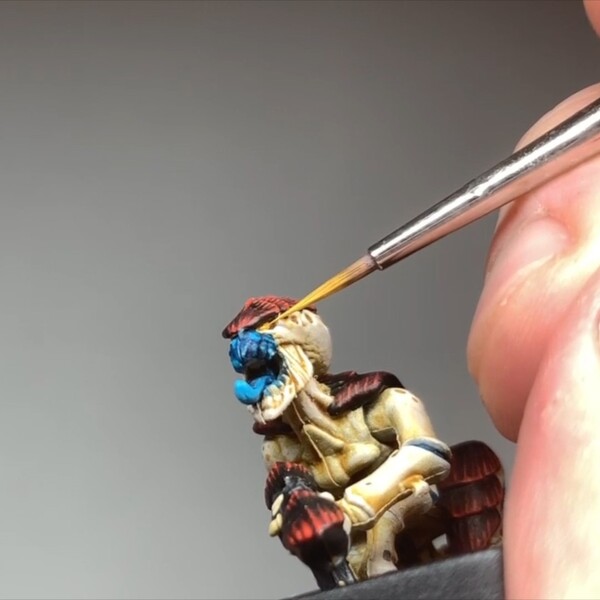 Layer over the whole eye with Averland Sunset
 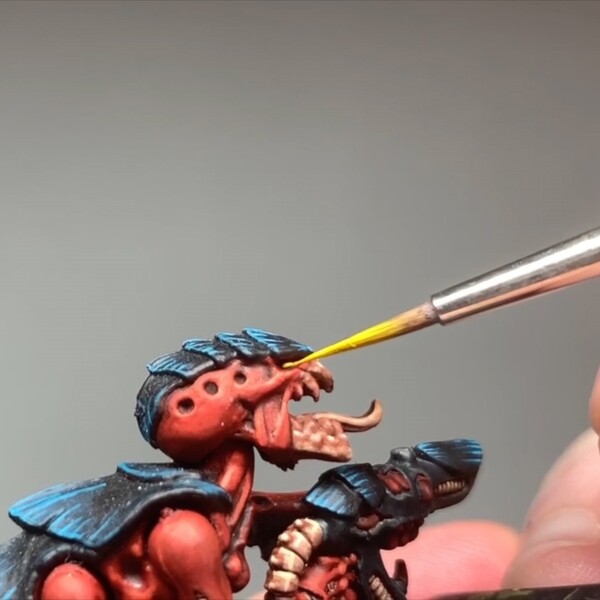 Relayer again with Yriel Yellow . It's quite easy to run out of control on these small areas, so take your time. I found that adding a wash into the socket and trying again with Yriel Yellow works well if it goes nuts and I don't catch it in time.
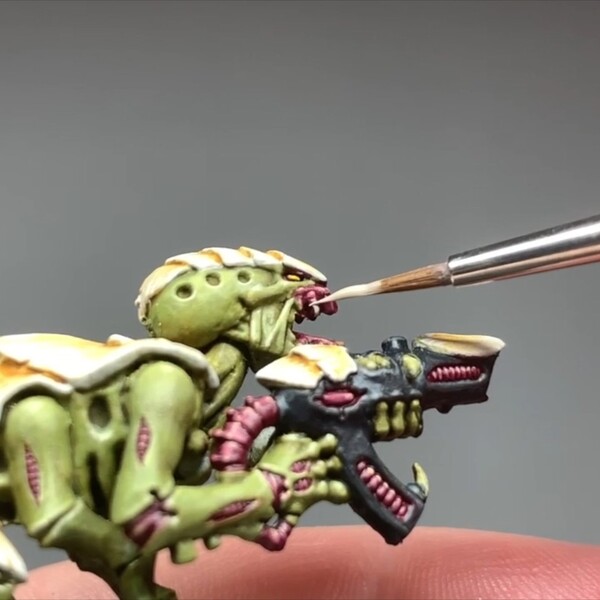 Then coat all the teeth with Rakarth Flesh
 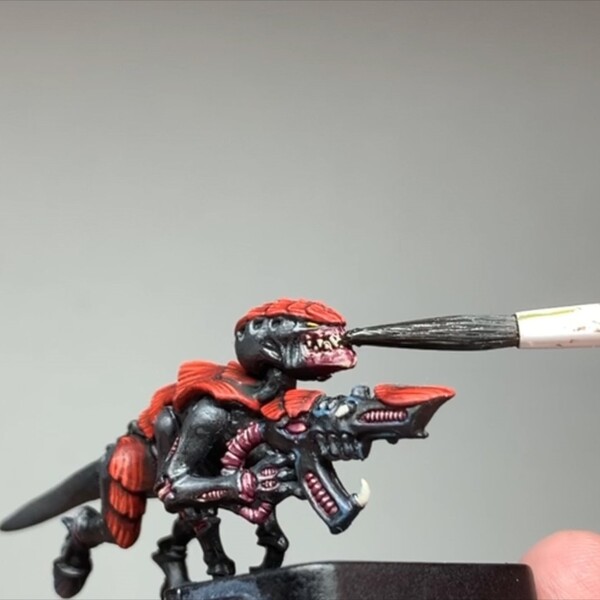 Wash back with Agrax Earthshade
 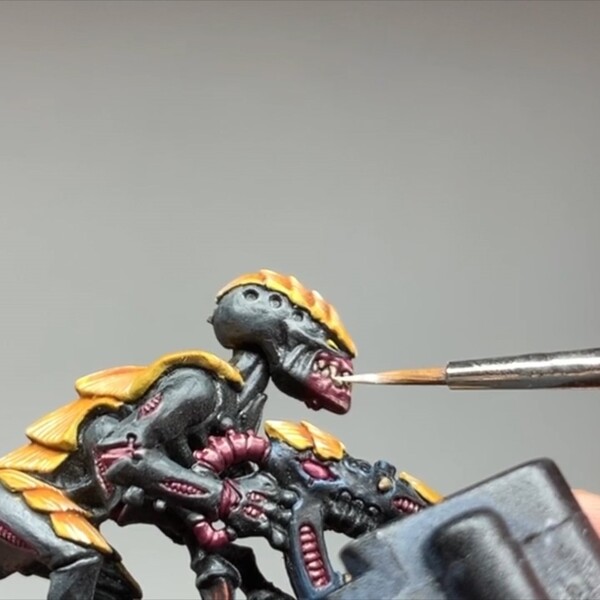 A quick highlight/relayer with Pallid Wych Flesh , leaving some of that washed Rakarth Flesh near the gum line

Adz
HowAdzPaints
I'm a casual mini painter who's fallen into the tutorial space. Documenting my progress and recipes as I go!
Citadel Painting System 15
Base 3
- Averland Sunset
- Rakarth Flesh
- Screamer Pink
Shade 3
- Agrax Earthshade
- Carroburg Crimson
- Drakenhof Nightshade
Layer 9
- Administratum Grey
- Ahriman Blue
- Baharroth Blue
- Kislev Flesh
- Pallid Wych Flesh
- Skavenblight Dinge
- Stormvermin Fur
- Temple Guard Blue
- Yriel Yellow
Daler-Rowney
FW Acrylic Ink 1
- White
The Army Painter Warpaints
Acrylic 1
- Matt Black
.jpg)