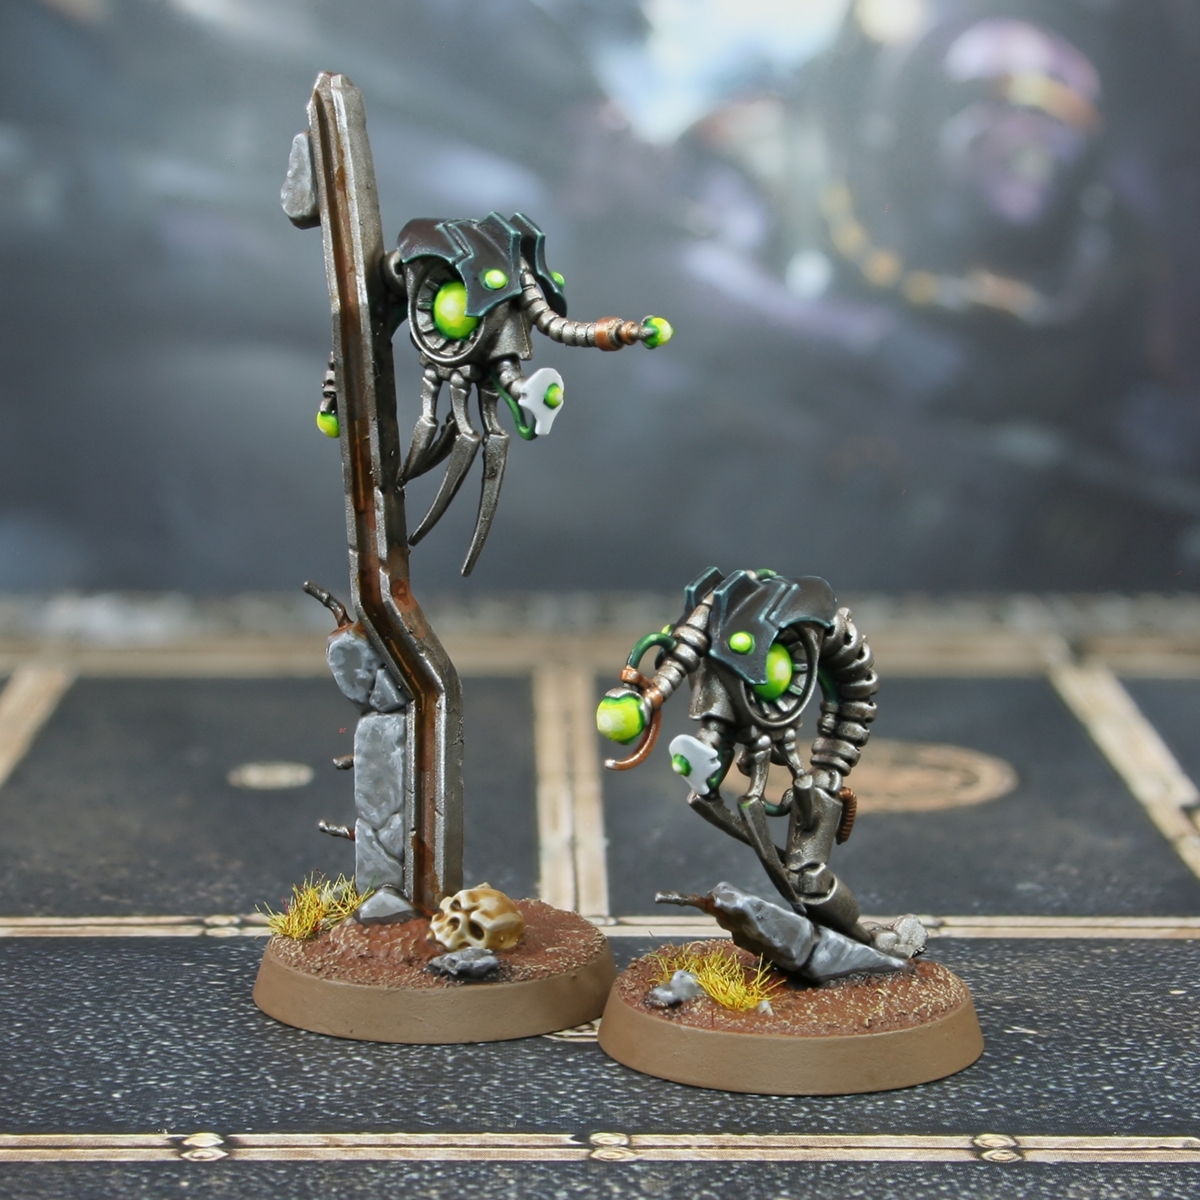
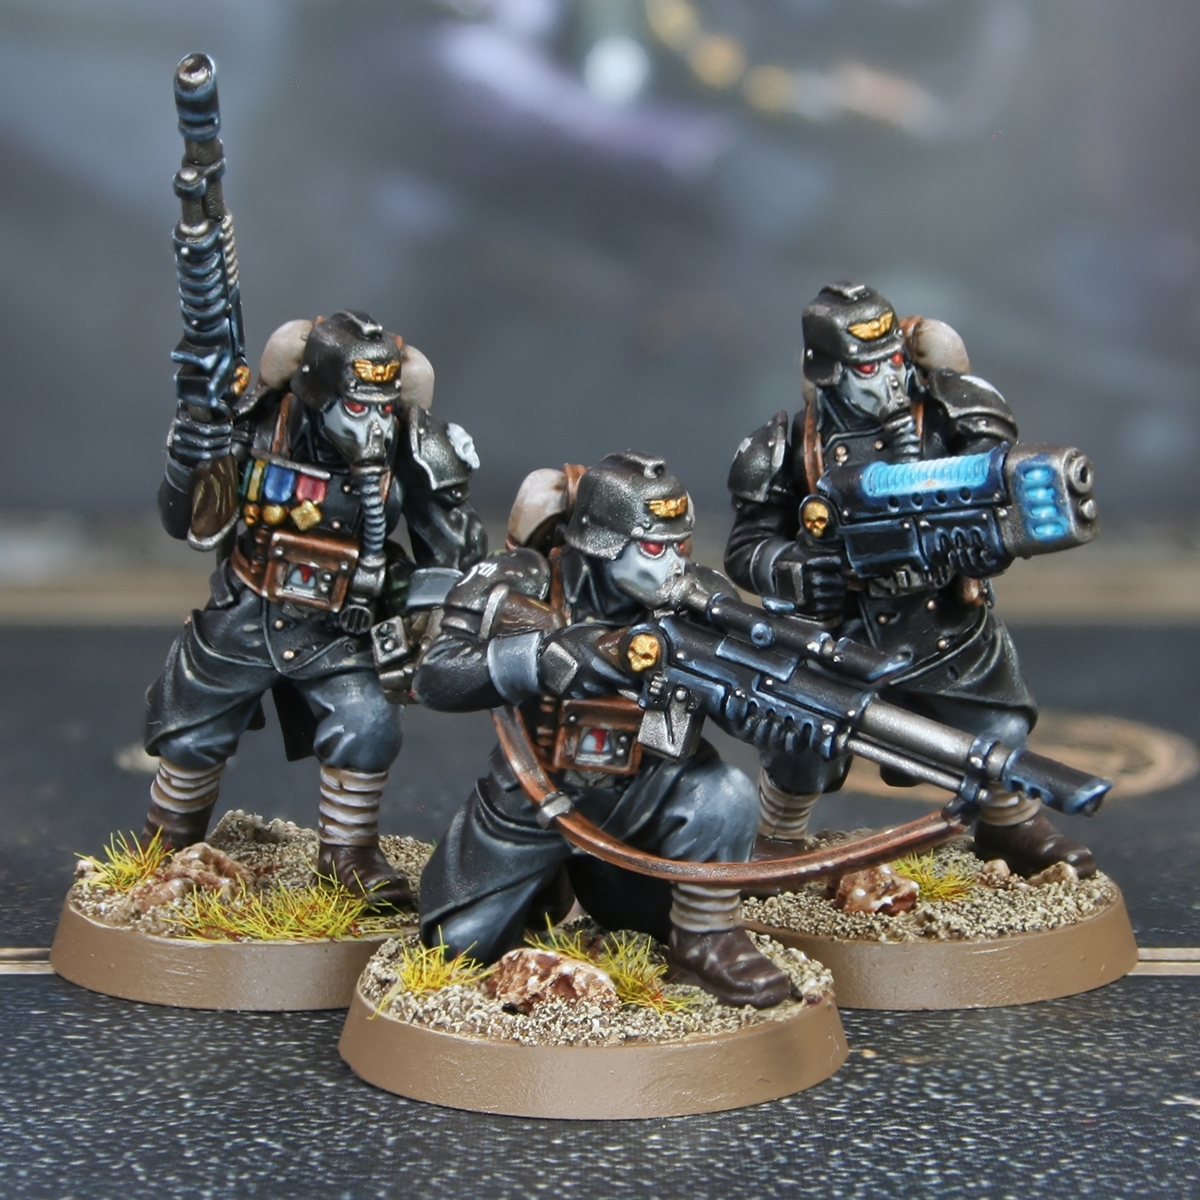
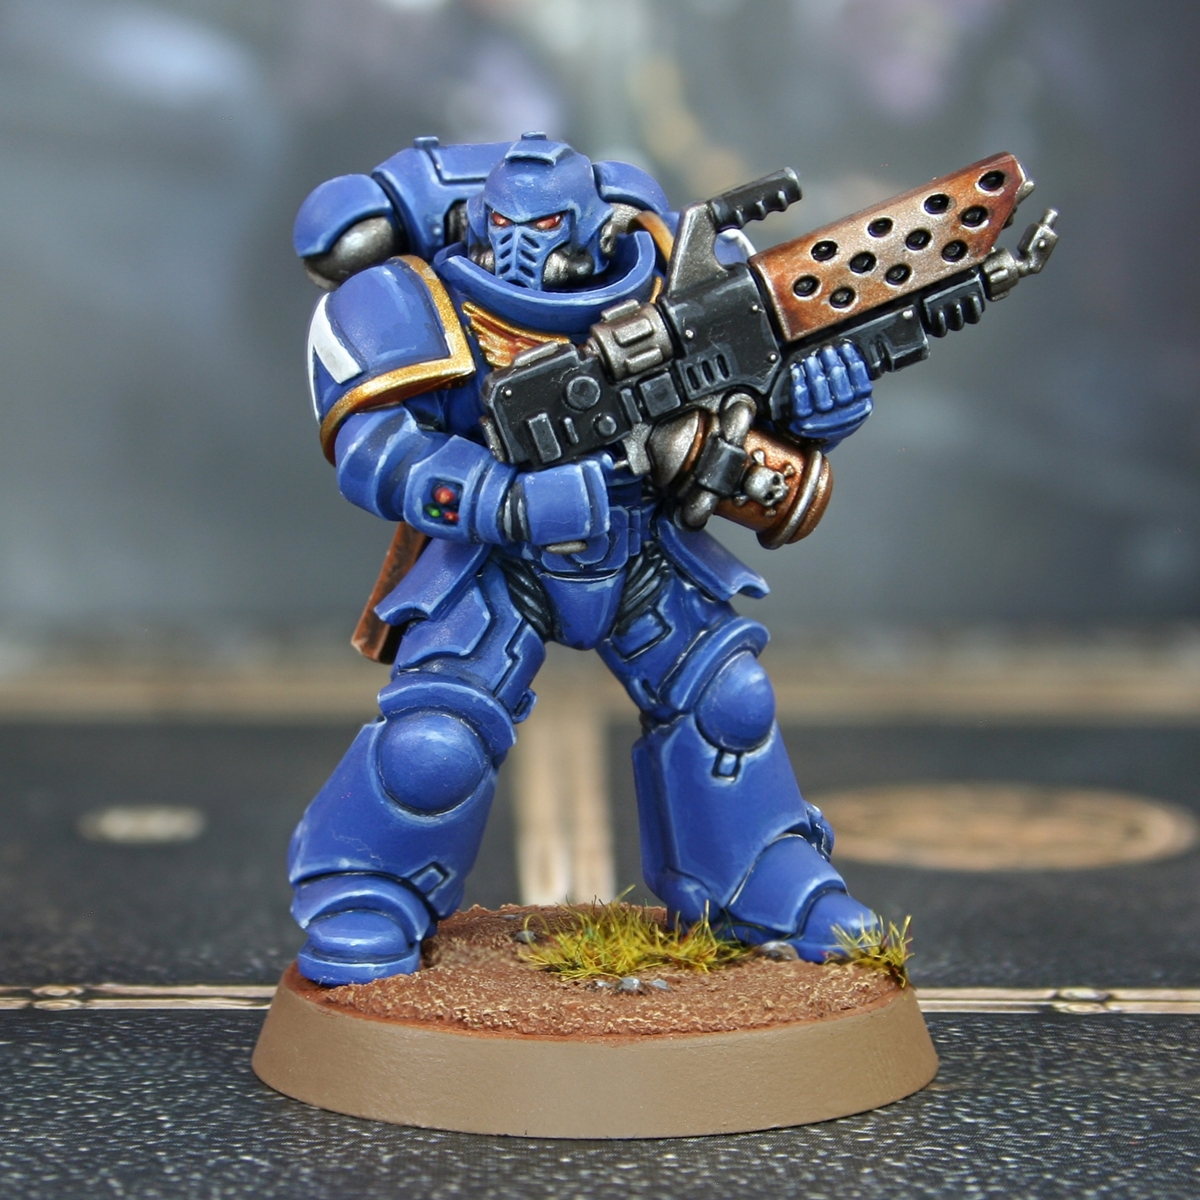
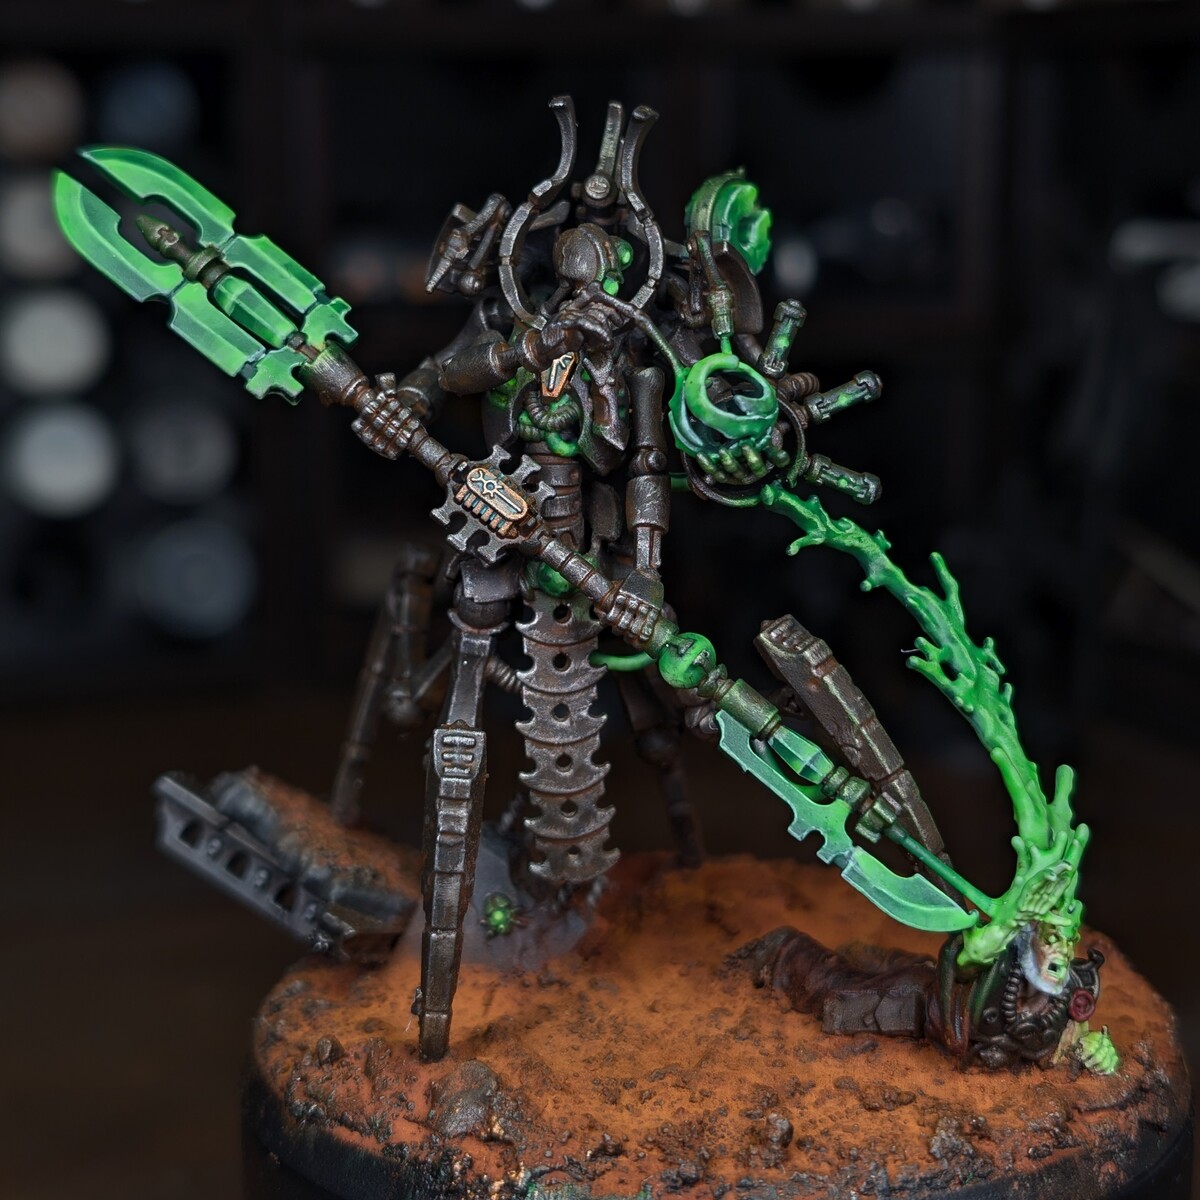
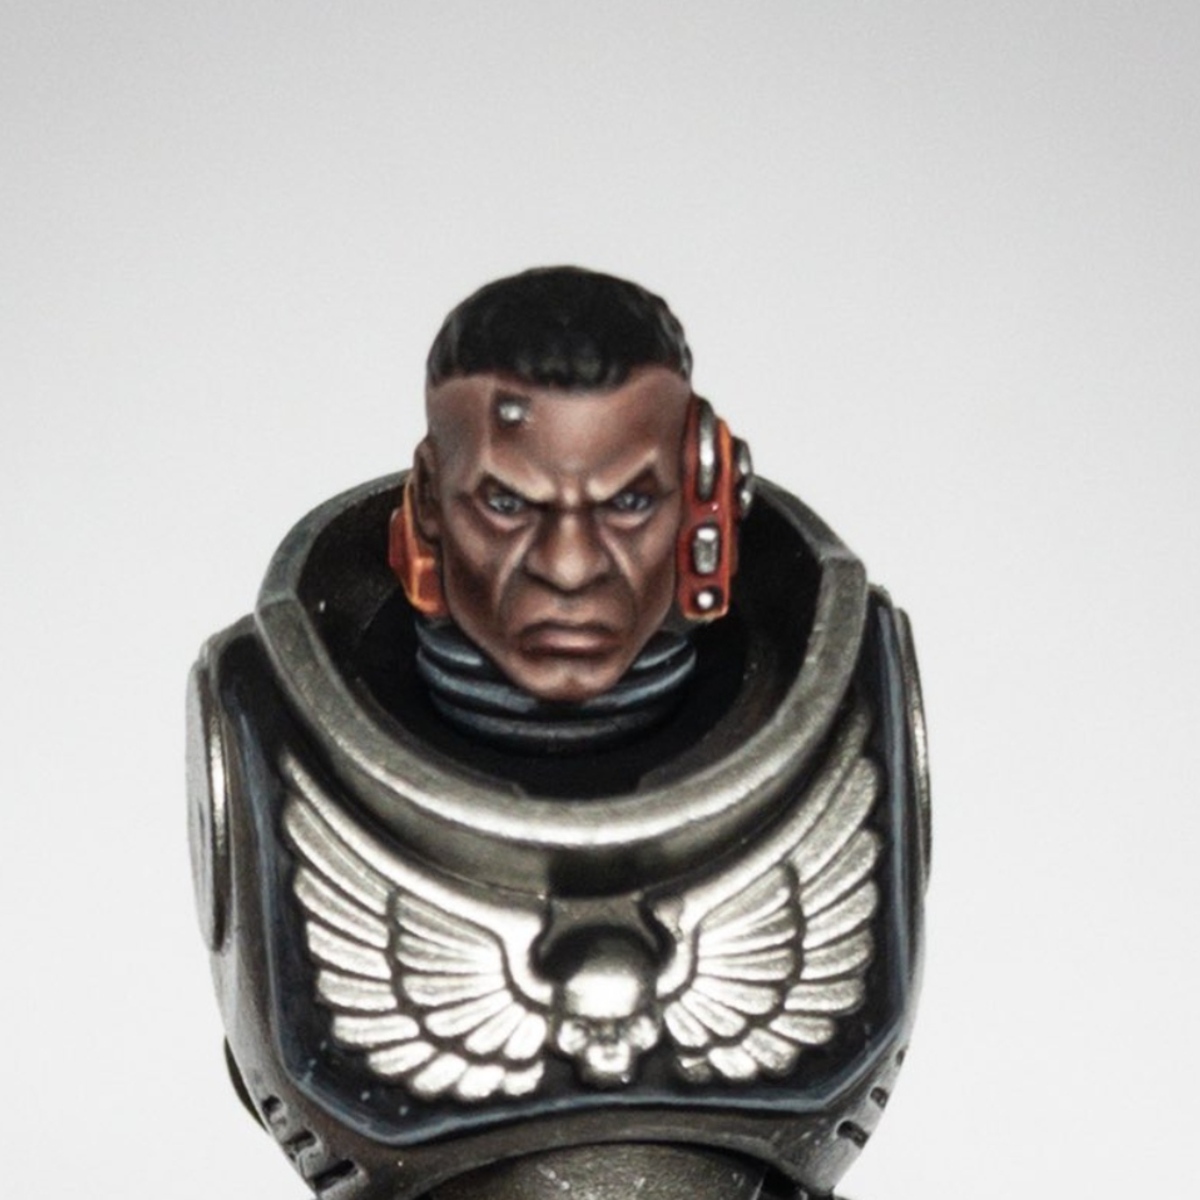
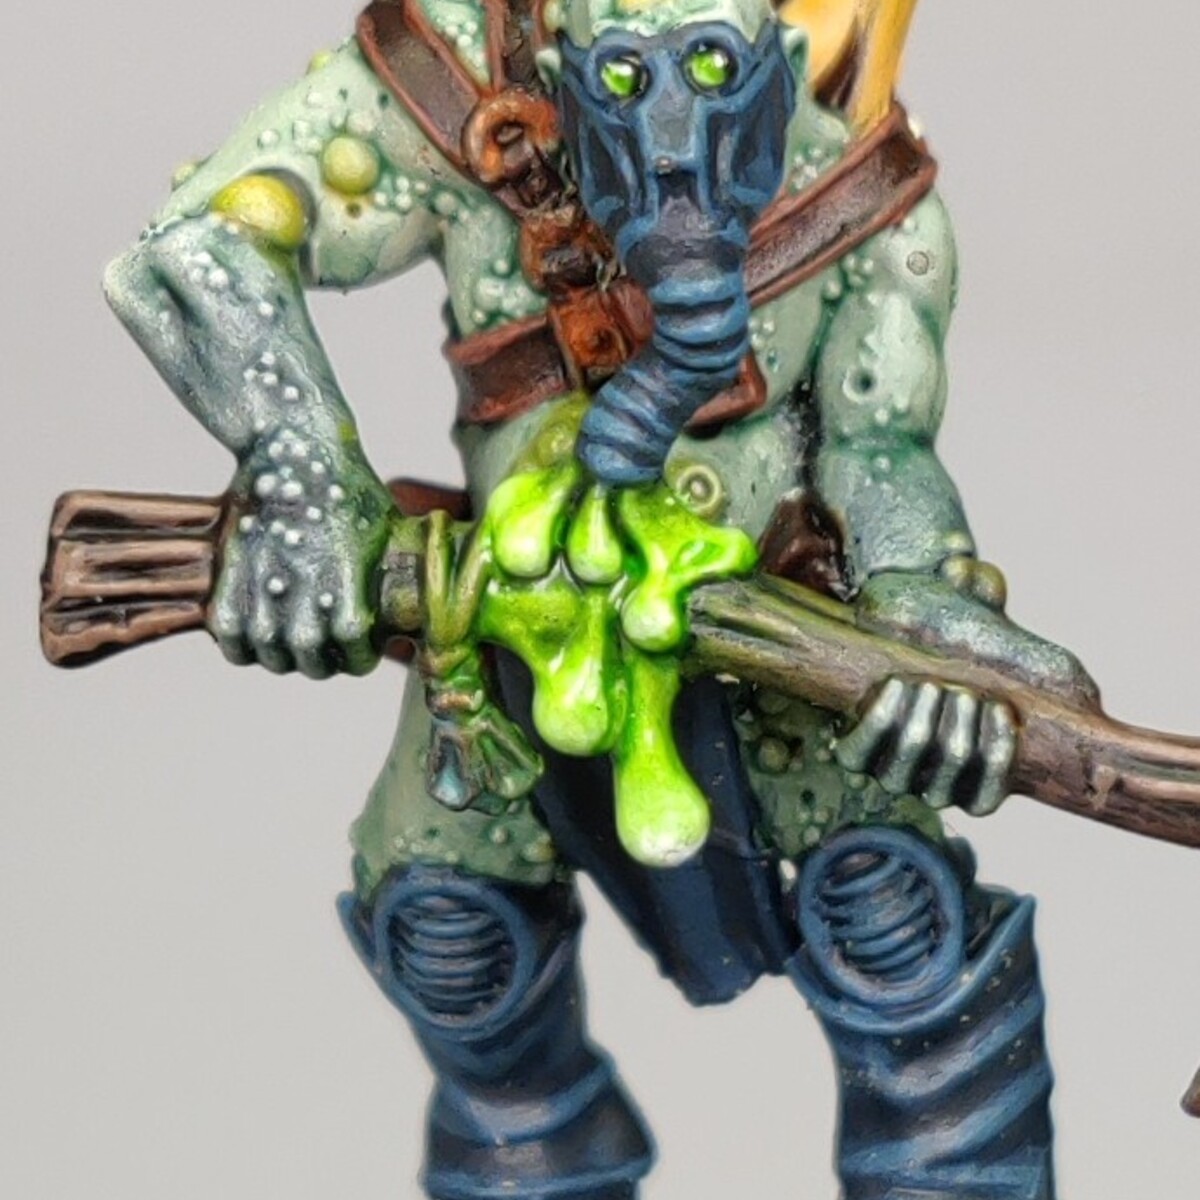
Plasmacyte Accelerator & Reanimator (Sautekh Dynasty)
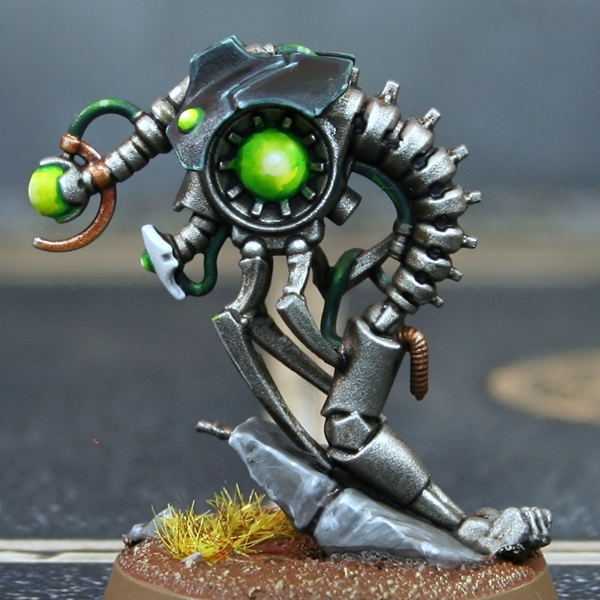 Living Metal
- Basecoat the model with Gunmetal Grey .
- With an airbrush, spray an all over zenethal highlight of Duraluminum downwards at a 45 degree angle.
- Spray White Aluminum almost straight downward, from the top of the model. Be selective only catching the very top, face and shoulders.
- Now we do an oil wash on all of the Necron and the weapon coil. I poured out the amount odourless Artists' White Spirits I felt I needed for the wash and added paint to it, until I was happy with the consistency. I used 3 parts Ivory Black, with 1.5 parts Burnt Sienna and 1 part Cobalt Violet Hue, all from the Winton range of oil paints.
- After giving the oil paint at least an hour to dry, wipe paint from the exposed areas and avoid recesses. I like to use makeup sponges or those little sponges on stick for applying makeup. If you want to remove the paint extra thoroughly in an area, add a very small amount of white odourless Artists' White Spirits to the sponge.
- Selectively highlight exposed edges and places where the light would hit with Silver RLM01 Metallic .
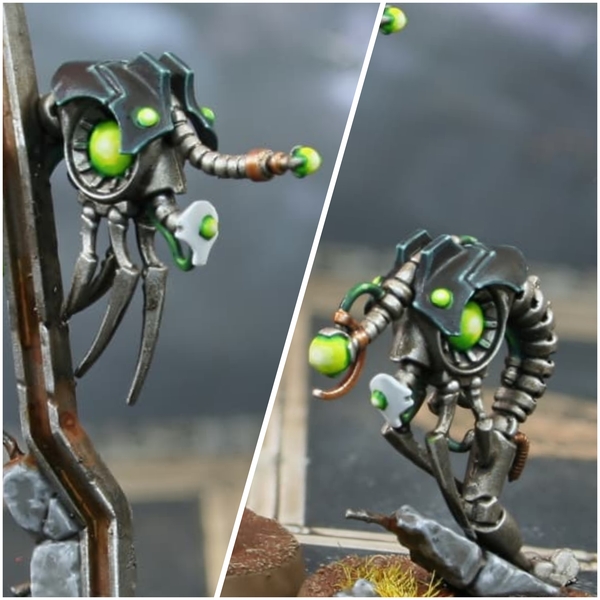 Black Armour
- Basecoat with Black .
- Chunky highlights of Incubi Darkness .
- Fine edge highlights of Sons of Horus Green .
- Selective highlights of 1:1 Sons of Horus Green and Sybarite Green .
- Add some White to the previous mix, and add specular highlights.
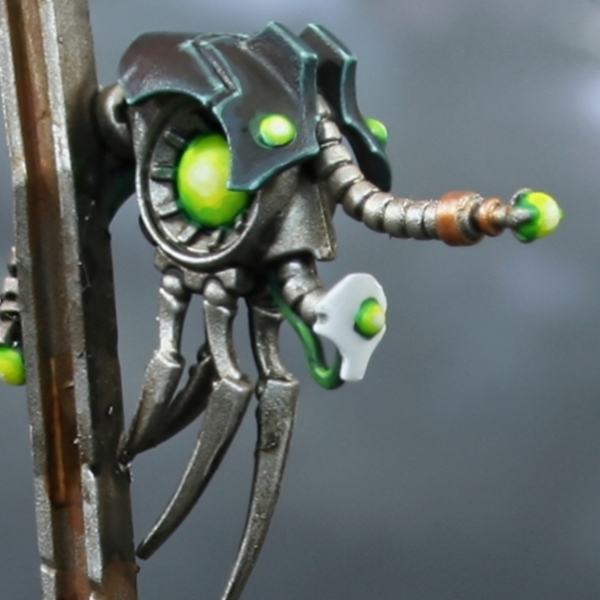 White Armour
- Basecoat with a 1:1 mix of Grey Seer and White .
- Glaze/shade with Grey Seer . Be quite generous with the area you shade.
- Add additional shading with Dawnstone . Make this stage more selective.
- In areas where you want a clear division, shade with very thin lines of Skavenblight Dinge .
- Add edge highlights with White .
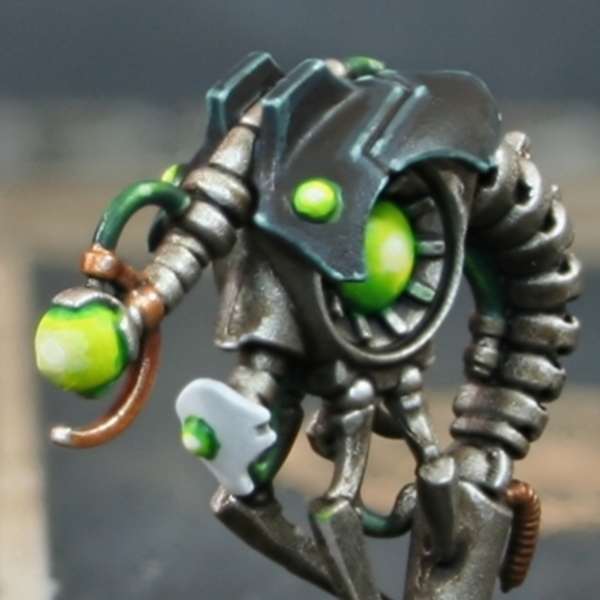 Light Green Energy
- Basecoat with White .
- Wash with Tesseract Glow .
- Shade with thin Warpstone Glow .
- Shade the deepest areas with Caliban Green .
- Towards the centre, mix your Tesseract Glow with some White and lighten a small area, leaving space to get brighter.
- Finish with a small amount of White in the very centre.
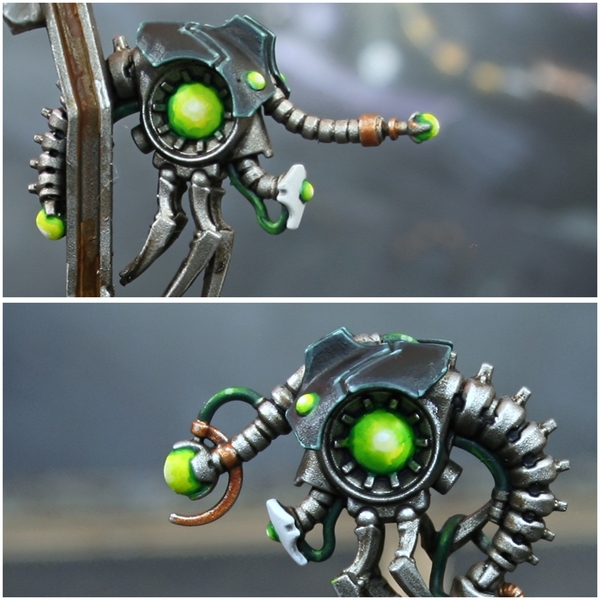 Gold Details
- Basecoat with 1:1 Retributor Armour and Balthasar Gold .
- Shade with Gore-grunta Fur . I like to work it on my wet palette then selectively shade recesses, rather than wash the whole thing.
- Add deep shading to recesses with a thin mix of Doombull Brown and Abaddon Black .
- Add some Silver to what remains of your base mix, then highlight.
- Finally, highlight more selectively with pure Silver .
- While I had the Gore-grunta Fur out, I also washed the ridged tubing with it at this stage.
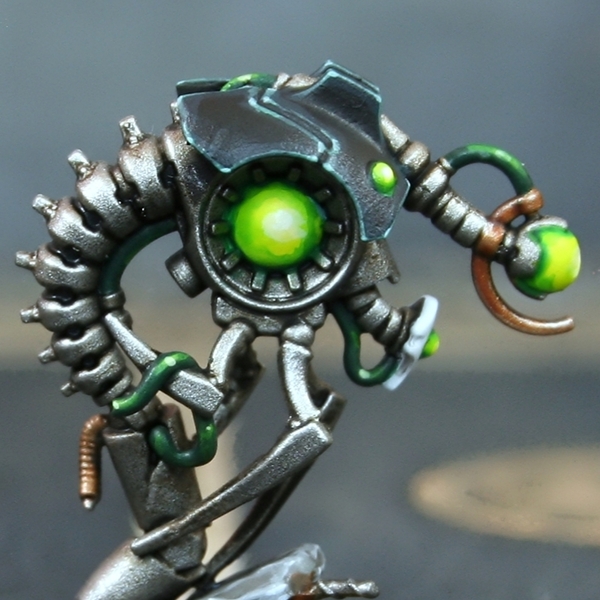 Green tubing
- Basecoat with Caliban Green .
- Glaze everything but the recessed parts with Warpstone Glow , pulling your rush towards where you are planning to build your highlights.b
- Apply highlights with 1:1 Warpstone Glow and Moot Green .
- Selectively highlight with Moot Green .
- Mix some Ice Yellow into your Moot Green and add very small highlights where needed.

Rookie Brushes
RookieBrushes
Aspiring miniature painter and biscuit enthusiast. Here to share my hobby and help where I can.
Citadel Painting System 15
Base 6
- Abaddon Black
- Balthasar Gold
- Caliban Green
- Grey Seer
- Incubi Darkness
- Retributor Armour
Layer 7
- Dawnstone
- Doombull Brown
- Moot Green
- Skavenblight Dinge
- Sons of Horus Green
- Sybarite Green
- Warpstone Glow
Technical 1
- Tesseract Glow
Contrast 1
- Gore-grunta Fur
Vallejo Metal Color
Base 3
- 77.702 Duraluminum
- 77.706 White Aluminum
- 77.720 Gunmetal Grey
Vallejo Model Air
Base 1
- 71.063 Silver RLM01 Metallic
